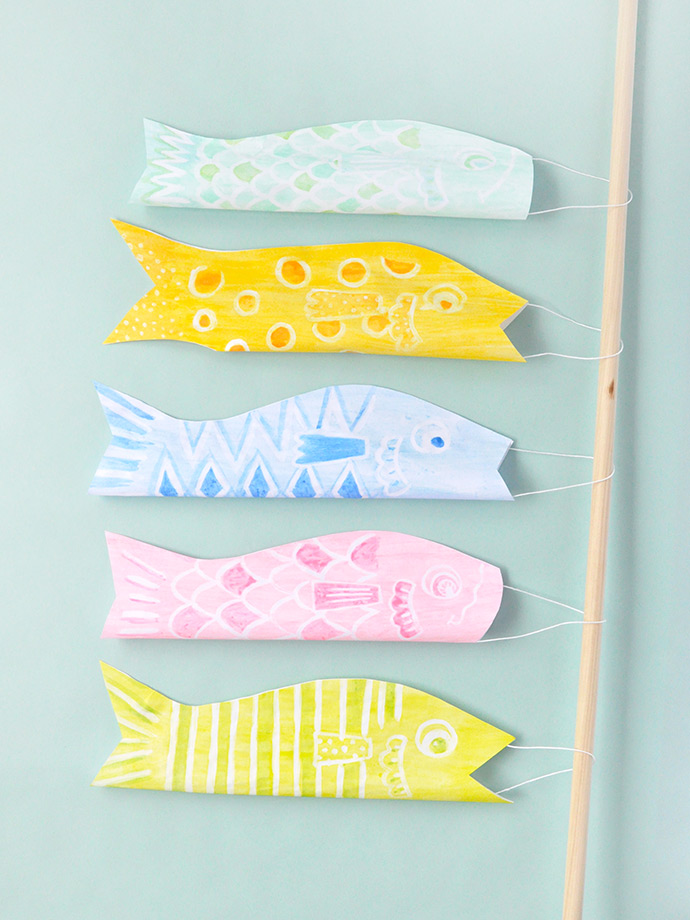
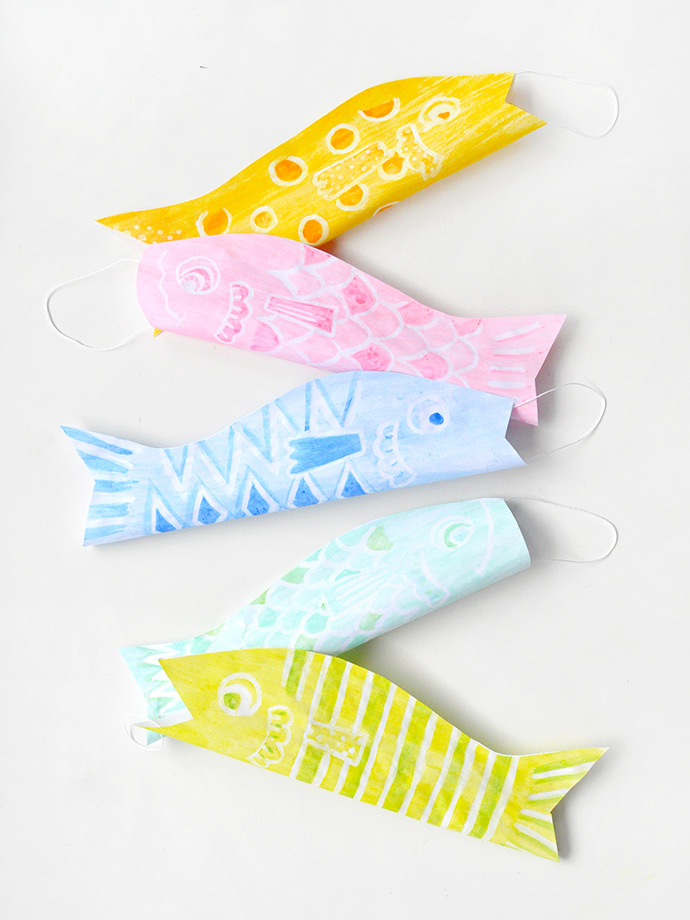
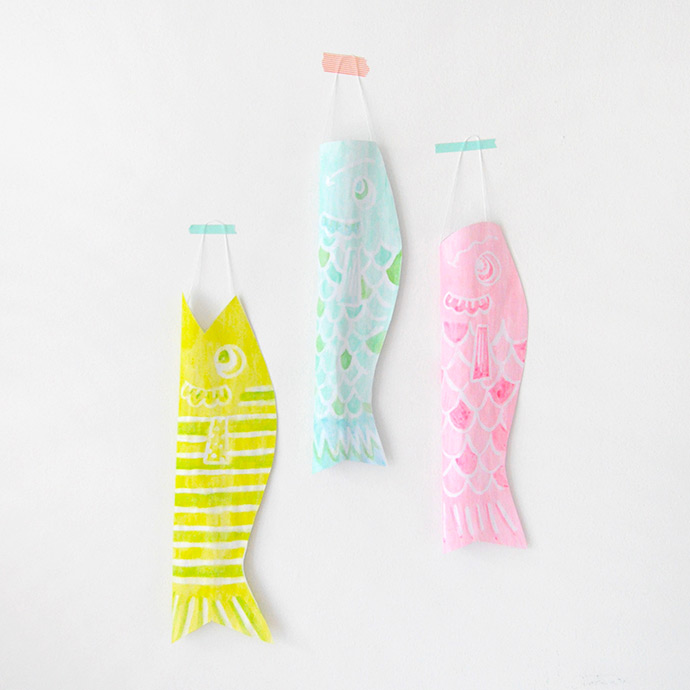
You’ve likely seen beautiful images of Japanese carp windsocks, also known as koinobori, online before but have you ever made your own? They’re very simple to assemble, so you and your kids can focus on coming up with fun designs and getting creative! We were super thrilled to be trying out the new line of Martha Stewart Crafts watercolor paints, brushes, and resist for these windsocks.

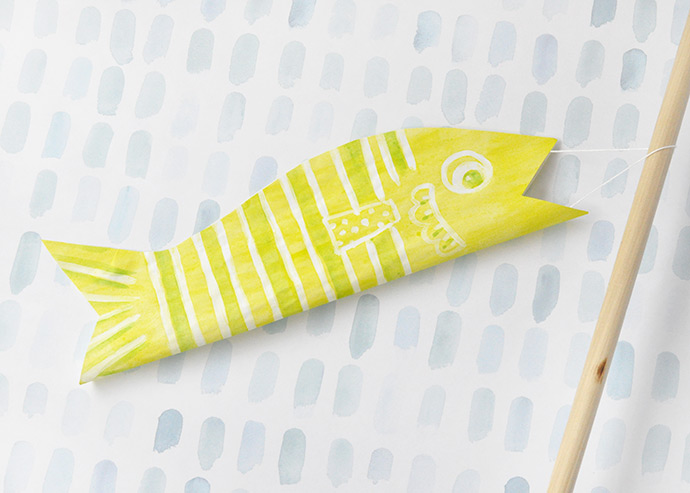
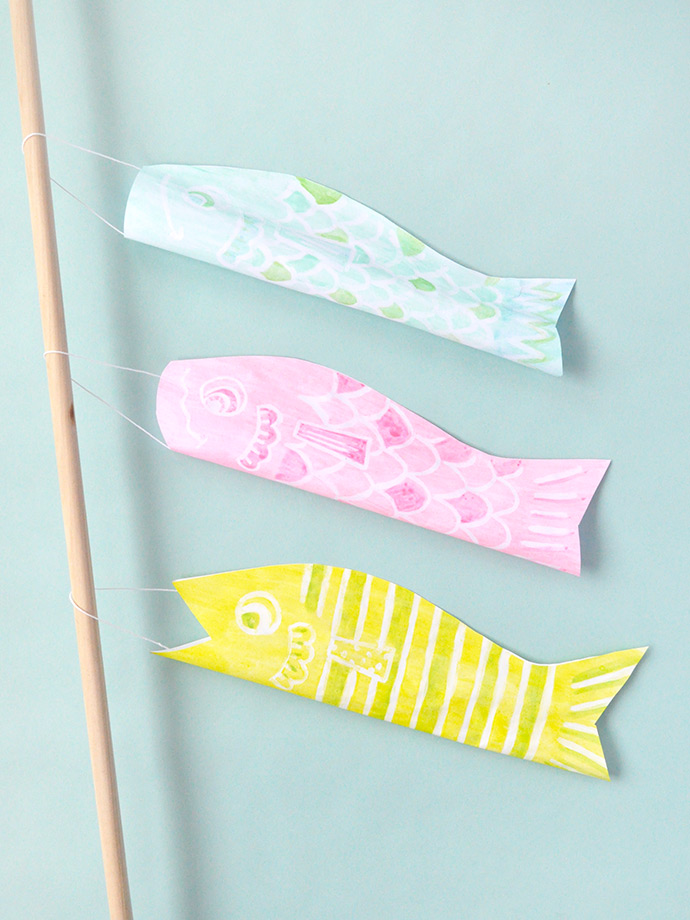
The watercolor resist was a really neat way to add scales, details, and patterns onto the fish’s bodies and we loved the big reveal as we brushed on the watercolor paint to see our playfully patterned fish. These paper windsocks are a great project to use as bedroom decor, or tie them onto a dowel and run around around the park! Your watercolor windsocks will look great swimming in the breeze. Keep reading to see how to make your own school of fish!

what you need:
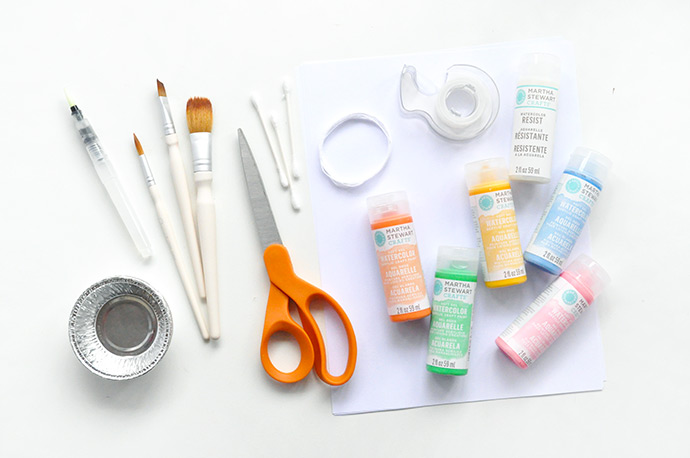
- Martha Stewart Crafts Watercolor Resist
- Martha Stewart Crafts Soft Gel Watercolor Acrylic Craft Paint
- White paper
- Scissors
- String
- Cotton swabs
- Double-stick tape
- Martha Stewart Crafts Watercolor Brush Set
- Martha Stewart Crafts Water Brush Set
- Small dishes / containers
- Printable template
what you need:
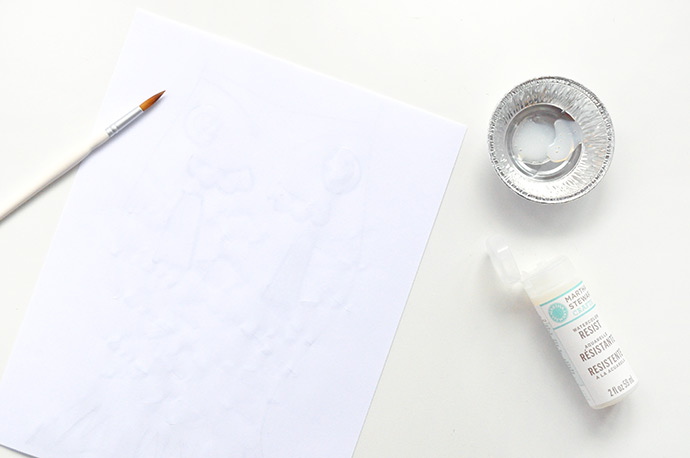
Step 1
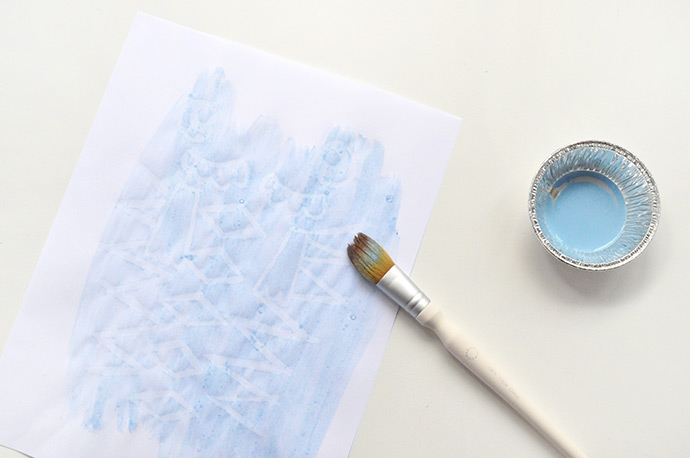
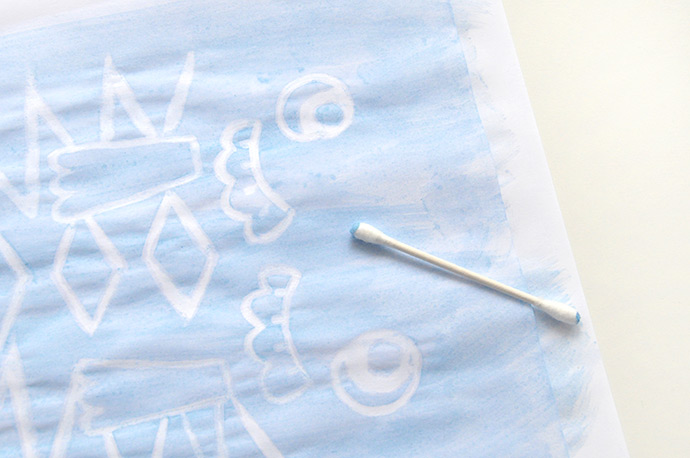
Print out the template and lay another piece of white copy paper on top of it. You should be able to see the outlines through to use as a guide. With a small brush, apply watercolor resist over the areas you’d like to remain white. Use the template as a guide only and have fun with it – add scales, stripes, polka dots, change the fins, etc. Once you’re done, let the resist dry completely.
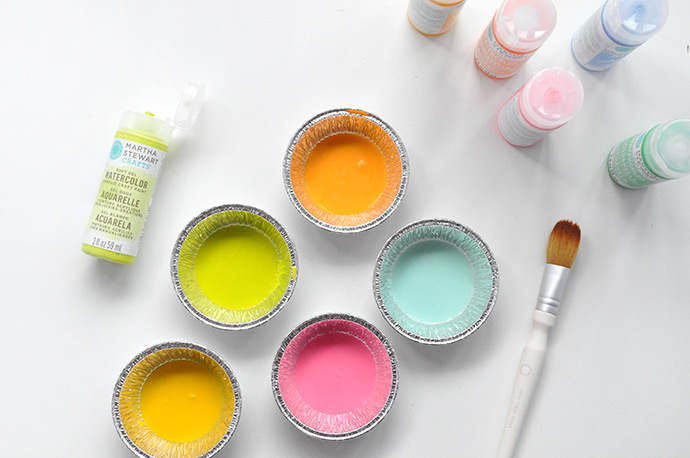
Step 2
Prepare the watercolors paints! Squeeze a little bit of paint into each container and then add water, stirring to mix. You can add as much or as little water as you like for different looks – test them out on a scrap of paper first to see what you like best.
Step 3
Apply the watercolor over the resist-painted fish.
Step 4
If you want a super clean look, use a cotton swab to wipe away any excess paint that sits on top of the resist. Most of it should bead right off, but the cotton swab helps tidy it up a little bit.
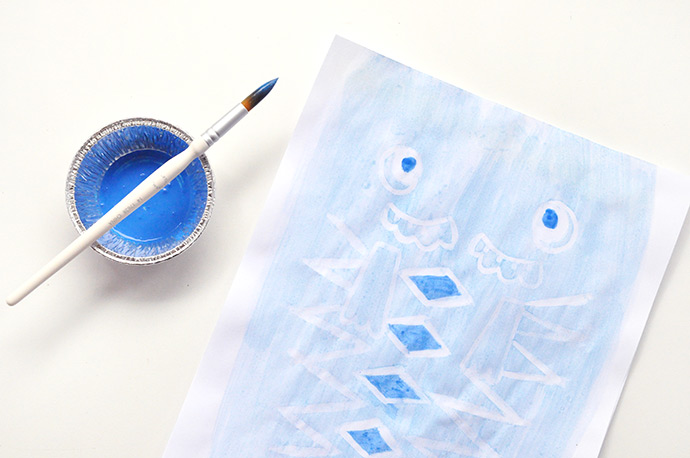
Step 5
Use another color to add some details onto the fish. You can do this with a regular watercolor paintbrush or a water brush. When you’re done, let it dry completely.
Step 6
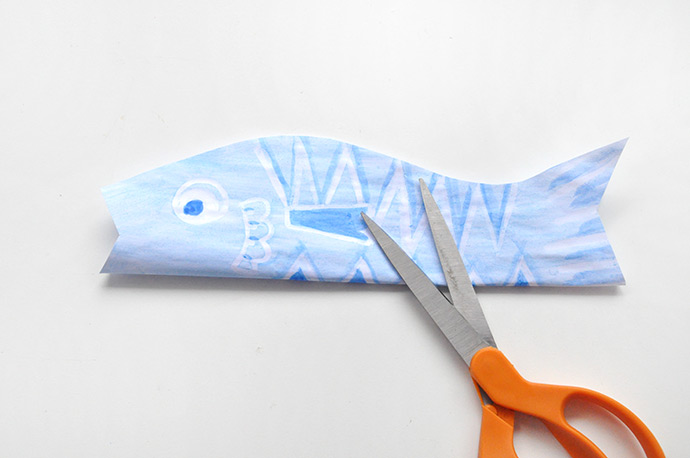
Once dry, gently fold the paper in half without creasing the center and cut along the edge of the fish, referring to the template if needed. Use double stick tape to secure the top edge of the fish, forming a paper tube.
Step 7
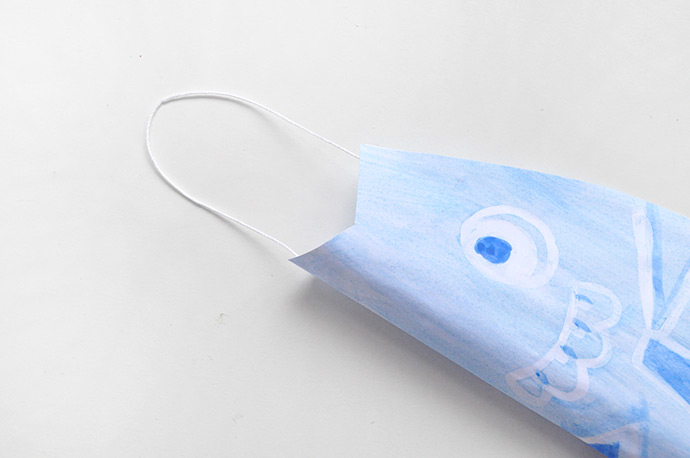
Cut a piece of string and tape into the open mouth of the fish.

Happy crafting!!

This post is sponsored by Plaid Enterprises.