
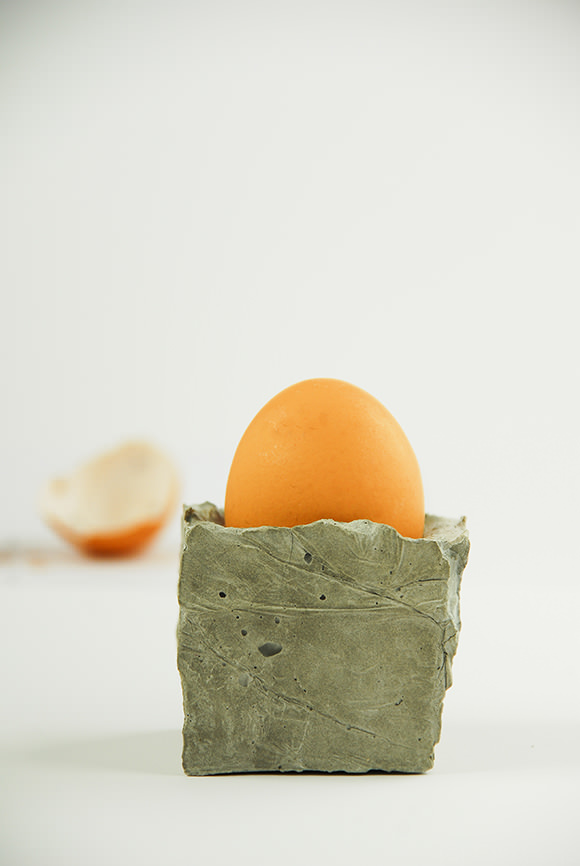
Breakfast can be a hazardous affair when you’ve got kids. These DIY Concrete Egg Bunkers from our newest contributor Sibylle of Funkytime will keep the eggs safe and sound until the kids are ready to gobble them up. Enjoy!
Concrete seems to be the new material of choice in the craft world. Here’s a great little project to make your very own fun & funky concrete egg bunkers. All you need is some concrete mix and a little cardboard box. And if that doesnt tickle your funky, just use them as tea light candle holders!

Materials
- Concrete mix (available at your local hardware store)
- An egg
- Small cardboard (for mold)
- Vegetable oil (to remove egg from mold)
- Plastic wrap
- Acrylic paint
- Paintbrush
Steps
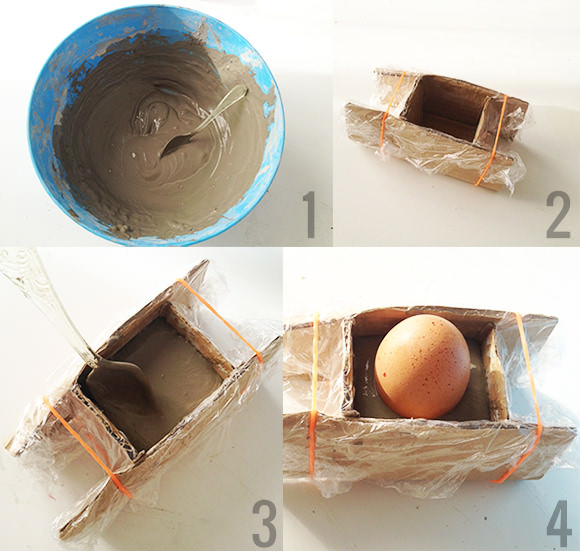
- Cover the small cardboard box with plastic wrap to use as a square mold. A silicone mold will work as well, just make sure to coat the inside with oil before adding concrete.
- Mix the concrete and pour it into your mold. Do not fill all the way to the top, as this will cause the concrete to overflow when you push in the egg. Shake the mold to get rid of any air bubbles and to level the surface of the concrete.
- Oil the bottom of the egg and press it into the center of the concrete. Place the mold on a flat surface and leave to set, which will take about 24 hours.
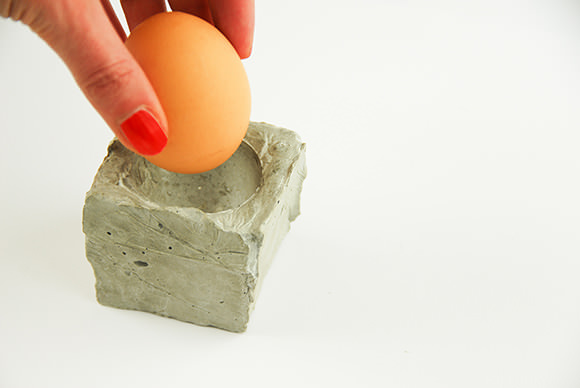
- After the concrete has time to set, carefully remove the holder from the mold and remove the egg. If you can’t remove the egg easily, break it. It might be a little messy, but you’ll end up with a perfect round shape for your egg:-)
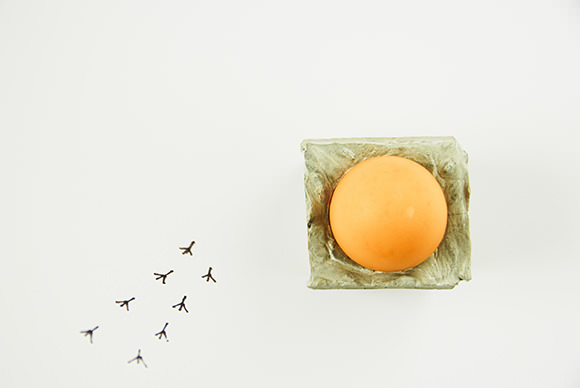
You can either paint the concrete or leave it as is. I used acrylic fluorescent paint, painting only one side to give it a pop of color.
Happy crafting!