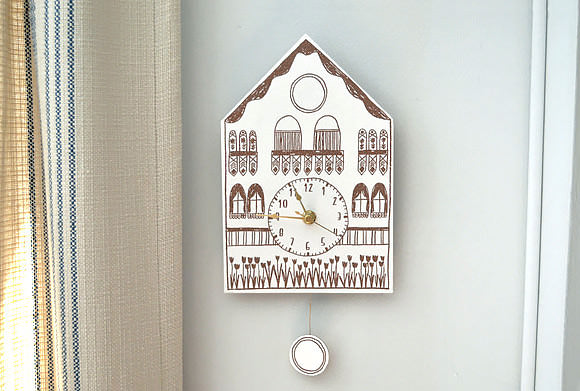
You are about to become a clock star with this super fun DIY Cuckoo Clock tutorial complete with downloadable template!
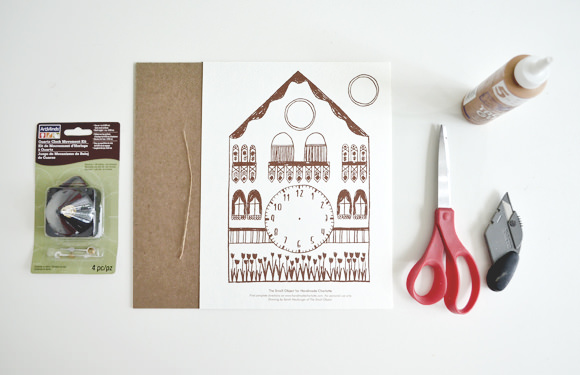
What You Need
- Cuckoo Clock printable template (download here)
- Quartz Clock Movement Kit and AA battery for 1/4″ clock surfaces. (This is available at your local craft and hobby store, like Michaels, and is about $8.
- Chipboard
- String
- Scissors
- X-Acto blade
- Glue
- Tape
Step 1
Print out the Cuckoo Clock on the thickest paper your printer can accommodate and glue it to the chipboard. Regular copy paper is fine but it looks even fancier if you print it on card stock or watercolor paper.
Step 2
Cut out the clock and pendulum leaving a 1/4″ white border around the edges.
Step 3
Using your X-Acto blade, cut a hole for the clock movement indicated by the dot in the middle of the clock face on the printable. It’s easier if you cut a small round hole with an X-Acto blade and then use something like a pencil to twist and enlarge the hole in a uniform fashion.
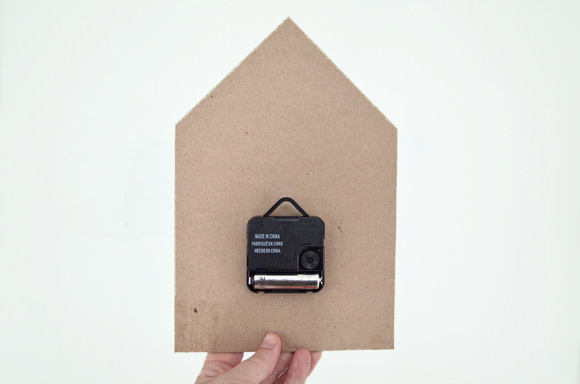
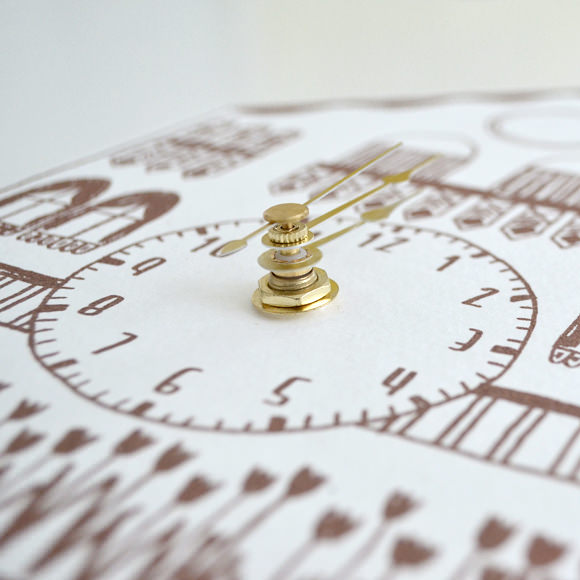
Step 4
Add the clock movement. Push the clock movement up from the back of the clock. Assemble the clock hands onto your kit as directed by the manufacturer. For most kits, you will tighten it to your clock face with a washer and nut first; then add the hour hand; next the minute hand, followed by a super small washer; and finally the second hand.
Step 5
Power it up! Add the AA battery to the clock movement. You’ll notice that the clock movement comes with a hanger for attaching to a nail on the wall. Super simple.
Step 6
Attach the pendulum to the bottom of the clock with a piece of string about 4″ long.
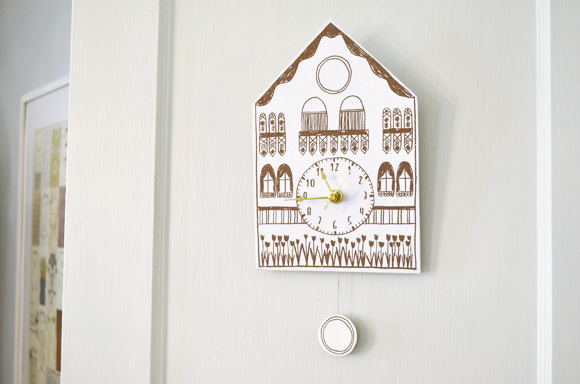
Done! Set the correct time by turning the small dial on the back of the clock kit. Yay you! You just made a clock. What time is it?