Planning a trip to Disney World or Disneyland? Get your kids into the spirit with this collection of fun Disney-inspired DIY projects!
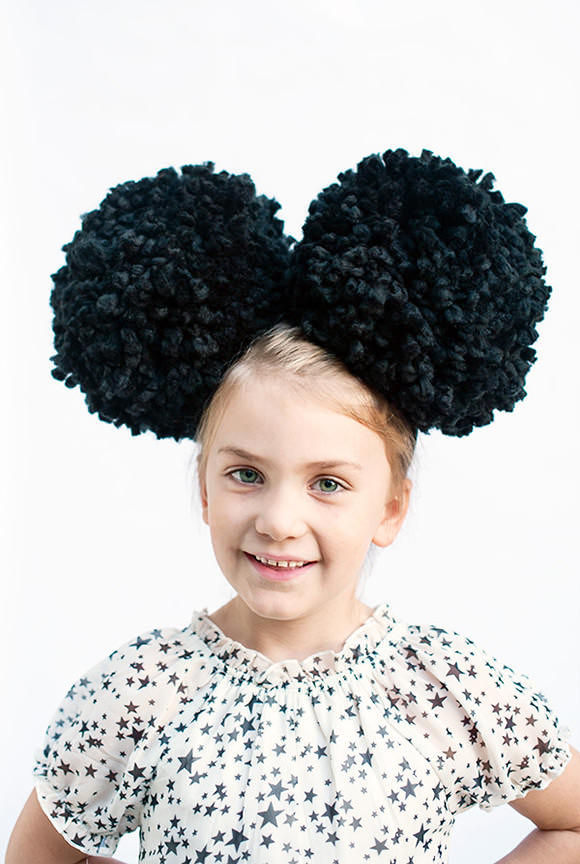
DIY Giant Pom-Pom Mouse Ears
Pom-poms are an awesome base for any crafting project because they’re so easy to make. Put two together and presto—giant size, super fun versions of Mickey’s signature ears! Your kids will love these.
What You Need
- 2 skeins black yarn (we used Red Heart Vivid Black)
- Black headband
- Floral wire (to secure pom-poms to headband)
Instructions
- Make two large pom-pons using our 60-second giant pom-pom technique.
- Attach the pom-pons to the headband using floral wire.
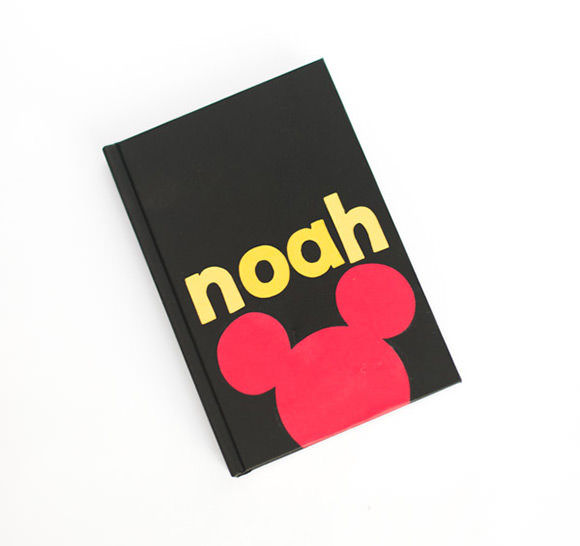
DIY Personalized Disney Trip Journal
This is a great project to get kids excited about their upcoming trip and will preserve their memories for years to come. Encourage kids to paste in souvenirs, make best-of lists, and write a few words about their favorite moments!
What You Need
- Blank journal
- 1 sheet red card stock
- 1 sheet yellow card stock
- Mod Podge (or glue stick)
- Scissors
Optional
Instructions
- Cut out your child’s name from yellow card stock using scissors or your Cricut machine. We used the Mickey font from the Disney© Mickey Font Cricut® Cartridge.
- Cut out a Mickey icon from red card stock. If you’re using a Cricut machine, you can find the icon on the Disney© Mickey Font Cricut® Cartridge. Alternatively, you can trace the Mickey icon and cut with scissors (search “mickey mouse icon” on Google Image Search to find a suitable template to trace).
- Attach the Mickey icon and your child’s name to the front of the journal using Mod Podge (or glue stick).
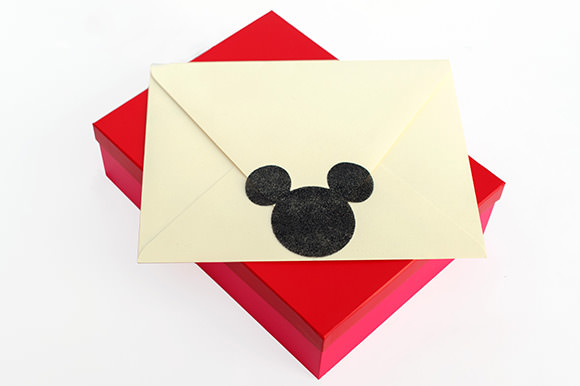
DIY Paper-Cut Disney Announcement
This is an amazing way to let kids know that things are about to get super exciting! Just watch your kids’ faces light up when they receive their handmade note straight from their favorite mouse letting them know they’re headed to the most magical place on earth.
What You Need
- Large presentation envelope (9-in. by 11.5-in.)
- 1 sheet 12×12 black glitter paper (or suitable substitute)
- 1 sheet yellow card stock
- 1 sheet red card stock
- 1 sheet white card stock
- Mod Podge (or glue stick)
- Scissors
Optional
Instructions
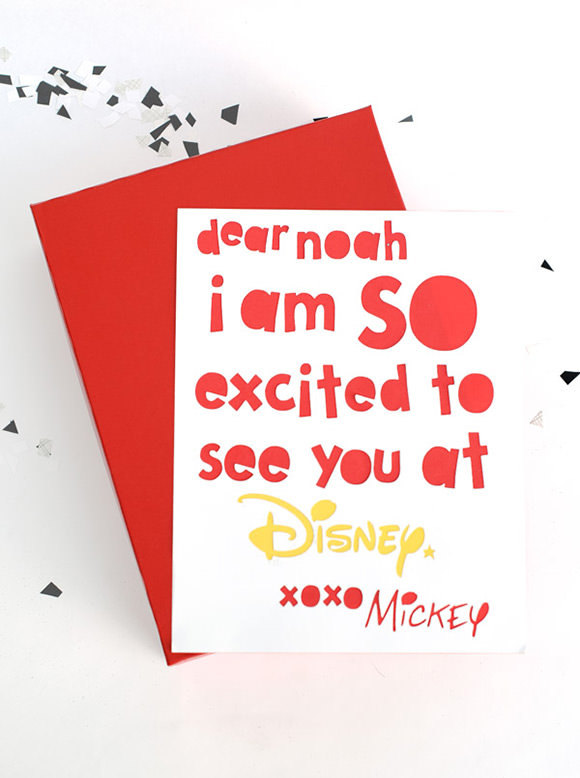
- Using scissors or your Cricut machine, create a paper-cut fictional letter from Mickey inviting your child to the park. We used the Mickey font and Disney logo from the Disney© Mickey Font Cricut® Cartridge.
- Cut strips of yellow and red card stock and attach to the back of the letter using Mod Podge (or glue stick).
- To create the envelope seal, cut out a Mickey icon using black glitter paper. If you’re using a Cricut machine, you can find the icon on the Disney© Mickey Font Cricut® Cartridge. Alternatively, you can trace the Mickey icon and cut with scissors (search “mickey mouse icon” on Google Image Search to find a suitable template to trace).
- Attach the Mickey seal to the presentation envelope using Mod Podge (or glue stick).
- For an extra festive touch, create paper confetti using the leftover scraps of black and white paper and place it inside before sealing the envelope.
We’re looking forward to meeting some of our readers at the Show Your Disney Side event at Disneyland today!
This post is sponsored by Disney Parks. Join the fun and show the world your Disney Side!