This DIY tutorial for pine cone garland and mini trees makes for an easy holiday project for your little ones. Just gather a basket full of pine cones, some nice wool yarn and colored wooden beads, and get creative with your kids! All the materials combine to make a lovely decoration for the mantelpiece.
How To Make The Trees

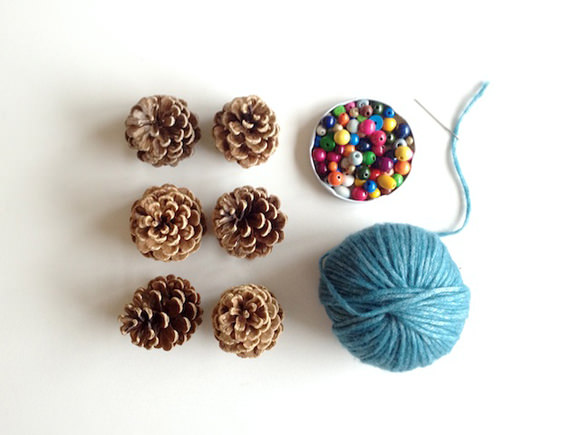
What You Need
- 6 pine cones, 3 inches (8 cm)
- Wool yarn
- Embroidery needle
- Wooden beads, colored (plain beads can be easy colored with nail polish)
- Scissors
- Empty plastic bowls
Note: Because of small choking parts this is a 3+ project.

Step 1
Cut an arm’s length of wool yarn, thread it through the needle, and make a knot at the end. Let the children add 10 to 14 beads.
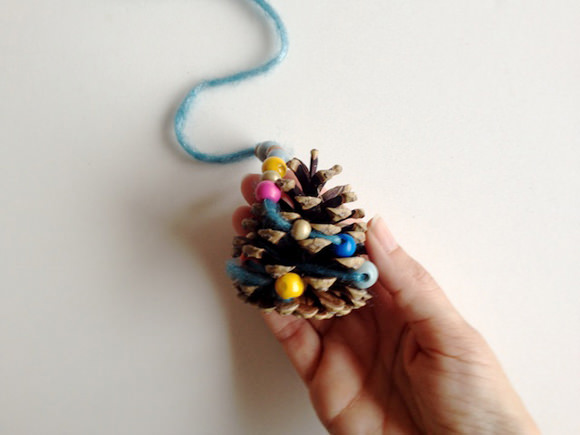
Step 2
Let them wrap the wool with beads closely around the cone, upward and downward.

Step 3
Make a whole bunch of them!

Step 4
Cut empty plastic bowls to get some nice plant pots.
How To Make The Garland
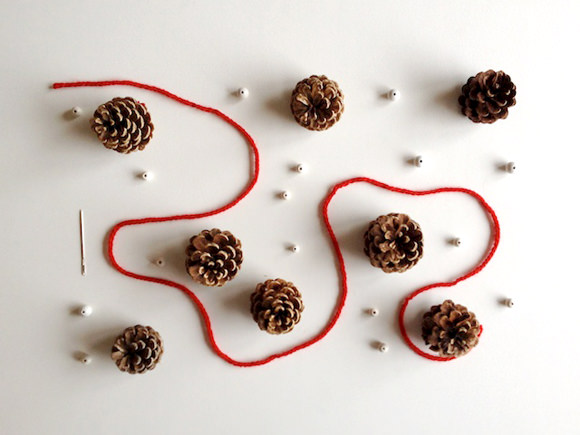
What You Need
- 8 pine cones, 2 inches (5 cm) or smaller
- Wool yarn
- Embroidery needle
- Wooden beads, white
- Scissors
Step 1
Cut the desired length of wool yarn and thread it through the needle. Let the children add 3 beads and make an easy knot around the pine cone.
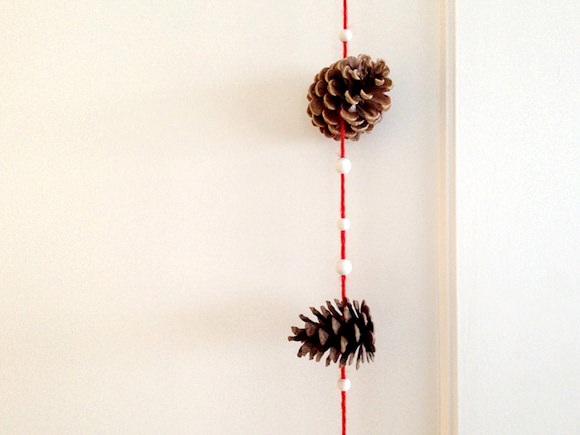
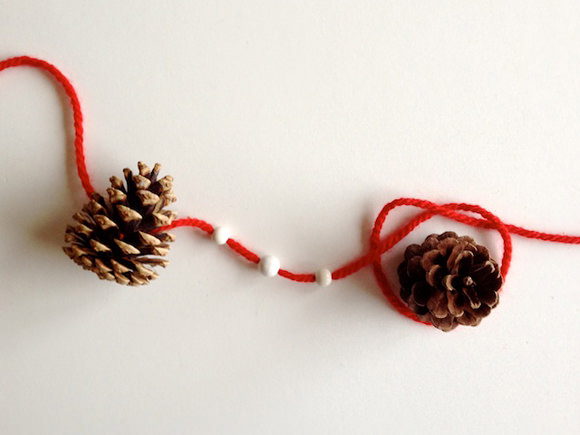
Step 2
Add more beads and cones.
Step 3
Hang up the garland.
Have fun!