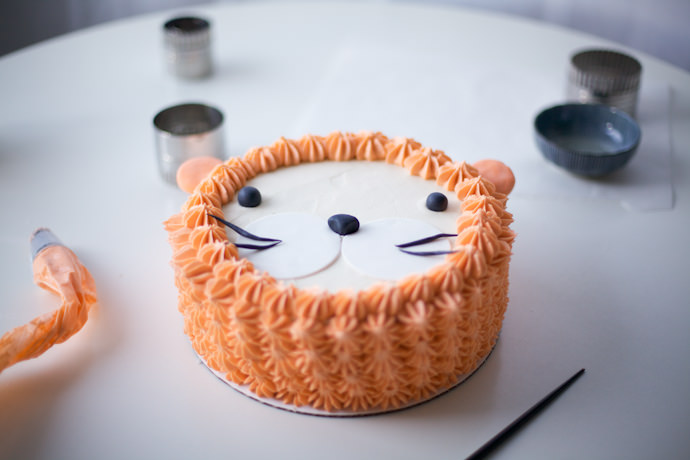
When you want a little splash at your kiddo’s next birthday party, make this super cute and simple-to-create lion cake! Animal themed parties doesn’t have to mean jungle print insanity and using every animal in the animal kingdom! Keep it minimal and sweet – two or three shades of balloons, a garland or two, and this cake.
What You Need
- (1) 8 inch round baked and cooled cake, from a box or from scratch.
- 5 cups of vanilla buttercream – 2 cups left plain coloured, and 3 cups tinted orange – use a small amount of orange gel food color to tint.
- An offset spatula or butter knife
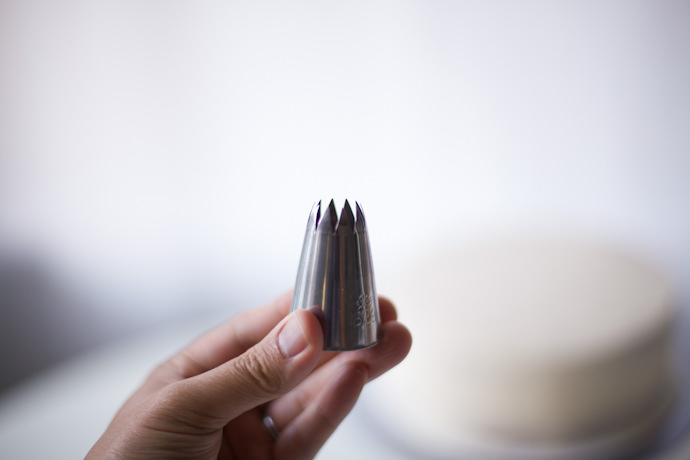
- A piping bag fitted with a large open star tip – I used Ateco #829.
- 3 inch ball of orange colored fondant
- 2 inch ball of black colored fondant
- 2 inch ball of white colored fondant
- 2 wooden BBQ sticks
- A small rolling pin
- A small amount of cornstarch for working with fondant
- A large 3 inch circle cookie cutter (optional)
Step 1
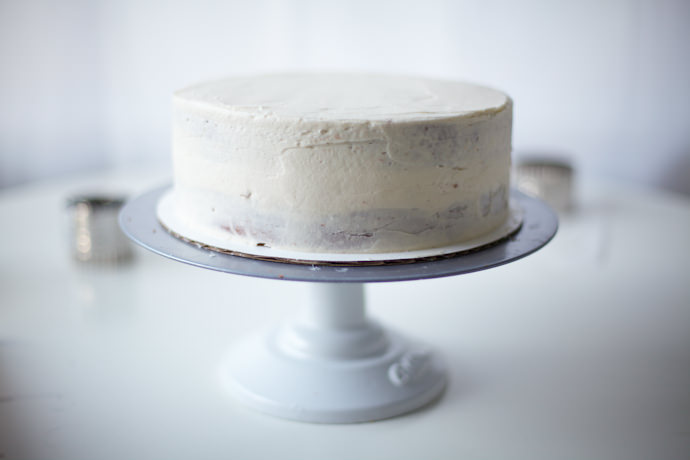
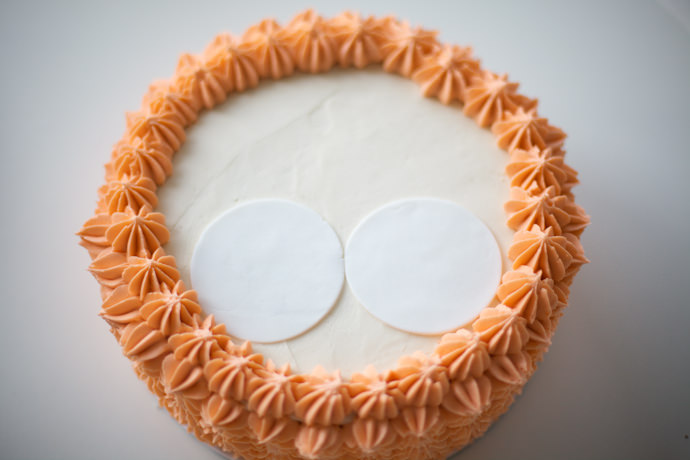
Start by frosting and filling your baked and cooled cake. Use an offset spatula or butter knife to get the top of the cake as smooth as possible, but don’t worry too much about the sides as you will be covering them later.
Step 2
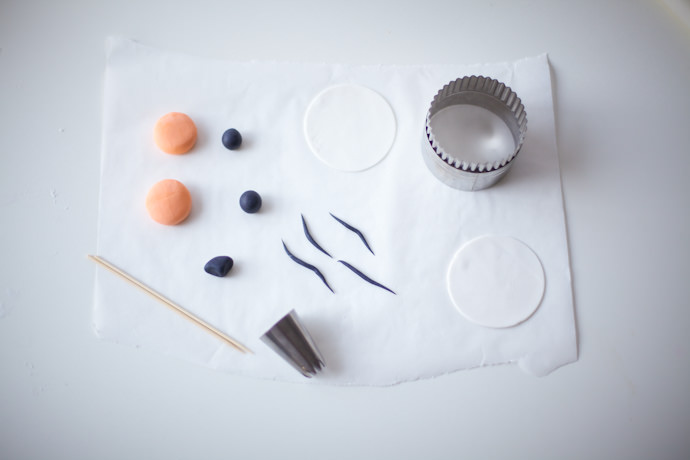
Prepare your fondant details. Roll out your white fondant and using your cookie cutter, punch out two circle shapes. Alternately, simply divide the white fondant into two, roll into balls (use a little cornstarch to avoid stickiness) and flatten with your palms into cheek-like discs.
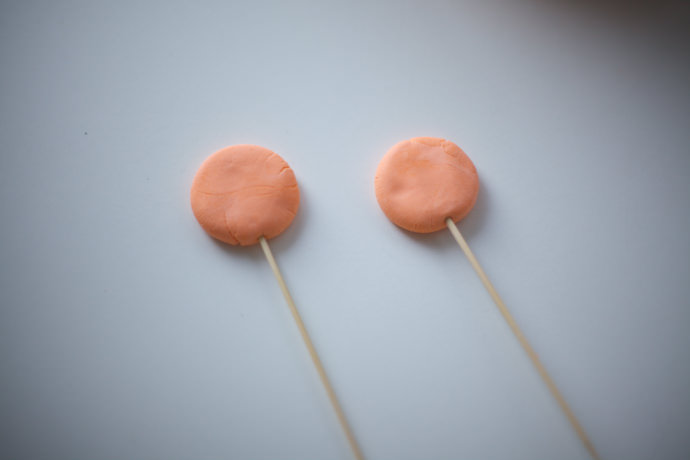
Divide your orange fondant into two balls; squash down with your palms to flatten them slightly. Insert wooden sticks into them and set aside. Finally, divide the black fondant into four small pieces – roll two of them into balls for eyes. The third, shape into a triangle with indents for the nose. The remaining piece, divide into four and roll into thin snake-like shapes for whiskers.
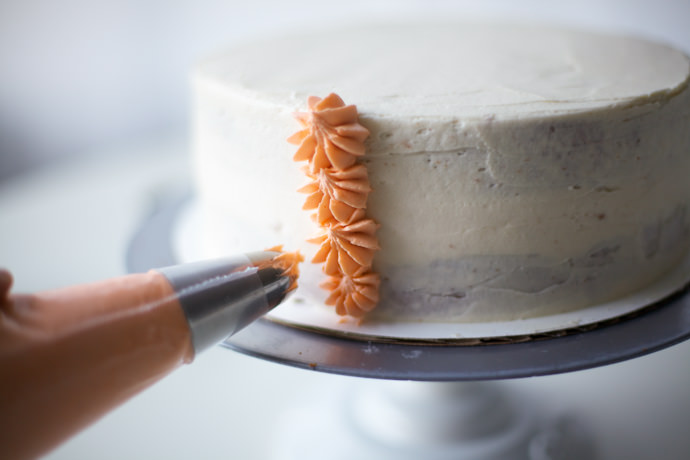
Step 3
Fill your piping bag fitted with the large open star tip with the orange tinted buttercream. Begin piping the entire sides of your cake – start from the bottom and pipe rows upward.
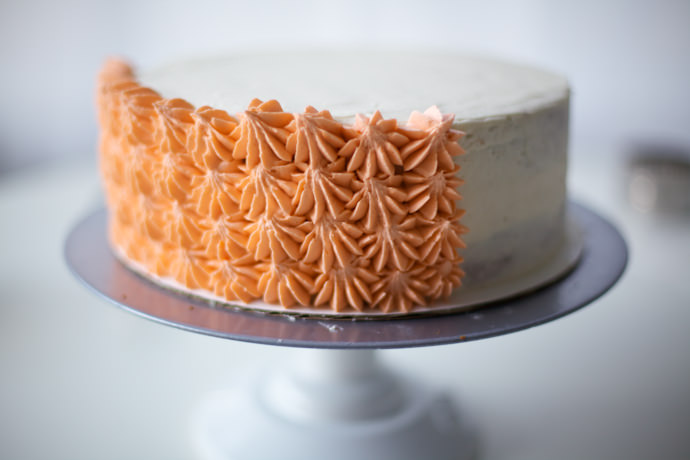
Continue until the sides are fully piped!
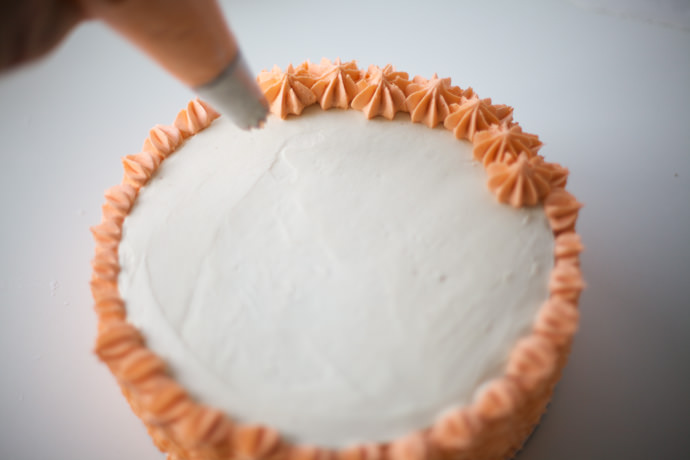
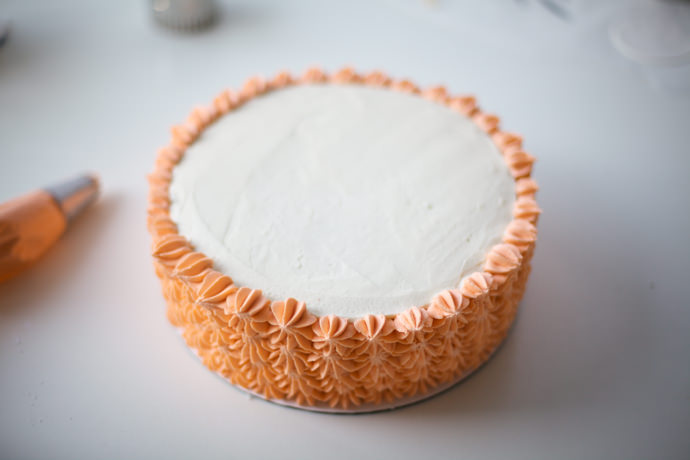
Step 4
On the top of the cake, pipe one row going all around the top of the cake to give the lion a more “hairy mane” look.
Step 5
Place the white fondant “cheeks” on the cake; press down lightly to adhere to buttercream.
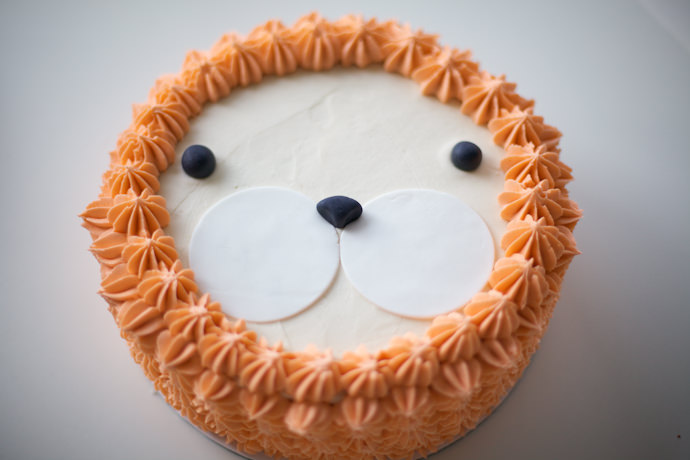
Step 6
Place the eyes and nose on the cake – again, press down lightly to stick to buttercream!
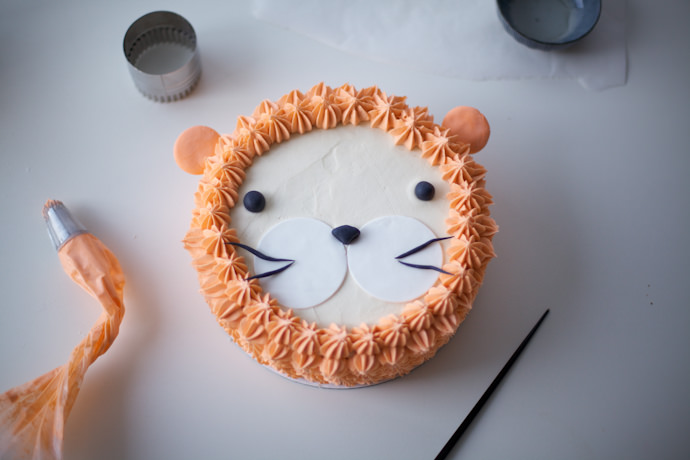
Step 7
Now let’s put the whiskers on. Use a chopstick or toothpick to apply a tiny line of water (this acts as glue once it mixes with fondant and dries again) on the fondant cheeks. Place the black whiskers on top of the tiny amount of water. Place the fondant ears into the sides of the cake and you are ready to ROAR!
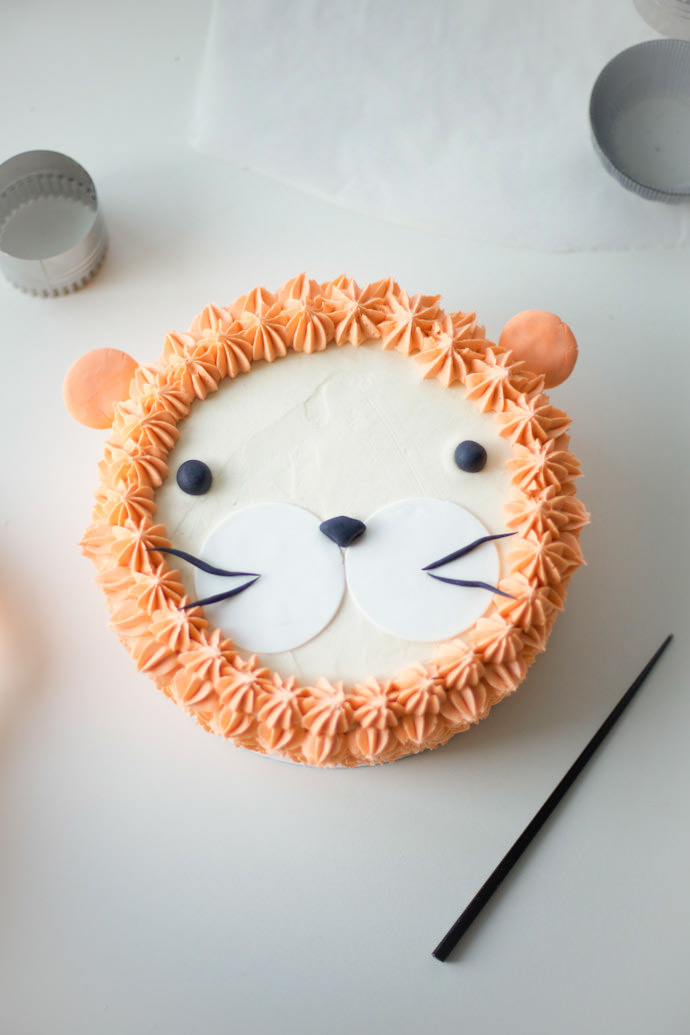
Hope you enjoyed this simple and sweet lion cake DIY! Would love to see how you use it for your next party! See you again soon for more cake decorating fun.