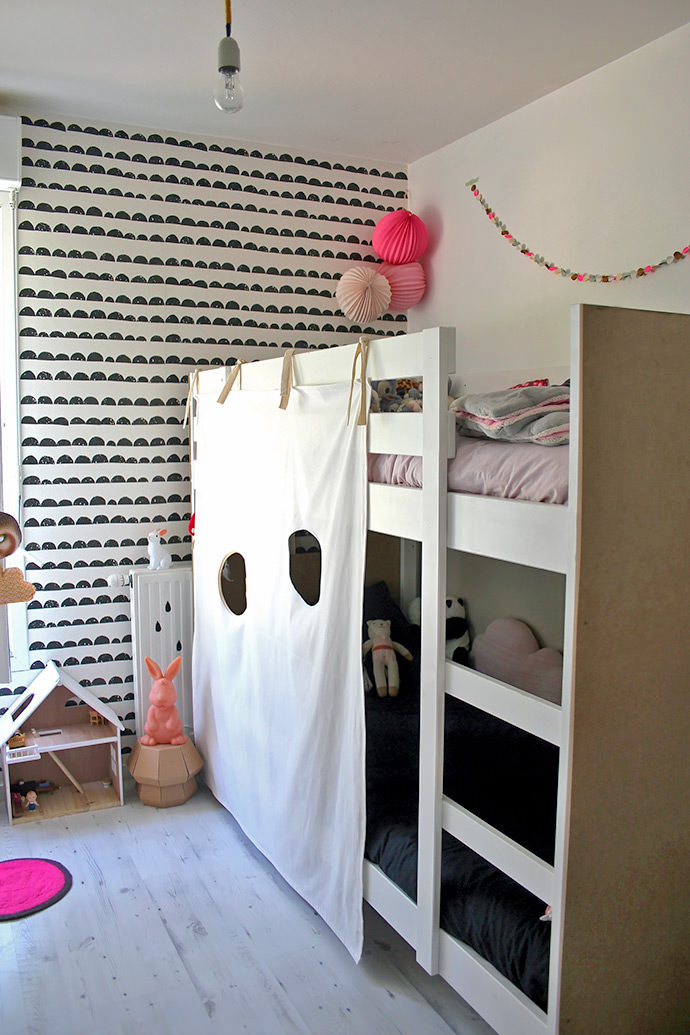
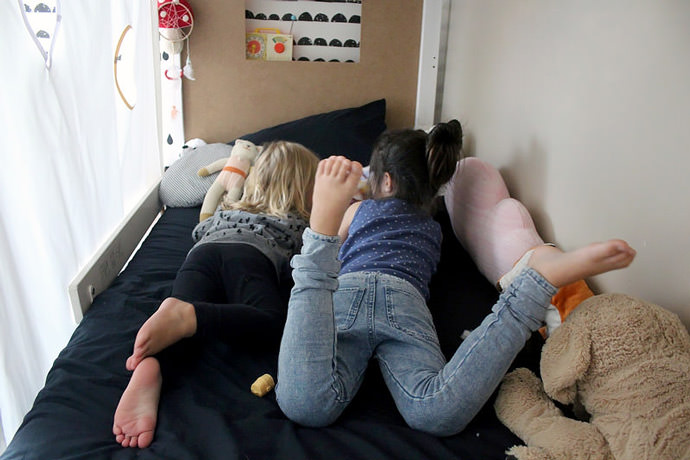
Here is a fantastic DIY project for a bunk bed update and endless hours of fun and play for your kids: a customized bunk bed fort. French mom and blogger Emilie from the adorable blog Emilie Sans Chichi graciously allowed us to share her easy step-by-step tutorial.
The project requires beginner to intermediate sewing skills and can be completed in about an hour. What are you waiting for? Let’s get started!
What You Need

- Fabric, such as twill or heavy-duty cotton (Emilie used fabric she purchased by the yard at IKEA)
- Sewing machine
- Bias seam tape
- Extra fabric to make the knots (Emilie used material from a couple of old tote bags)
How-To
- Measure the size of the bed, height, width, length, then add a few inches for the seams.
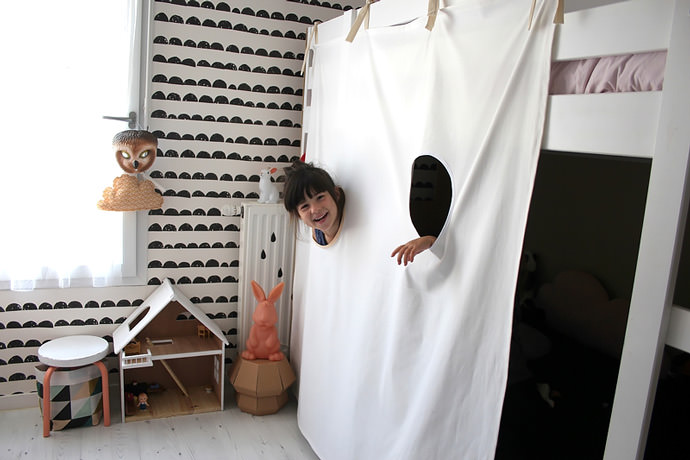
- Cut the fabric at the right dimensions – Emilie deliberately left a side open, to use as a walk-in area in the tent.
- For the windows, Emilie used a salad bowl to cut the forms in the fabric. Then, she sewed the bias seam tape at the edges of the windows to give a finished look.
- Emilie used two old totes handles to make the tent knots. If you prefer, you can sew knots with leftover fabric instead of recycling old totes. Then, Emilie securely sewed the knots on the top and side seams of the tent.
Thanks for sharing this creative craft project with us, Emilie!
Follow Emilie via her blog, Emilie sans Chichi, or her lovely Instagram feed.