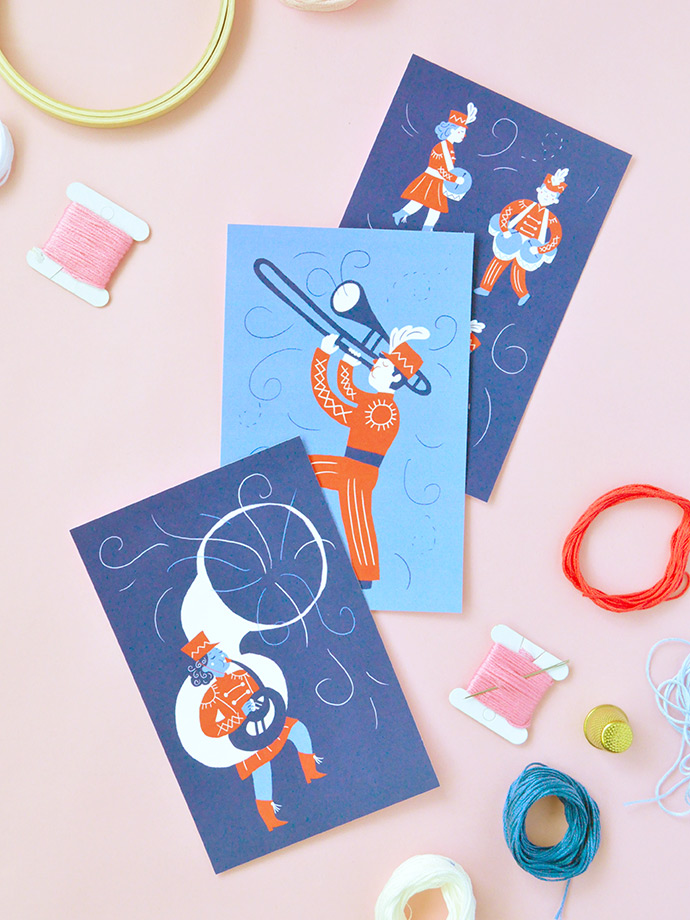
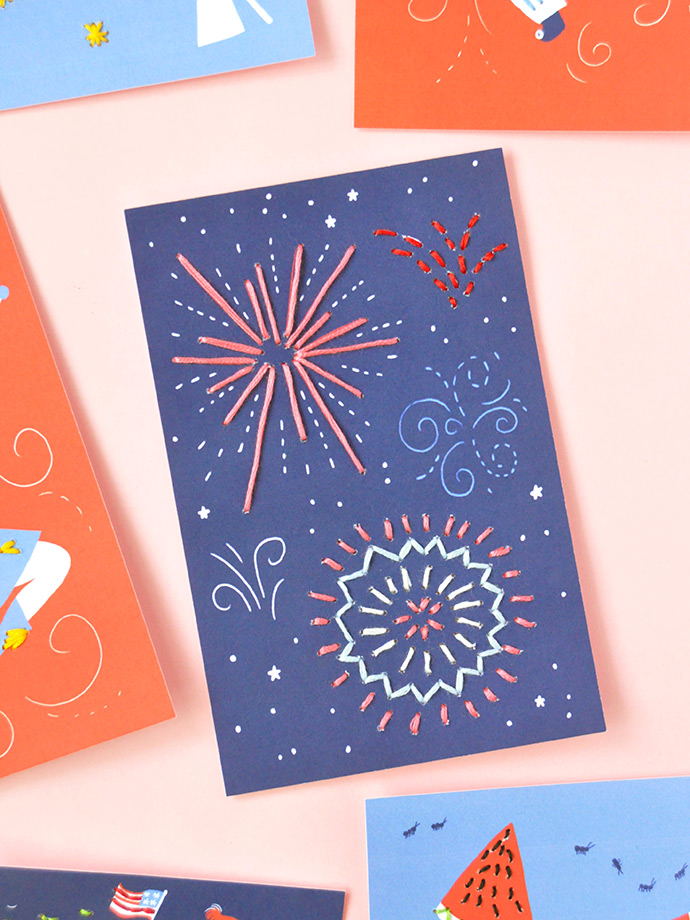
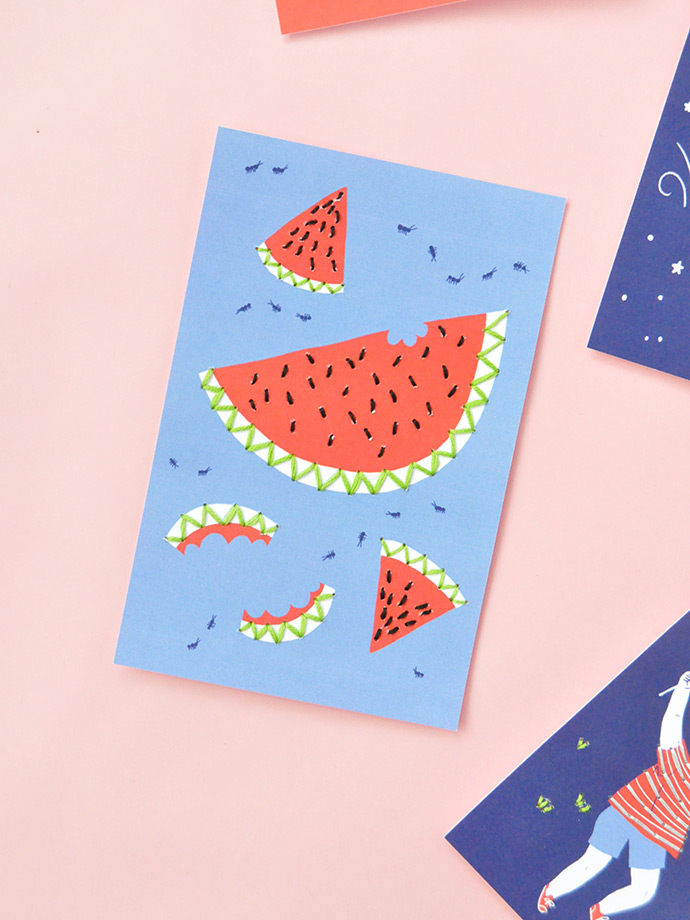
Get ready to craft the summer away! We’re all set to celebrate the 4th of July next week with these adorable printable stitching cards – aren’t they so festive and fun? We especially love them because you can totally customize them so that stitchers of all ages and skill levels can use them no problem. They’re full of so many details that you can stitch over, or just leave as is.
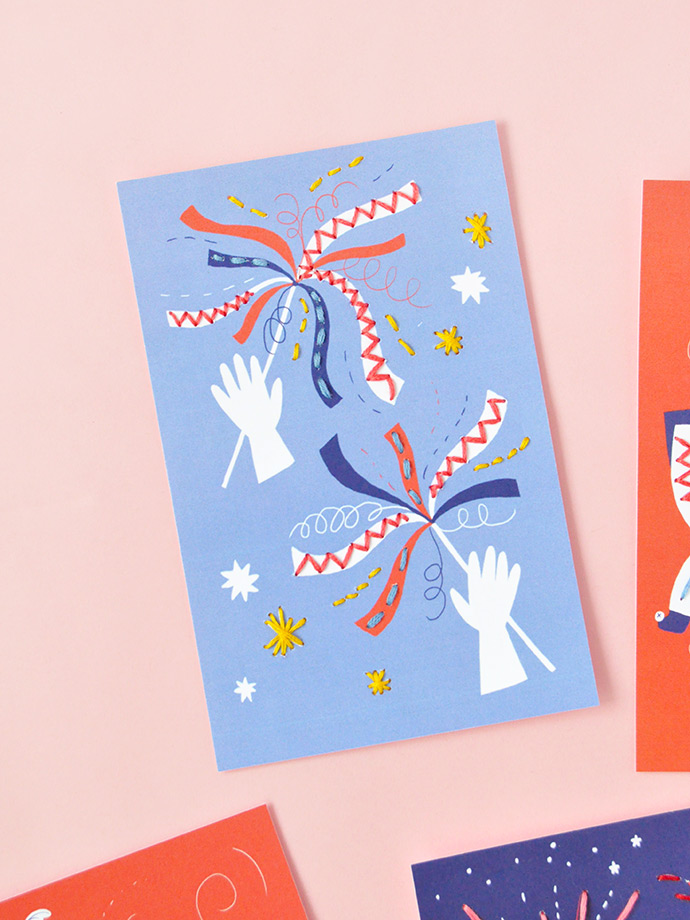
There are 10 different designs in the set, so your little ones will have lots of stitching on their hands! Once they’re done, tape them up around the house to celebrate the 4th of July, string them on garland, or even glue another piece of cardstock to cover the stitched back and send it as a postcard! Scroll down to see more photos and to download the all 10 free printable sewing cards!

what you need:
- Printable stitch cards
- Embroidery thread
- Scissors
- Embroidery needle
- Clear tape (optional)
how-to:
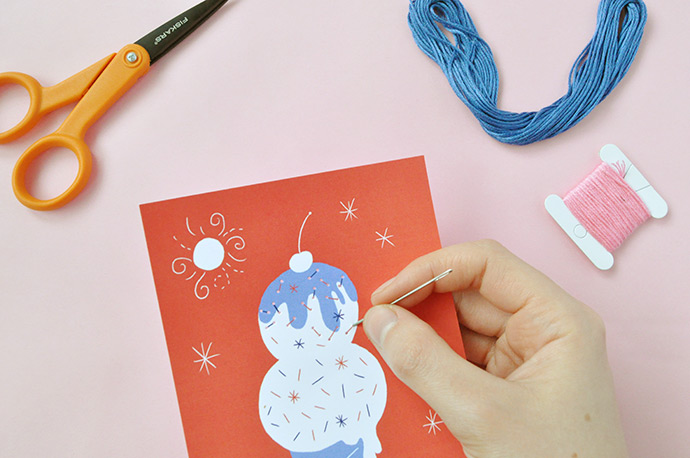
Step 1
Begin by using an unthreaded needle to poke holes into the printed stitch cards. This will make stitching for little ones a lot easier later one.
Note: when printing these cards, we used stiff cardstock paper. If you want to add extra stability, you can glue the printed cards onto craft foam or recycled cereal box cardboard, but this will make this pre-poking stage a little bit trickier.
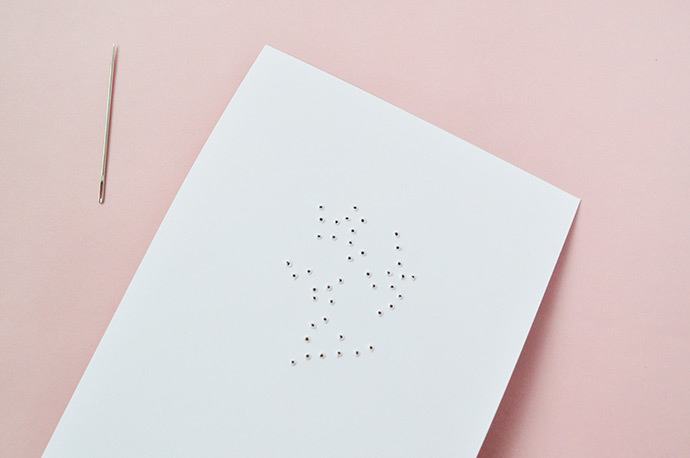
Step 2
The back of the stitch card will start to look like this. Continue poking holes with the needles as desired – depending on the age and skill level of your little one, you can easily adapt these stitch cards to be well-suited. For example, stick to the larger details for younger kids but add more holes and include the finer details for more advanced stitchers.
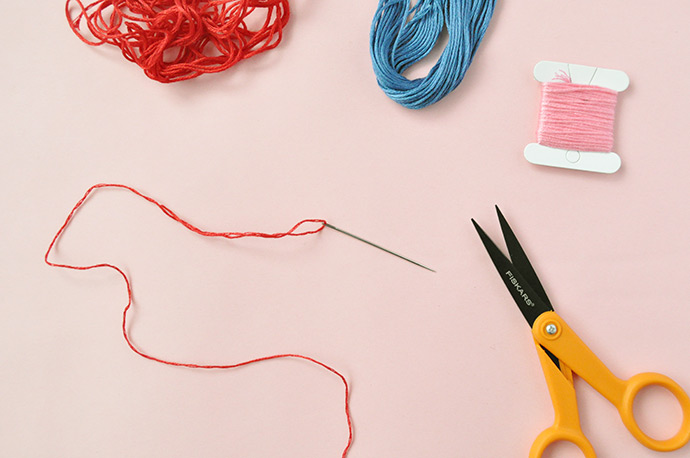
Step 3
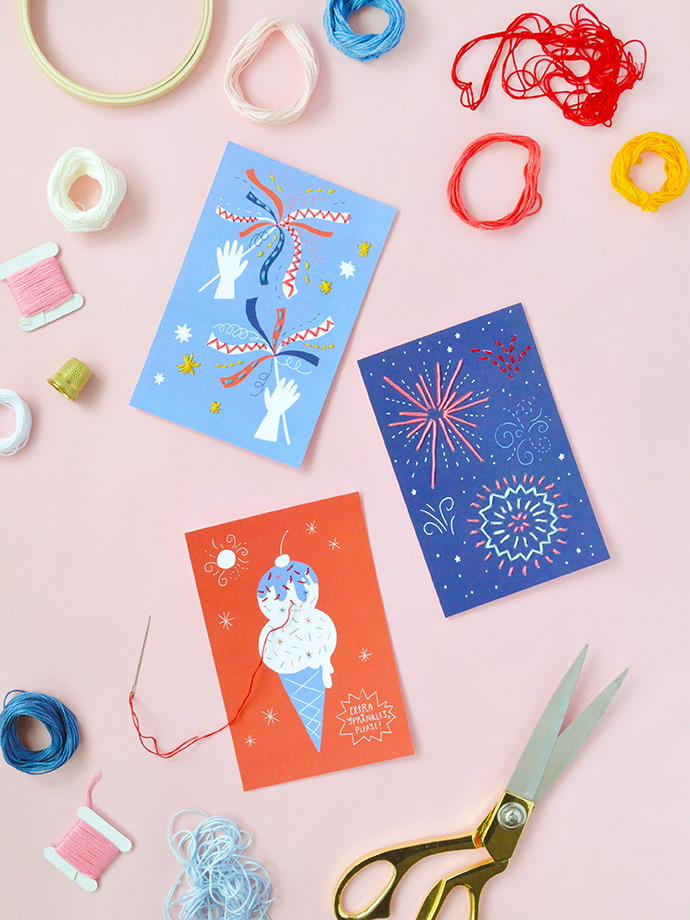
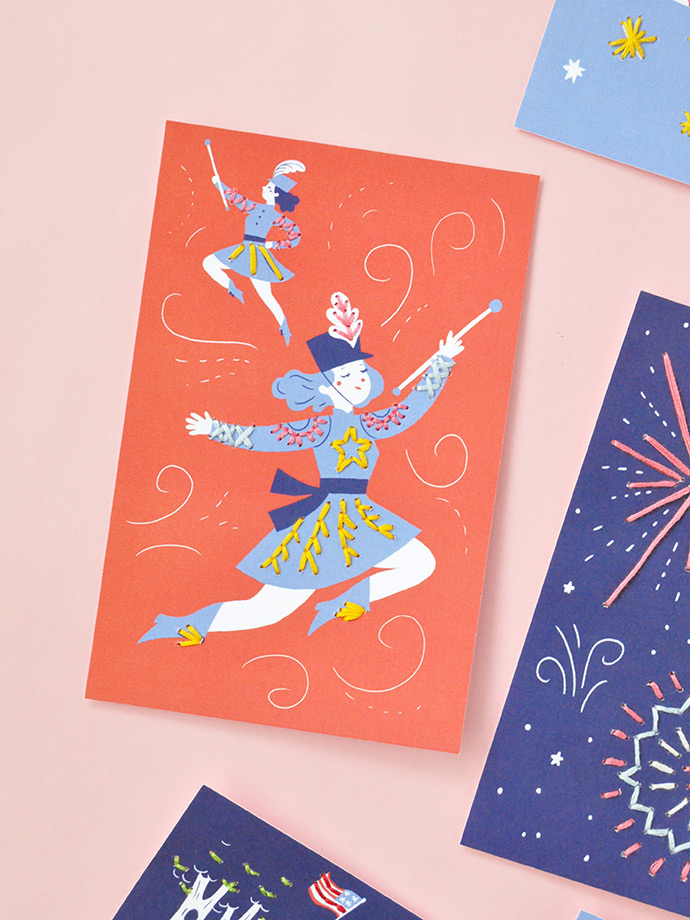
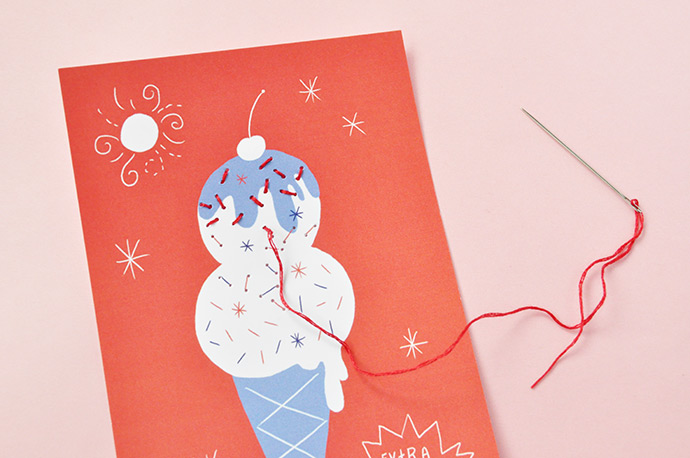
Once you’ve poked the holes, it’s time to thread the needle. Embroidery thread is made up of 6 smaller threads all twisted together. These 6 threads can be separated to best suit the size of the stitches you’re doing. For example, the sprinkles on the ice cream cone easily can be done with all 6 threads but smaller details on the majorette’s outfit will tend to look better using 3-4 threads. Whatever you choose, cut a length of thread (not too long or it will be hard to work with and tangle) and put one end of it through the needle as shown.
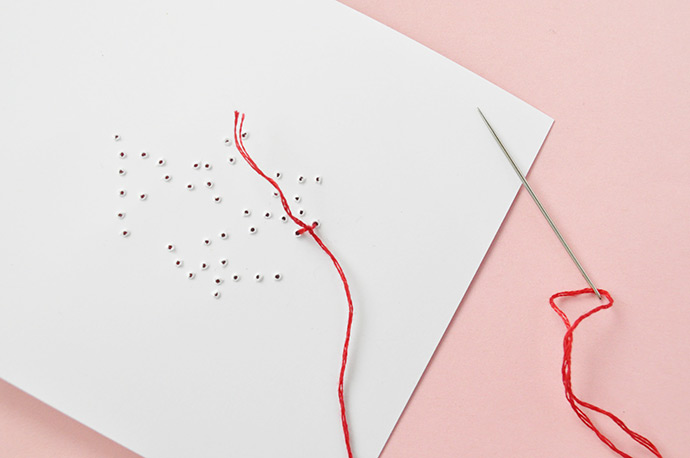
Step 4
Thread the needle through one hole from the back to the front, and then working back in a nearby hole from the front to the back. Tie these two threads together to keep the thread secure in place. For younger kids, you can skip this step and use clear tape instead until they’re more comfortable tying knots.
Step 5
Once the thread is tied on the back, go ahead and stitch away! When you’re done with that color of thread, knot the thread on the back again (or use tape) and then start again in a new color.
Have fun with it! Kids will love practicing stitching on these adorable cards and when they’re done you can use them as decorations for the 4th of July! Put them on your fridge, tape them up onto the wall, or even attach them onto a string and make a festive garland!