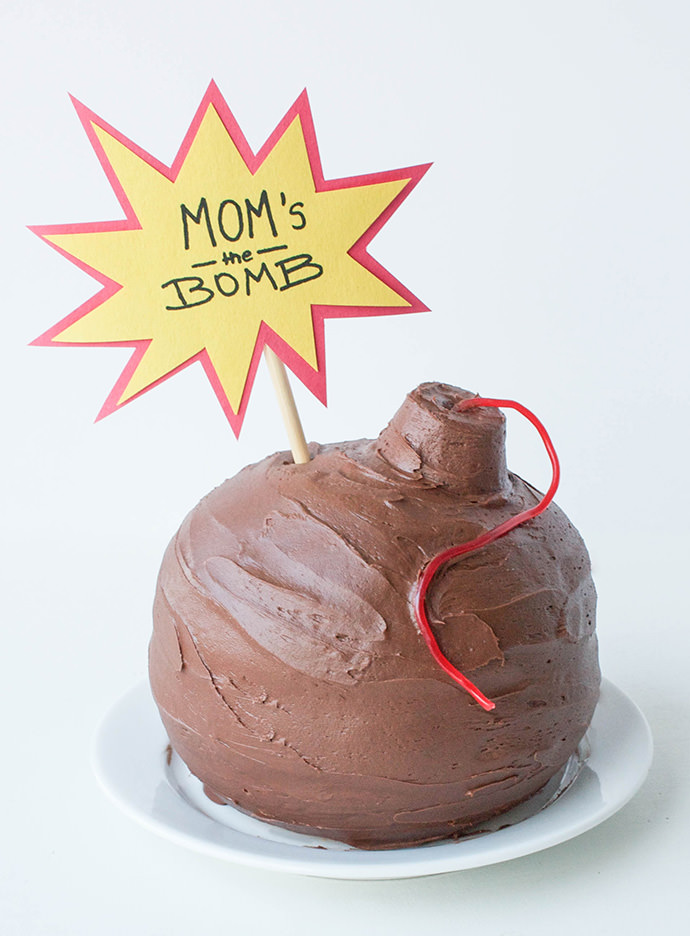
Your mom’s cool. She totally is. In fact, she’s the bomb. It’s about time you let her know it.
This is a surprisingly easy cake to put together with a unique set of baking pans – bowls! You could buy dome-shaped baking pans from specialty stores, but there really is no need when you can use what’s already in your pantry. Just make sure that your bowls are heat-proof and 100% stainless steel. Besides baking a bomb, you could use the same bowls to make a baseball hat cake, lady bug, planet, or more. It’s an easy way to achieve the look of a sculpted cake with little effort.
What You Need
Approx. time: 2 hours
- 1 box of cake mix or recipe that yields two 8-inch round cakes
- 3 cups chocolate frosting
- Red licorice rope
- Two 2-qt stainless steel bowls
- Mini muffin pan
- Small icing spatula
- Serrated knife
- Yellow & red construction paper
- Scissors
- Skewer or lollipop stick
- Tape
- Black marker
How-To
Step 1
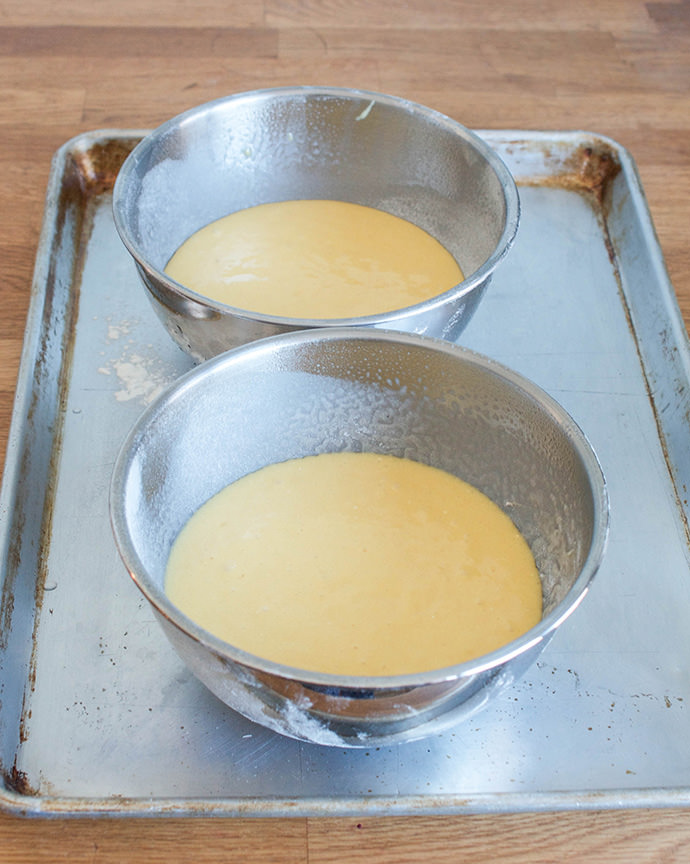
Butter and flour both stainless steel bowls, as well as one opening in the mini muffin pan. Mix up your cake batter and divide between the 2 bowls. Reserve a tiny amount to fill one mini muffin and bake according to the directions.
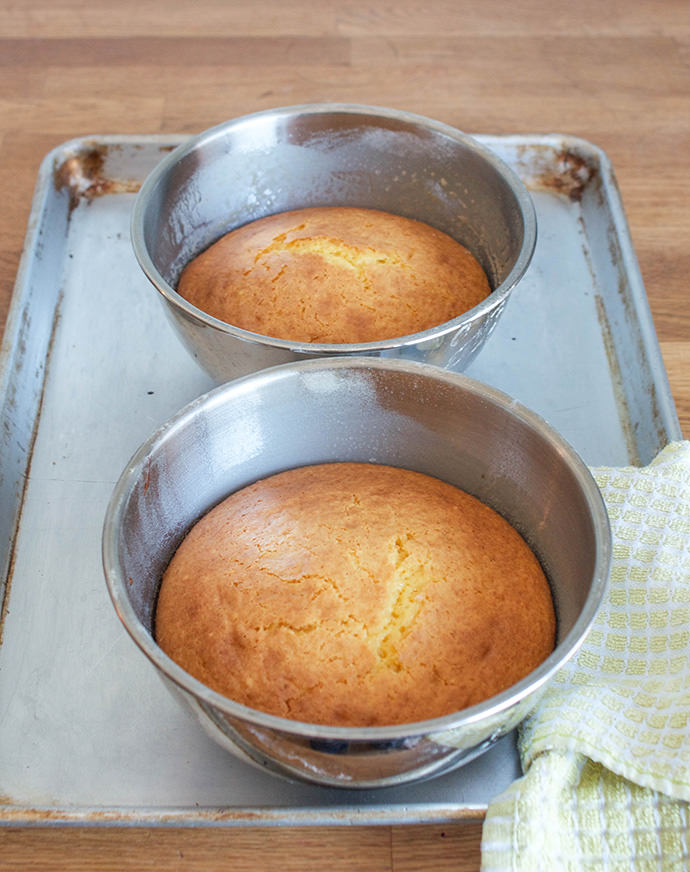
These cakes may take a tiny bit longer since they are thicker than a standard cake pan. I used a box mix and needed to bake my cakes for 30-35 minutes. The mini cupcake should only take 10-12 minutes.
Allow the cakes to cool completely before moving on to the next step, 30 minutes to an hour.
Step 2
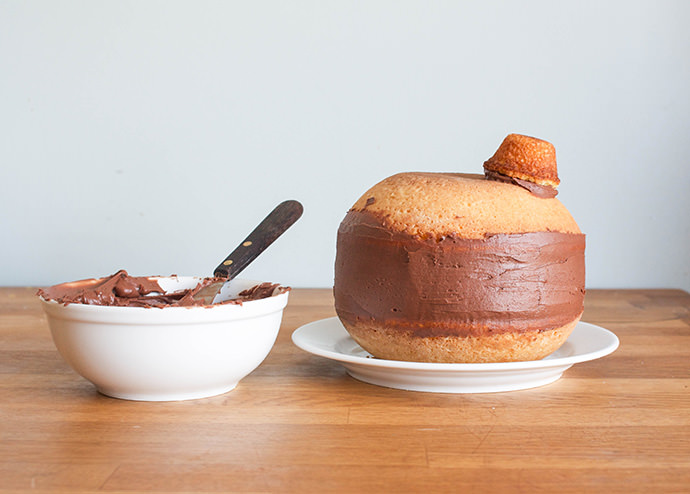
Use your serrated knife to trim the domed tops of the bowl cakes so that they are flat. Top one of the cakes with chocolate frosting. Flip the other cake over and place it on top, forming a circle. Fill in the edges of the filing with more frosting.
Trim the top off of the mini cupcake and top with chocolate frosting. Flip the cupcake over and stick it onto the top of the cake. This creates the opening for your bomb fuse. Place the cake in the fridge until the filling is set, about 15-20 minutes.
Step 3
Finish icing the cake with the rest of the chocolate frosting. If you wanted to go for bomb accuracy, you could add a little bit of black food coloring at this point. I opted to keep it chocolatey brown, because chocolate is the bomb already. No embellishment needed!
Poke one end of the red licorice rope into the bottom of the mini cupcake to create your bomb fuse. Use a knife to make a small hole if you have trouble threading the licorice into the cake.

Step 4
Cut a spikey word bubble out of the yellow construction paper. Tape the word bubble to a piece of red construction paper. Cut away the red paper using the yellow bubble as your guide, leaving a 1/4-inch margin all the way around.
Write on your message and tape the word bubble to a skewer or lollipop stick. Pop it into the cake and deliver to mom!
If your mom is anything like me, I doubt it’ll be around for long. In the off chance that you have leftovers, store cake in the fridge for up to 5 days or at room temp for 2-3 days.
Happy Mother’s Day!