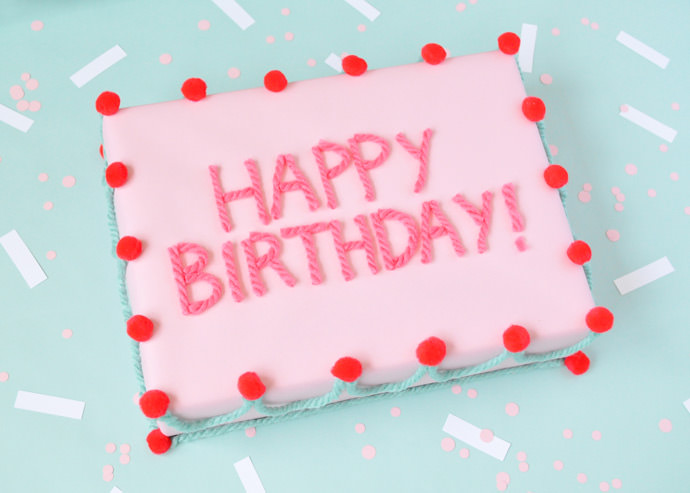
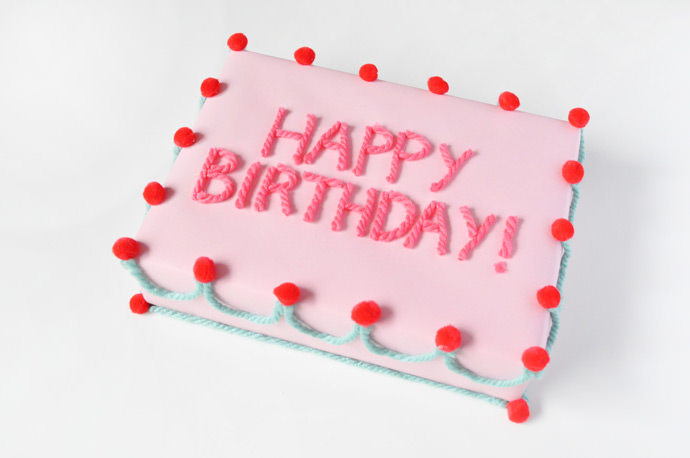
In my book, a birthday party always calls for a birthday cake. No excuses! For the next party you attend, why not wrap your gift cake-style for the birthday boy or girl? That way you can be sure the party isn’t cake-less. ;)
This tutorial is such a simple and playful way to wrap a birthday gift. Use any colored paper and matching yarn you have on hand. You could use this technique on small round boxes as cupcakes, or even on a huge present for a larger than life cake! Either way, nicely wrapping a gift is really the icing on the cake for a sweet gift to a friend – puns intended!
What You Need
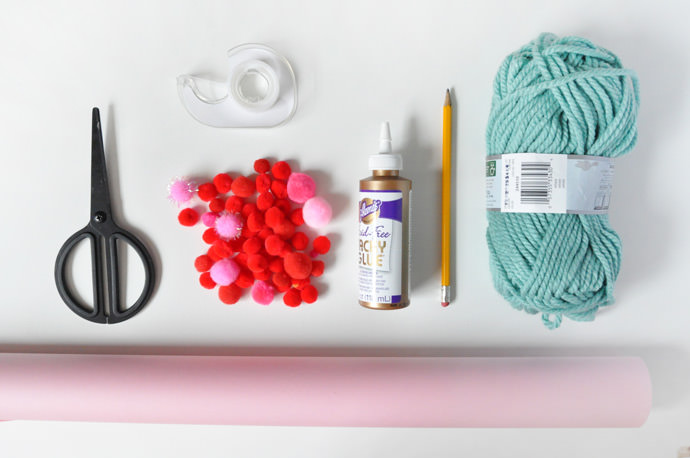
- Pink wrapping paper
- Scissors
- Tape
- Yarn (assorted colors)
- Pom poms
- Pencil
- White glue
How To
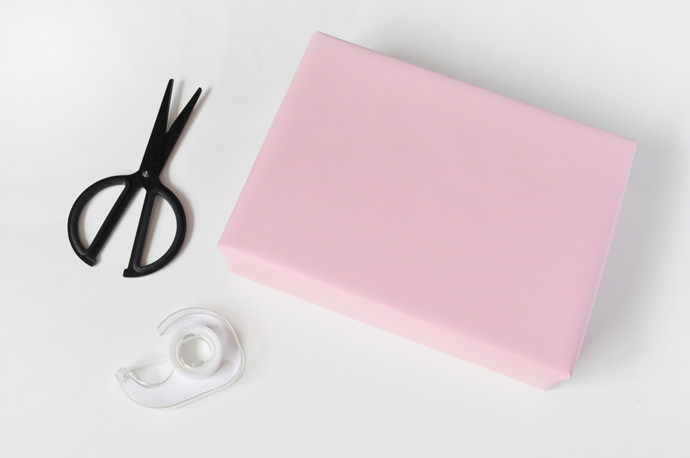
Step 1
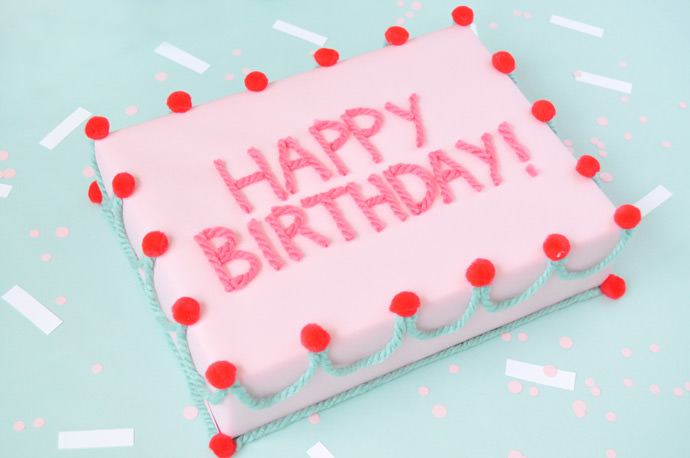
Wrap your gift using pink gift wrap.
Step 2
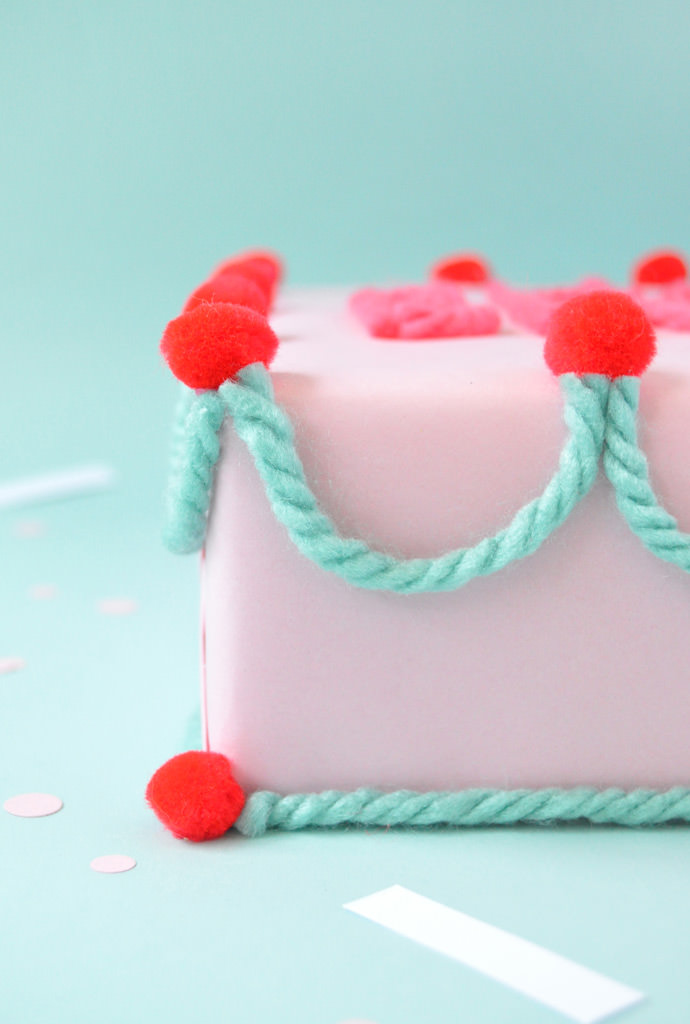
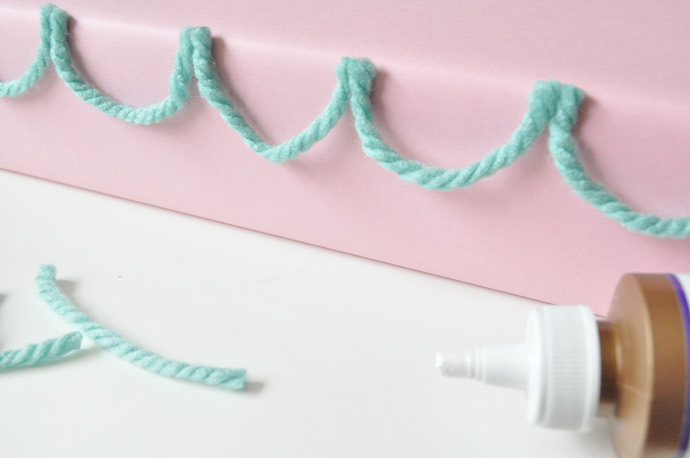
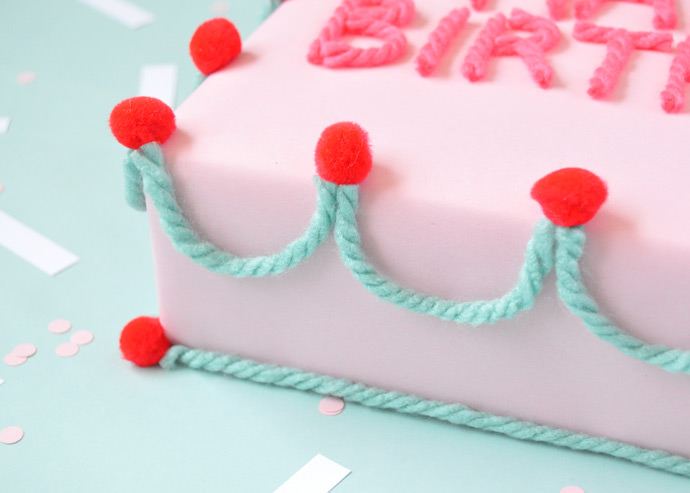
To make the decorative icing, cut lengths of yarn and glue onto the top edge to form U shapes. (You can eyeball this step, or quickly measure your gift and divide it into equal sections on each edge.)
Step 3
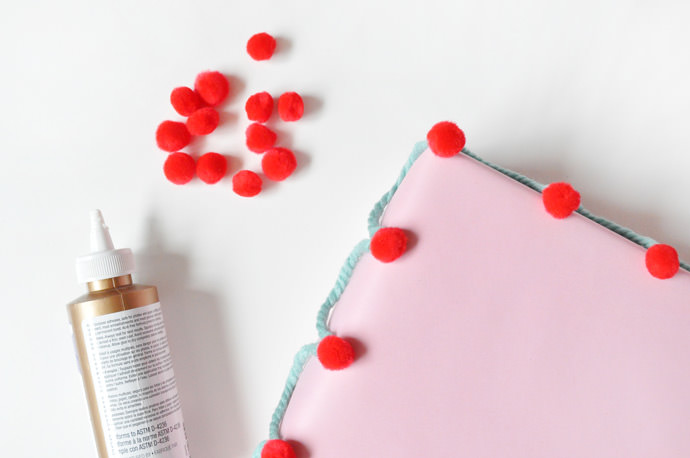
Glue red pom poms onto the top of the icing U’s you just made.
Step 4
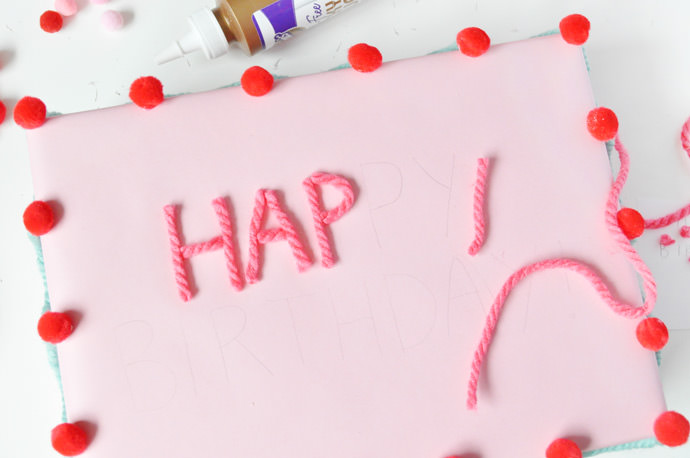
Write your message on the top of the box in pencil. Cut and glue down pieces of yarn over the pencil message. Let dry and erase any visible pencil marks.
Step 5
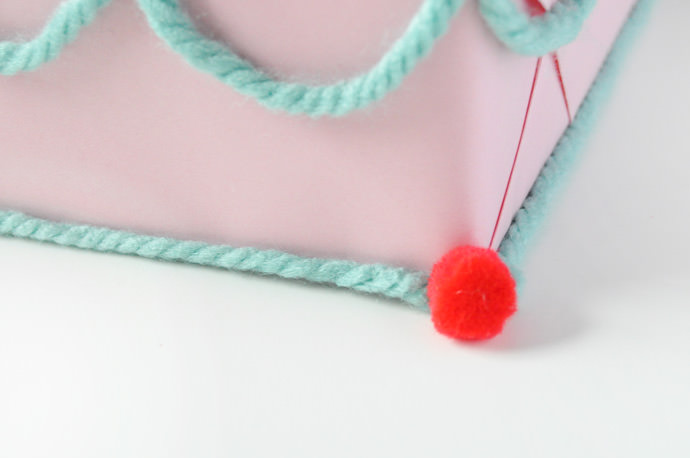
Glue lines of yarn along the bottom edges of the box and add a pom pom onto each corner.
Step 6
Let dry completely and give away to the lucky birthday boy or girl!
Happy crafting!