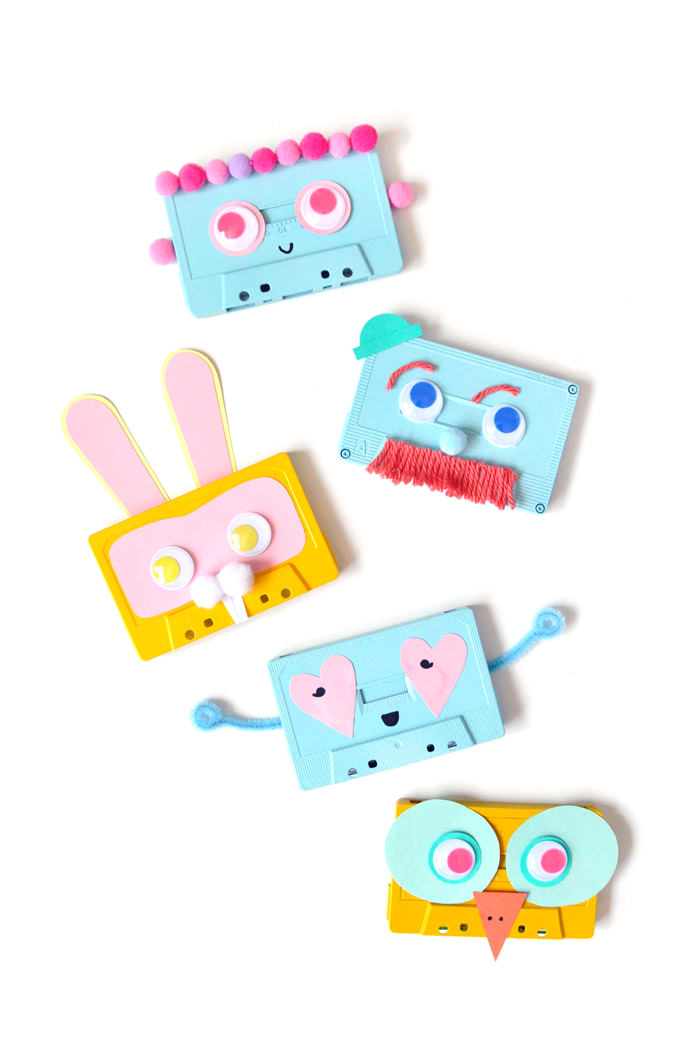
Do you have any old cassette tapes collecting dust in your basement? Don’t throw them away just yet! Why not give them a new life as these silly DIY faces? The circular holes already look like a cute set of eyes, so play around with pom poms, paper, yarn, and googly eyes to dress them up even more.
I love open-ended crafts like these because it’s SO fun to see what kids come up with! Humans, animals, robots … anything is a possibility. These cassettes are great as is, but add magnets on the back to decorate the fridge or use instead of a bow on a gift.
What You Need
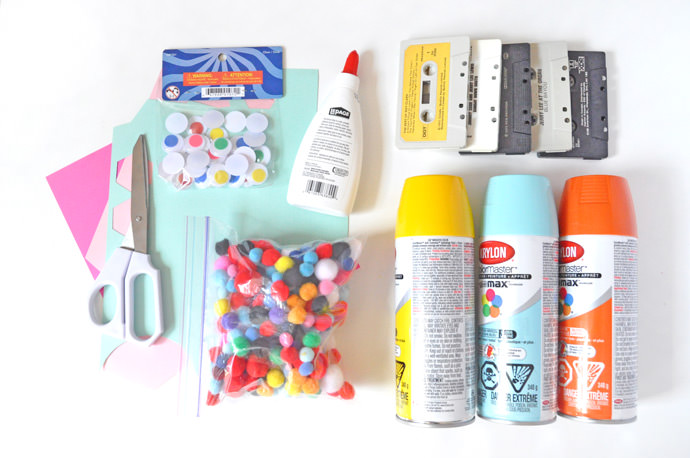
- Cassette tapes
- Spray paint
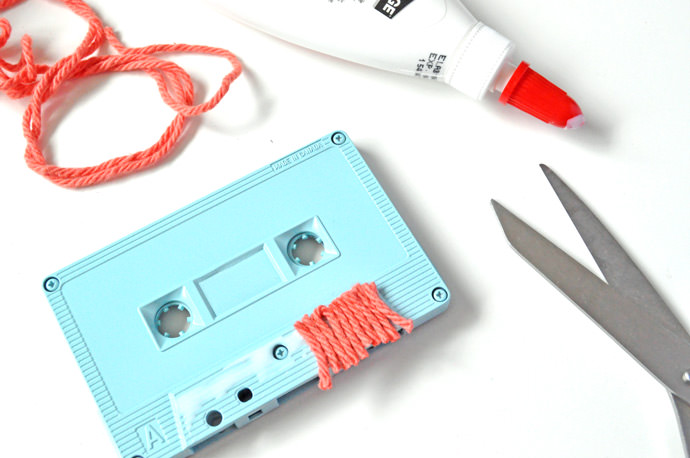
- Scissors
- Colored paper
- Glue
- Pom poms, yarn, etc
- Googly eyes
How-To

Step 1
Spray paint the cassettes in fun colors! Or if yours are already colorful, leave as is.
Step 2
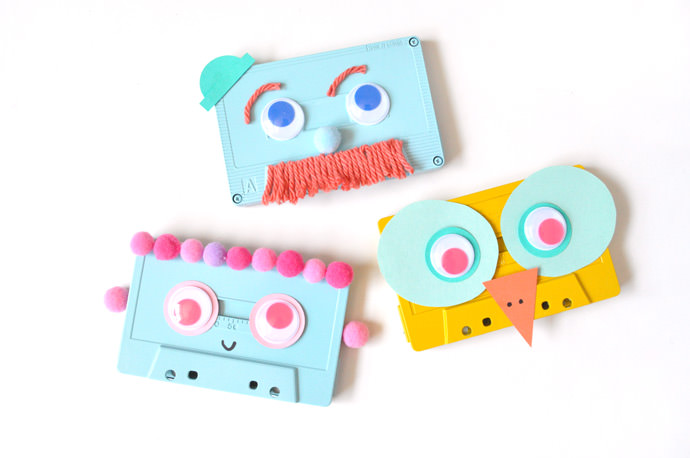
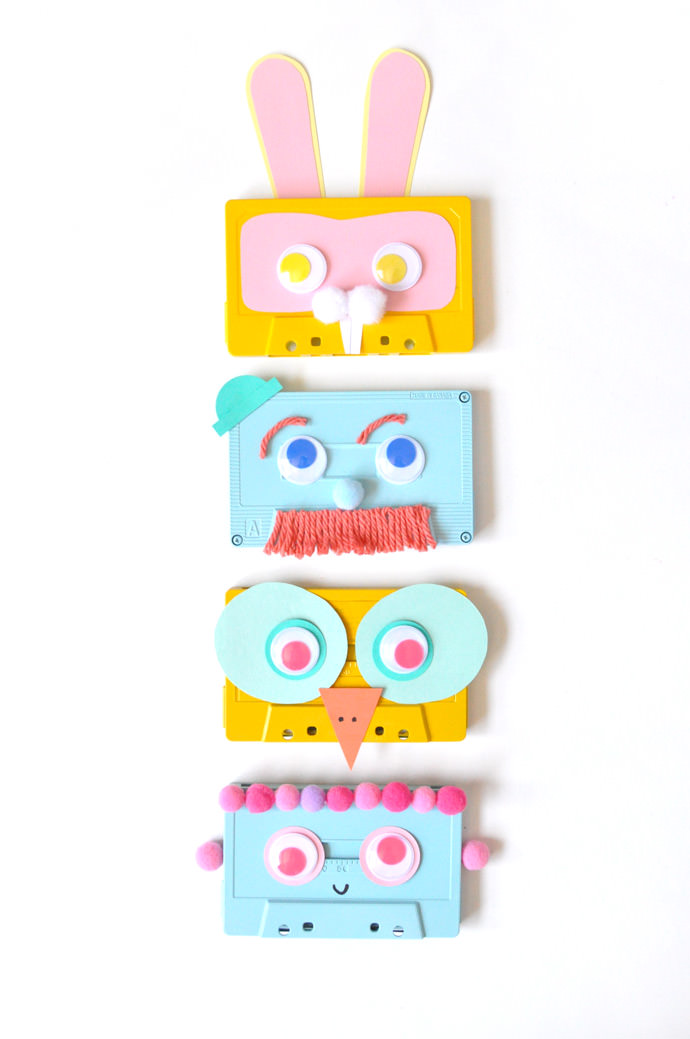
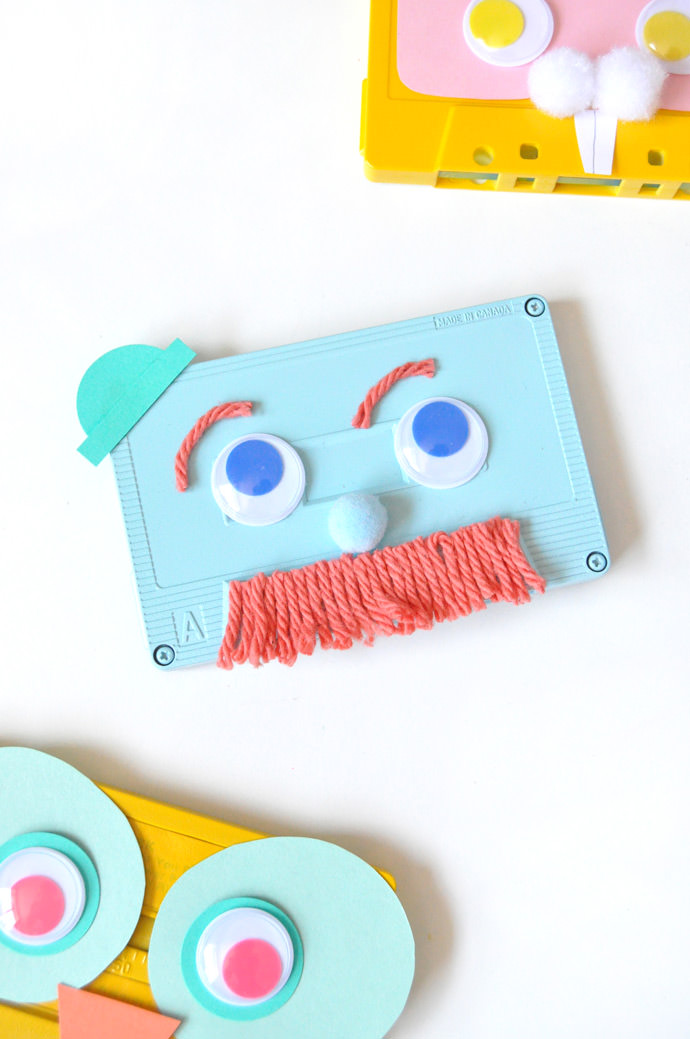
Time to get creative! There are no rules for these cassette faces, but here are a few techniques I did if you need some inspiration. For the mustache man, I applied white glue to the bottom and applied short pieces of yarn. Then I attached googley eyes over the holes with yarn eye brows, a pom pom nose, and a little paper hat.

Step 3
For the love cassette, I simply cut hearts out of paper, glued them down, and drew eyes and a mouth on. Then I taped a pipe cleaner onto the back as arms and shaped little round hands.
Step 4
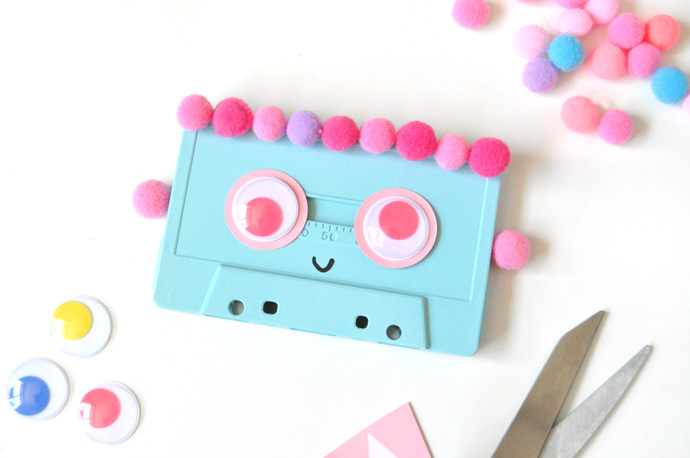
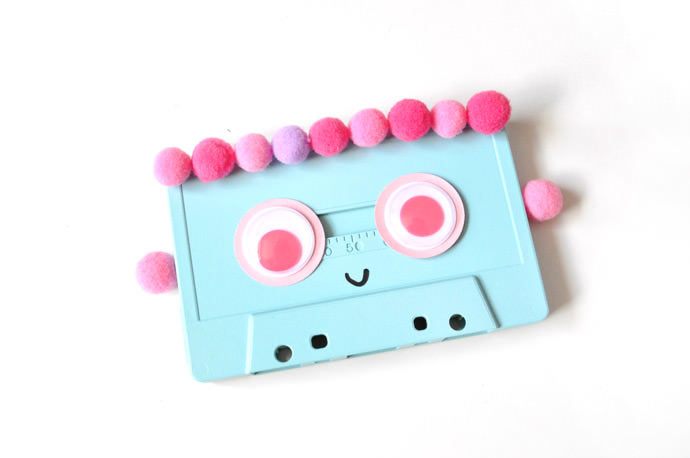
For the cutey kid cassette, I glued a row of pom poms along the top as hair, used googly eyes with a paper circle backing, and drew on a small mouth. I added a couple pom poms on the sides for ears too.
Step 5
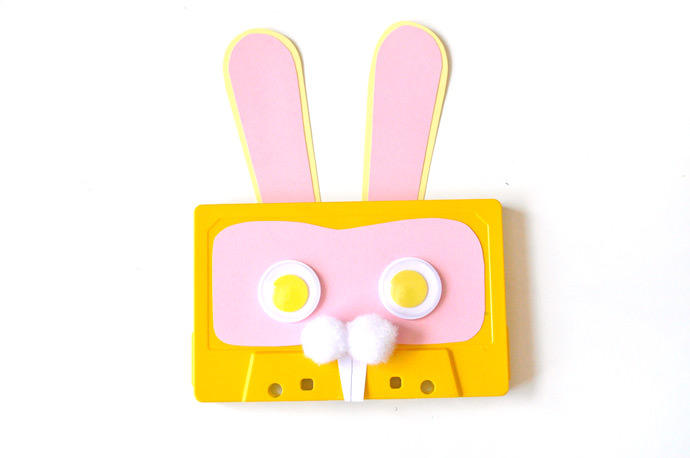
For the bunny, I cut and glued down a piece of pink paper for the eyes (my spray paint didn’t completely cover some of the text on the cassette, so I did this to cover it up) with googly eyes on top. I added two pom poms together as the mouth, and glued on paper teeth and ears
Step 6
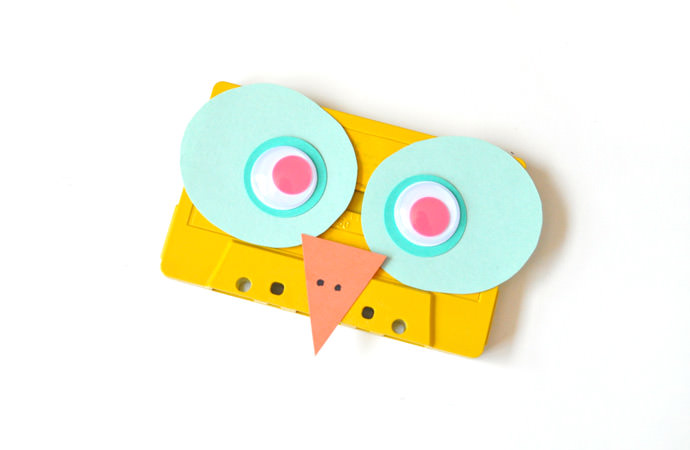
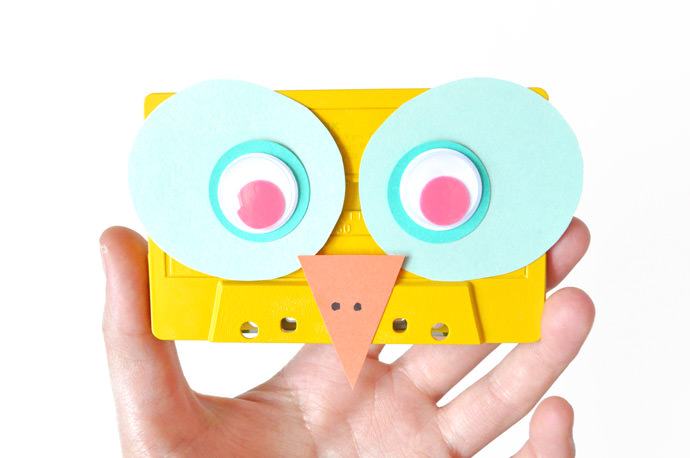
For the bird, I cut paper into a triangle beak and circles for the eye area and then added googly eyes on top.
Happy crafting! :)