We can’t get enough of stenciling! Almost a year ago we had so much fun customizing these DIY floral overalls and we were so excited to get the stencils out again to make these super playful stenciled clothes today! Stenciling is the best way to makeover clothing – old, new, thrifted, or plain a stencil can add some color and pattern.
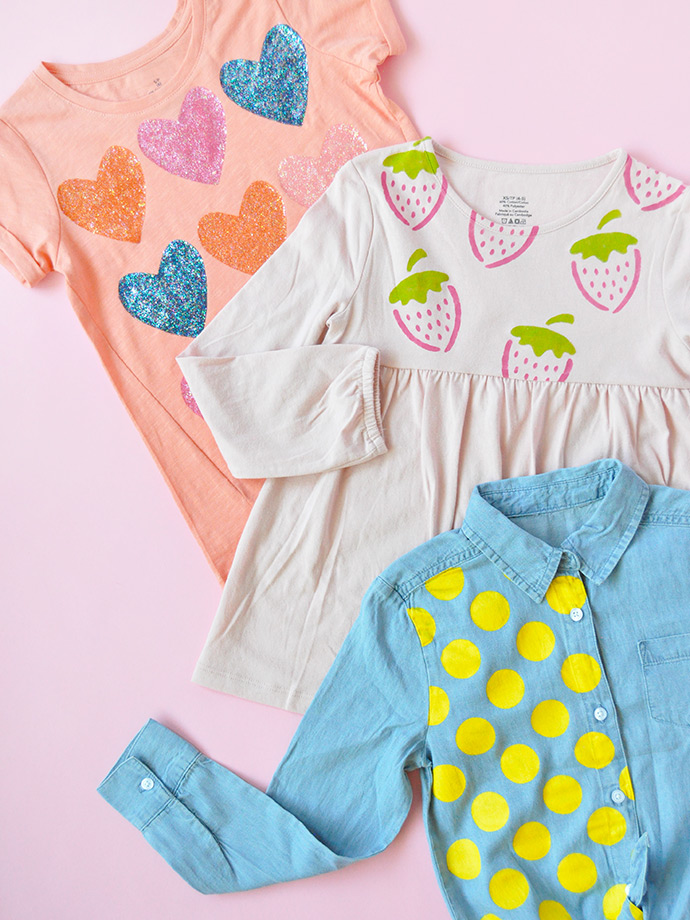
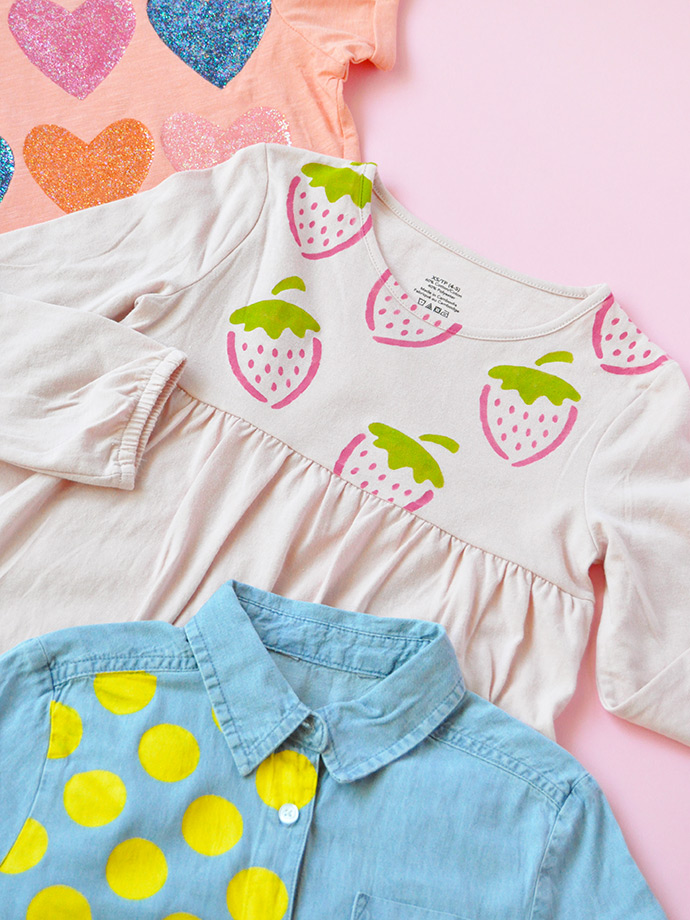
Whenever we stencil clothing, we always use Fabric Creations Soft Fabric Ink. As the ink dries, it stays soft so that your stenciled clothes don’t get any of that crunchy feeling. Today we’re sharing 3 simple ways to update kids clothes with stencils – these are a perfect project to work on this summer with your kids, and soon they’ll be able to wear them for back-to-school! Keep reading for all the details.
what you need:
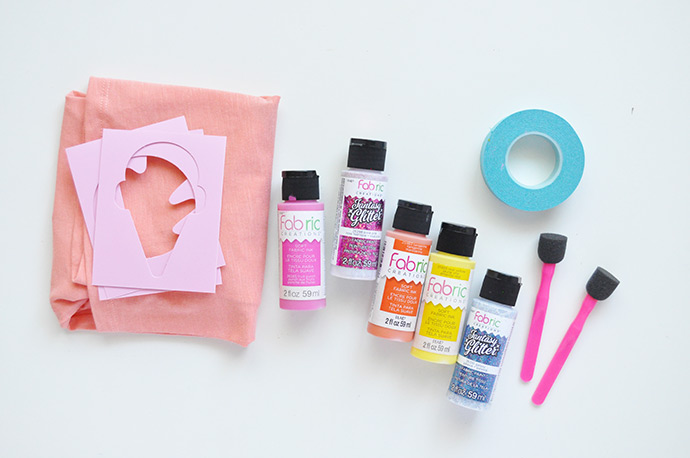
- Fabric Creations Soft Fabric Ink
- Fabric Creations Fantasy Glitter Fabric Paint
- Foam spouncers
- Stencils
- Stencil tape
- Clothing
how-to:
Step 1
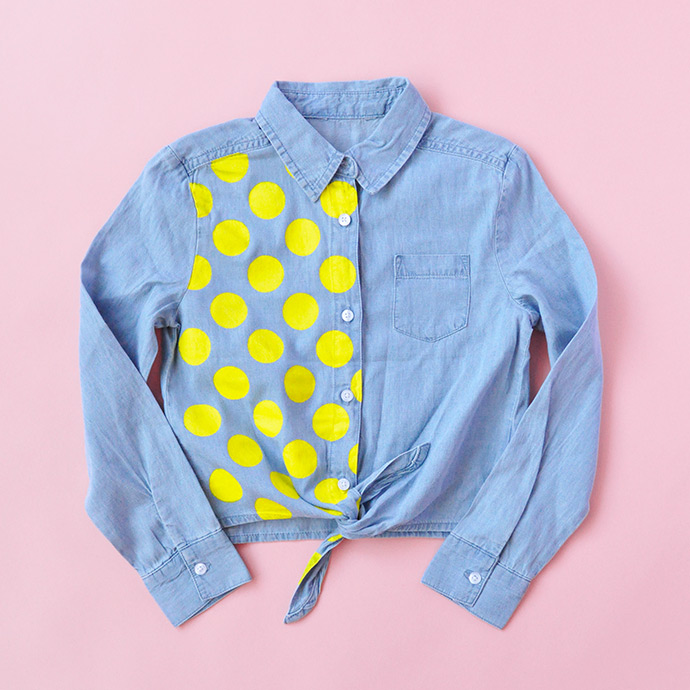
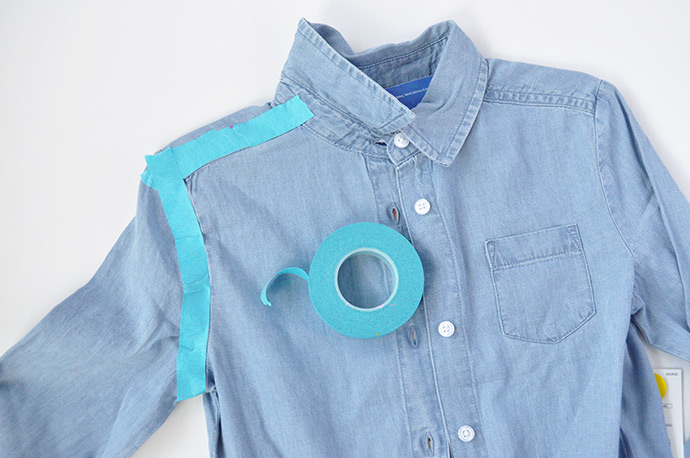
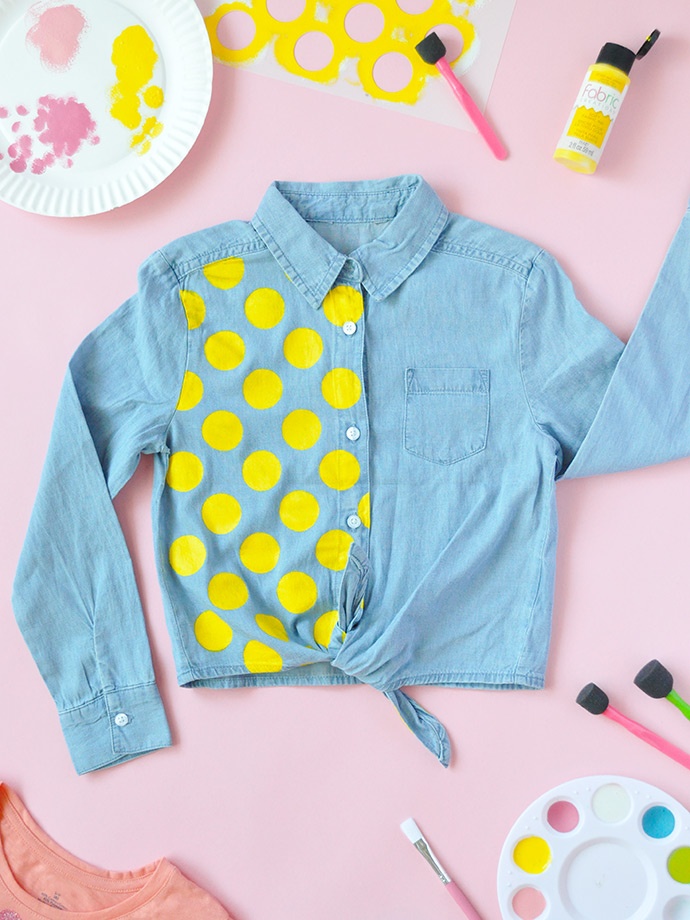
One way to stencil is asymmetrical – in this case, we did that by only stenciling one side of the front of a button-down shirt. Unbutton the shirt and use tape to mask off any areas that you don’t want to stencil onto. We did this along the should and arm seam so that the dots would continue right to the edge but have a nice clean line.
Step 2
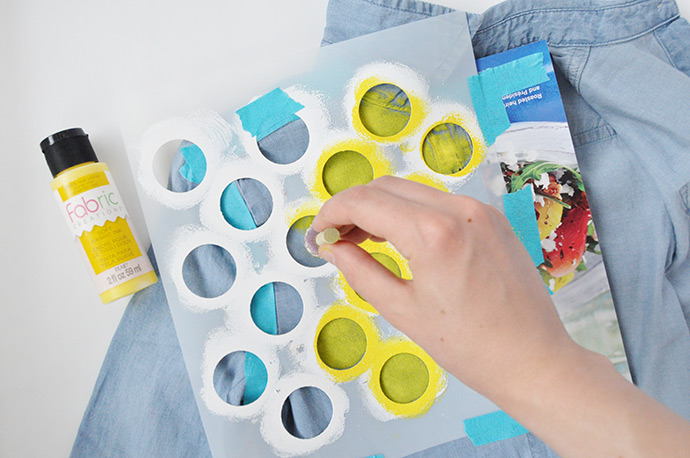
And now it’s time to stencil! Being by putting a piece of cardboard or an old magazine into the shirt – this will prevent the paint from soaking through to the back by accident. Then place your stencil onto the area you want to paint and tape it in place. We used yellow fabric ink for these fun polka dots! Make sure to apply the paint in an up and down motion to make the stencil lines as crisp and tidy as possible. We applied a coat, let dry a little bit, and applied a few more coats for a supersaturated look.
When happy with the color, remove the stencil and carefully place on any remaining area you’d like covered. Repeat and let dry completely for 24 hours. To set the paint, use an iron and a press cloth.
Step 3
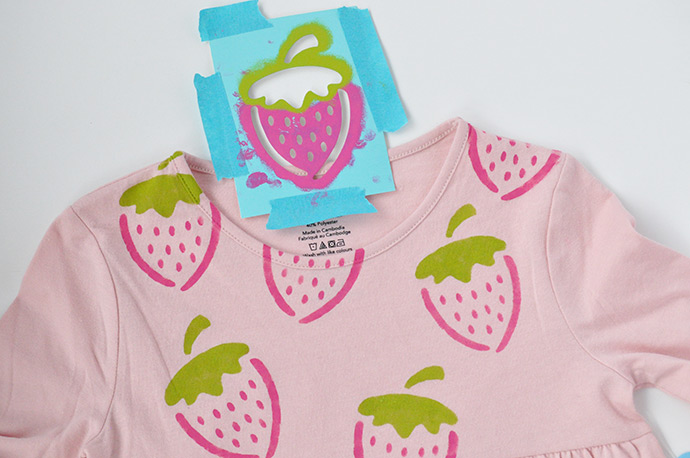
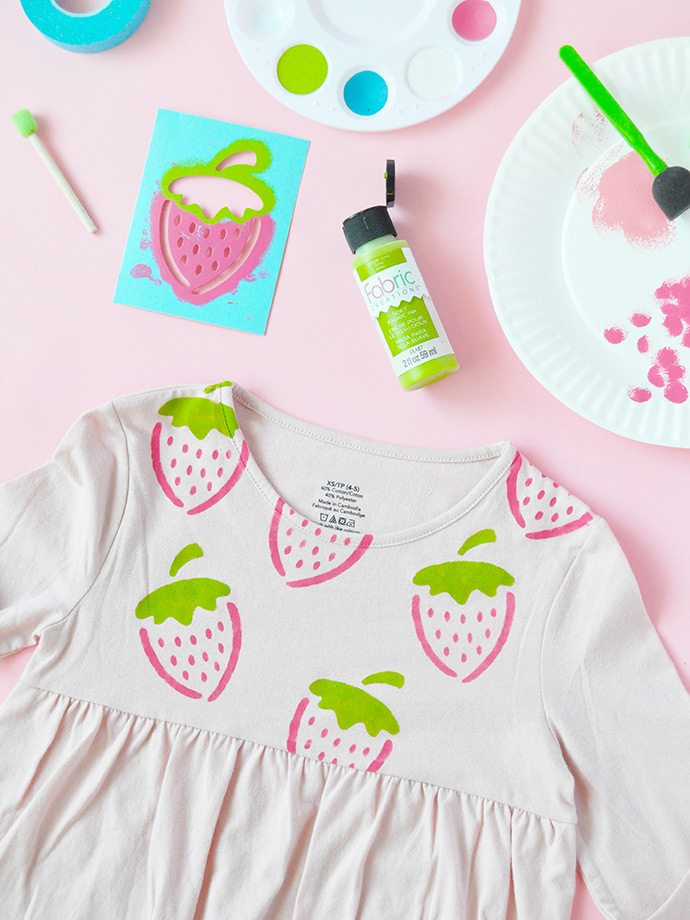
Another fun way to stencil is to follow the detailing of the garment. In this case, we used an empire waist shirt and painted these strawberry stencils onto the top portion only. If you’re looking for a really speedy project, this is it! Since the shirt is a pale color, only one coat of fabric ink was needed. Plus the surface area to cover is a bit smaller too, so you’ll be done in no time! Don’t forget to line the shirt with cardboard first, and follow the instructions on the bottle for setting and washing!
Step 4
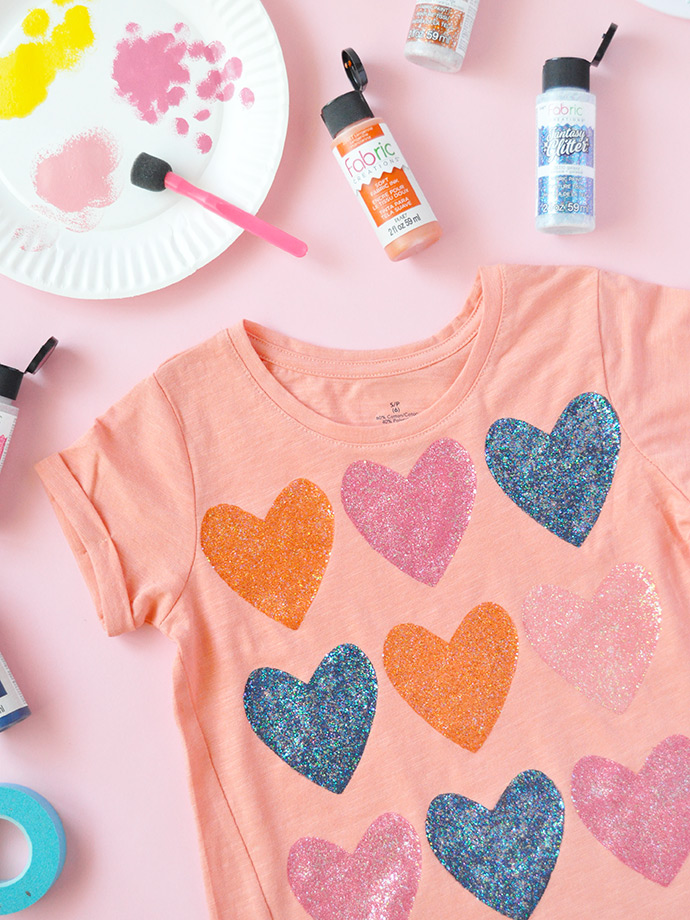
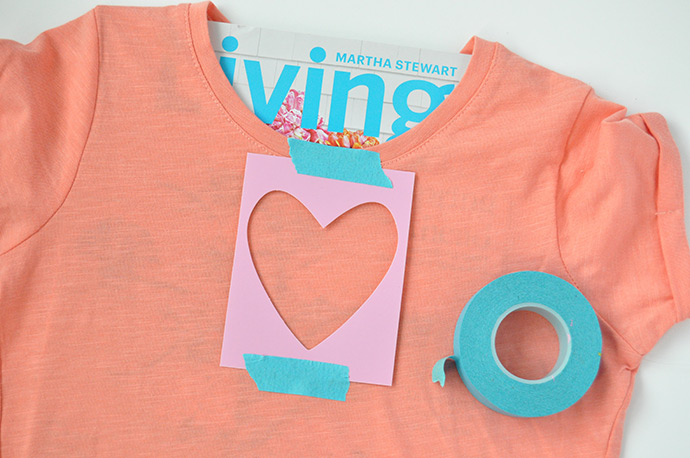
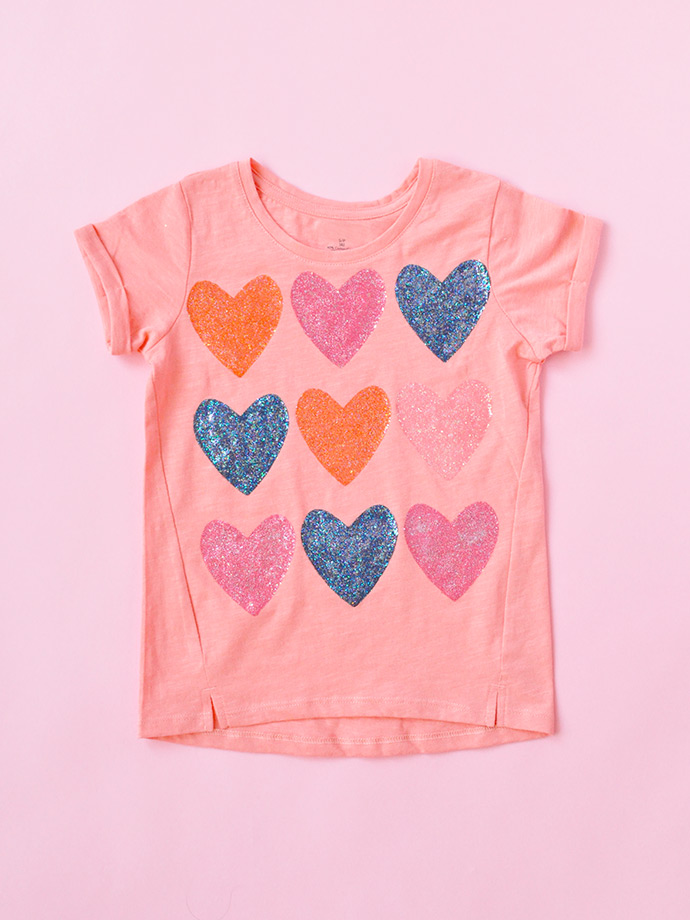
And another way use stencils to freshen up some clothes is by using a stencil to make a fun repeat pattern. And did we mention glitter? As before, line the shirt with cardboard or a magazine and tape your stencil in place. We used this solo heart stencil, so first measured the shirt an placed the heart in the top center.
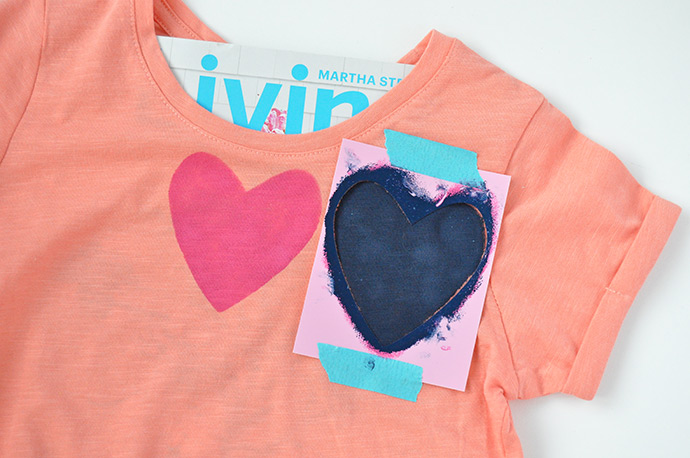
Step 5
Apply fabric ink with a foam pouncer as before, letting the stencil dry between color changes. Once all 9 hearts are dry, we added a coat of Fantasy Glitter on top! We matched the glitter to the shades of paint and used a regular brush (not a pouncer) to apply. Let dry and again check the bottle for full instructions on setting and washing.

Happy crafting!!
This post is sponsored by Plaid Enterprises.