This post is sponsored by Plaid Enterprises.
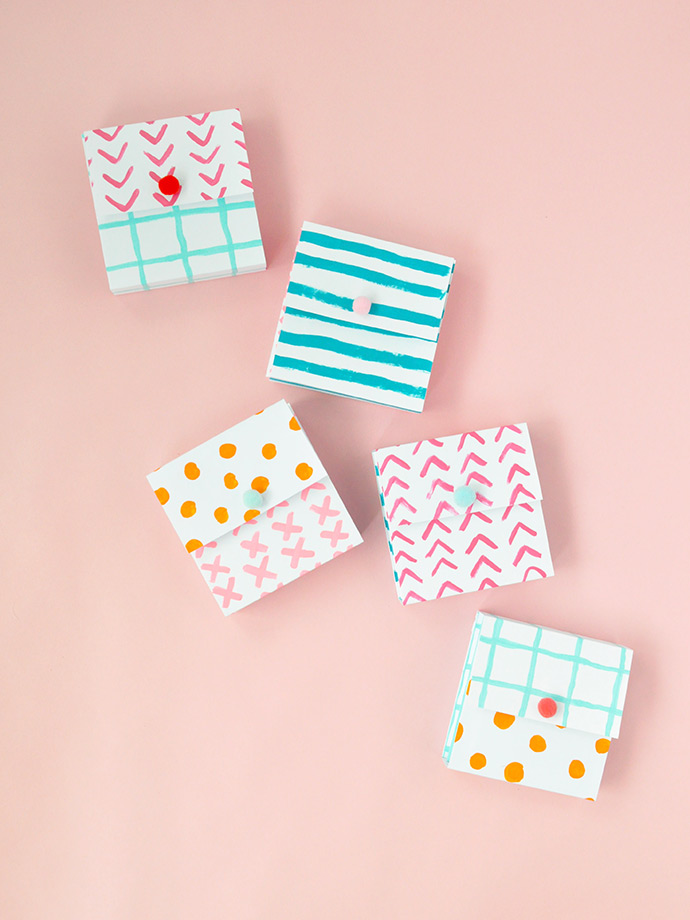
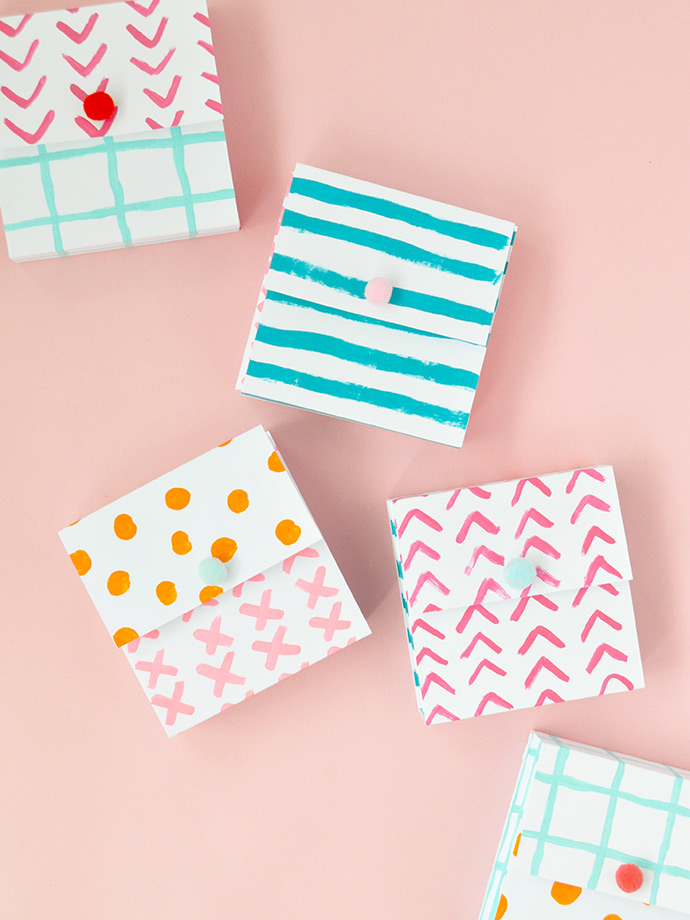
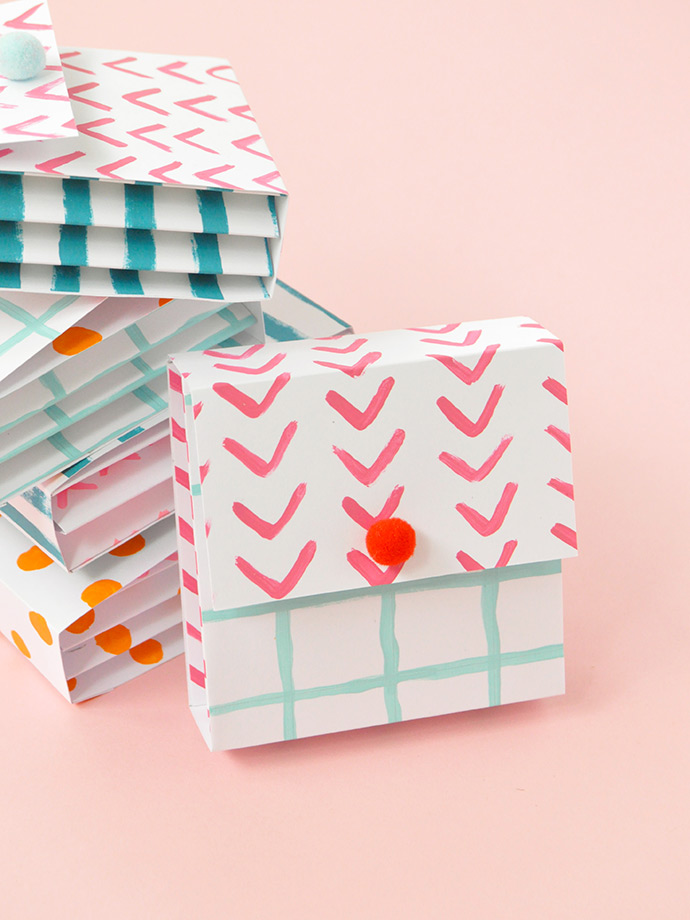
Get your creative juices flowing with these hand-painted paper pockets! You can literally paint whatever patterns, designs, or pictures you like onto card stock, and with a little bit of cutting, folding, and Mod Podge, turn them into these adorable pockets. We mixed and matched a few of our favorite shades from Delta Ceramcoat® Acrylic Paint and had fun playing with simple shapes and geometric patterns. Younger ones can let loose and paint whatever tickles their fancy and older kids can experiment with creating repeat patterns.
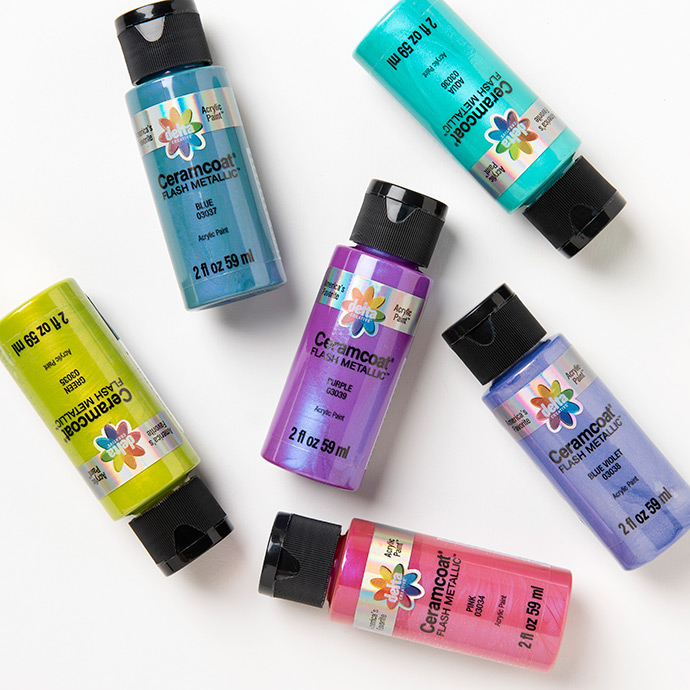
Find all 22 shades and 6 brand new Flash Metallic colors in the craft aisle at Target.
Just spread out your Delta Ceramcoat paints on your work surface and get started! We ended up using five different colors, one for each pattern. The formula is so rich and creamy that you won’t have to keep dipping your brush after every little brush stroke. It’s so much fun to experiment with different shapes, patterns, and colors – we went with a geometric meets painterly look, but some super colorful pockets in abstract patterns would be awesome too.
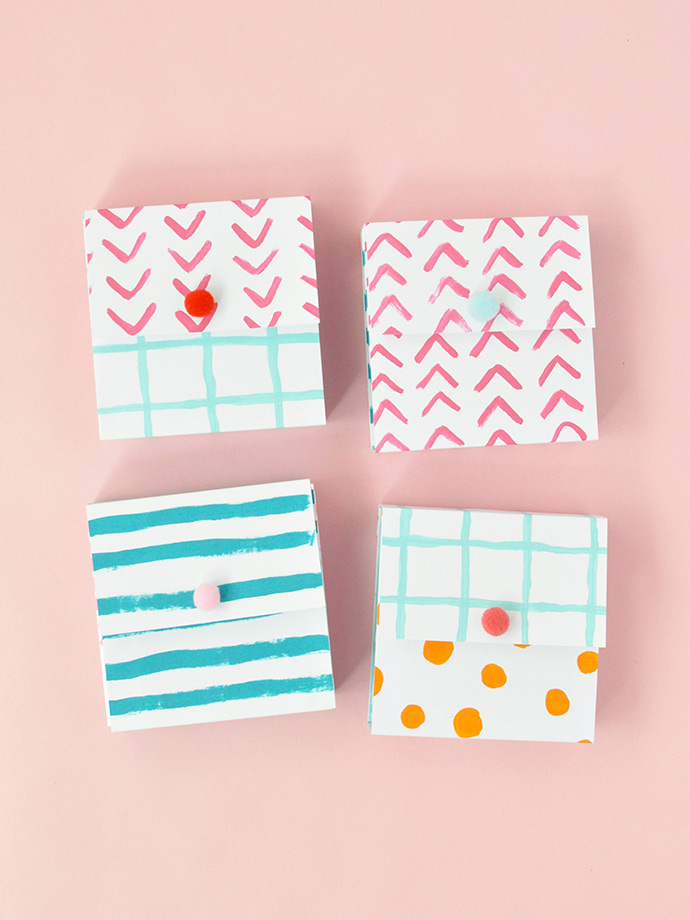
We love how handy these little pockets are for storing toys, trinkets, and pocket change, especially for kids who have to take everything along with them. See the full instructions below.
what you need:

- Delta Ceramcoat Acrylic Paint
- Paintbrushes
- Mod Podge
- Ruler
- Scissors
- Pencil
- White cardstock
- Sticky-backed Velcro dots
- Pom poms
how-to:

Step 1
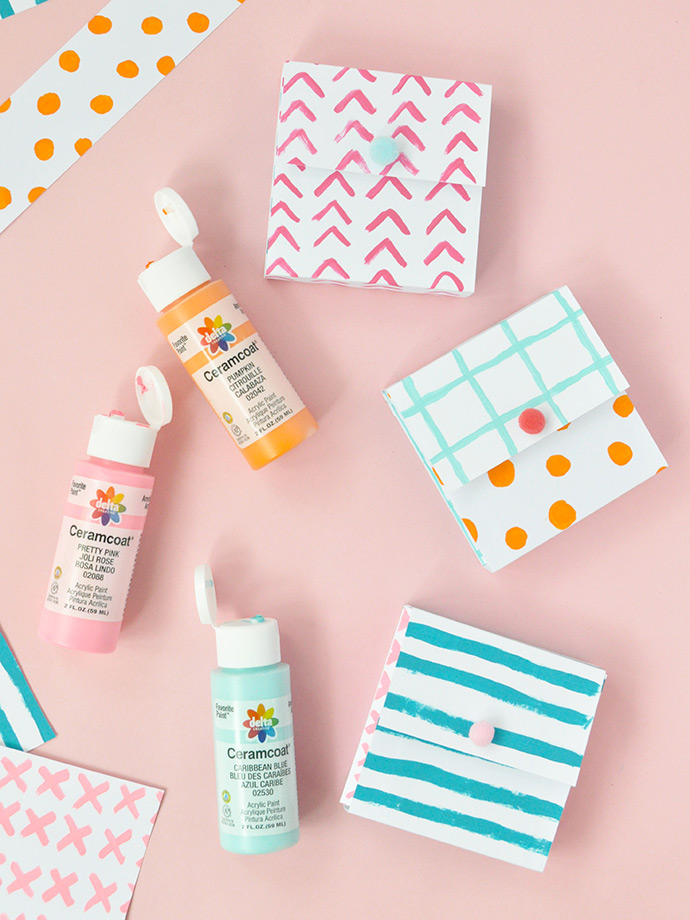
Begin by selecting your colors! We used five total with a mix of warm and cool colors, including Fuchsia, Pumpkin, and Pretty Pink. Lay out your cardstock and paint whatever patterns you like. Feel free to mix and match colors and go crazy! When painting, make sure that the patterns go as close to the edges of the paper as possible. Let dry.

Step 2
We repeated this process with cool colors too: Velvet Teal and Caribbean Blue. For one paper pocket, you need about one 8 ½” by 11” piece of cardstock, so paint as many as you think you’ll need.
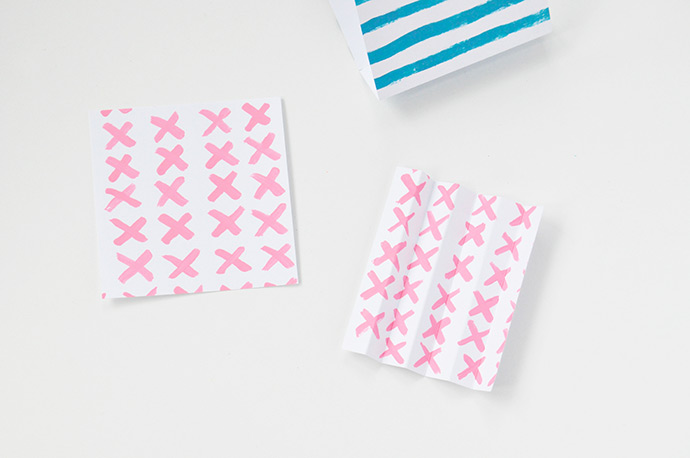
Step 3
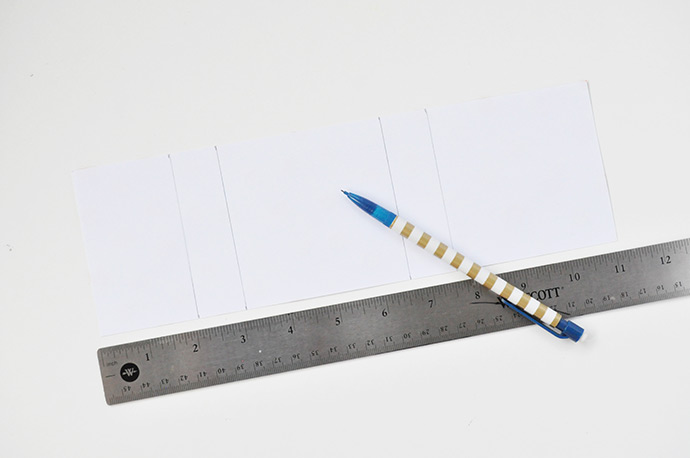
Once all the paint is dry, cut the paper lengthwise into two rectangles 3 ½” wide and 11” long. (You’ll have a narrow scrap left – no need to keep this.) Next, use a ruler and pencil to divide the paper strip into sections. First, draw a line 3 ½” from the end, then another line 1” from there. Then mark another line 3 ½” from there, and finally a line 1” after that.

Step 4
Fold along each of the lines you just drew so that the blank side is in and the beautiful painted side is out.

Step 5
If you want to mix things up a little bit, you can swap the top flaps for some contrast. All you have to do is cut the top 1” and 2” segments off the strip and replace it with a new piece from the unfolded paper strip – you’ll need to add an extra ½” flap to the end so that you can attach it on with Mod Podge, as shown.
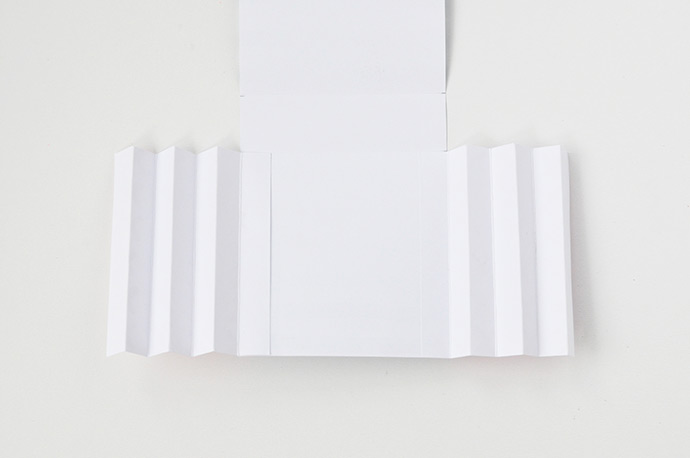
Step 6
Time to make the sides! Begin by cutting two 3 ½” squares from the unfolded paper strip. We used a different pattern for the sides than the front of the pocket for even more fun. Fold each of these squares into accordions, with each fold about ½” away from each other. You can eyeball this step, or use a ruler to mark out each fold so that it’s super even.
Step 7
Apply Mod Podge to the end flap of each accordion and attach onto the 3 ½” side of the folded paper. Let dry a few minutes.
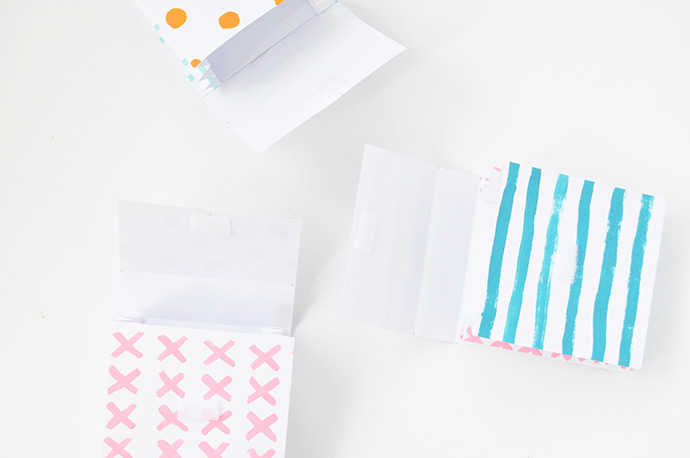
Step 8
Do the same with the other end of the accordion, attaching it to the other side of the folded paper so that it starts to look like a little pocket! While the Mod Podge dries a little bit, attach sticky-back Velcro dots so that the pocket’s flap can open and close.
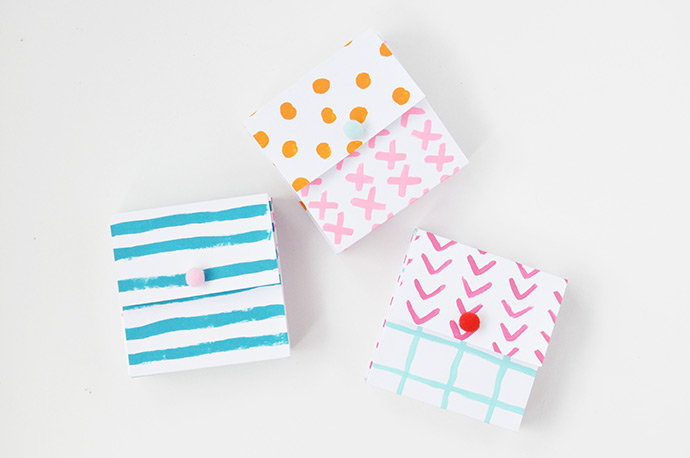
Step 9
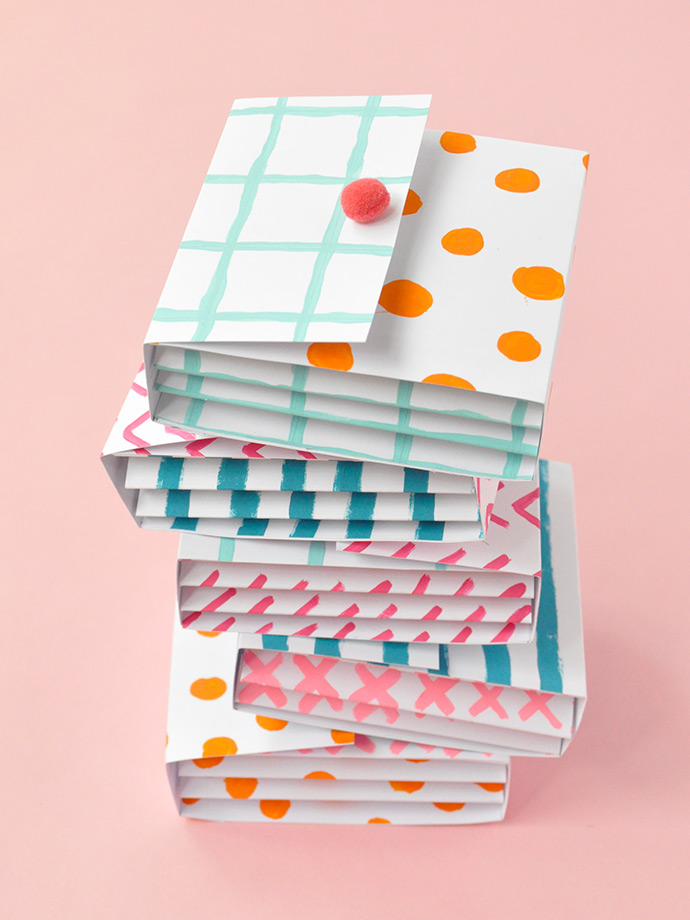
Finally, use a dab of Mod Podge to attach a mini pom pom onto the front of each flap. Let everything dry completely and your painted paper pockets are ready to be put to good use!
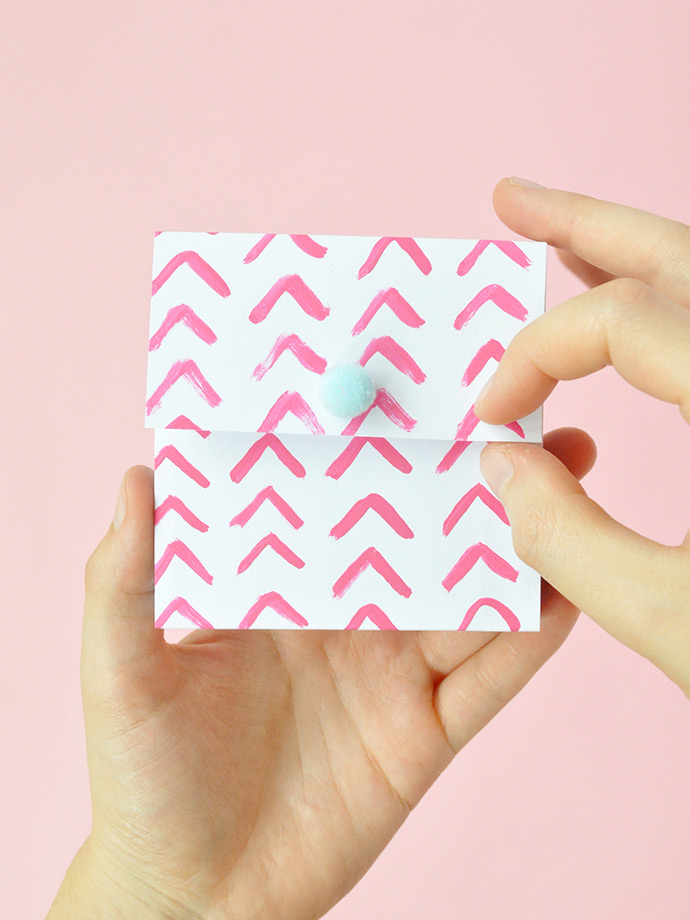
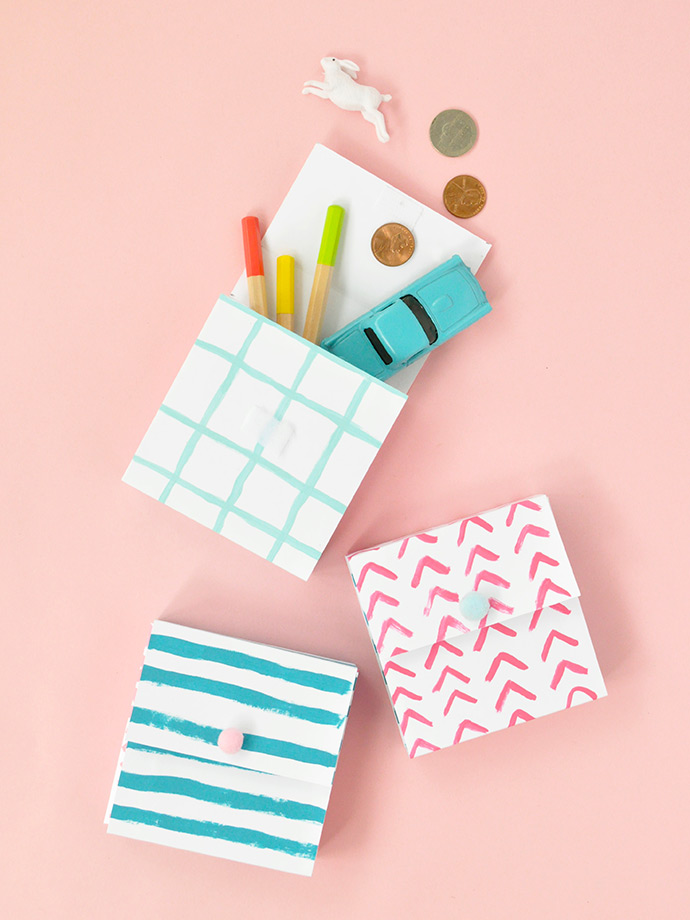
Fill the paper pockets with whatever you like! They’re great little coin purses, but they’re big enough to fit little toys and trinkets too. And you could totally adapt the size of these if you wanted!

Find all 22 shades of Delta Ceramcoat® Acrylic Paint at your local Target along with the six new Flash Metallic shades in the craft aisle or at Target.com. We’re betting these painted paper pockets would be even more adorable with some metallic details.

Happy crafting!