This post is sponsored by Kid Made Modern.
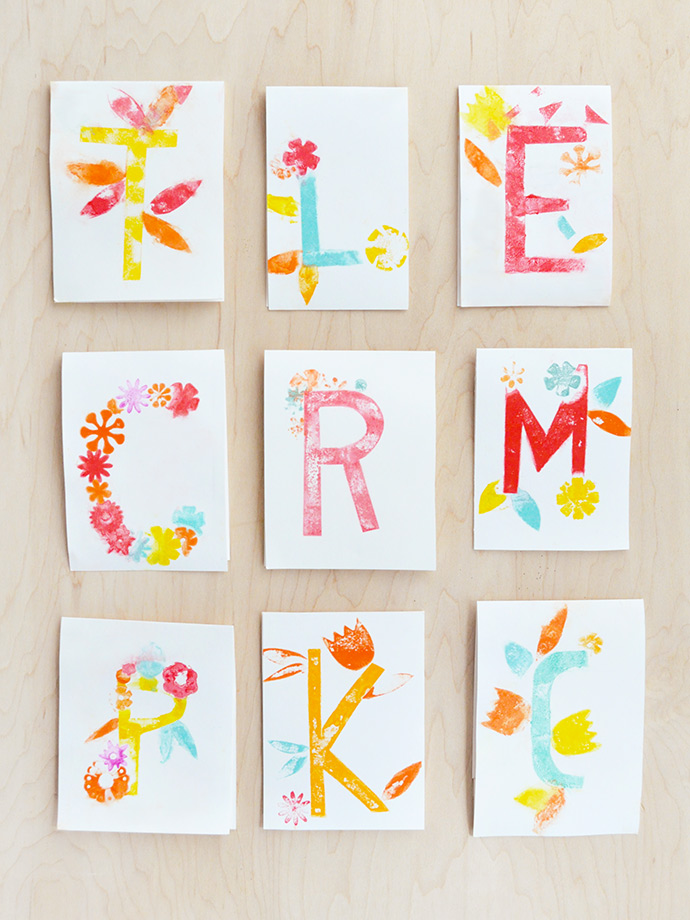
And just like that, it’s almost Thanksgiving! We can’t believe how quickly it’s snuck up on us, but we’re so excited to get together with all our friends and family this season. Today we’re sharing a really fun project that kids will love helping with – these hand printed place cards for your Thanksgiving table!
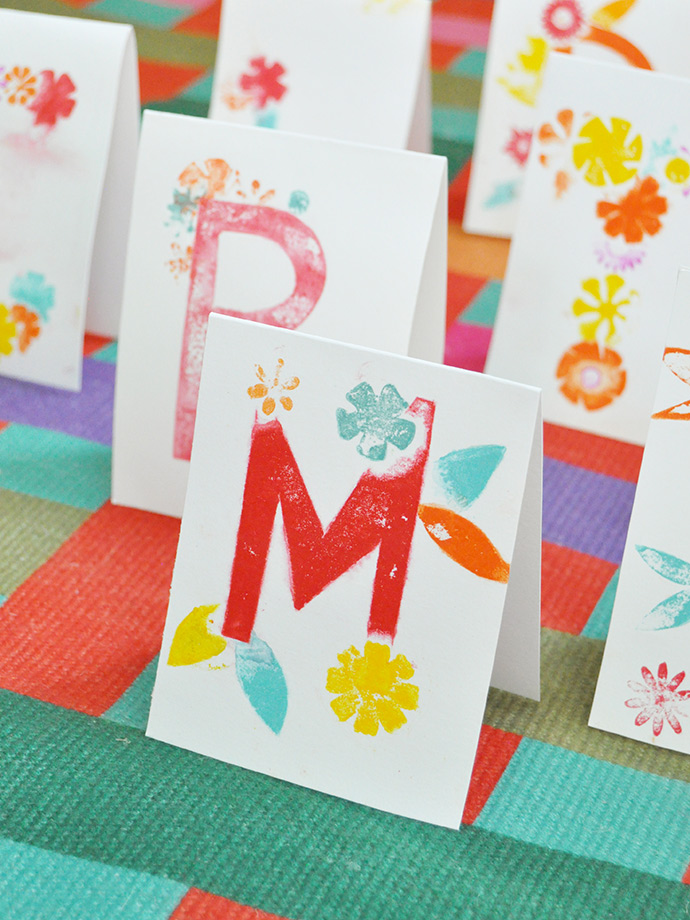
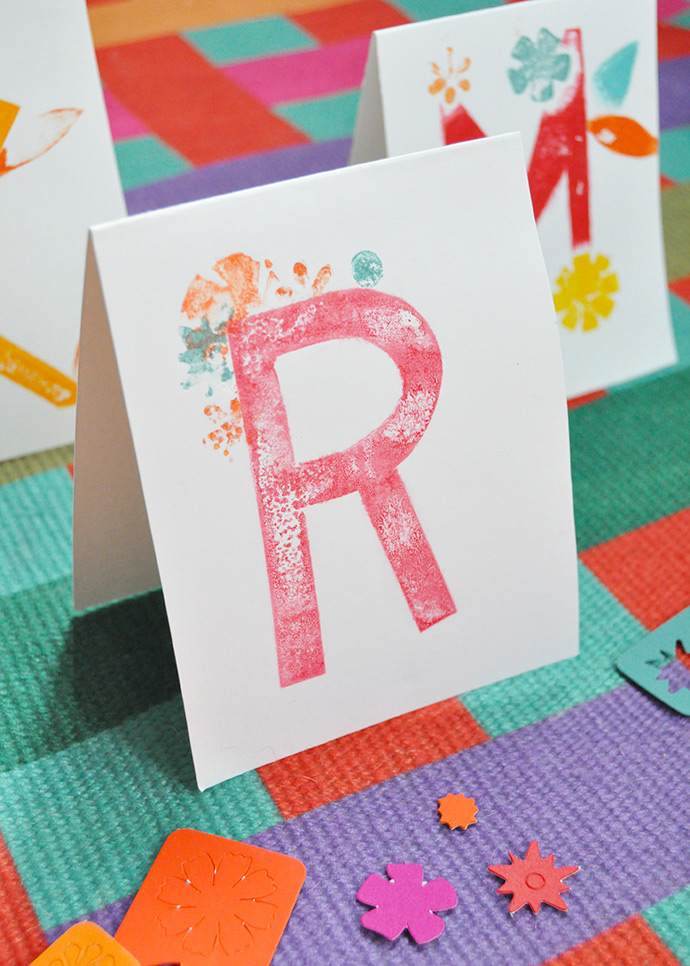
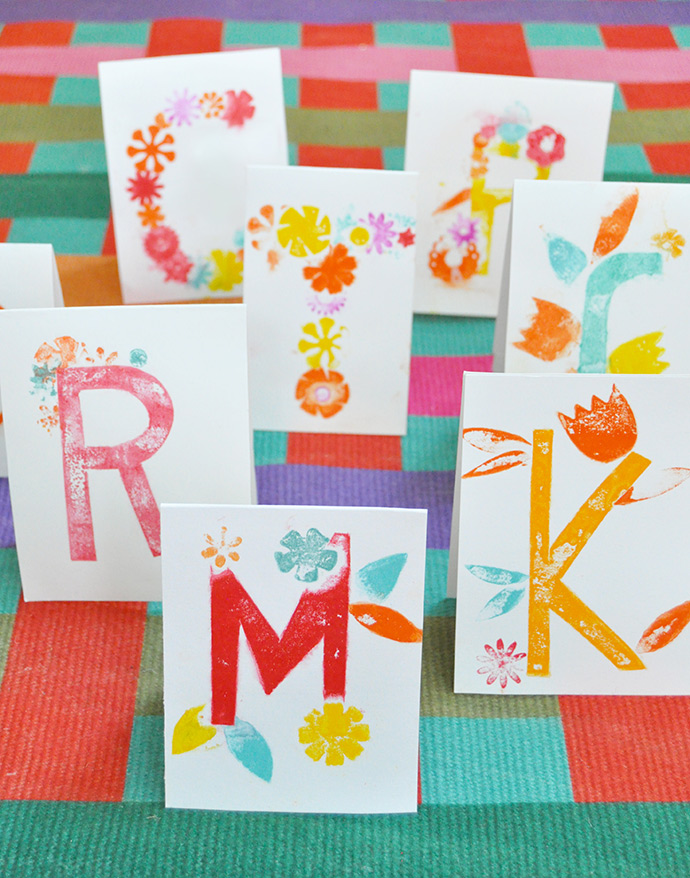
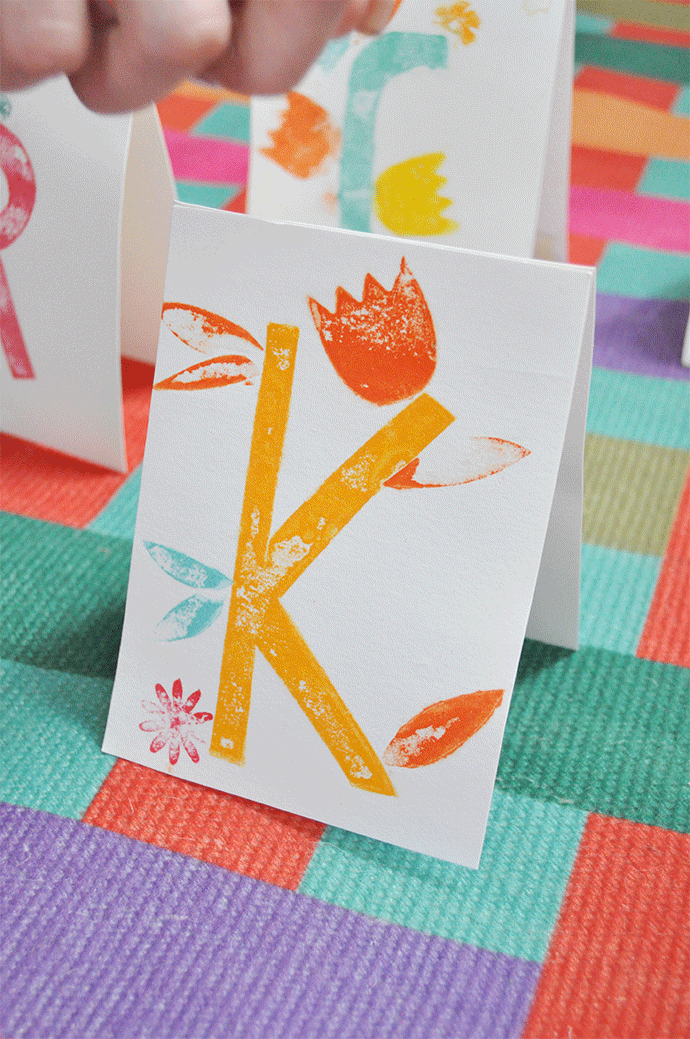
At first glance, you might think that these cards were done using a whole bunch of stamps but we actually tried out Kid Made Modern’s printmaking kit! The kit includes these amazing pigment-infused sheets that you can cut, arrange, and stamp in so many fun ways – your kids will love experimenting with this new technique and designing these custom cards for each of your guests. Take a look at the video below, and keep reading for the full tutorial!

what you need:
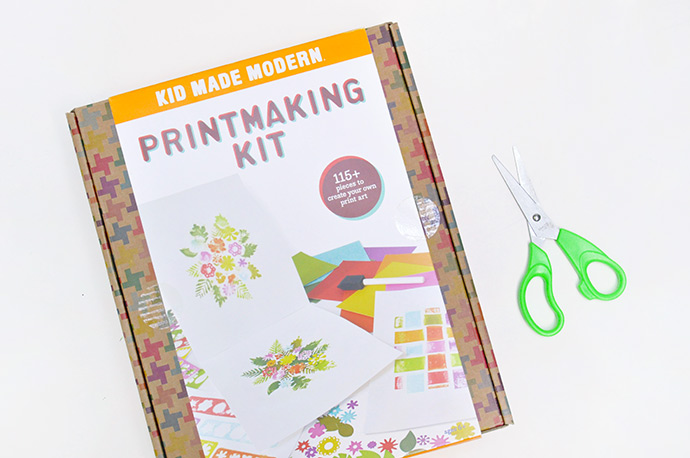
- Kid Made Modern Printmaking Kit
- Scissors
how-to:
Step 1
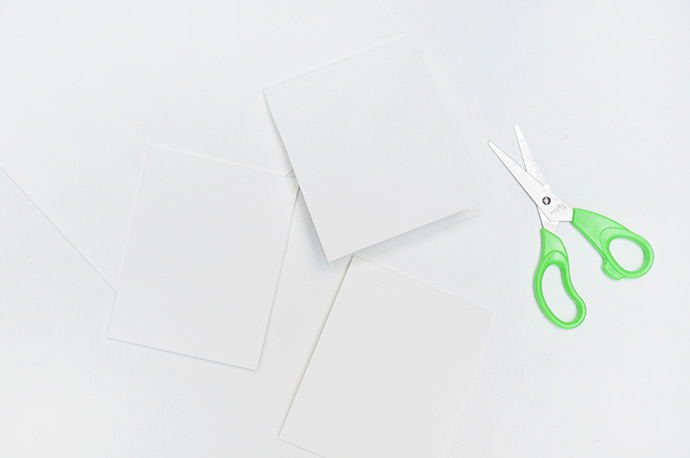
Cut the watercolor paper (included in your Printmaking Kit) into long strips and fold in half to make a blank place card. You can make these whatever size you like – ours were about 4″ wide and 5″ tall, which was a great size for adding the flowers and details. If you want to make smaller place cards, you might not have room for as many details in the cards pictured here.
Step 2
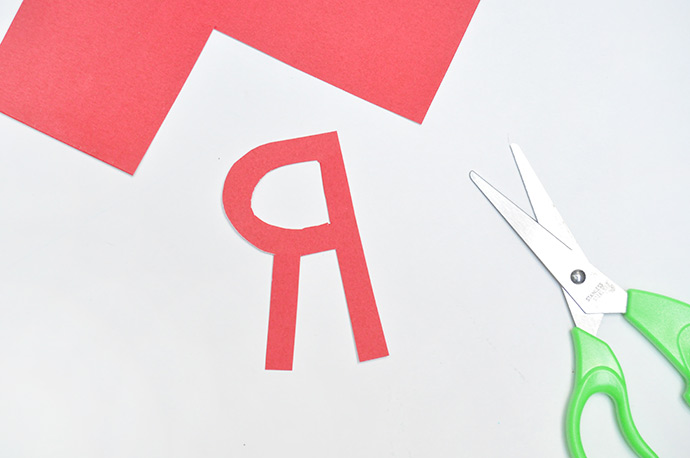
Cut a pigment-infused sheet into the shape of a backward letter. You can use a pencil to sketch this out first if needed.
Step 3
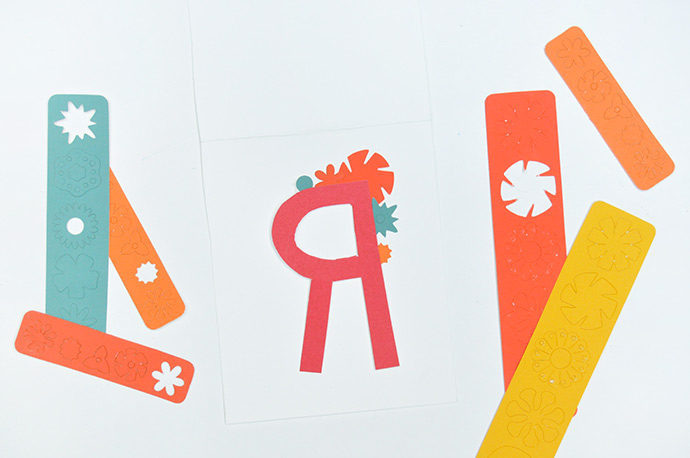
Layout a blank place card and arrange the backward letter along with the precut shapes around it. We used these fun bright shades for a modern Thanksgiving feel. You can also use the full sheets and cut them into your own shapes, like leaves, more flowers, or whatever you like!
Step 4
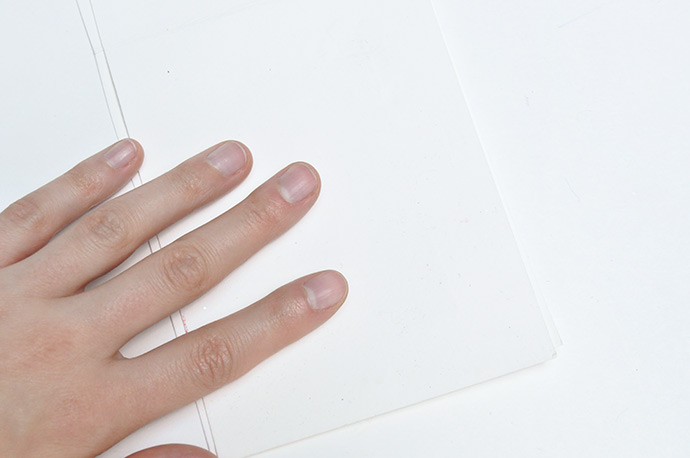
Apply water onto one half of another place card with a brush, making sure it’s damp all over. Put the damp place card on top so that you’re sandwiching the pigmented shapes between it and the place card below. Press and smooth the top paper completely.
Step 5
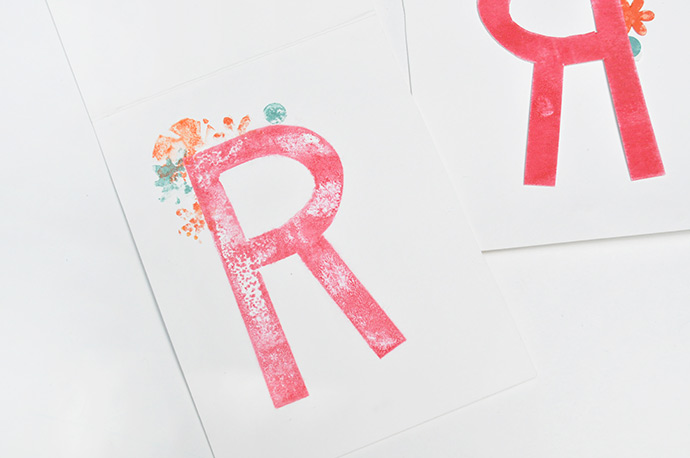
Carefully remove the top place card and remove the pigmented shapes from the place card below. You’ll be left with the printed images on the above place card! Like any new technique, it might take you and your kids a few tries to get the hang of making these prints – we definitely made a few backward letters by mistake a few times! Have fun experimenting and creating these playful designs to decorate your Thanksgiving table.

Happy Thanksgiving!!
Also pictured in this post: Picnic Plaid Printed Rug from Kid Made Modern