This post is sponsored by Plaid Enterprises.
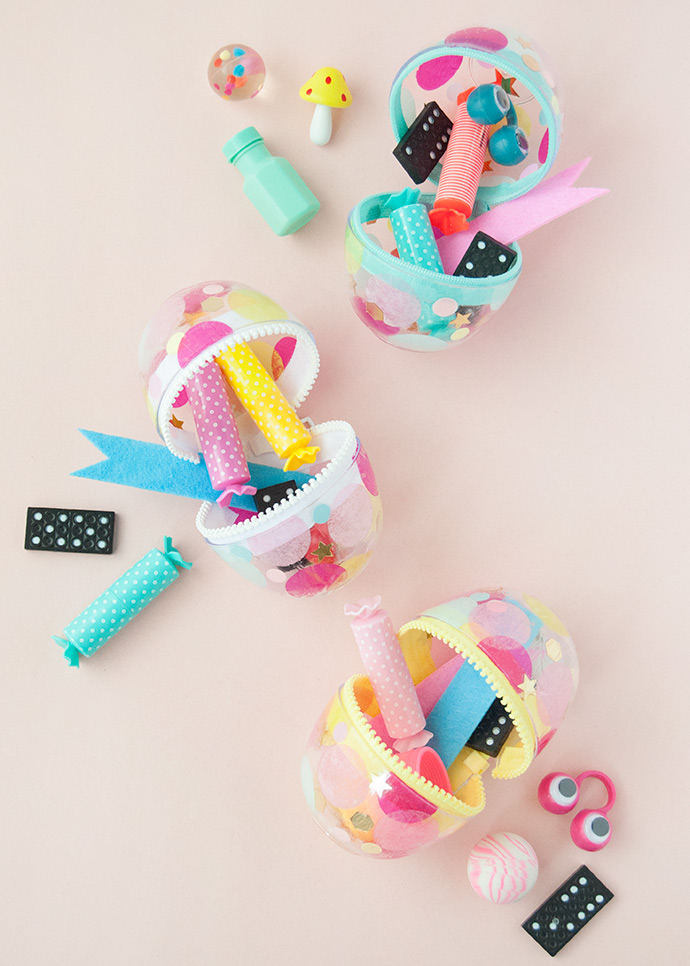
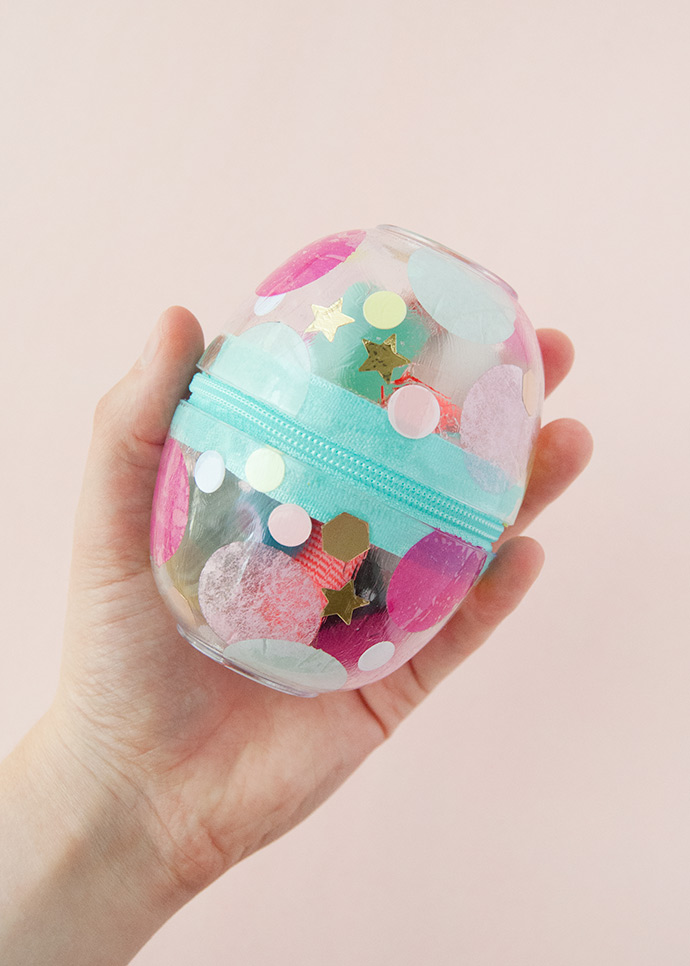
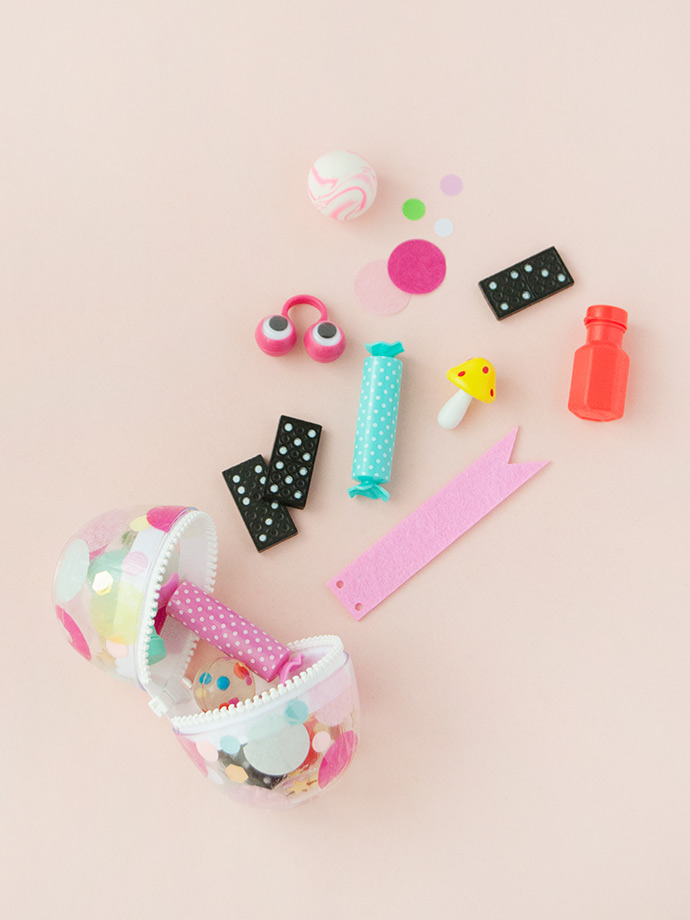
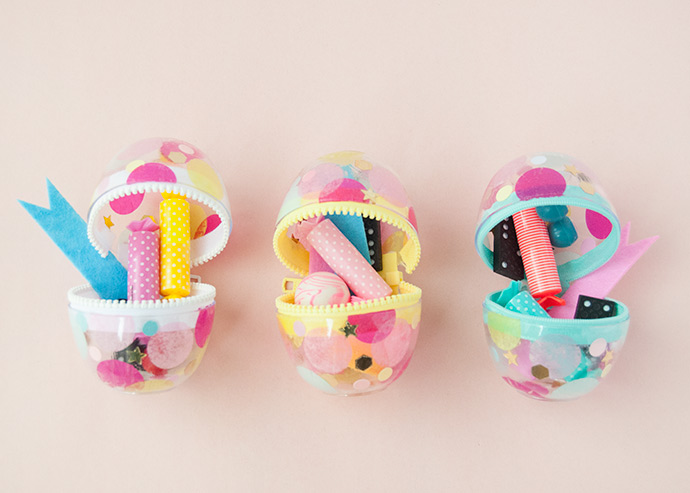
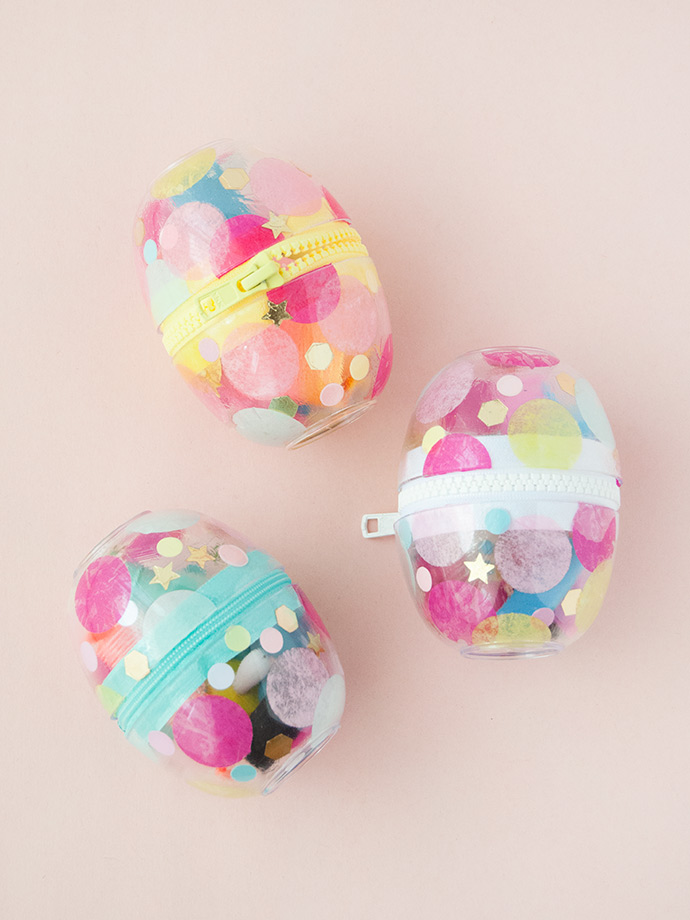
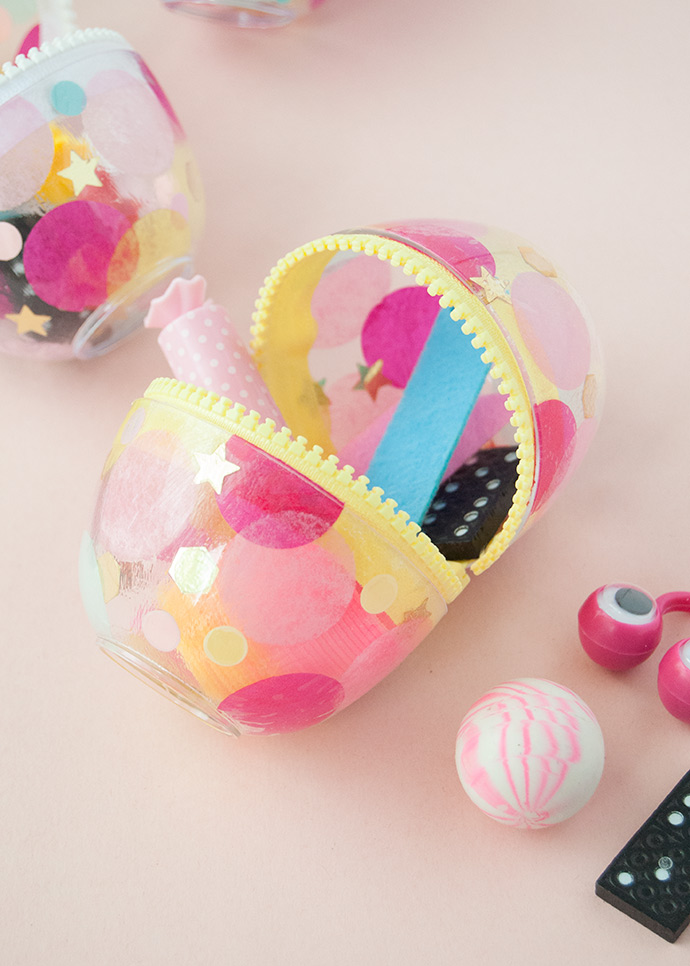
Keep all your treasures and treats handy with these decoupaged confetti zipper pockets! These adorable little pockets have a super festive and cheerful look thanks to colorful confetti and Mod Podge. We found these small plastic snack bowls at the dollar store and when put together like this, they make the perfect little case, don’t you think?
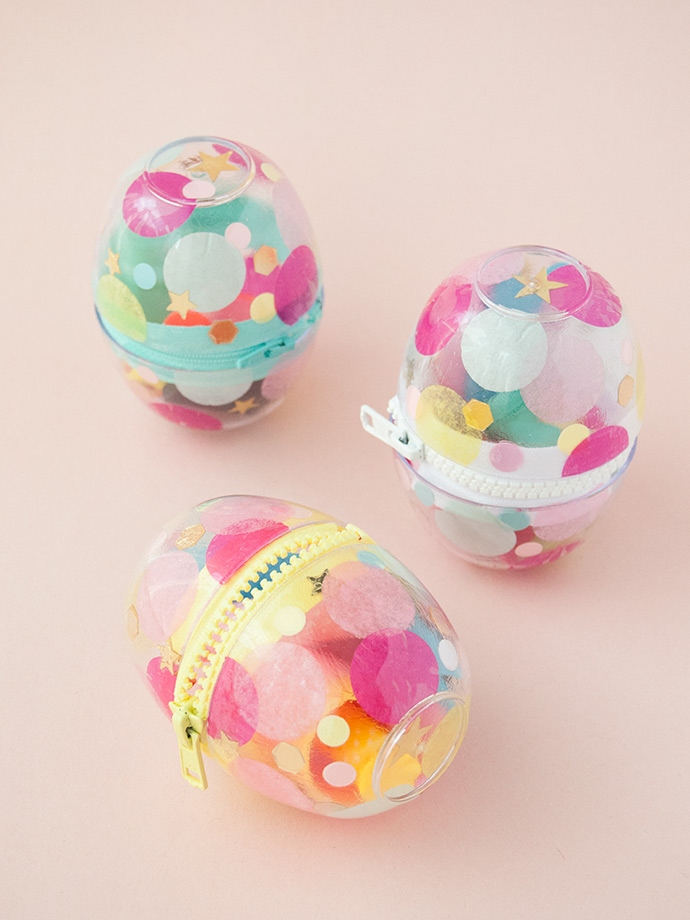
Use them as DIY party favors for your next birthday bash, store all your back-to-school supplies (paperclips, erasers, stickers, you name it!), or make them any day of the week to hold your favorite collection of goodies. So grab some colorful confetti and your jar of handy dandy Mod Podge, and let’s get crafting!

what you need:
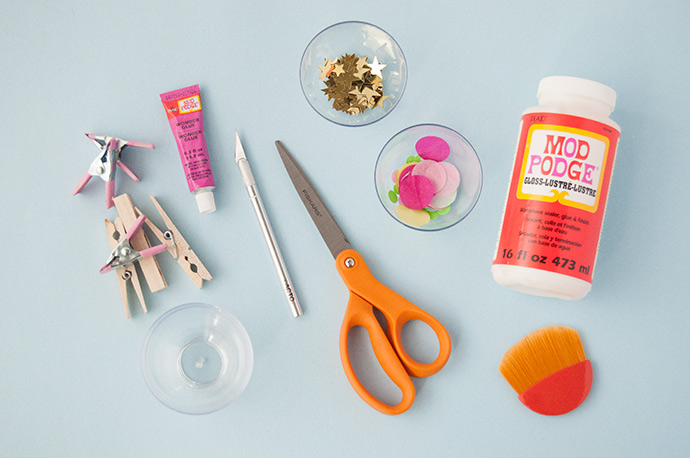
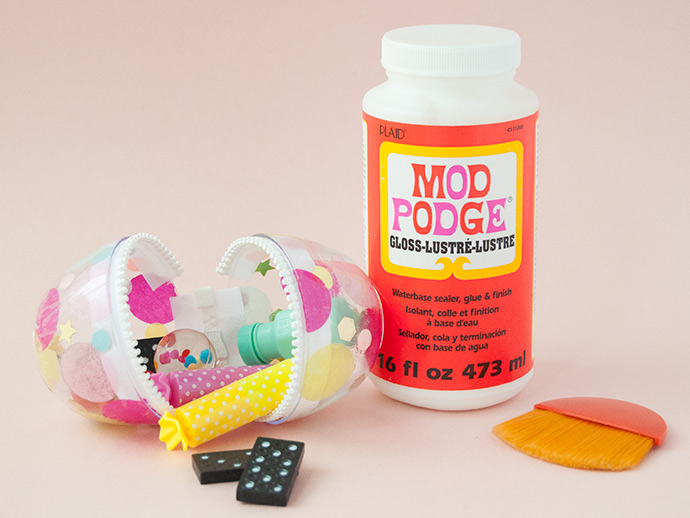
- Mod Podge Gloss
- Mod Podge brush applicator
- Clear plastic bowls
- Scissors
- Craft knife
- Super glue or strong craft glue
- Zippers
- Tissue paper confetti
- Golden star confetti
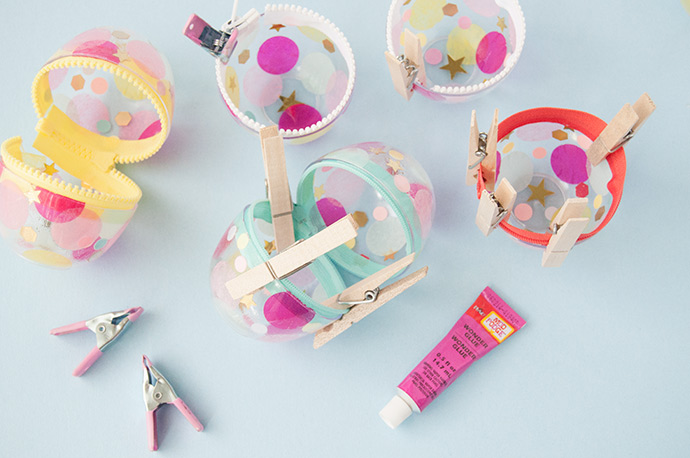
- Clothespins and/or miniature clam
how-to:
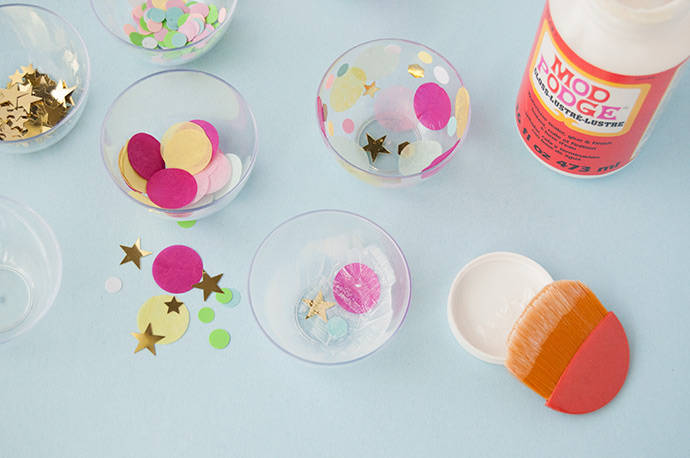
Step 1
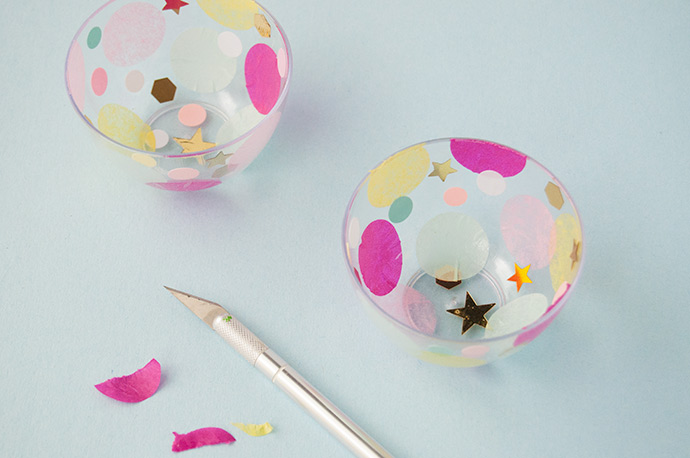
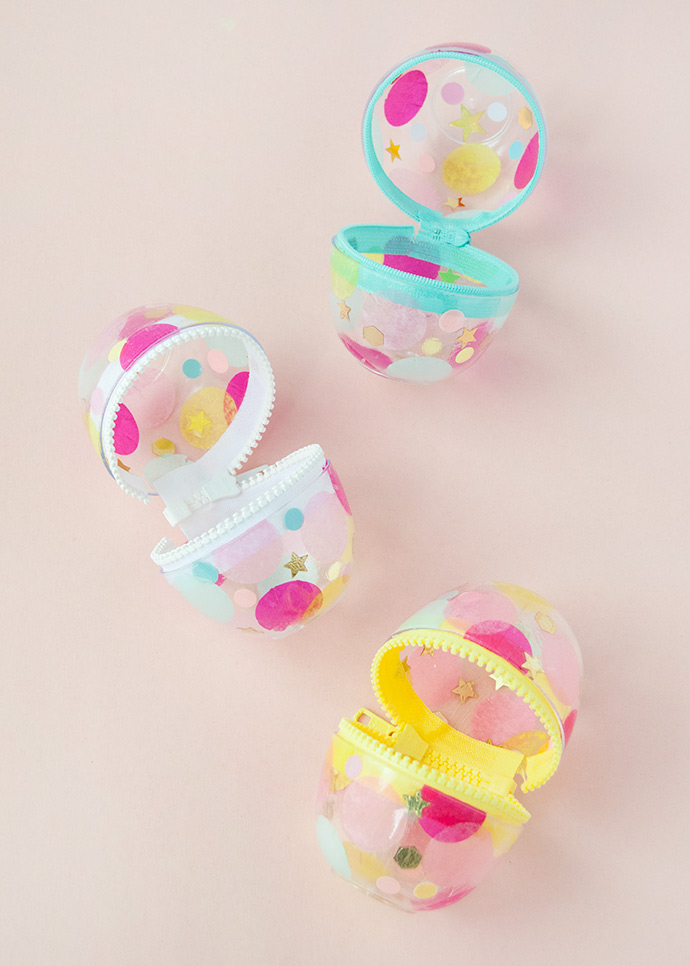
Apply a coat of Mod Podge to the inside of one of the clear plastic bowls. Place a few pieces of confetti onto the area, and then apply another coat of Mod Podge on top to seal in place. Repeat this until you’ve covered the inside of the bowl. Each zipper pocket needs two bowls, so repeat this process as many times as needed and let dry completely.
Step 2
Once dry, use a craft knife to carefully cut off any overhanging confetti so that the edges of the bowl are even,
Step 3
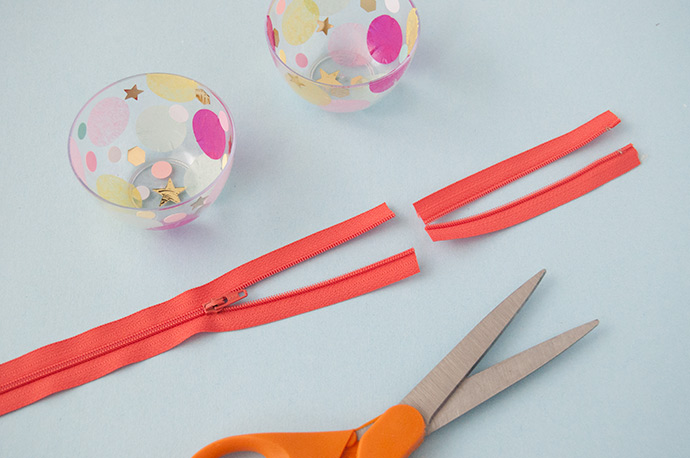
If your zipper is longer than the circumference of your bowl, trim the top edge so that it’s close to the right length but still slightly longer than you need – you can trim it exactly to size later. When trimming the end off of the zipper like this, it’s easy to accidentally pull the zipper slider right off now that the stopper isn’t there anymore. To prevent this, we suggest either stitching your own stopper in place on both sides of the zipper with a needle and thread. Alternately, applying a dab of glue on each side can also work – whichever method you pick, just make sure you don’t pull that slider off, or you’ll need to start fresh with another zipper.
Step 4
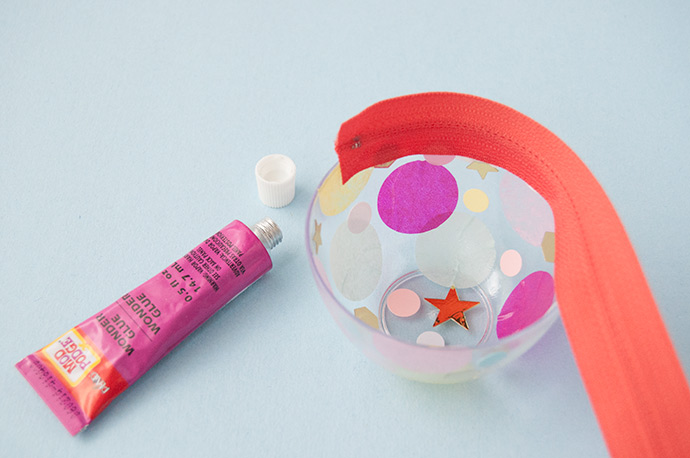
Use super glue (or any strong craft glue that adheres to plastic) to carefully apply one side of the zipper to the top edge of one of the bowls. Start by attaching the end of the zipper, lining it up so that the zipper’s teeth are set slightly back from the edge of the bowl – if they’re too close, the zipper slider won’t be able to fit.
Step 5
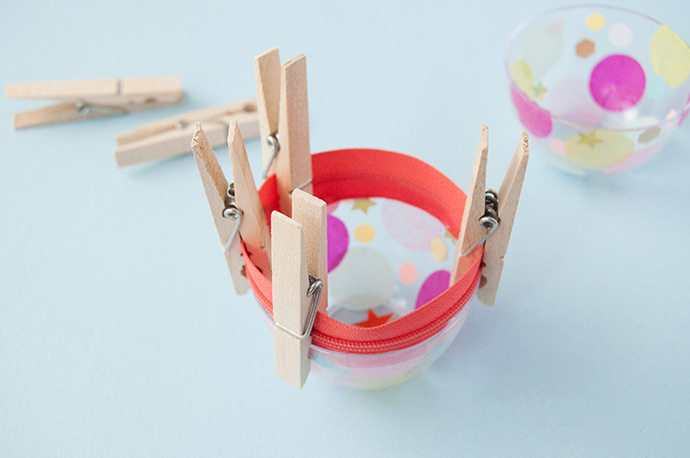
Continue gluing the zipper around the bowl until it’s around the whole thing, trimming if needed. Depending on your glue, it can help to use clamps to hold the zipper in place as it dries.
Step 6
Once the first half of the zipper is securely attached and the glue is dry (follow the directions on your super glue), it’s time to attach the other side. Carefully unzip the zipper and then repeat the previous steps, attaching this side of the zipper in the same way to the other bowl. This side is a little trickier to do, so you may need to attach it in two steps, allowing the glue to dry in between.
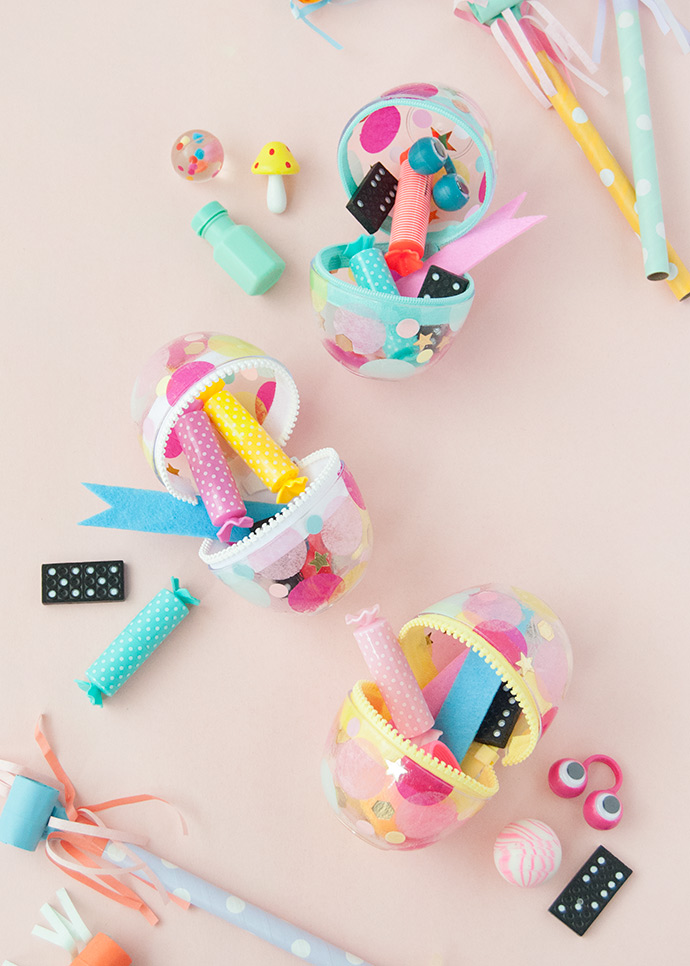
Once the glue has dried completely, fill them up with treats and goodies!
Happy crafting!