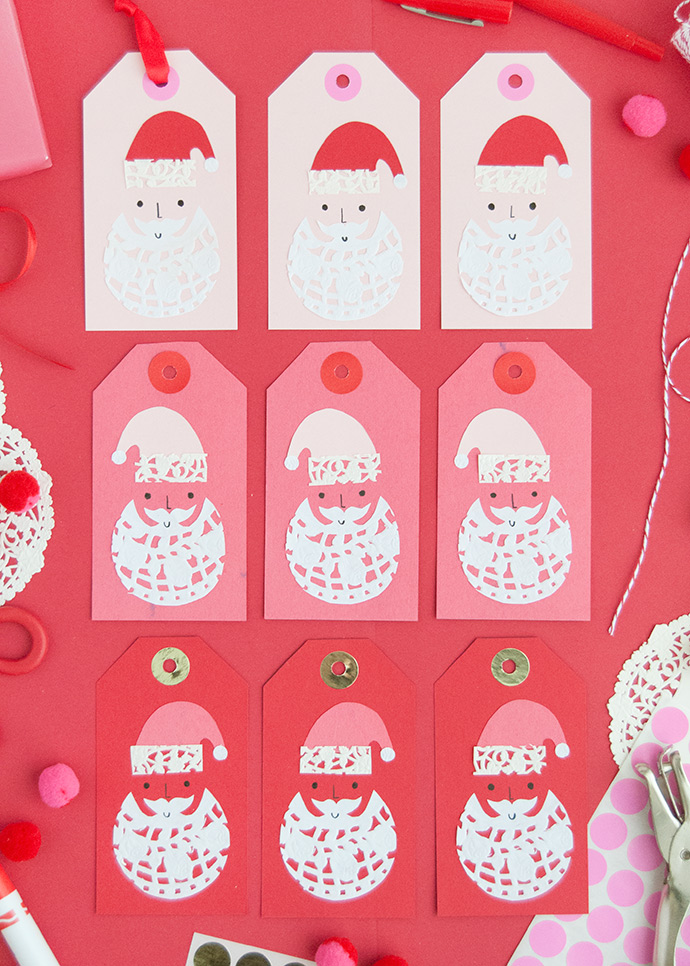
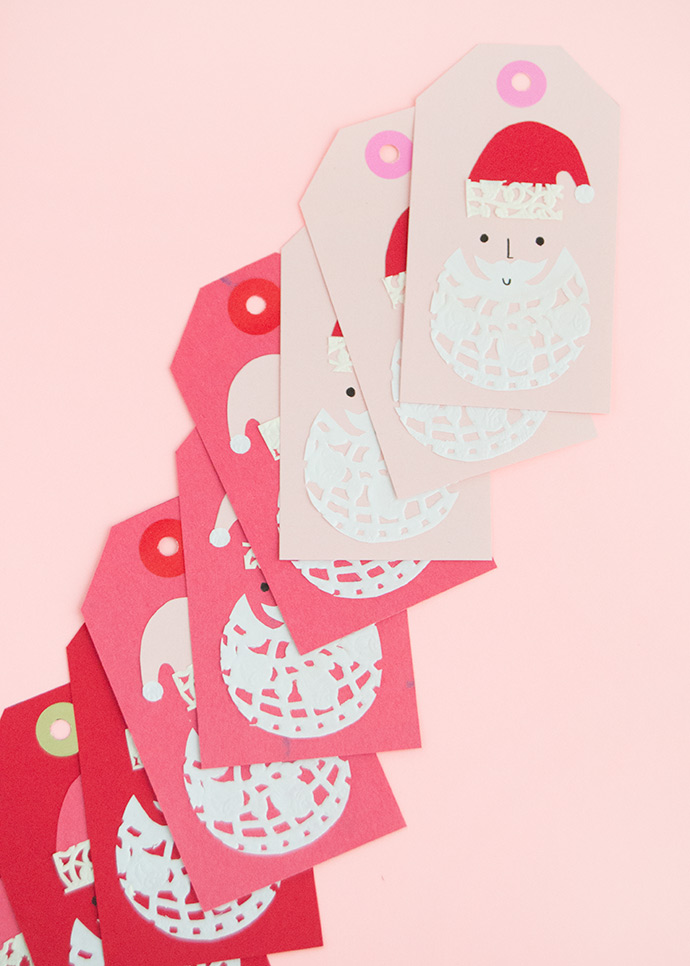
Browsing through vintage Christmas items on Etsy is one of our favorite ways to get inspired and that’s exactly what led to this project! Several years ago we came across this beautifully designed holiday card and fell in love with its clever and festive look. It’s been a few years since we first pinned it and it seems that the original Etsy listing is now gone, but we couldn’t help but be inspired and craft our own tags inspired by it!
We love how the doilies add a detailed look without having to do any of the intricate cutting! This project is also a part of a collaborative effort to spread the love of handmade gifts with 11 other crafty makers. From December 9th to December 20th, each crafter will post a different DIY gift in a different color to form a beautiful rainbow, so make sure to take a look on Instagram to follow along with all the colorful holiday crafts in our feeds and our stories!

what you need:
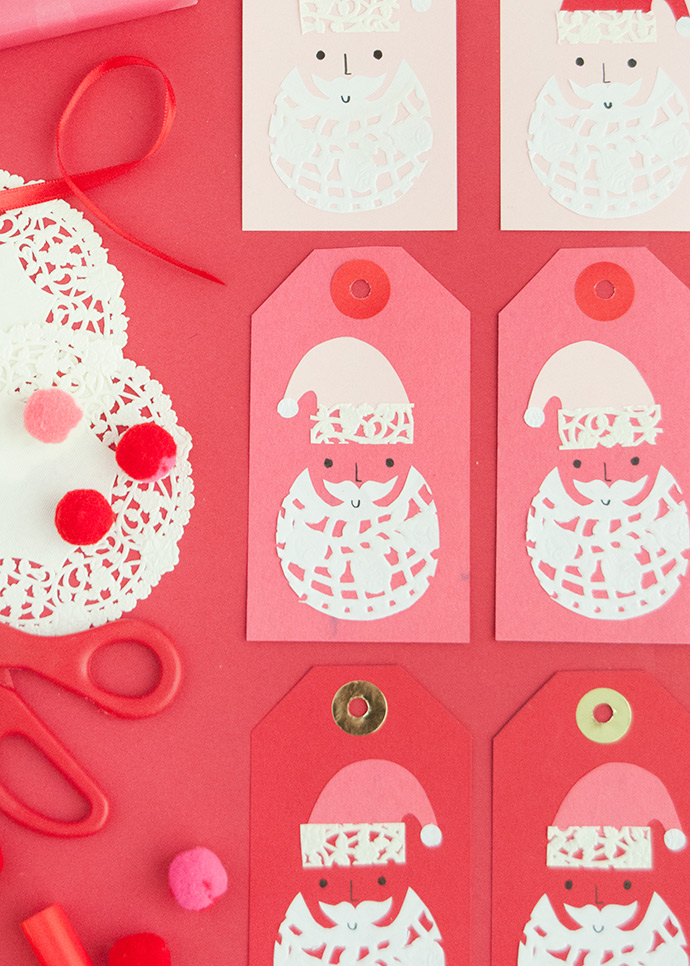
- Doilies
- Gift tags
- Black markers
- Red and pink colored paper
- Glue stick
- Scissors
- Pencil
- Hole punch
how-to:

Step 1
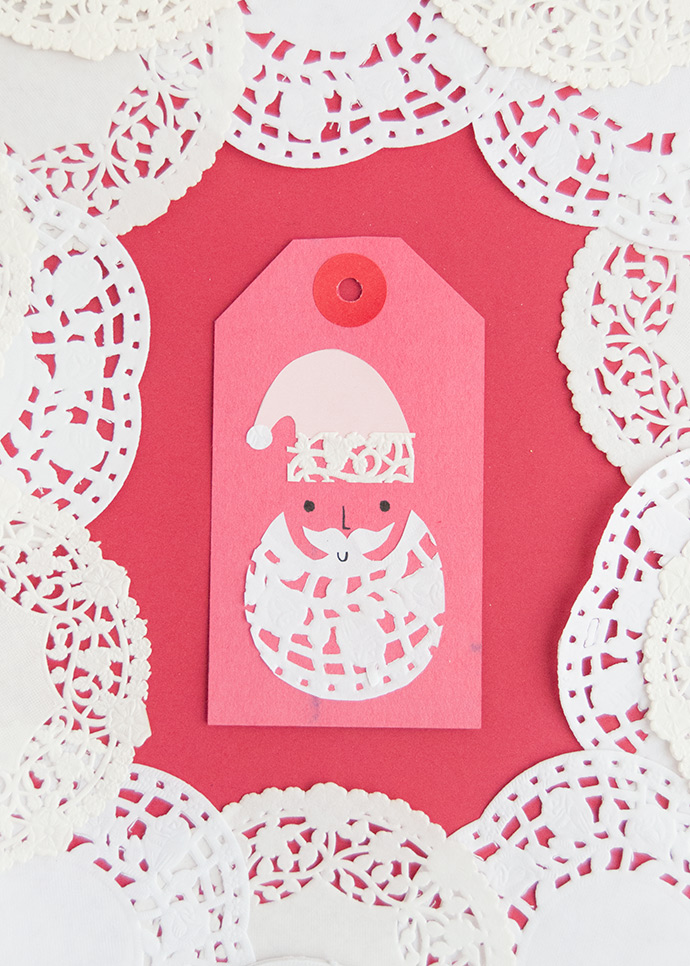
First, we’ll cut the doily details: the beard, hat trim, and hat pom pom. The beard can be the trickiest one, but once you get it once you can use that piece as a template. To make that template, take a single doily and fold it in half. Ideally, the mustache detail will be on the solid center area of the doily so keep that in mind. Find a circle-shaped object (like a drinking glass or lid) that is slightly smaller than your gift tag and trace half of it onto the fold of the doily, again making sure that the center solid bit is included. Cut out the circle and then, keeping it folded in half for now, trim the top solid piece into a mustache shape – it helps to use precision scissors here if possible. Unfold and look at the shape, trimming if necessary. Once you’re happy with the shape, use this as the template. You can hold it up to multiple doilies and cut several beards at once (the doilies are so thin that they’ll like to stick together until you separate them after cutting).
For the hat trim, cut a rectangle piece almost as wide as the beard. For the pom pom, use the hole puncher to make a circle from a solid part of the doily.
Step 2
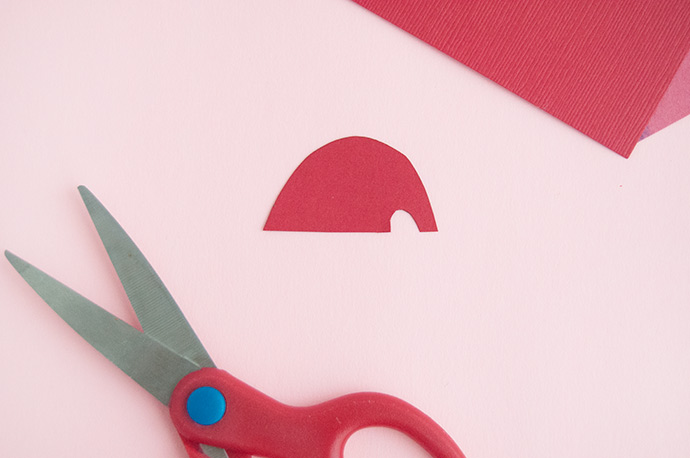
To make the hat, cut a piece of red (or pink, or whatever color contrasts your gift tags) into a curved U shape. Trim a smaller U out of the bottom edge so that you end up with a shape similar to the one above. Don’t forget to make sure it is just about the same size as the doily trim you just cut.

Step 3
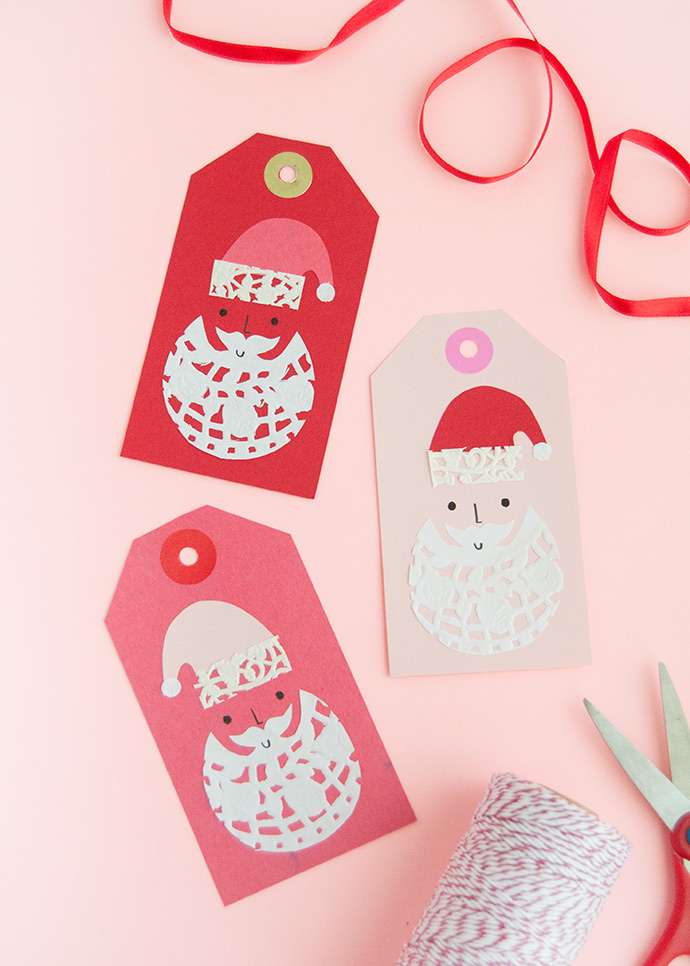
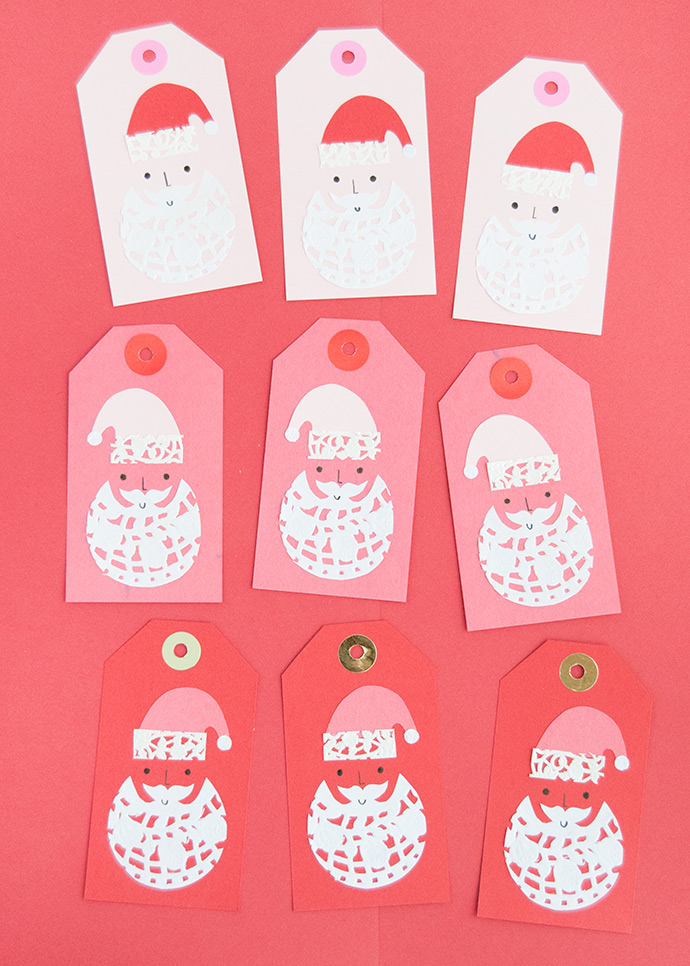
Time to assemble! Use the glue stick to attach the doily beard onto the tag, followed by the red hat and doily hat details. Draw on a jolly face with black marker. Repeat for the remaining tags and they’re ready to use!


Happy crafting!