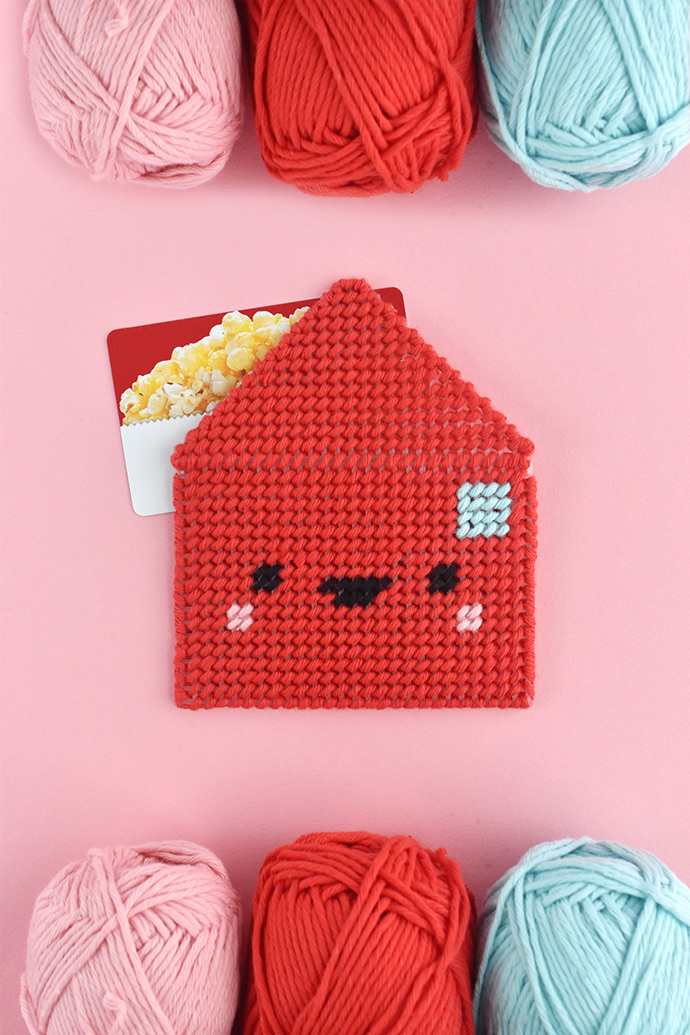
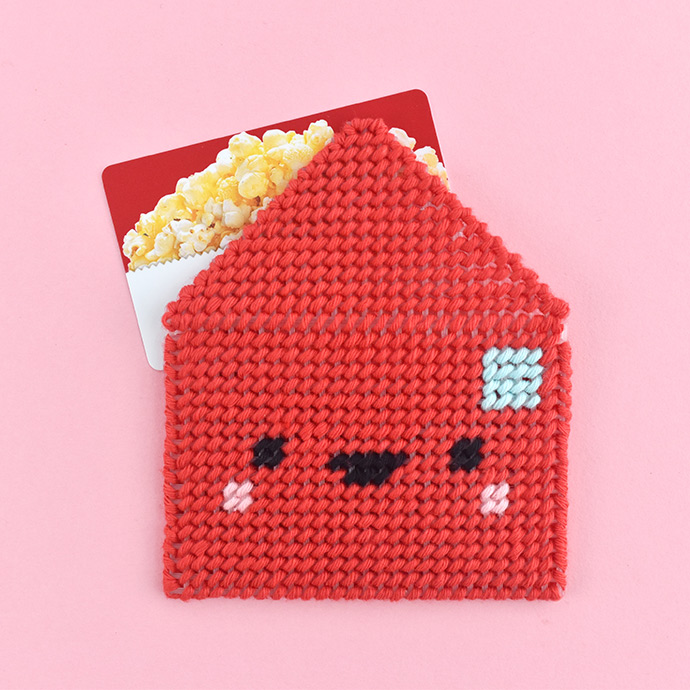
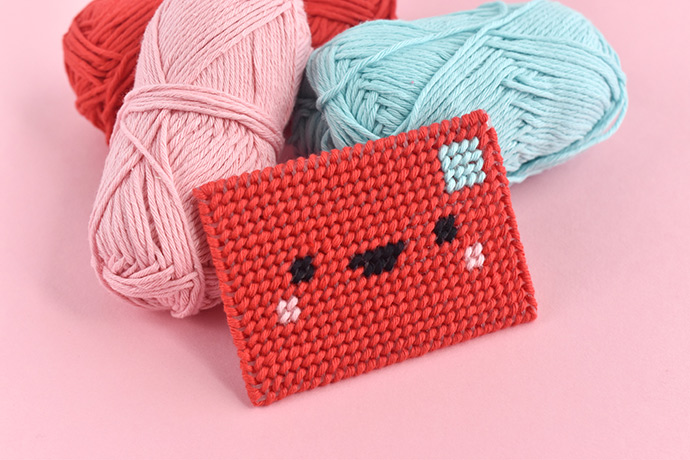
Gift cards may not always seem like a personal gift, but it can be when you pair it with an adorable handmade envelope This little reusable card case looks like a kawaii Valentine and it’s all stitched on plastic canvas. After the gift card is gone, the envelope pouch is a good place to hold other cards, cash or special notes!
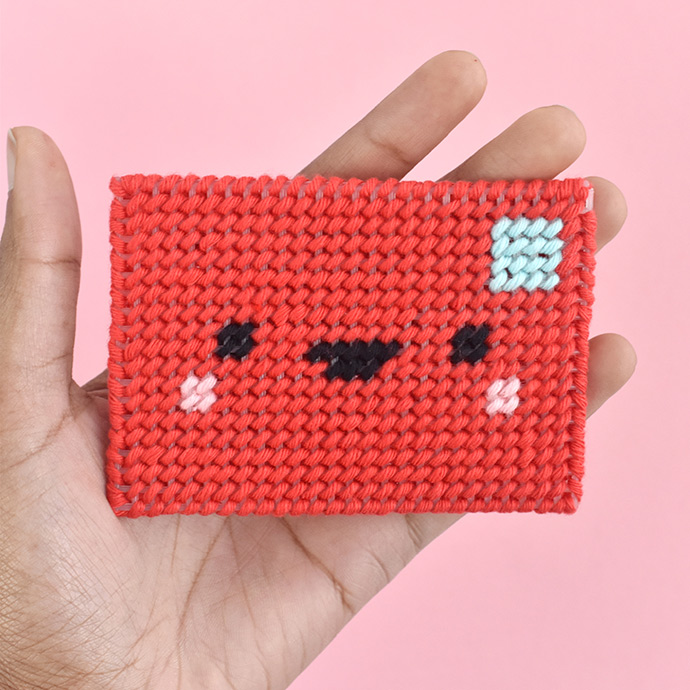
Stitching on plastic canvas covers the entire grid with a design. The front of the envelope has a sweet face, which means you need to follow a pattern while you work. For the other two pieces, it’s all one color so you can stitch away without needing to think too much.
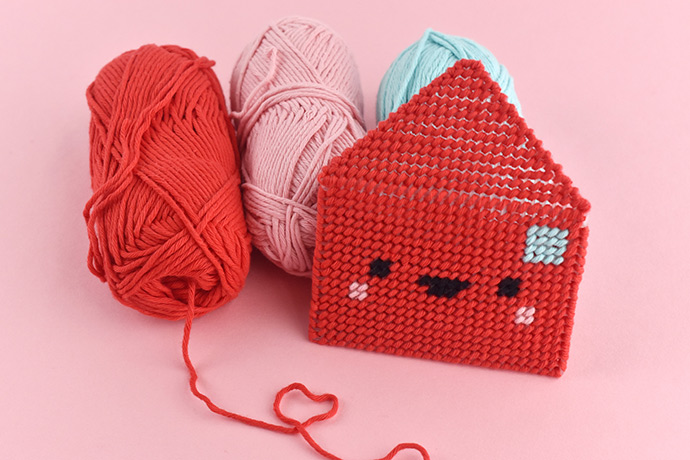
Of course, you can stitch your envelope in any colors to make it for any occasion.
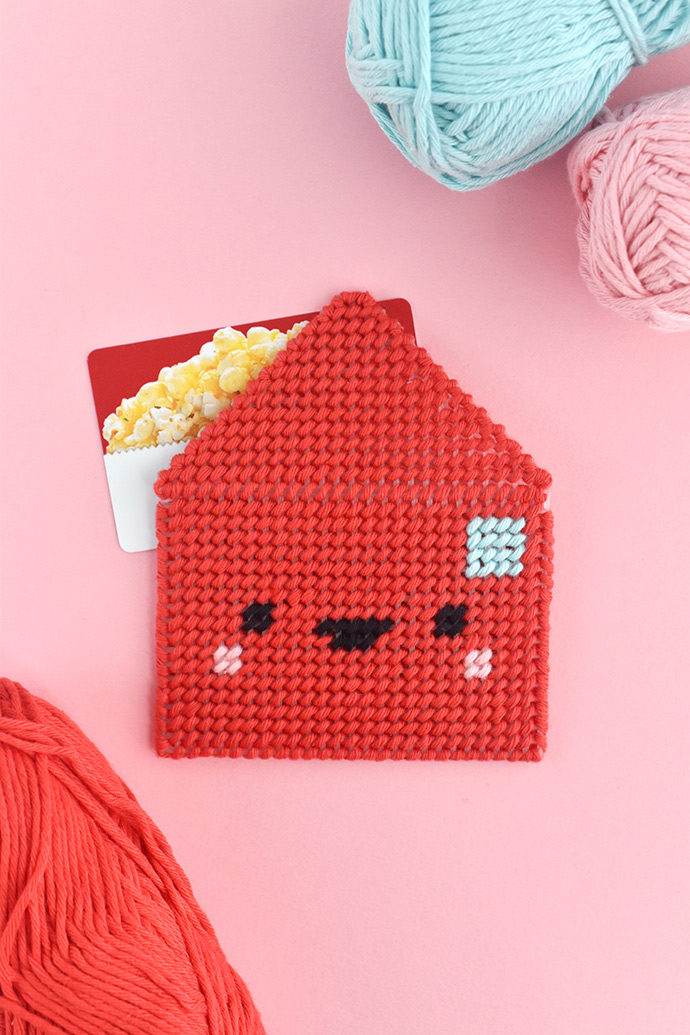
You can work with any kind of standard yarn you like, but it should be thick enough to mostly cover the plastic canvas. For the sample, we used cotton worsted weight yarn.
Grab your supplies and start stitching something special for your Valentine!
what you need:
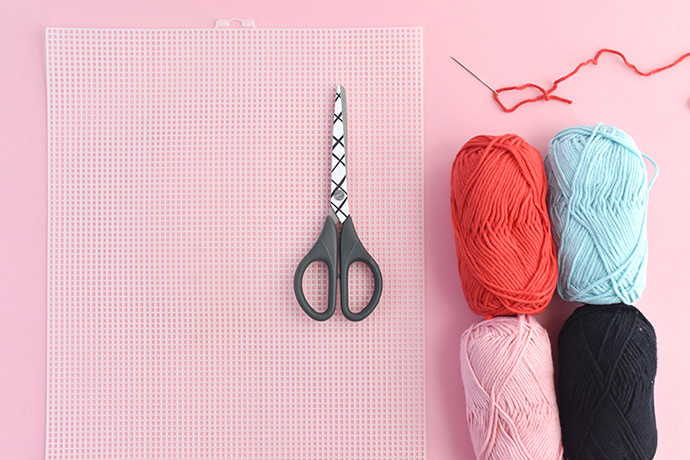
- 1 Sheet of 7-Mesh Plastic Canvas
- Yarn in Red, Aqua, Pink and Black
- Yarn Needle
- Scissors
- Printable envelope pattern
how-to:

Step 1
Follow the pattern to cut out the plastic canvas pieces. Use the black outlines as a guide for the three shapes.
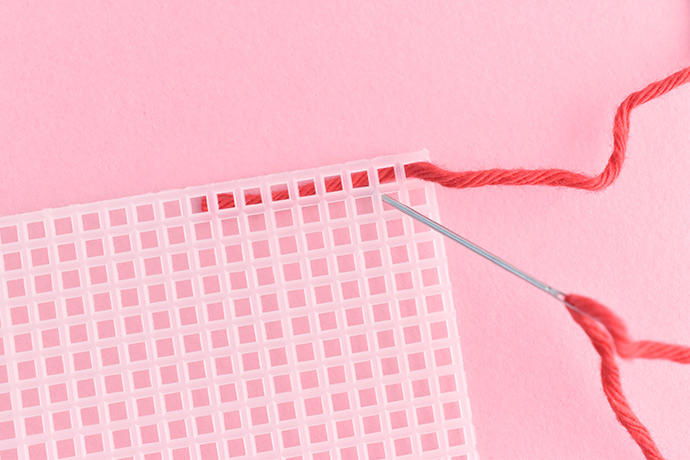
Step 2
Cut a piece of yarn and thread your needle. Start in the upper right and come up from the back, leaving a short tail on the back. Go down one hole down and over to the left.
Come up through the next hole in the top row. When you do this, your yarn should go over the tail and hold it in place.
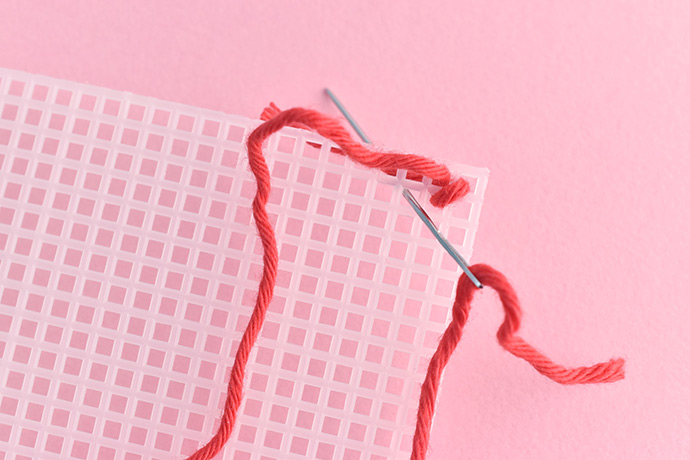
Repeat the process and go back down in the next hole in the second row. As you make more of these diagonal stitches, they’ll cover the tail and fill in the row. When you reach the end, make the next row of diagonal stitches. These stitches are called “tent stitch.”

Step 3
When you reach the end of a length of yarn, slide the needle through the back of the last stitches you made and pull it tight. Trim the extra yarn.
Start a new piece of yarn as you did in the previous step and continue stitching.

Step 4
Stitch around the top edge of the back piece and the bottom edge of the envelope flap. Wrap the yarn around all the straight edges of the plastic canvas. Secure the ends through the back of the stitches.

Step 5
Hold the front and back pieces together (make sure the right sides are showing!). Hold the tail along the edge and stitch over it just like starting any other piece of yarn. Stitch around the sides and bottom of the envelope.

When you reach the end, slide the needle through the stitches on the side seam.
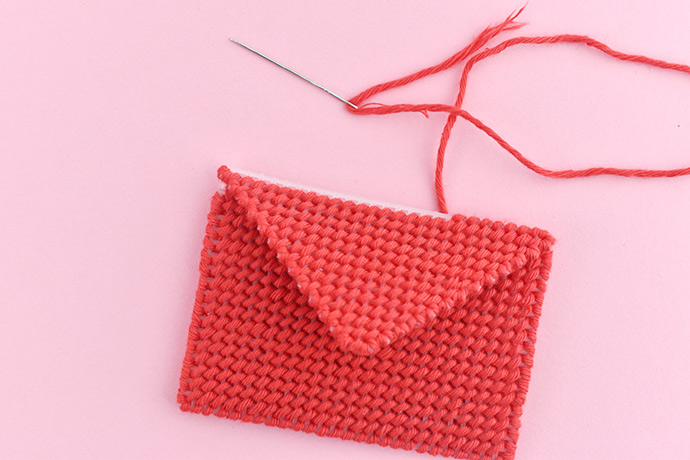
Step 6
To finish, stitch the flap to the top of the envelope.
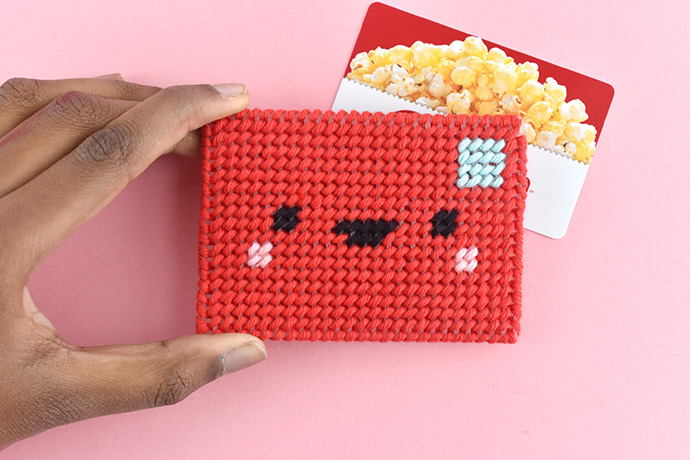
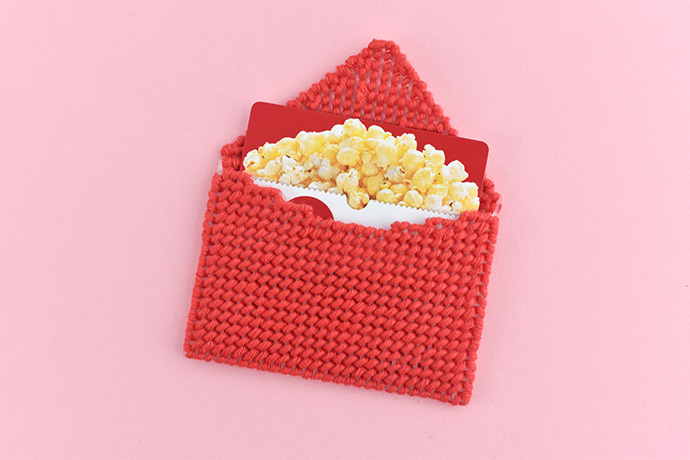
Add a special note or a gift card and your envelope is ready to give to a friend or family member!
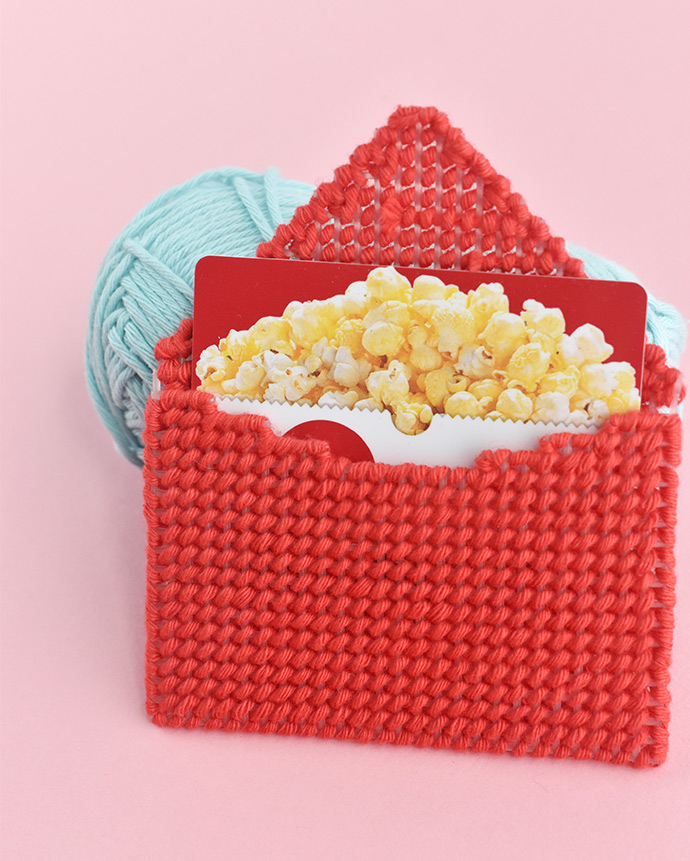
Don’t want to stitch all those stitches? Instead of covering the entire plastic canvas, cut the pieces, then stitch the edges and join the pieces. You’ll be able to see through the card case, but it will still look fun and colorful. This is a great method if you have limited time or want to make a bunch of envelopes!

Happy crafting!