This post is sponsored by Plaid Enterprises.
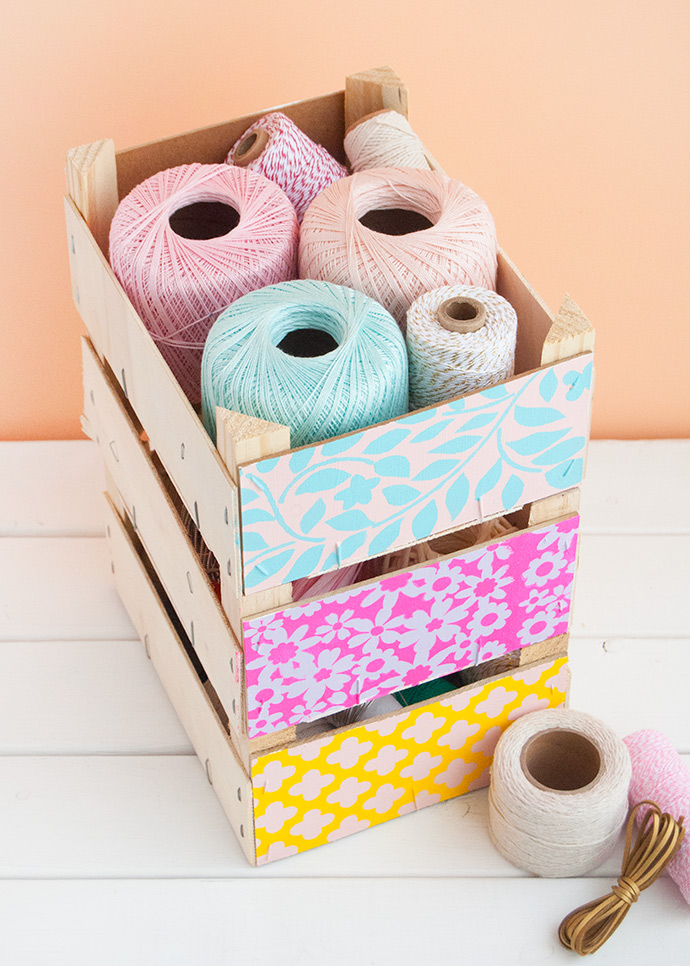
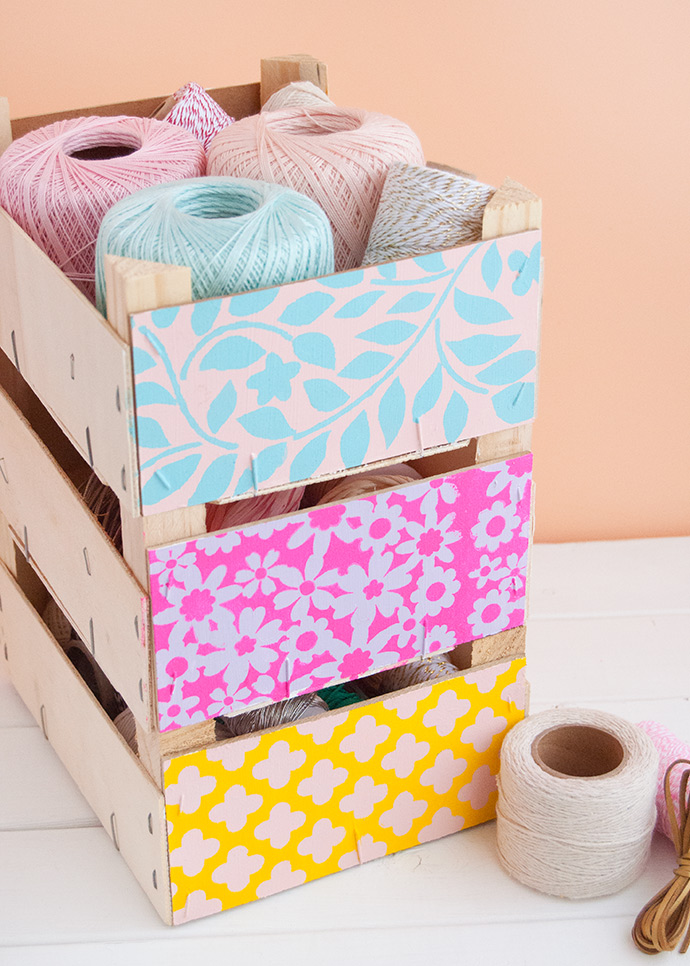
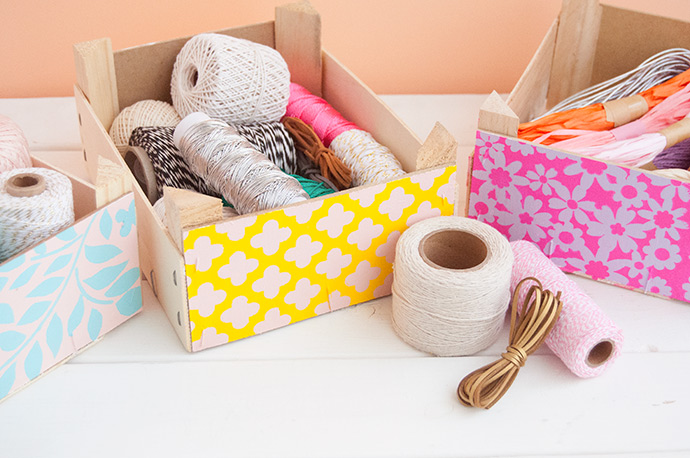
We’ve long been crushing on the adorable mini wooden crates that come with clementines all winter long at the supermarket. They are really just the perfect size for storing so many different things that we can’t help but save them each time we finish another bunch of tasty oranges. Our stack of crates has been growing all winter long, but we’ve finally decided to give them a quick makeover thanks to FolkArt paint and of course some fun stencils!
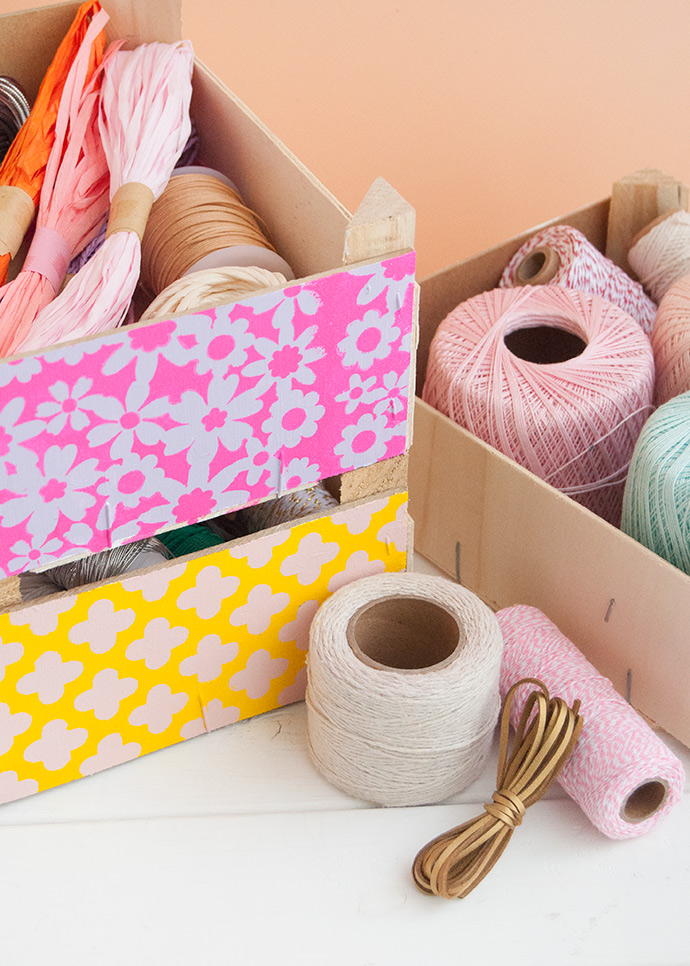
This project is SO simple yet so satisfying to do. They instantly not only add some handy storage to almost any space, but provide a great pop of color and pattern too. We used a mix of colors and stencils here, but you could definitely use this same idea but with one stencil instead for a more uniform look. Whatever you choose, we’re sure these mini crates will come in handy for any spring cleaning you’re planning. Keep reading for all our tips and tricks below!

what you need:
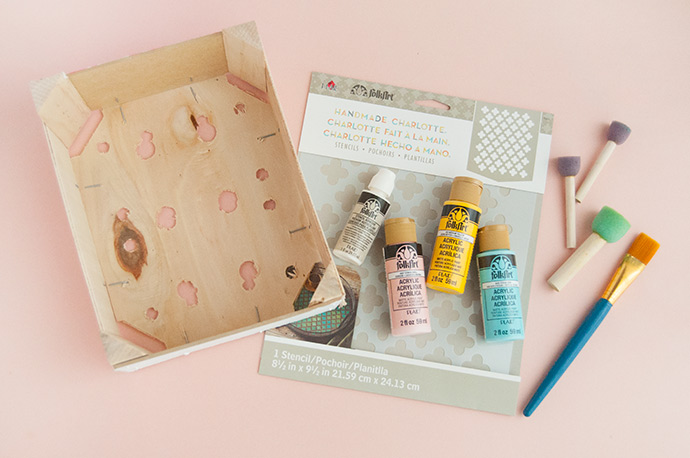
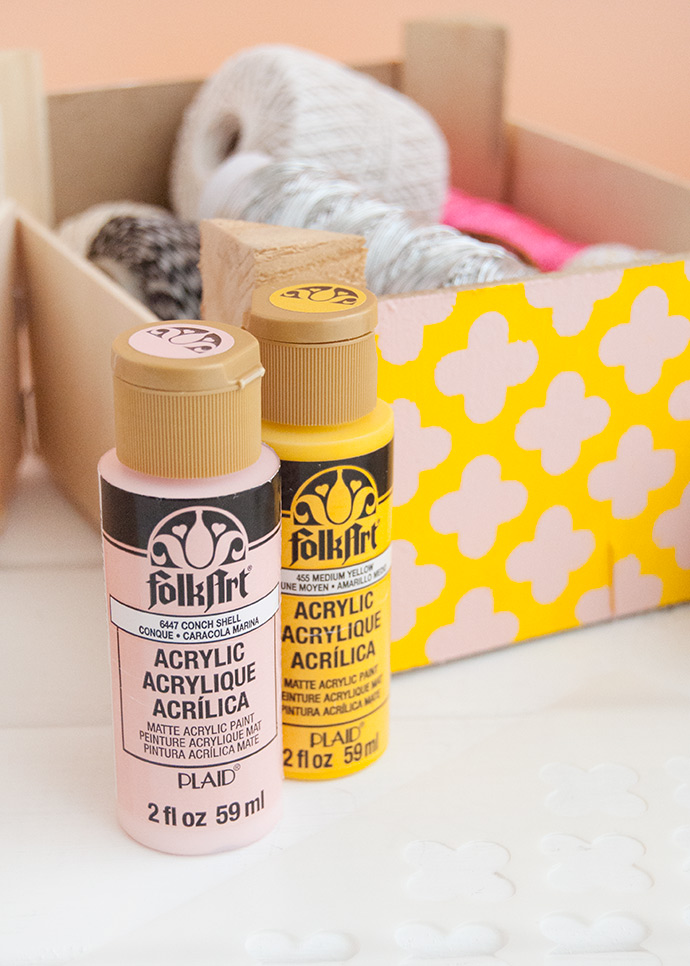
- FolkArt Acrylic Craft Paint
- Paintbrush
- Stencils
- Stencil brushes
- Stencil adhesive
- Empty wooden clementine crates
how-to:

Step 1
Apply a coat of paint onto each end of the clementine crate. Depending on the pattern and/or logos, we found it helped to do a quick coat of white paint first so that the yellow was as bright and vibrant as possible! You can also choose to paint the other two sides, but we liked the look of the unfinished wood so left these ones as is. Let dry completely.
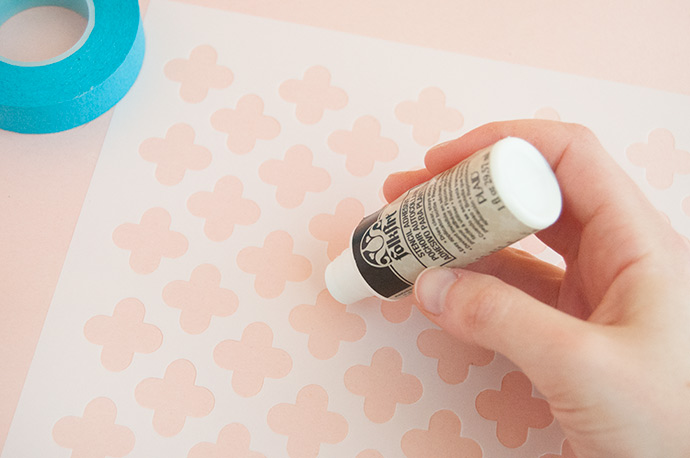
Step 2
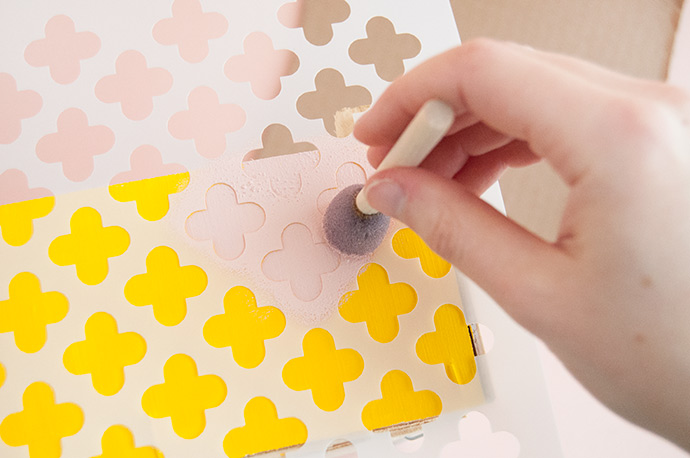
Pick out your stencil and apply light dots of stencil adhesive onto the back. Alternately, you can use stencil tape if you prefer, but it helps a lot to use one or the other to lock the stencil in place as you paint. Let the stencil adhesive dry so that it feels tacky to the touch and place onto the painted clementine crate.
Step 3
Squeeze some paint onto a palette or paper plate. Dip your foam stencil brush into the paint and dab off any excess paint on the paper plate using an up and down motion. Once any big blobs are done, use this same up and down motion to apply paint onto the clementine box through the stencil. Reapply paint onto the brush as needed, and repeat until the whole side is covered.
Step 4
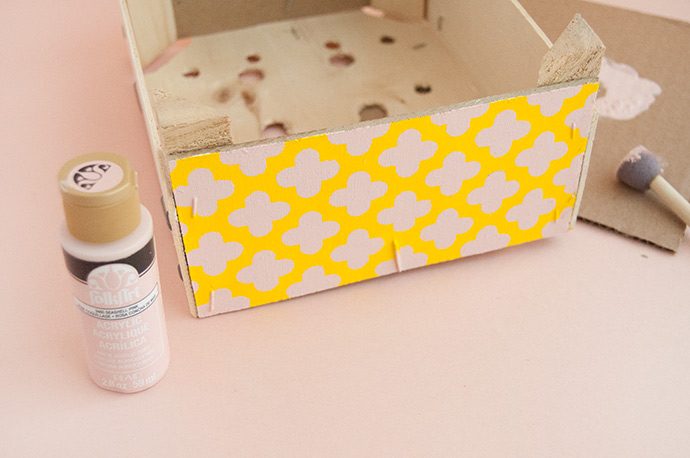
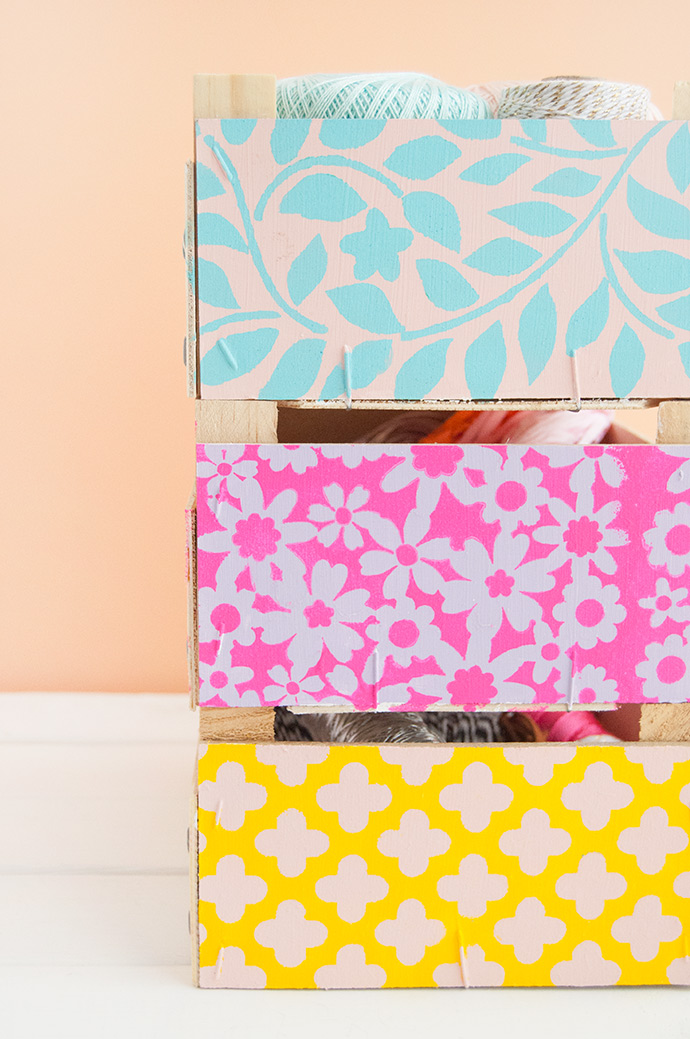
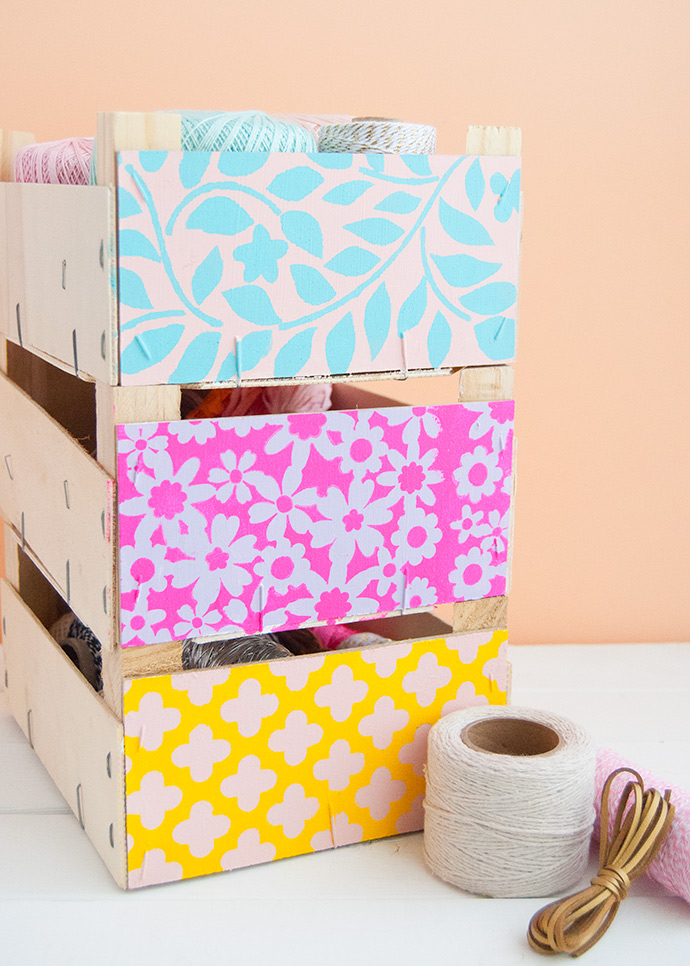
Remove the stencil carefully and allow the paint to dry completely. Repeat on the other side of the box, and on other boxes too, mixing and matching colors and stencils. The great thing about these wooden clementine boxes is that they stack beautifully so are perfect for storing lots of different things.
Happy crafting!