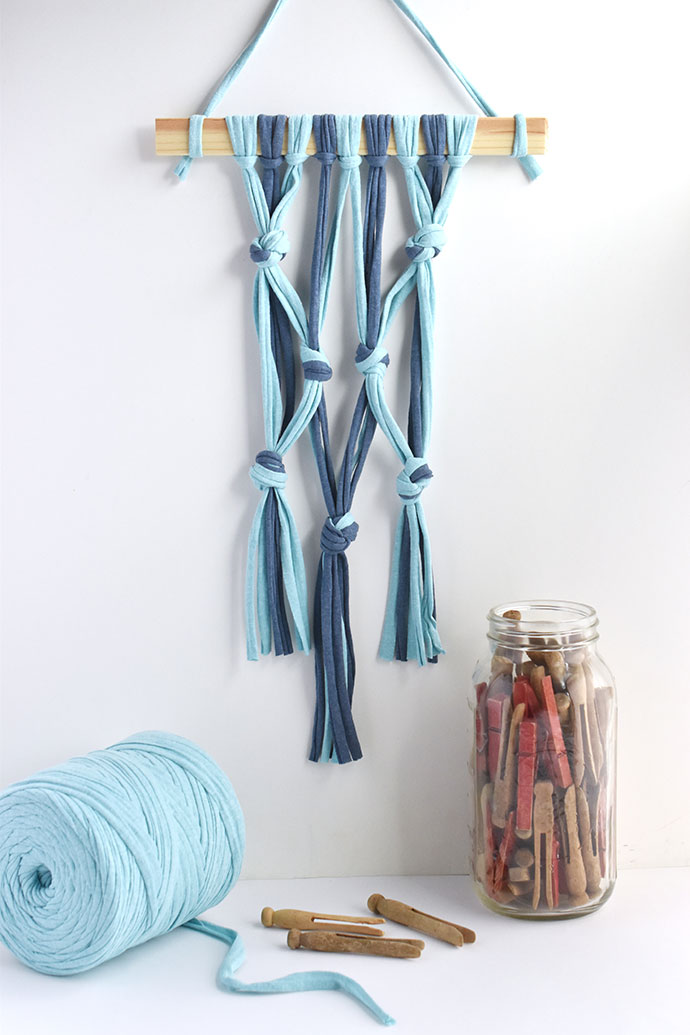
Macrame wall hangings are popular crafts and home decor, but learning all those knots can be complicated. Start with this easy macrame project that’s perfect for kids! You only need to do two types of knots and you probably already know how to make them.
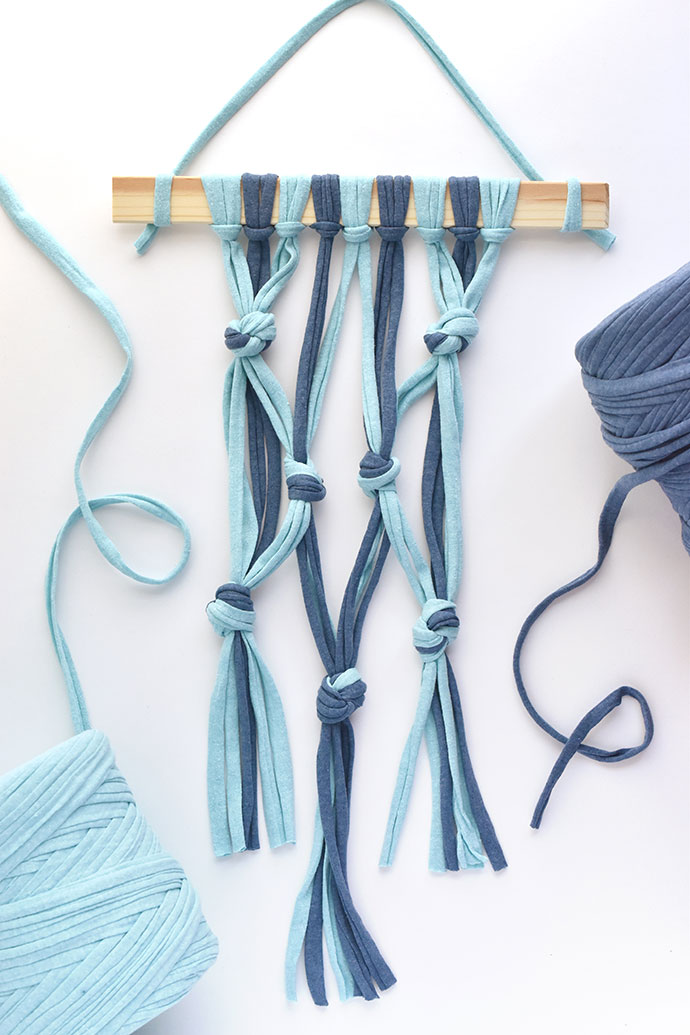
By working with one or two colors of t-shirt yarn, you can create a fun and colorful piece of fiber art to display on your wall!
In less than 30 minutes, you have a fun way to add some fiber to your room. Plus starting with this super simple version prepares you for learning more knots and creating other macrame pieces!
Don’t get all tied up in knots…let’s get crafting!
what you need:
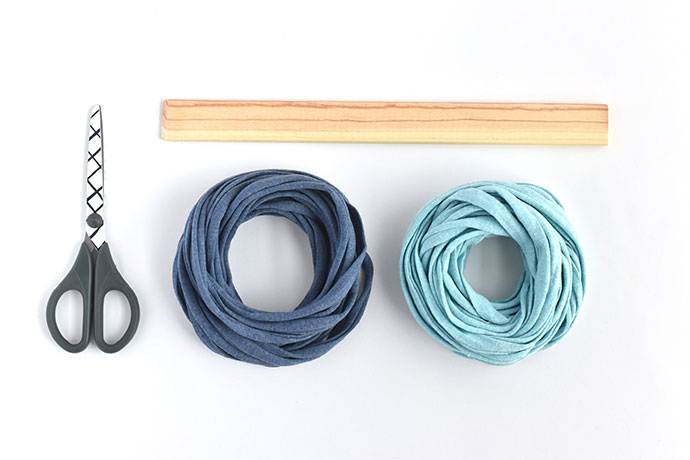
- 12-inch Wood Slat or Dowel Rod
- T-shirt Yarn (we used 60 feet of color A and 48 feet of color B)
- Scissors
- Ruler
how-to:
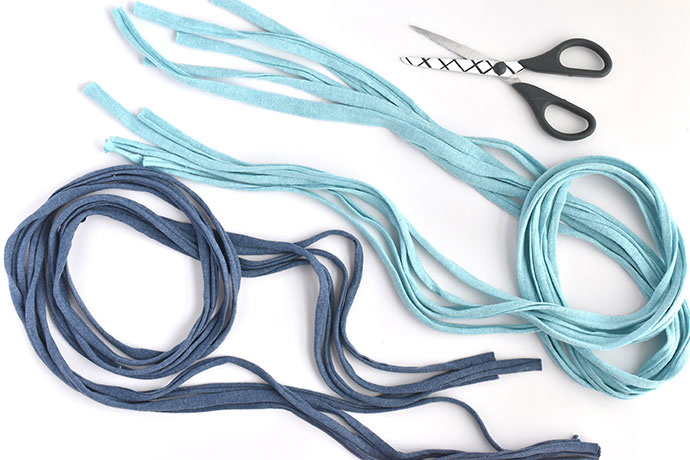
Step 1
Measure and cut five 5-foot pieces of t-shirt yarn from color A and four 5-foot pieces from color B.
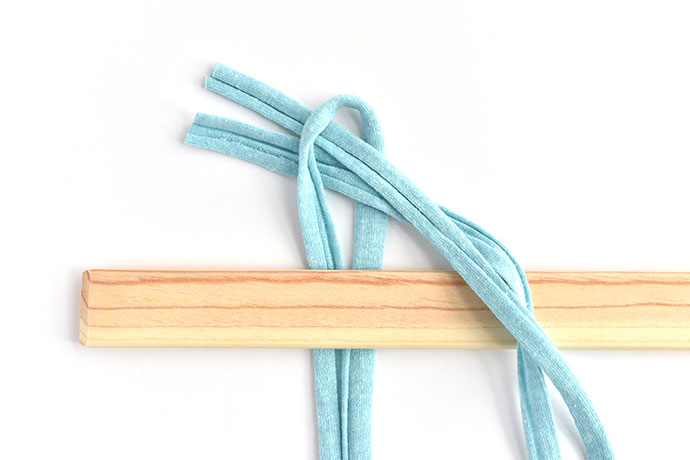
Step 2
Fold a piece of yarn in half and place the fold behind the wood slat. Bring the ends of the yarn up and slip them through the folded loop.This is called the lark’s head knot and you may have done this before without knowing the name.
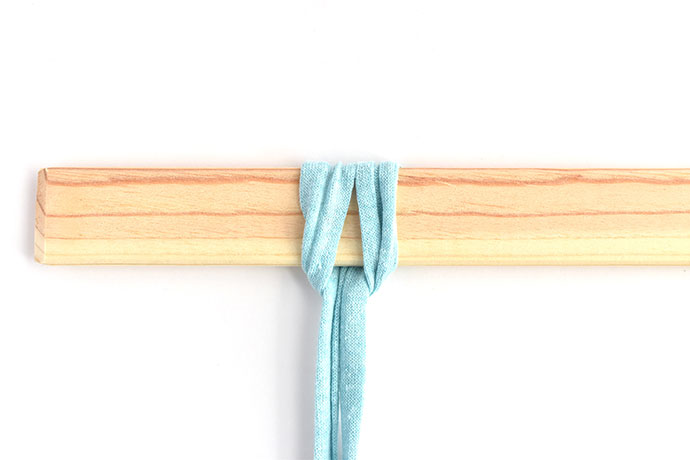
Tighten the yarn so the folded loop is on the bottom.
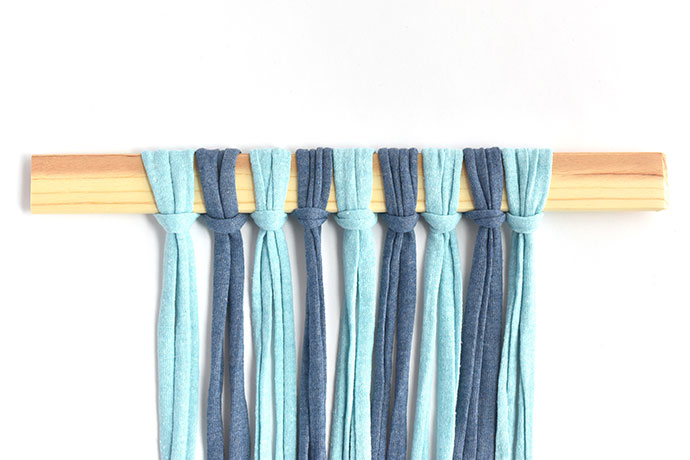
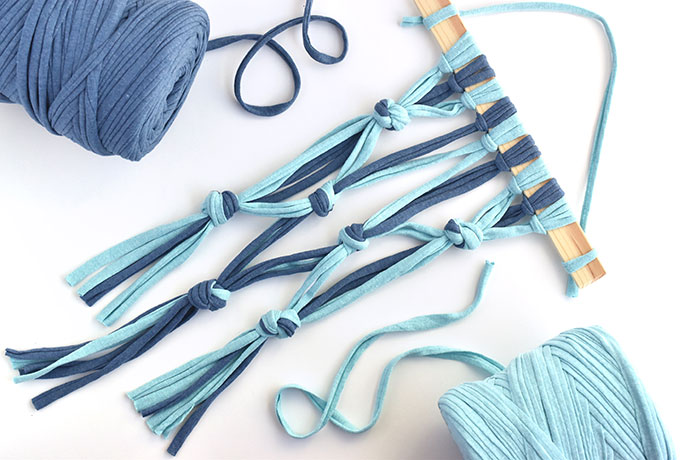
Repeat this process with all the pieces of yarn, alternating between the two colors. Flip the wood slat over so the loops show on the front.
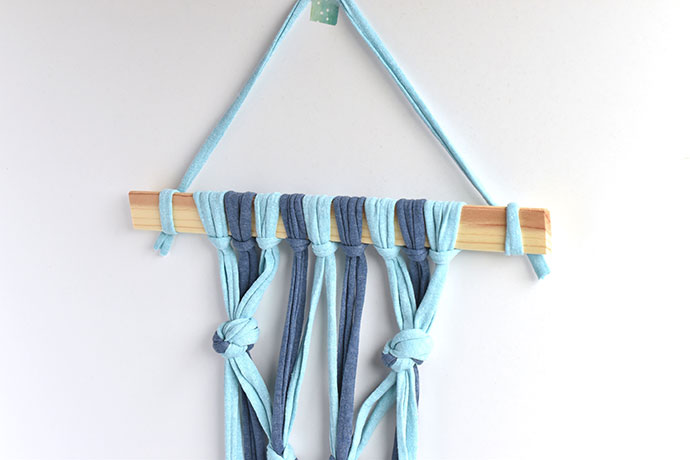
Step 3
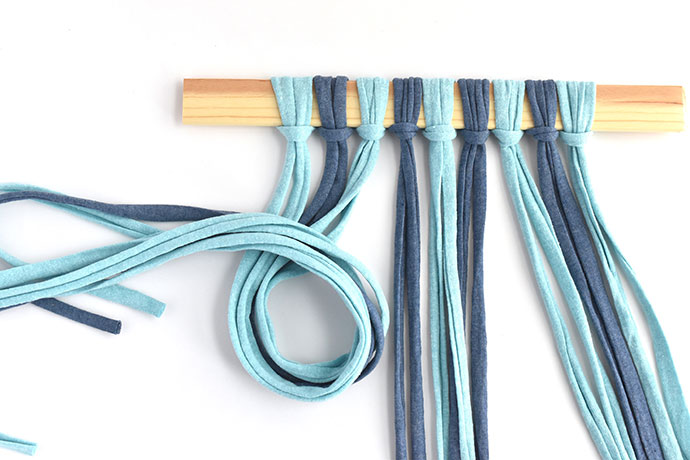
Separate the yarn into three sections. Hold the first section of six strands of yarn and make a loop.
Bring the ends of the yarn through the loop and tighten the knot about 2 inches from the top.
This is called an overhand knot and it’s exactly like tying a knot at the end of a thread before you start sewing.
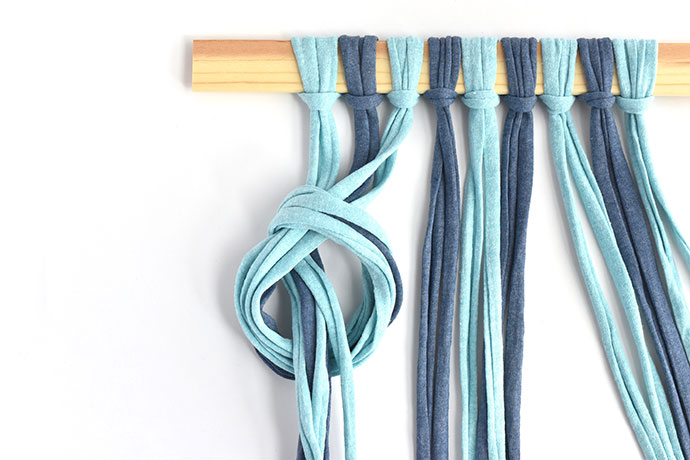
Hold the last section of six strands of yarn together and tie an overhand knot. As you tighten the knots, try to make sure they are even with each other.

Step 4
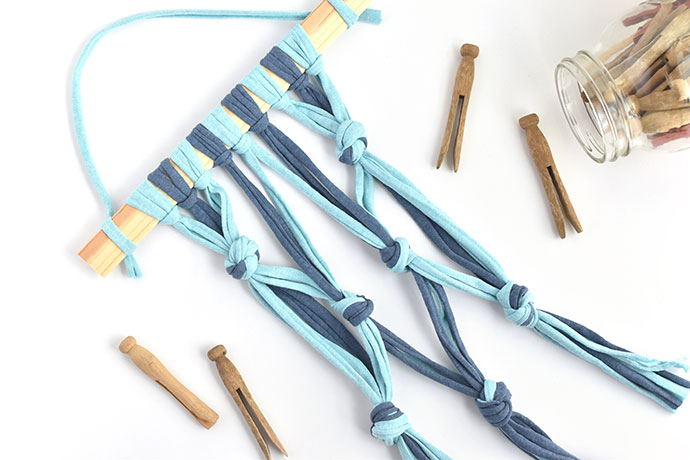
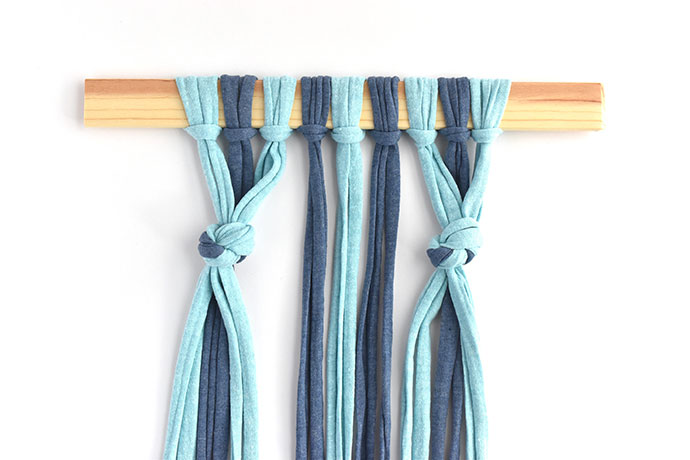
Move two strands of color A yarn from the first section over and combine them with three strands of yarn from the center section. Tie a knot about 2-1/2 inches from the previous knots.Repeat on the other side, moving two strands of color A yarn from the last section and combine them with the rest of the center section, then tie a knot at the same height as the first knot from this step.
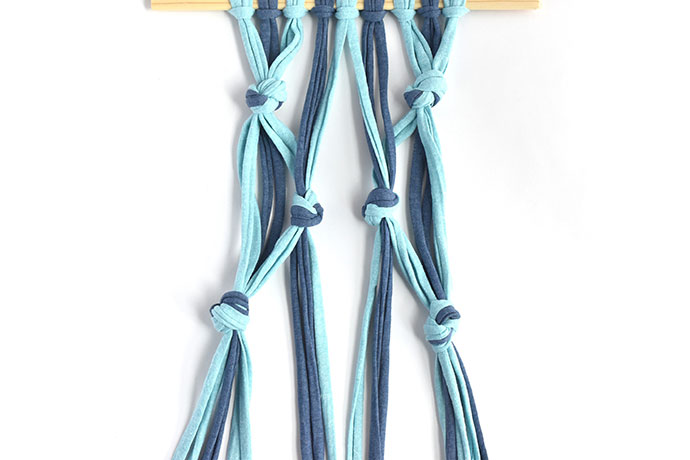
Step 5
Move the shorter strands from the step 4 knots back to the outside sections. Tie each of the outside sections into an overhand knot about 2-1/2 inches from the previous knots.
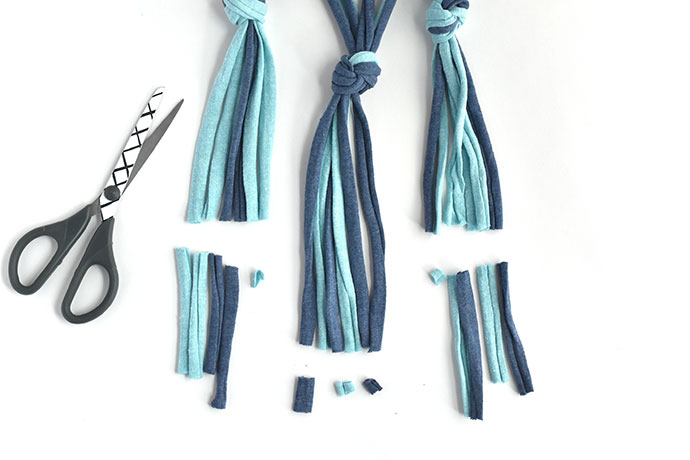
Step 6
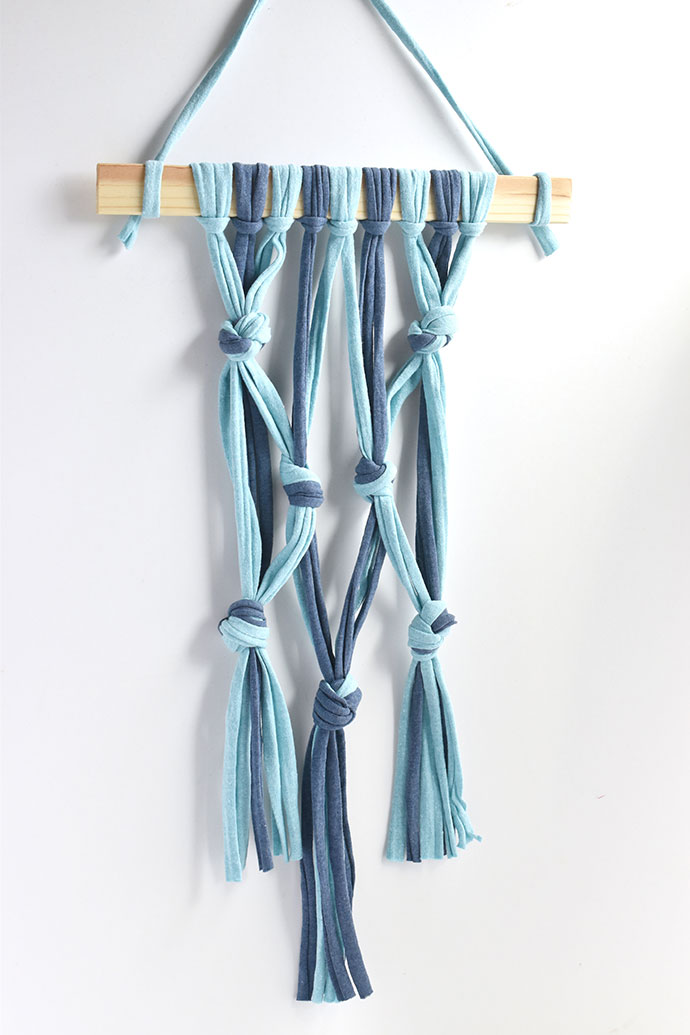
Hold the yarn in the center section together and tie an overhand knot. Trim the ends so they are even. Next, trim the ends on the first and last sections so all the strands are even with the shortest piece in the section.

Step 7
Cut a 14-inch piece of t-shirt yarn and tie it to the ends of the wood slat with a simple knot.
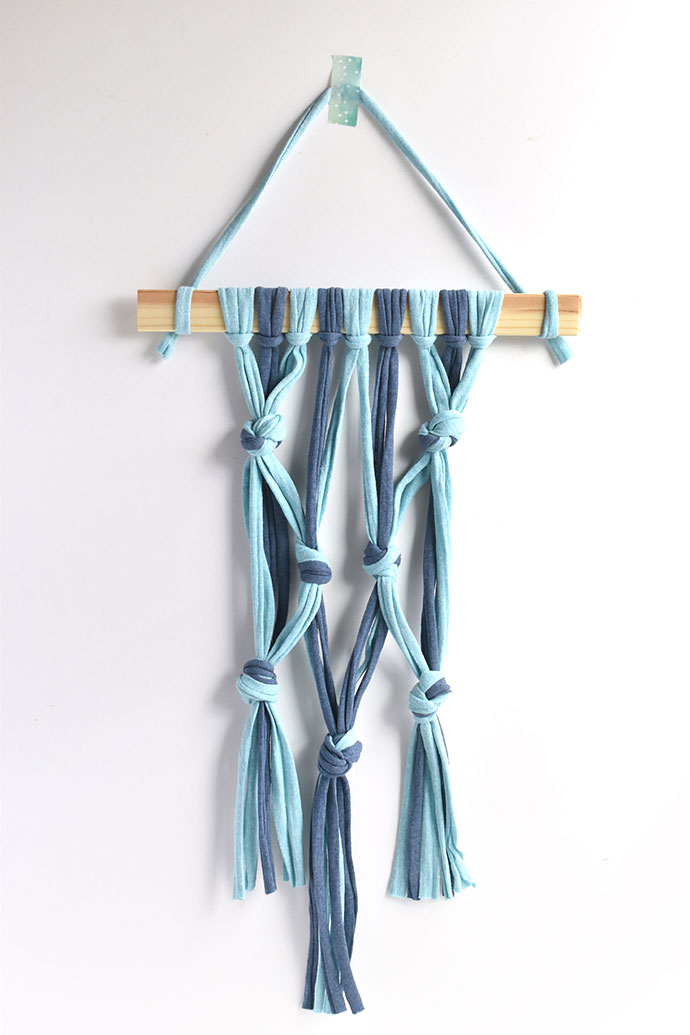
Your macrame wall hanging is ready to display on a wall or door! You can even hang this in a space that lets your macrame turn and move so you can see through the yarn and knots!

This isn’t exactly traditional macrame, but it uses the same concepts, which is what makes it a great place to start. Learning how to move the strands of yarn (or rope!), knotting, and keeping the spacing even are all important as you try more techniques.
If you don’t want to use t-shirt yarn, you can also use rope, woven macrame cord, or even extra bulky yarn. Working in a single color will also look great, but having alternating colors helps kids see where the strands go. Want to add more color? Try knotting a whole rainbow!
Happy crafting!