This post is sponsored by Tulip.
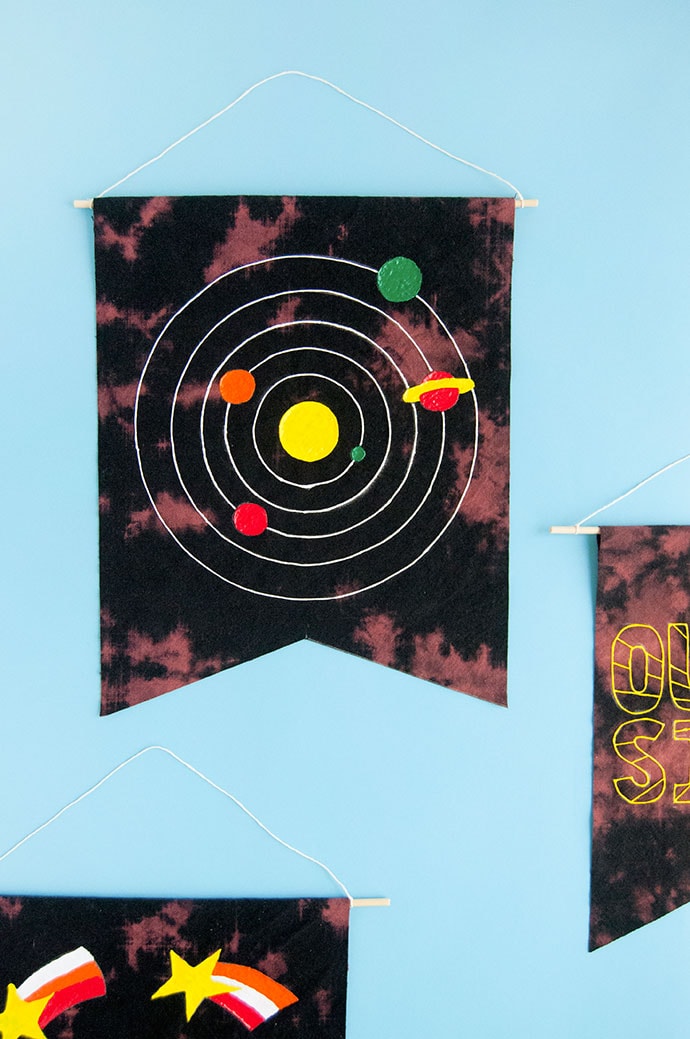
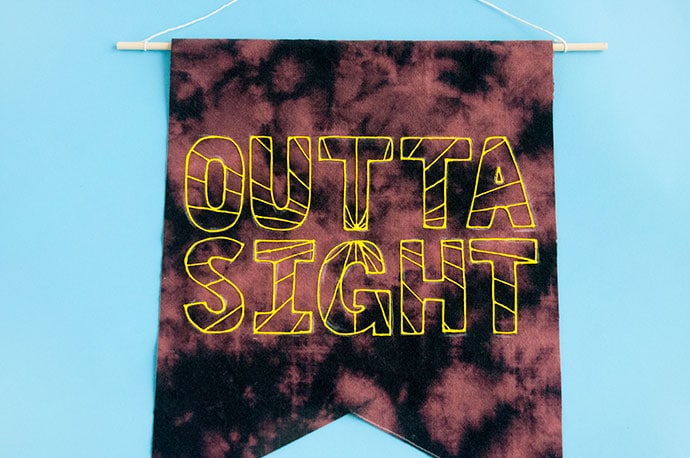
Today’s projects are so cool that you might even call them outta sight! Inspired by outer space, we had SO much fun crafting these DIY wall hangings using Tulip’s Reverse Tie-Dye Kit and Slick Puffy Paints. And yes, you read that right – tie-dye! Instead of starting with white cloth, you instead use black. Normally with tie-dye you’re adding colors on top, but with this kit you’re using a technique similar to bleaching to remove the color instead. The result is this super rad pattern that looks just like a galaxy in outer space.
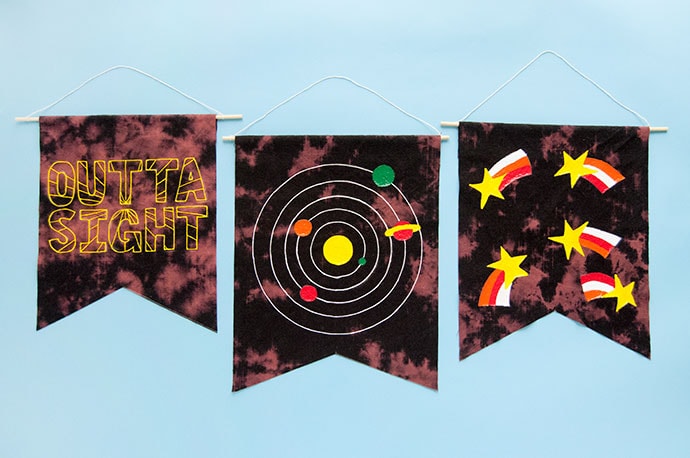
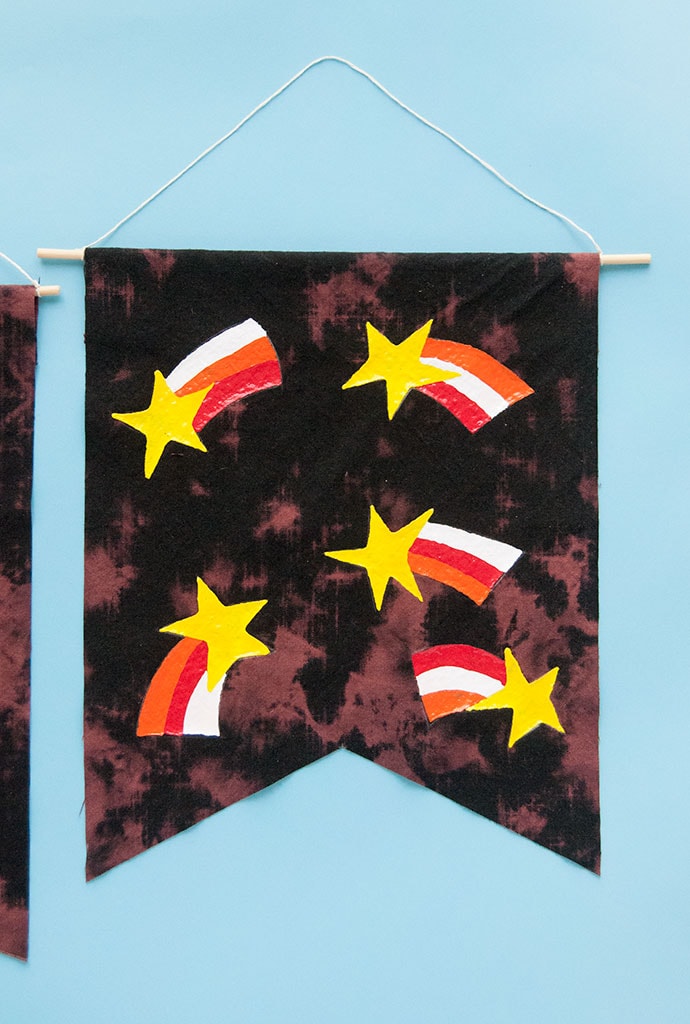
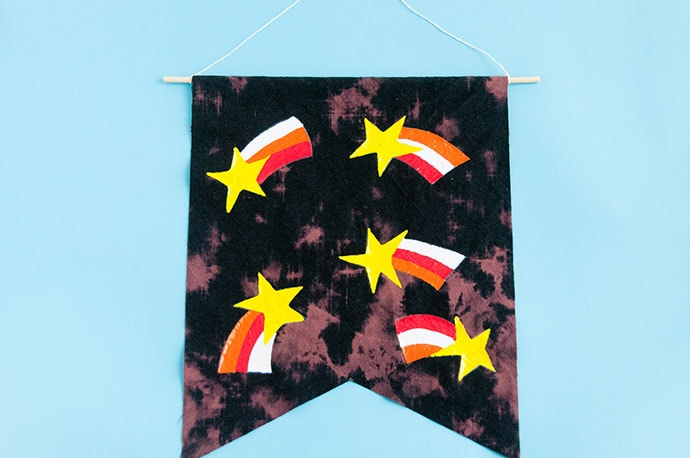
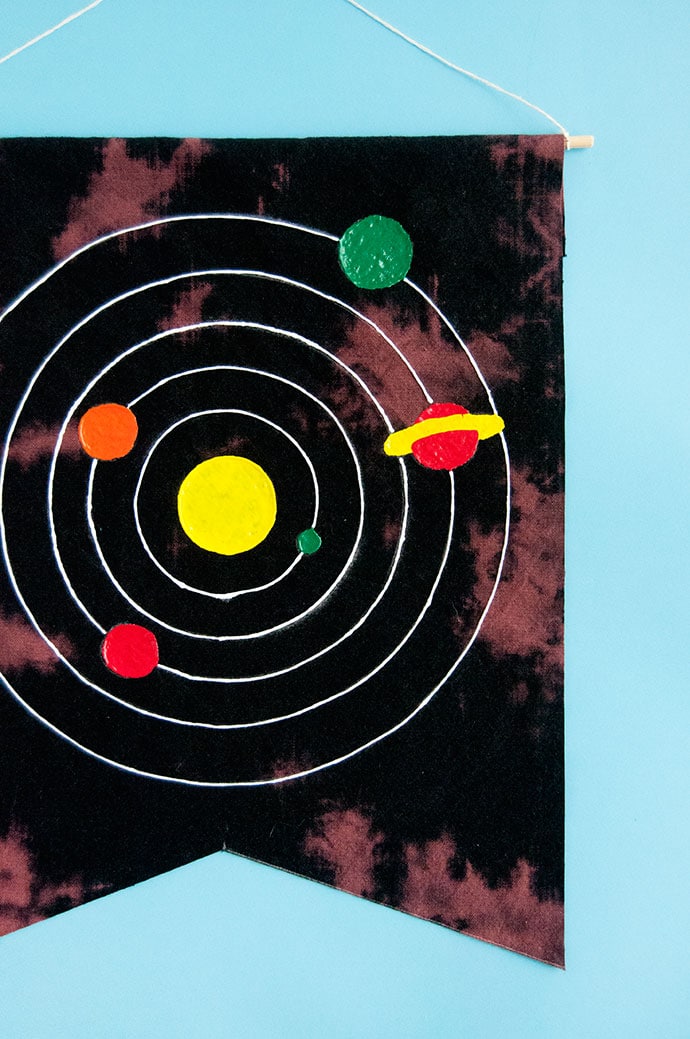
Top it off with some colorful space-inspired designs and your wall hangings are ready to hang! We took inspiration from shooting stars and the solar system, but we had some fun with it and created our very own planets. Keep reading for the full instructions on how to make your very own space wall hangings.
what you need:

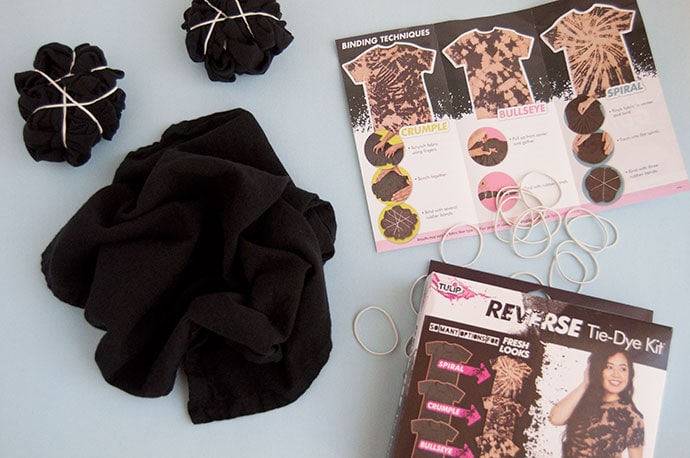
- Reverse Tie-Dye Kit
- Tulip Slick Puffy Paints
- Black 100% cotton napkins
- Chalk
- Wooden dowel or skewers
- Double stick tape
- Scissors
- String
how-to:
Step 1
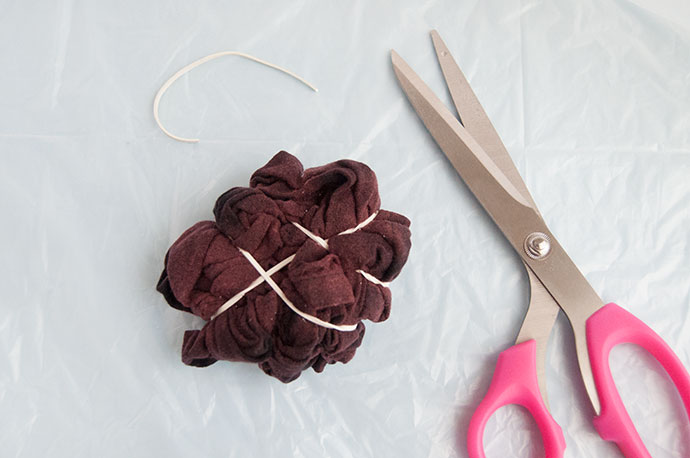
Wash and dry your black fabric – make sure that it’s 100% natural (we used cotton cloth napkins) and read over the instructions that come in the kit. Since we’re going for a galaxy night sky look, we used the crumple technique which is super easy to do! Just lay out the fabric and loosely crumple it together at first, and then gather the fabric together. Secure it with elastic bands as shown. Repeat for as many wall hangings as you’d like to make.
Step 2
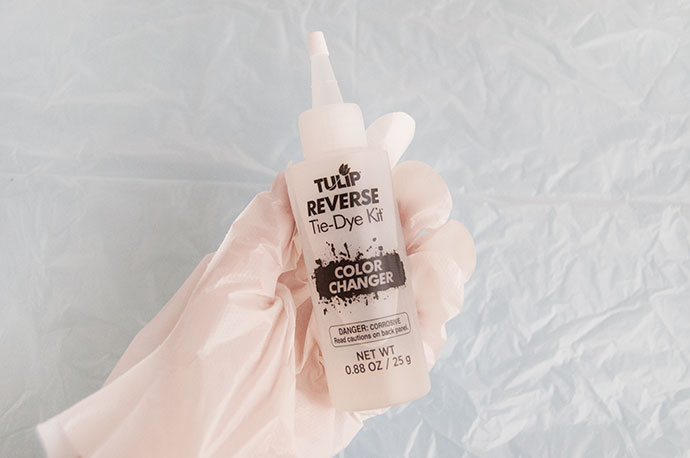
Prepare the Color Changer liquid by adding water up to the line on the bottle and shaking to combine. Make sure to follow all the safety precautions listed in the kit instructions.

Step 3
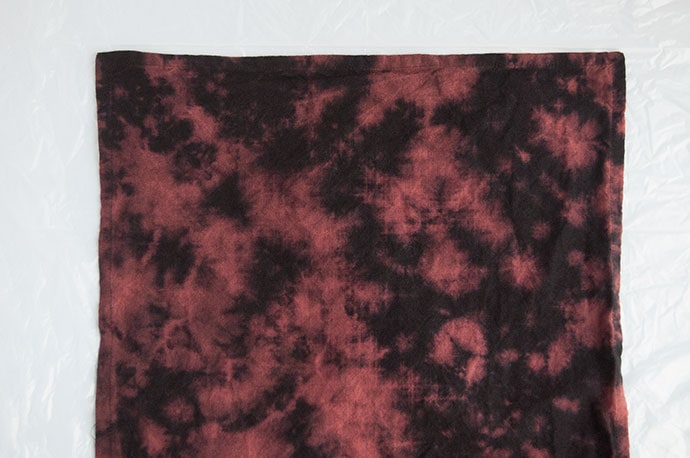
Apply the Color Changer onto your prepared black fabric! Start with a little bit at first and let it sit for a couple minutes – you’ll see the colors start to change and can add more Color Changer if you like. Make sure to apply onto both sides.
Step 4
Once you’re happy with the look of the fabric, remove the elastic bands and rinse the fabric under water.
Step 5
Repeat this process for as many wall hangings as you’d like to make and then put all the pieces into the washer and dryer.
Step 6
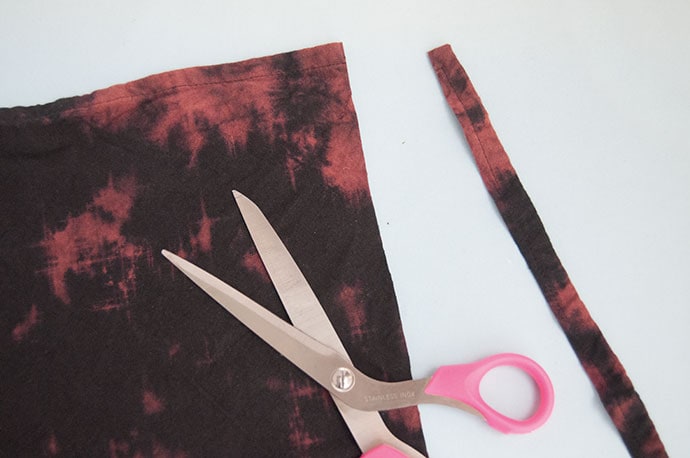
Cut the fabric into the size and shape of wall hangings you want. We did this carefully with scissors to prevent too much fraying. If you have pinking shears, those will really stop any fraying, or if you have a few more minutes you can press and sew the edges.
Step 7
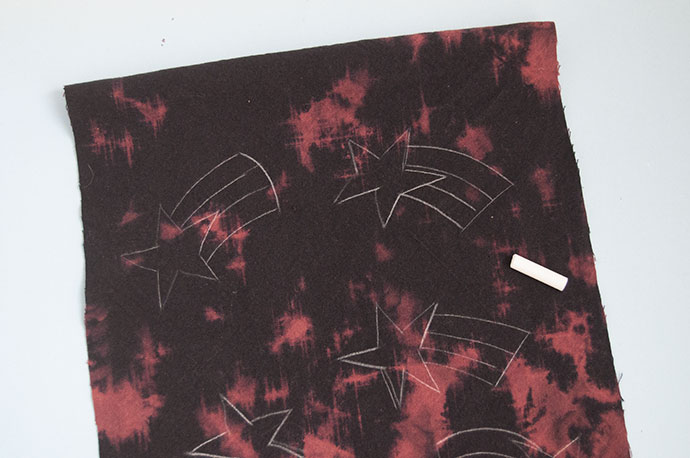
Use chalk to draw your design onto the wall hanging. We drew shooting stars, spacey messages, and planets!
Step 8
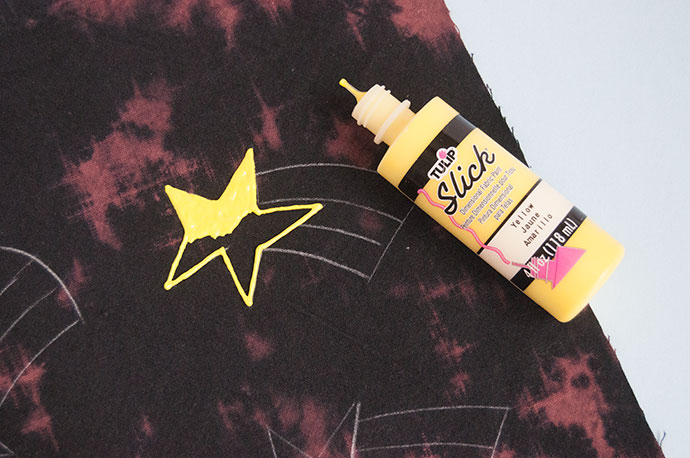
Shake your bottle of Tulip Slick Dimensional Fabric Paint well and use it to outline and fill in your designs. Go slow and use a steady hand for the cleanest look possible. Once done filling in, allow the design to dry for at least 4 hours or until dry to the touch before moving onto the next step.
Step 9
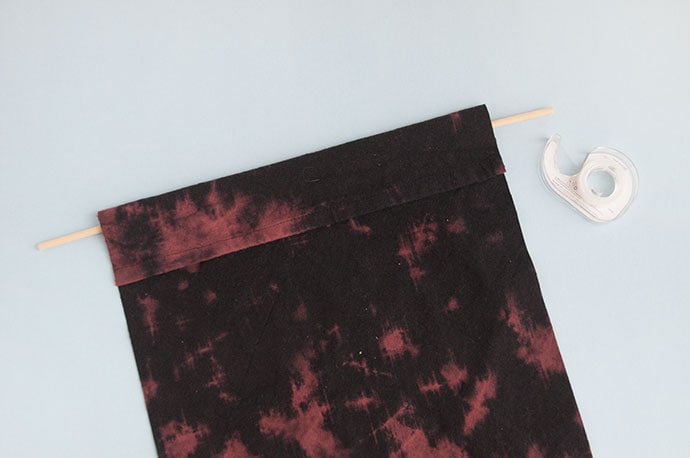
Fold the top edge of the wall hanging over to the back forming a loop. Use double-stick tape to secure in place and thread a wooden dowel (or long wooden skewer) through the sleeve, cutting the ends to trim if necessary. Hang as is by resting on two nails on the wall, or tie a piece of string to both ends of the wooden skewer to hang from there instead.
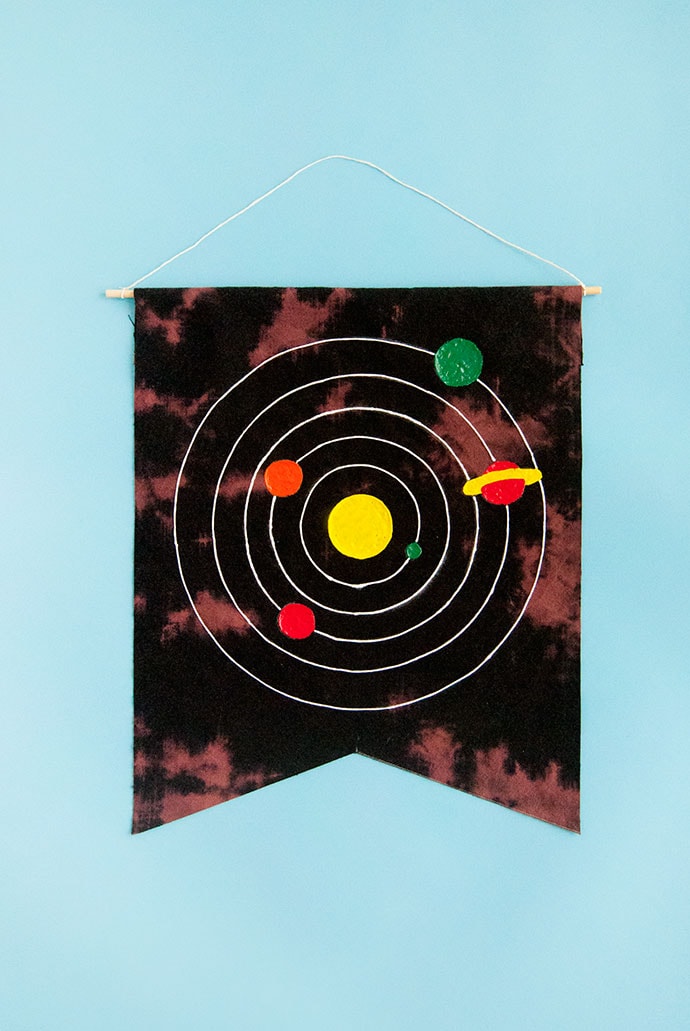
Happy crafting!