When is a good time to say thank you? Anytime! What’s a good way to say thank you? With a hand-stitched card! This simple greeting uses strips of felt and a rainbow of embroidery floss to send a message of gratitude. Around Thanksgiving we talk about gratitude a lot, but this is a good way to show it.
Your friends and family members will love hearing from you in such a heartfelt way!


We often think about sending a thank you card after someone gives a gift, but there are lots of reasons to say thanks. Maybe a teacher encouraged you or helped you. It might be that a family member spent extra time listening to you. Or perhaps you just want to say thank you for being a friend.
With basic supplies and a few giant stitches, you can craft a card that shows and tells how you feel!

Grab your supplies and get ready to say thank you!
what you need:
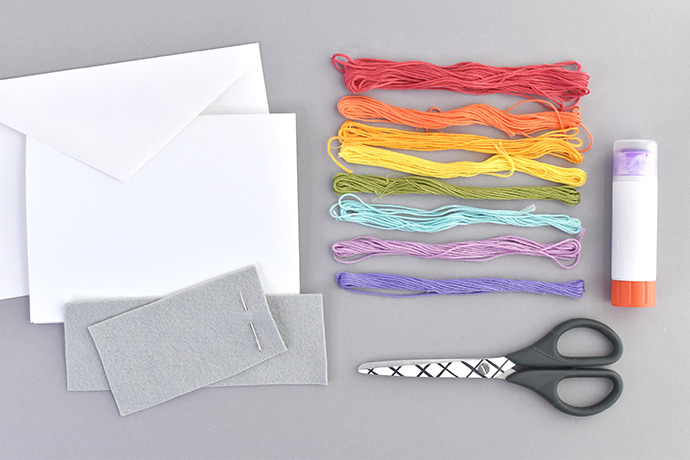
- Blank Card or Cardstock
- Envelope
- Felt
- Embroidery Floss
- Scissors
- Glue Stick
- Needle
how-to:

Cut strips of felt that are about 1/4″ x 1-1/2″. Cut some of these pieces in half.

Arrange the strips so they spell out THANK YOU. You may need to trim some of the strips at this point just to make sure things look like you want them to.
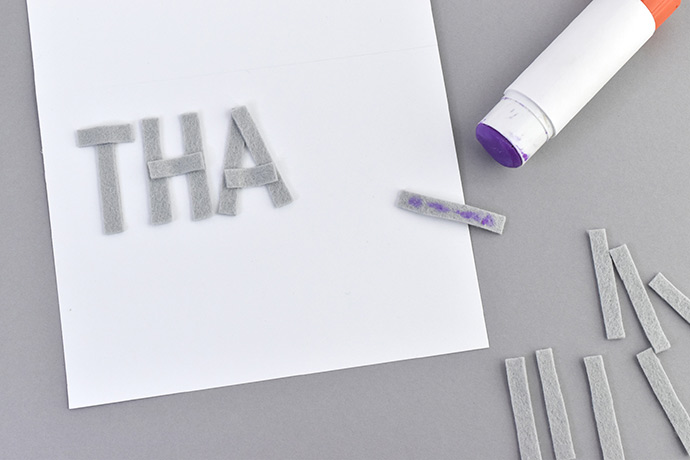
As you glue the strips, it helps to start with the middle letters (A in THANK and O in YOU) at the center. This way you can space the rest of the letters evenly and you don’t run out of room.
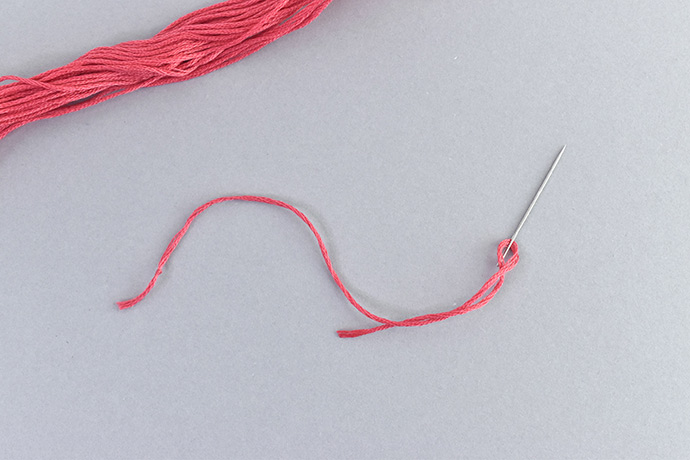
Thread your needle with a piece of embroidery floss and knot the other end. You only need about 12 inches of thread for each letter.
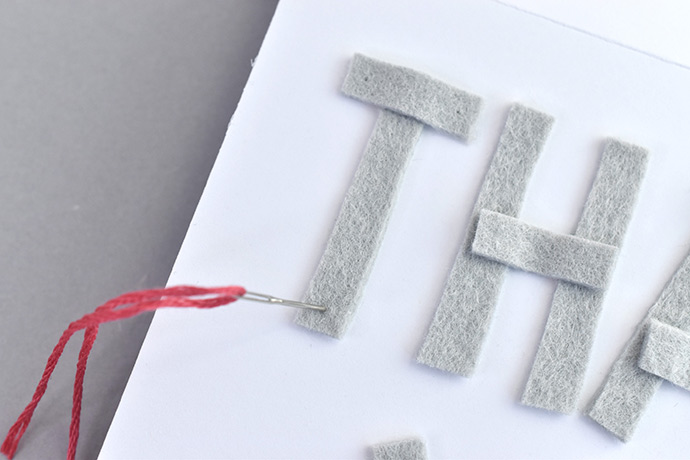
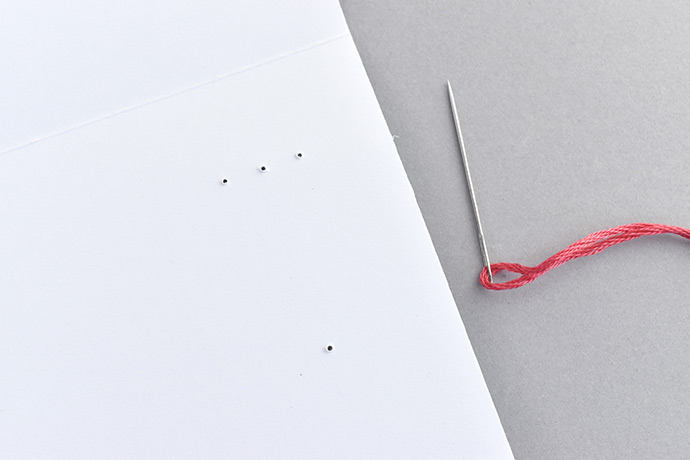

Stitch through the letters with long stitches that follow the felt strips. Tie a knot on the back after you stitch the letter and trim the thread.

Repeat steps 3 and 4 to stitch each letter with a different color of embroidery thread.


This would also be fun to create wall art on a piece of cardstock. With more space, you can make the letters bigger or choose a longer phrase to stitch. Then you can frame it or hang it on a clipboard!