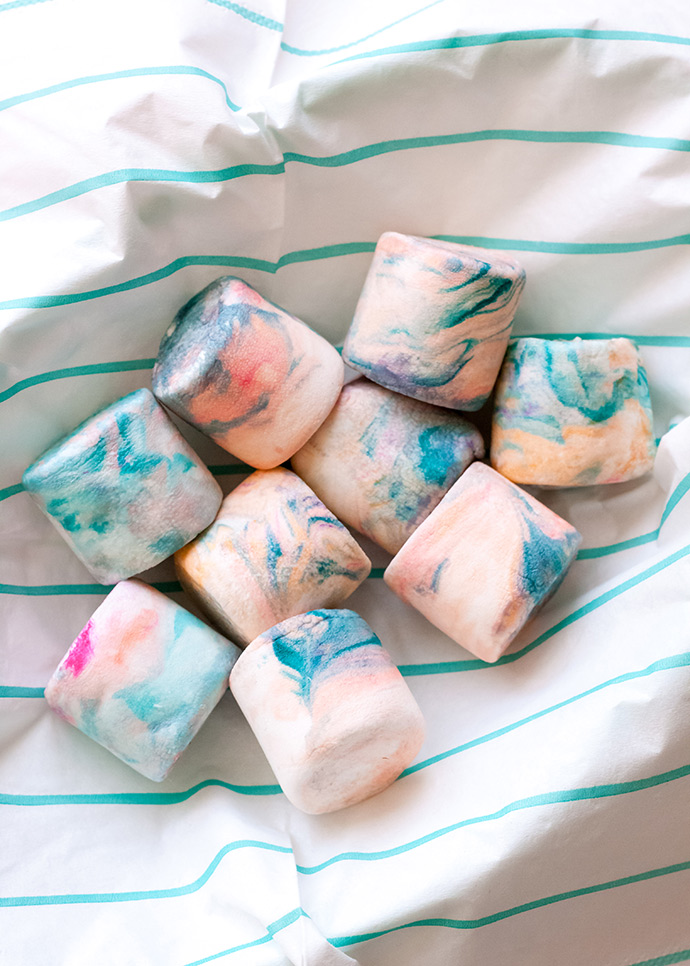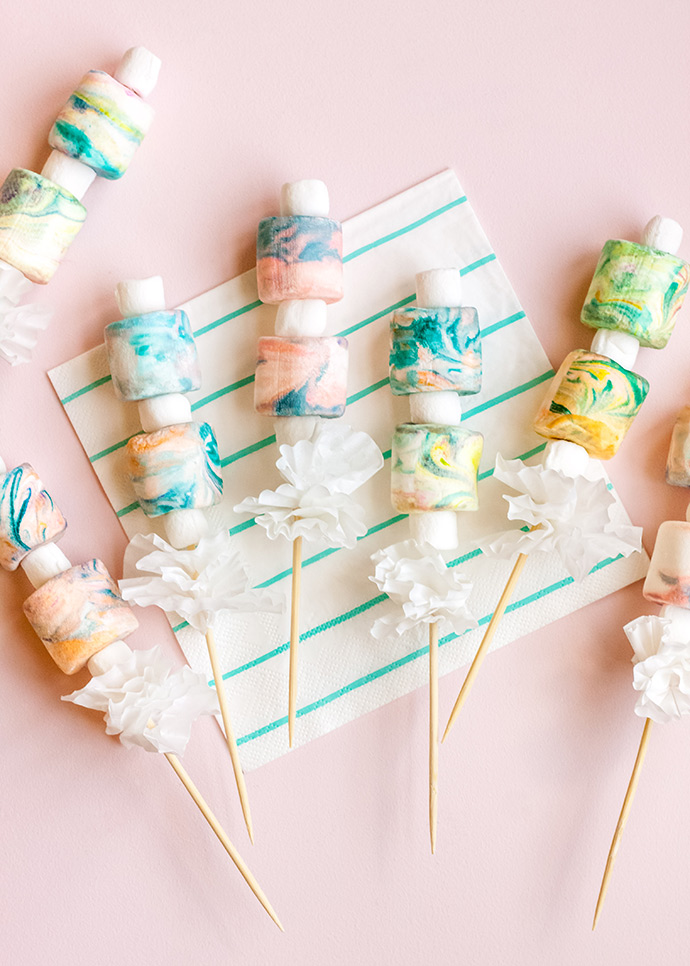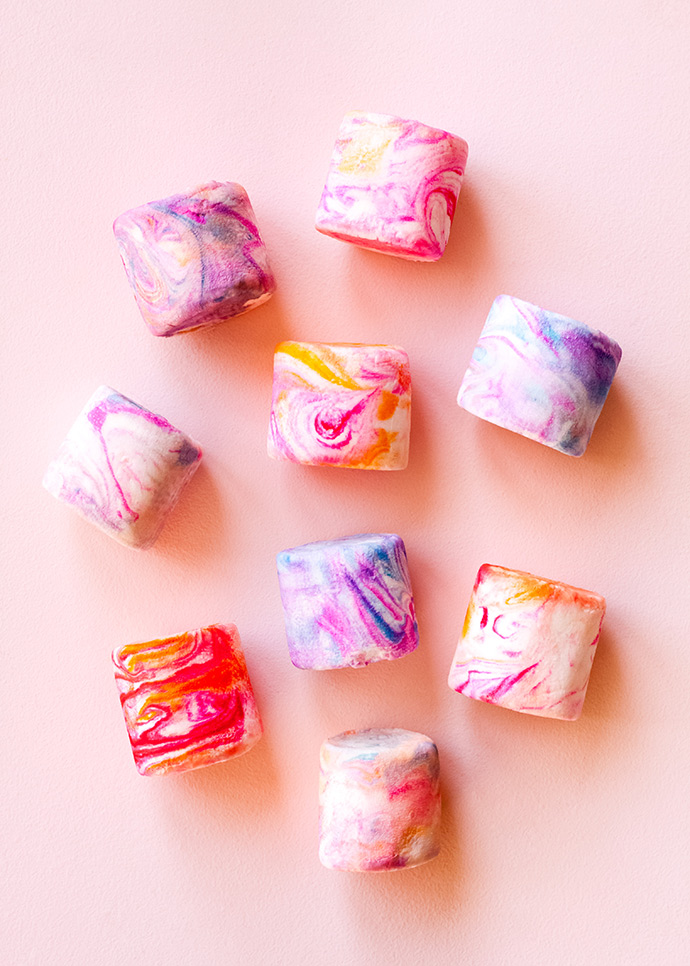
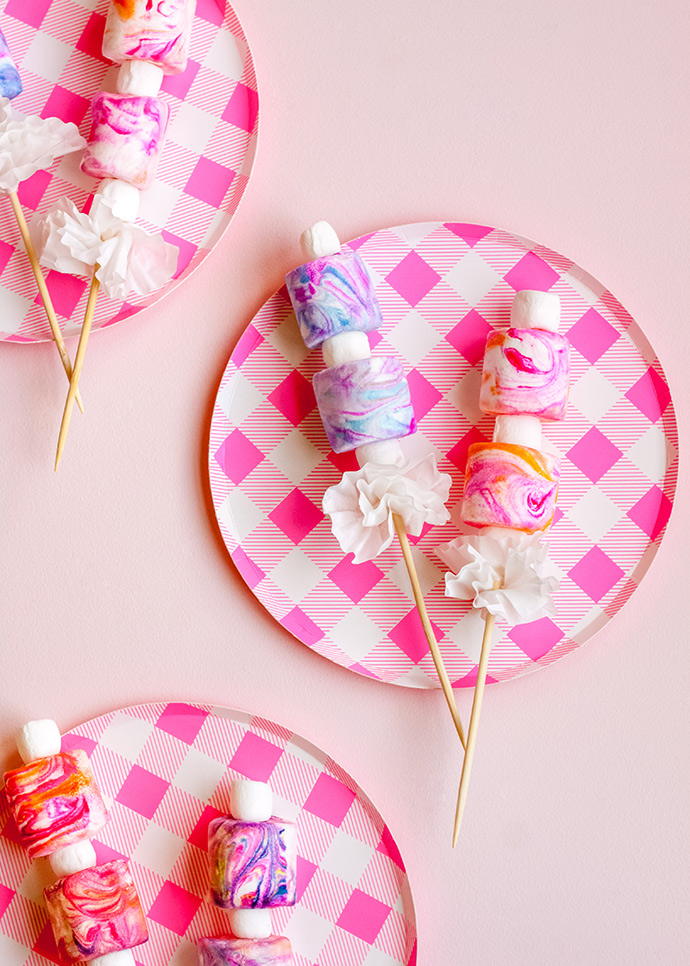
One Easter, we tried marbled eggs using the whipped topping and food coloring method, and they were gorgeous! As I worked on another project, it hit me that the same method could possibly work on marshmallows, since whipped topping is edible. We gave it a try, and – voilà! We were thrilled to discover a no-bake method for marbling marshmallows! These are so much fun to make, especially if you enjoy dyeing eggs, but it just isn’t Easter time! They can work as a beautiful snack alone, or put them on skewers for marshmallow kabobs, or roast them over a fire for s’mores.
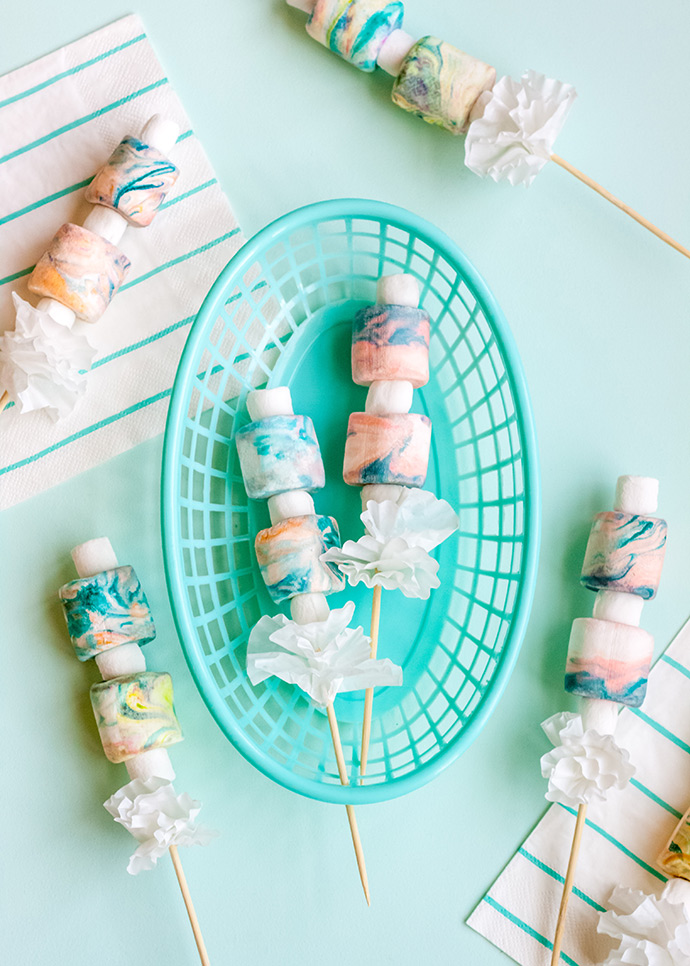
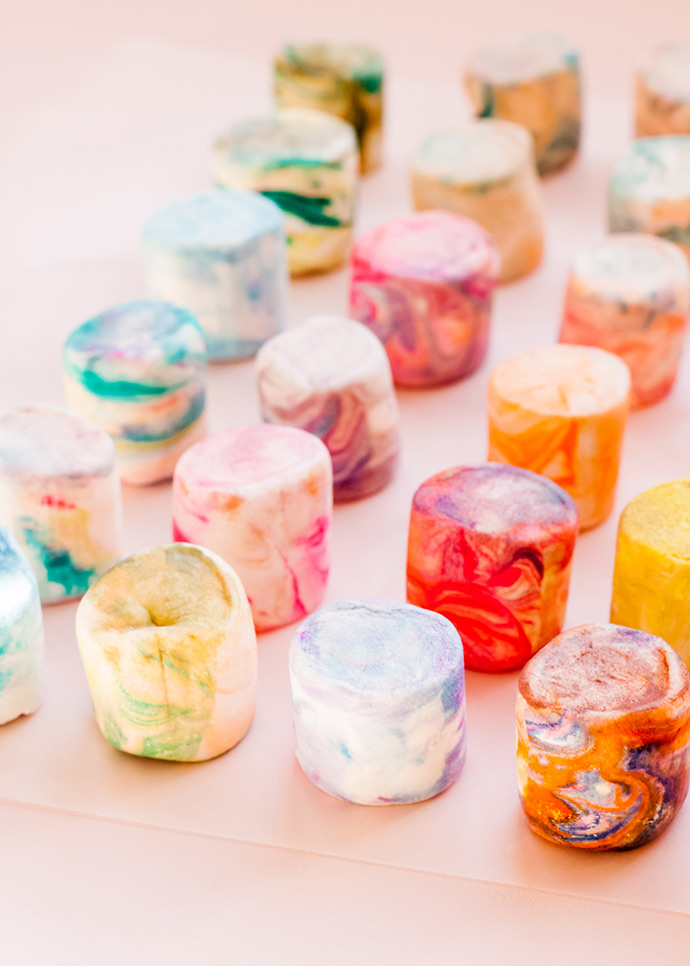
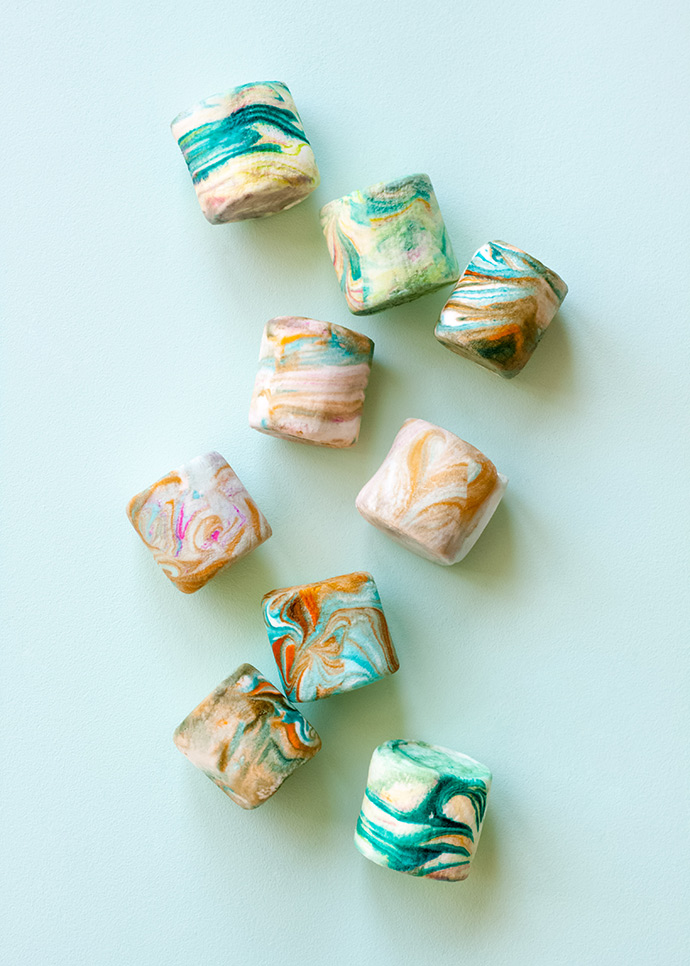
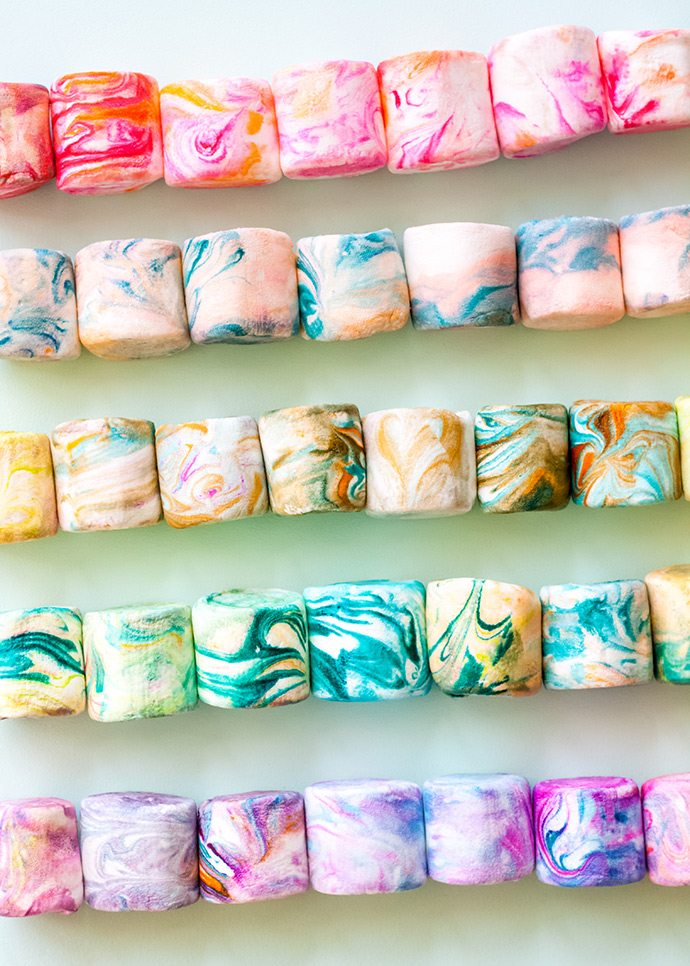
You can play with all different color schemes to make them festive for any occasion. Red, white and blue would be fun for Memorial Day or the Fourth of July, and pink, turquoise and green are great picnic colors! Muffin pans are perfect for dividing up cool whip for experimenting with different color options. We have to warn you that once you start marbling, it’s hard to stop!
what you need:
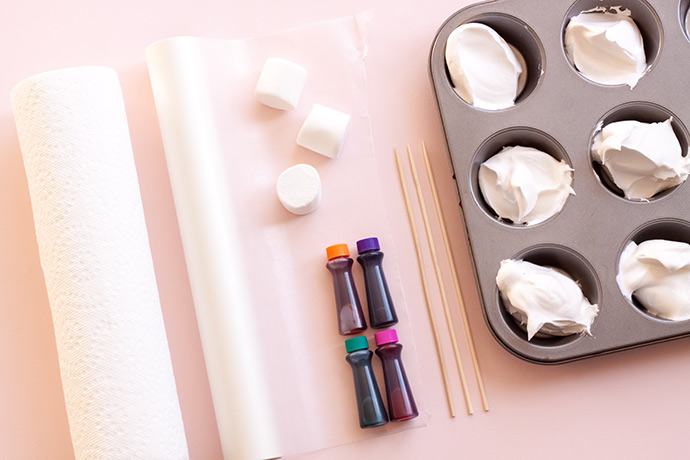
- Jet-puffed marshmallows
- Whipped topping
- Food coloring
- Wax paper
- Paper towels
- Skewers
- Muffin pan
OPTIONAL
- Mini marshmallows
- Cupcake liners
- Water
how-to:
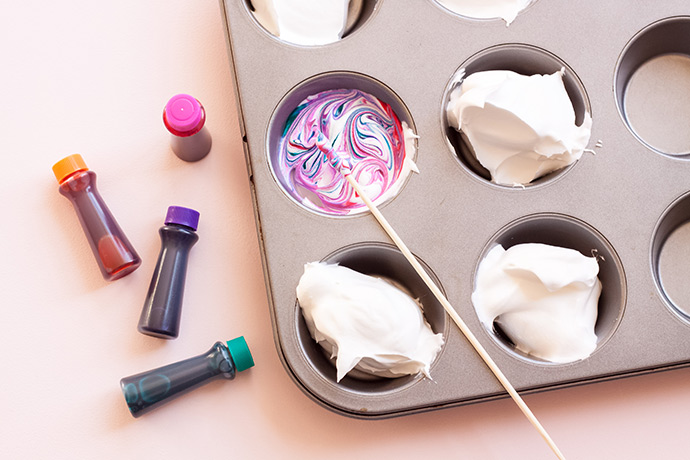
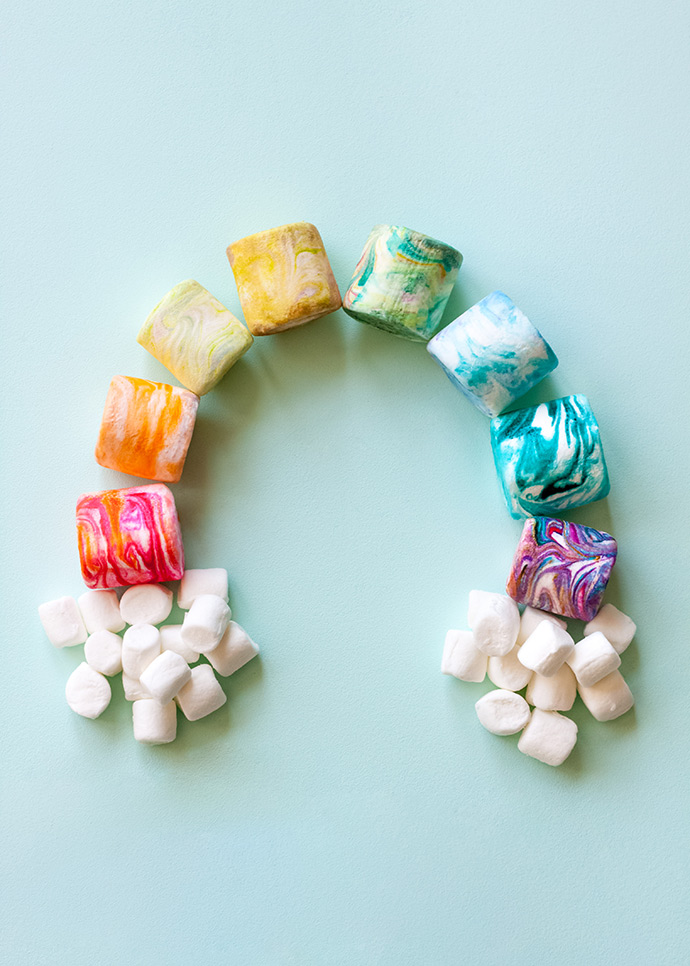
Separate your whipped topping into multiple cups in your muffin pan. Add a drop of 1-3 different food colors in each cup. Use a skewer to swirl the colors around in the topping, but be careful not to overmix, or you could end up with plain brown!
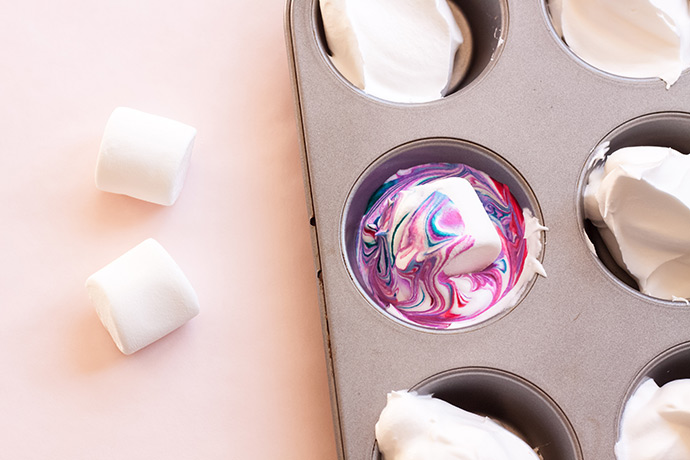
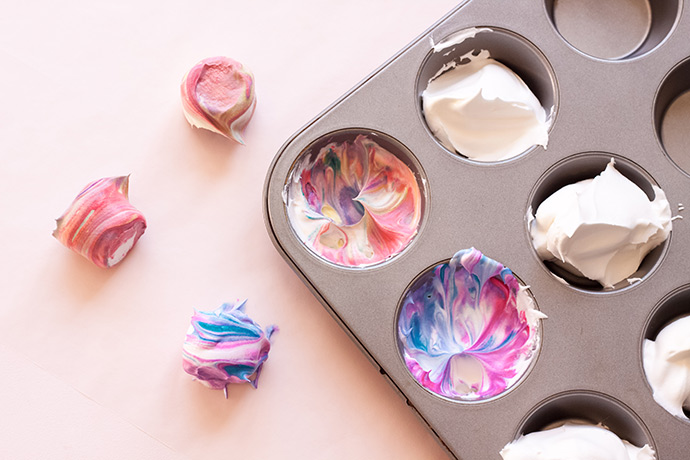
Roll a marshmallow into the swirled mix, until it is completely covered in marbled topping. Set aside on wax paper, and allow to sit for a bit to soak in the color.
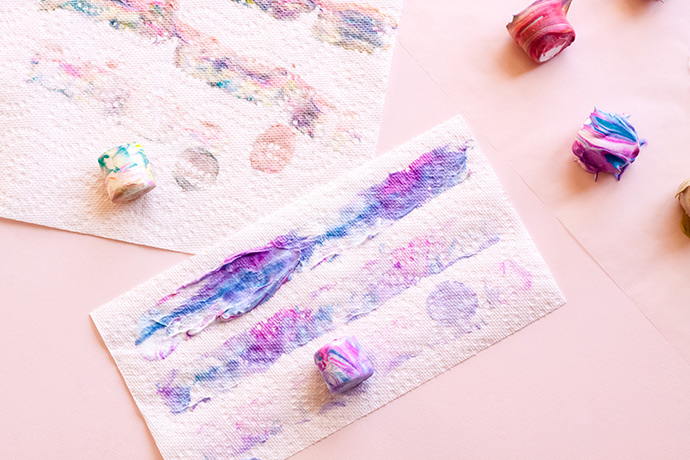
Lay a paper towel over a piece of wax paper, and starting on one end, roll the whipped topping off your marshmallow onto the paper towel. It takes about 2 ½ rolls across, and then a couple of dabs on each end to get all the whipped topping off your marshmallows. We recommend making these near a kitchen sink, as hands will need to be rinsed frequently! Set the marshmallow on wax paper, and allow to dry.
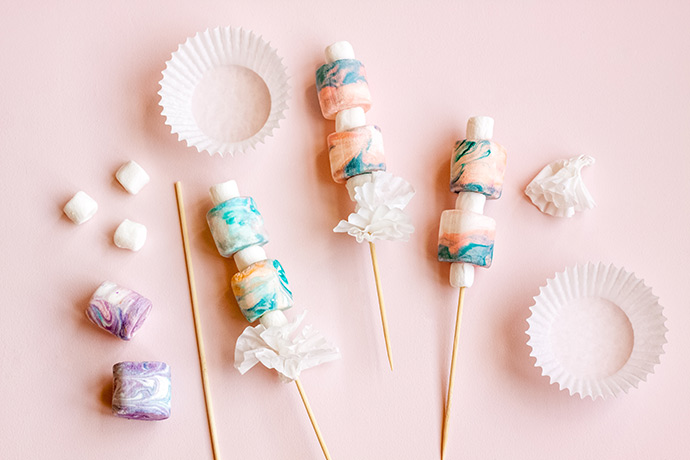
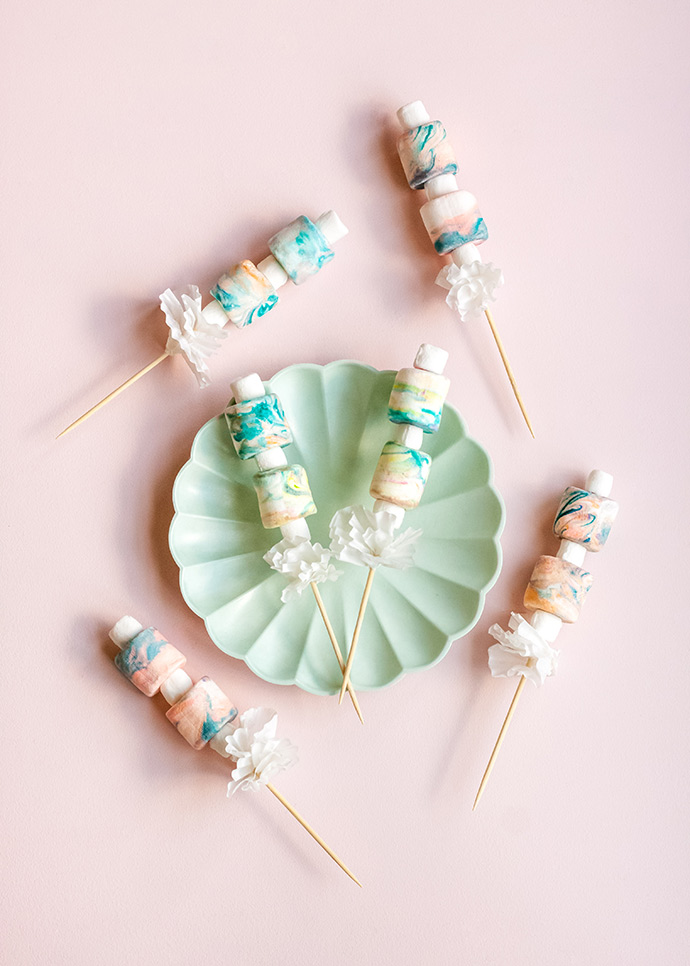
If you want to put your marbled marshmallows on kabobs, we recommend soaking your skewers in water for a few minutes…(a tip we borrowed from Oh Happy Day!). Dry them off, and then slide a mini marshmallow to about the middle of the skewer. Slide on a marbled marshmallow next, another mini, another marbled, and a mini to top it off. Gather a cupcake liner in the middle, and fold the ruffled edges back and forth. Stick the skewer through the layers, and fan them out a bit so that you have a little decoration at the bottom of your kabob to add interest. This is completely optional, but we found that it adds a nice touch! Just be sure to remove the cupcake liner for roasting.