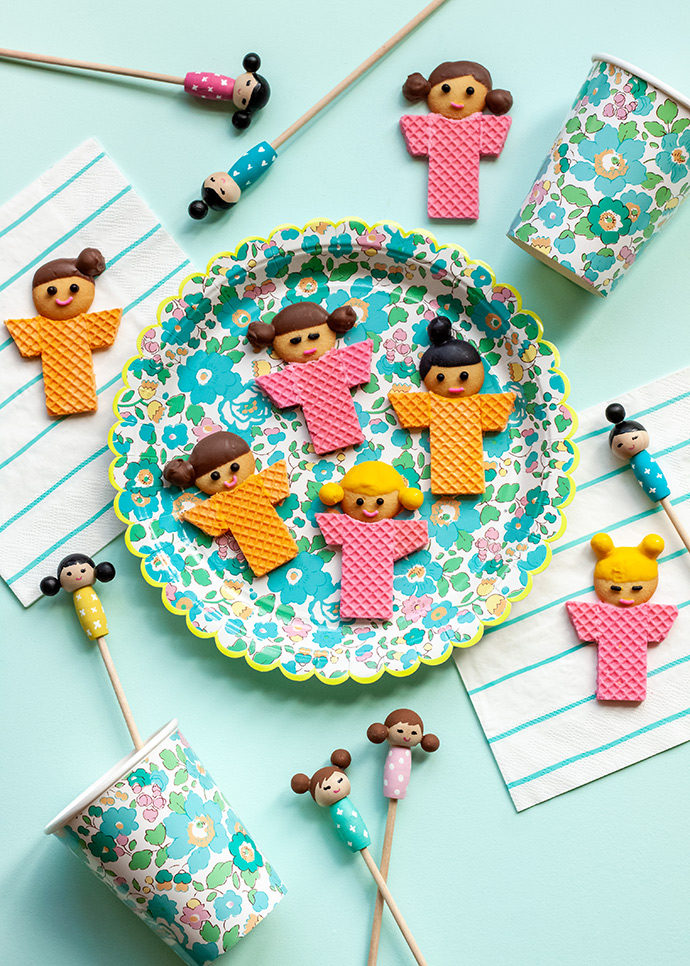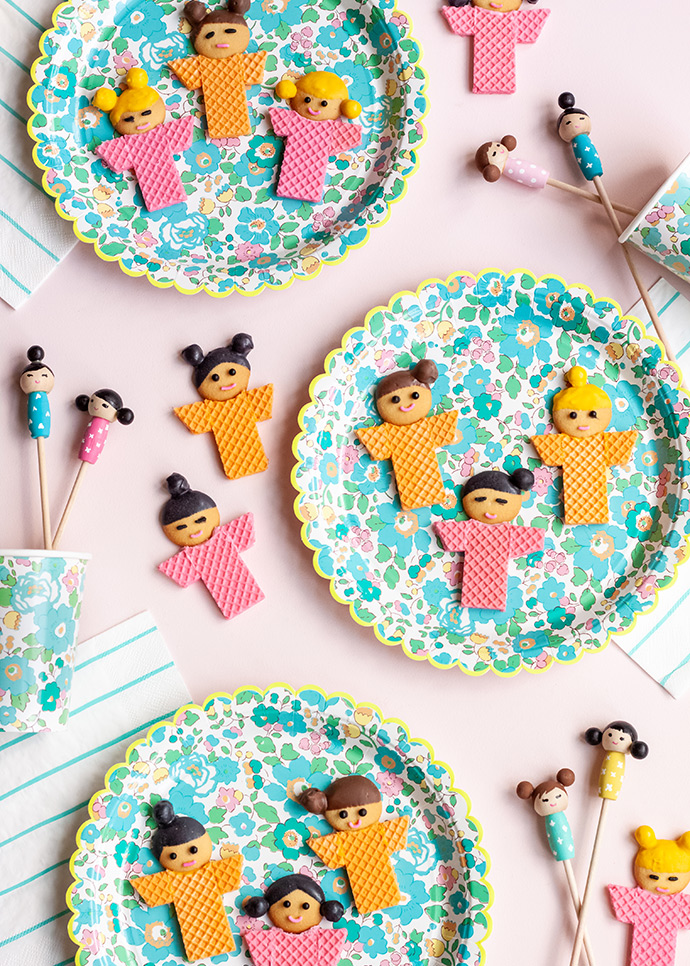
Do you remember the Kokeshi doll stir sticks we made a while back? We were thinking that it would be fun to host a party with coordinating treats! These no-bake cookies were inspired by the stir sticks, and we added a simple kimono to the body. These would be darling for a tea party, or kids would have fun making them for a playdate.
When my daughter was little, some friends introduced us to “Girls’ Day” or “Doll’s Day” that is celebrated in Japan on March 3 each year. They gifted us with some adorable dolls traditionally displayed on the special day. Although it’s not for a while, this would be a fun idea to save in honor of the Japanese holiday! I love being introduced to traditions and holidays from other countries, and kids can learn so much from being exposed to other cultures.

what you need:
- Mini vanilla wafers
- Wafer cookies (pink and orange)
- Candy melts (yellow, black, brown, light pink, orange)
- Sixlets candy (yellow, black, brown)
- Sprinkles (black, pink, and black balls)
- Toothpicks
- Sharp knife
- Wax paper
- Rounded metal cookie cutter or frosting tip
how-to:
Before getting started, be sure to pick out all the sprinkles you will need, and lay out the cookies and candy. The candy melts harden quickly, so the process goes more smoothly if everything is ready to go!
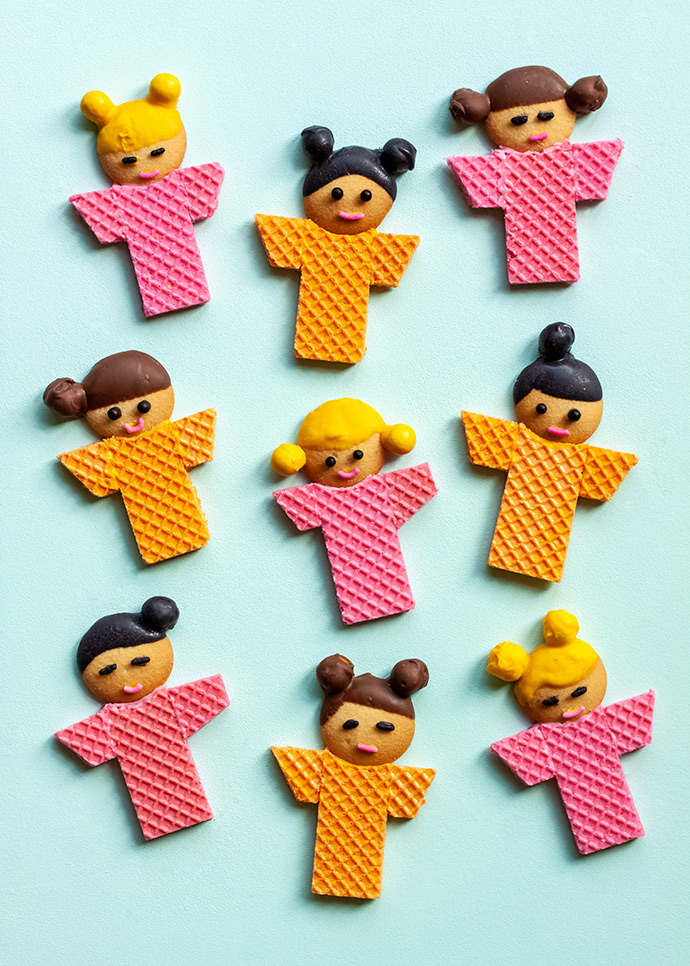
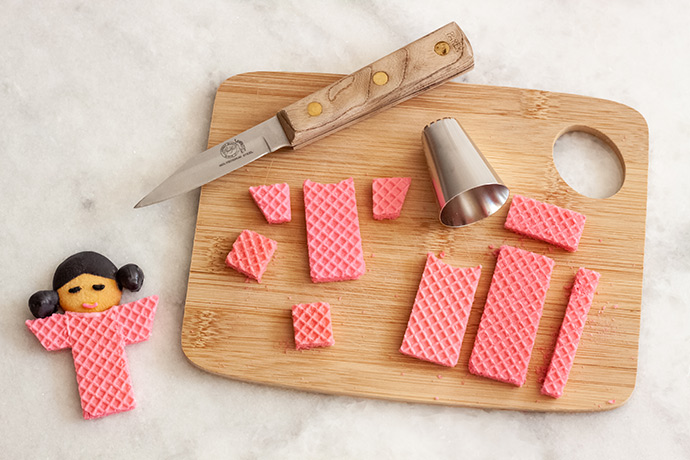
Now, cut your pink and orange wafer cookies to about 1” x 2 ¼” for the body. Use a rounded metal cookie cutter or frosting tip to cut a rounded neck on one end. Cut two small ¾” x ¾” squares, and then cut one side of each at an angle for the sleeves.

Melt yellow, black and brown candy melts following the directions on the package. Dip the top section of your mini vanilla wafers in the candy melts to make the hair. We dipped some at two angles to create a part. Immediately dip matching Sixlets in the candy melts, and attach to the hair for buns. We put some on top of the head, and some at the bottom. If your Sixlets match the candy melts very well (yellow was a great match), then you only need to dip one edge to attach to the head. If the match is not as close, then you may want to submerge the entire Sixlet in the melted candy before attaching. Lay the heads on wax paper to cool, and once they are done cooling, you may need to use a sharp knife to cut off any “drips” or excess melted candy.
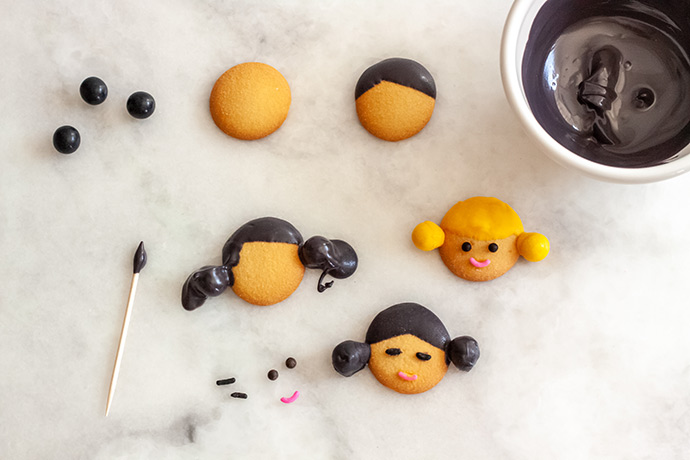
You may need to reheat your candy melts at some point. Use a toothpick to place tiny dots of melted candy where the eyes and mouth will go, and attach black sprinkles for eyes, and a curved pink sprinkle for the mouth. Allow to cool, and you may use a toothpick to scrape off any excess around the facial features.
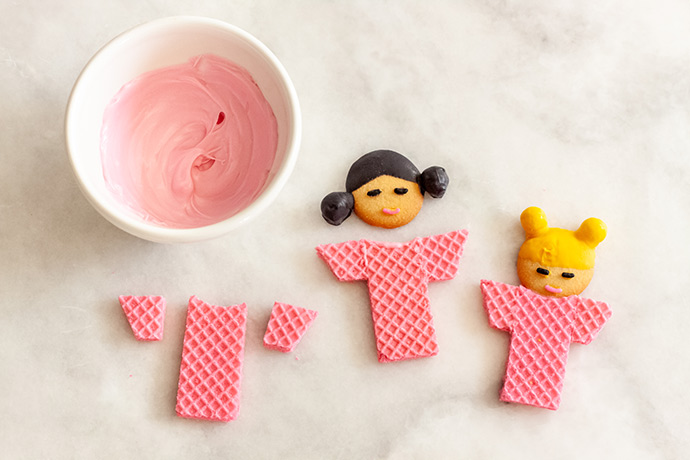
Use coordinating melted candy (pink or orange) to attach the edges of the sleeves to the body of the kimono. Use the melted candy to attach the head as well. It is easiest to place the candy around the neck of the kimono, rather than on the head itself.