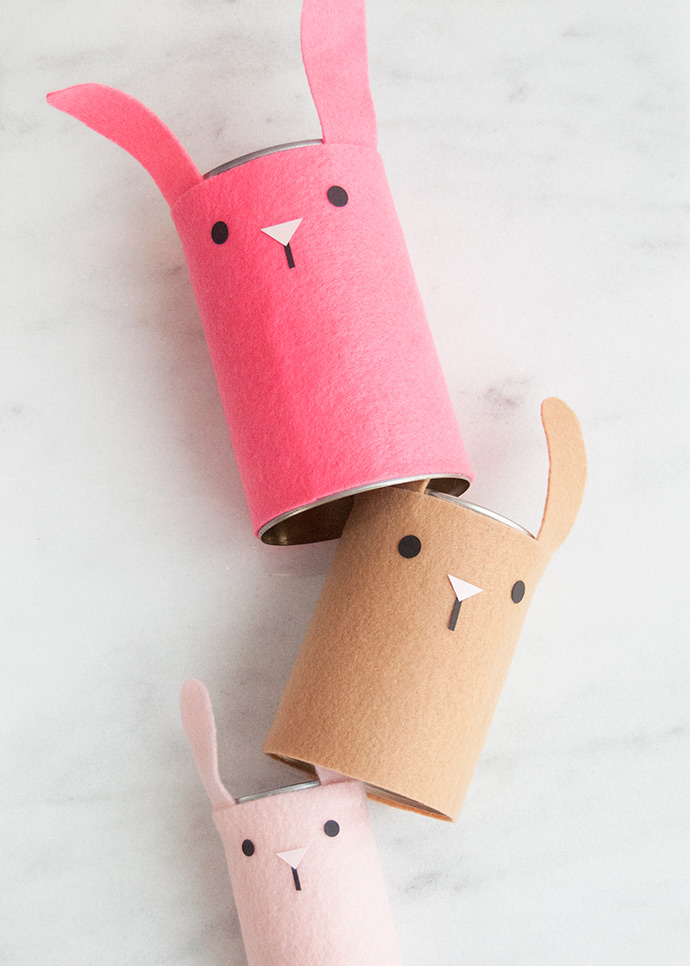
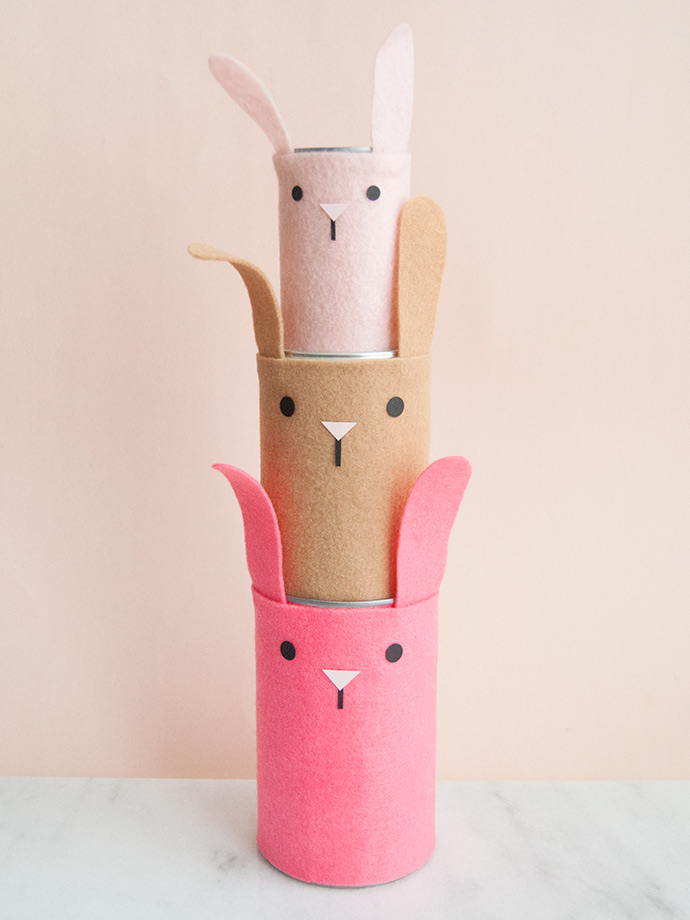
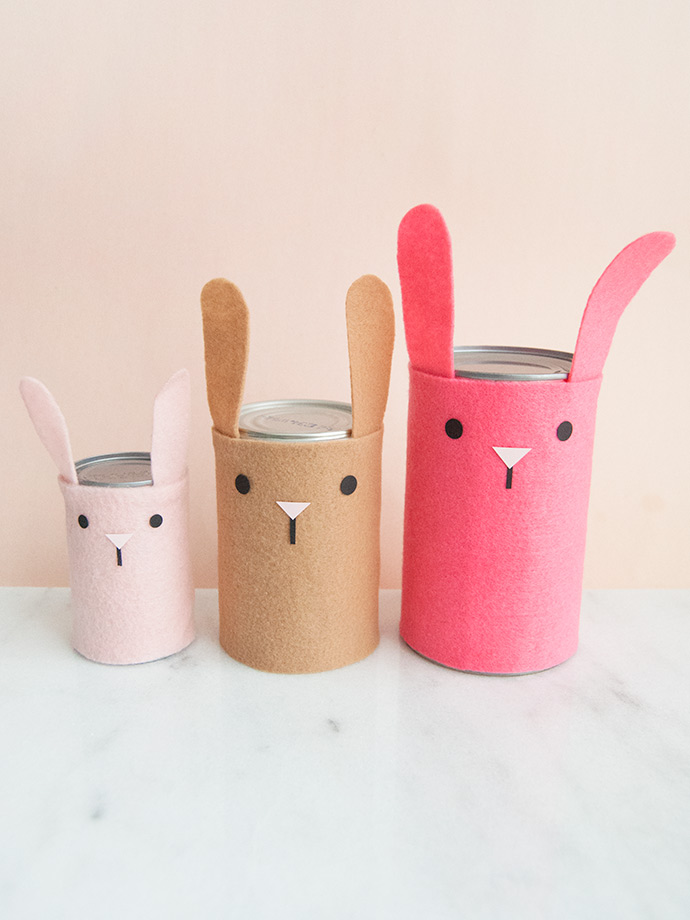
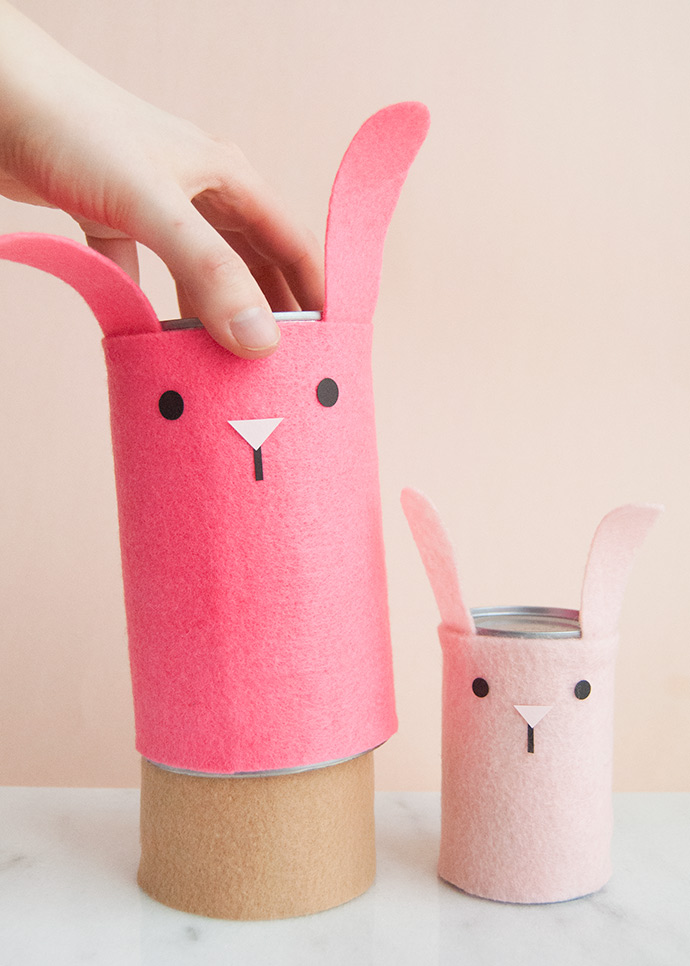
A little while ago, I came across these crazy adorable stacking bunny toys and fell instantly in love. Our love for bunnies runs deep in this house, so we already have more bunny-themed things than I can count! So (for now) I’ve gone the willpower route and stopped myself from buying the stacking bunnies, but couldn’t help but continue admiring the idea. When unloading groceries the other day, I realized it would be so easy to make a handmade version instead! These simple bunnies are just empty tin cans covered in felt, with paper faces attached – easy peasy! Of course, you’ll want to make sure you’re using a can opener that doesn’t leave any sharp edges so that the cans are smooth and safe.

what you need:
- Empty tin cans (three or more sizes)
- Felt
- Scissors
- Hot glue gun
- Paper (black and pink)
how-to:
Step 1
Wash and dry the empty tin cans. Don’t forget to use a can opener that leaves a smooth edge – you don’t want to worry about any sharp edges on these bunnies! You can use as many cans as you like, as long as they fit together. I used a tomato paste can, a regular-sized refried beans can, and a tomato sauce can. I don’t normally buy those large cans of apple juice, but I might have to just to add another large bunny to this set!
Wash and dry the empty tin cans. Don’t forget to use a can opener that leaves a smooth edge – you don’t want to worry about any sharp edges on these bunnies! You can use as many cans as you like, as long as they fit together. I used a tomato paste can, a regular-sized refried beans can, and a tomato sauce can. I don’t normally buy those large cans of apple juice, but I might have to just to add another large bunny to this set!
Step 2
Cut a rectangle of felt to cover the sides of each can.
Cut a rectangle of felt to cover the sides of each can.
Step 3
Cut two felt ears to match the felt.
Cut two felt ears to match the felt.
Step 4
Use hot-glue to secure the ears along the top edge of the can, and then wrap the rectangle of felt on top, gluing this in place to secure on the back so that the seam isn’t visible from the front.
Use hot-glue to secure the ears along the top edge of the can, and then wrap the rectangle of felt on top, gluing this in place to secure on the back so that the seam isn’t visible from the front.
Step 5
Use scissors (or a hole punch) to cut small circles from black paper for the eyes. Cut a pink paper triangle for the nose, and a thin strip of black paper for the mouth.
Use scissors (or a hole punch) to cut small circles from black paper for the eyes. Cut a pink paper triangle for the nose, and a thin strip of black paper for the mouth.
Step 6
Glue the paper faces onto the front of each bunny.
Glue the paper faces onto the front of each bunny.
Happy crafting!