
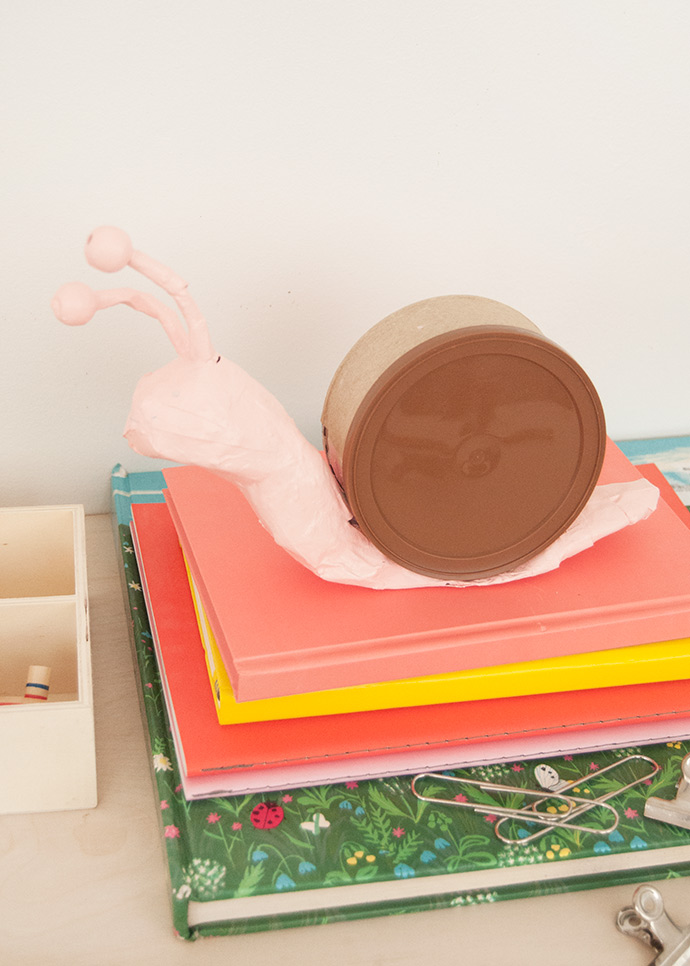
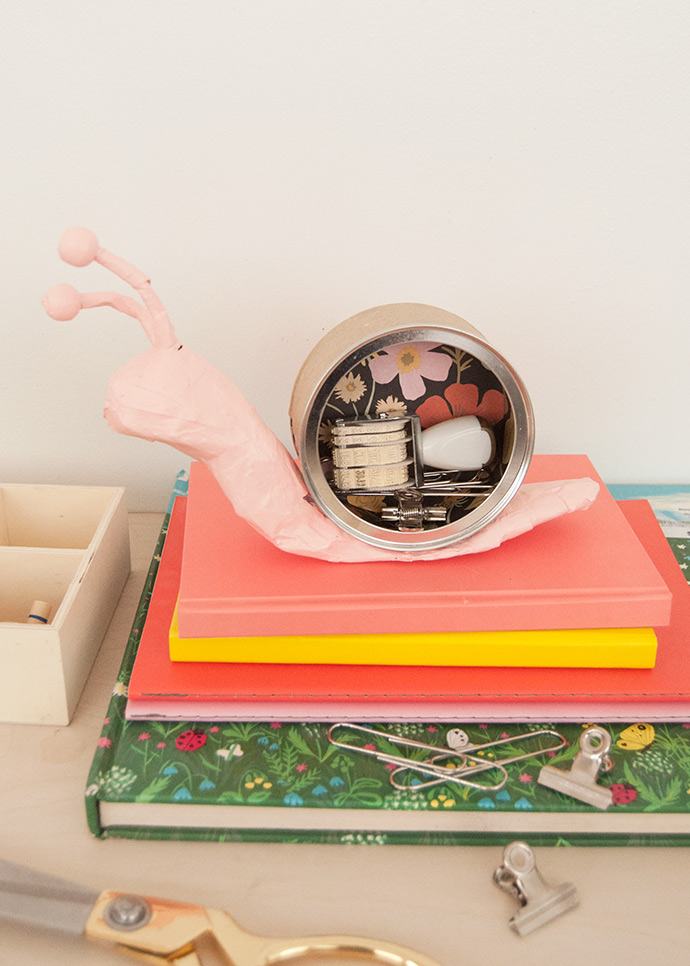
Looking for a cute place to store your treasures and trinkets? Of course you are! This secret snail storage is a playful way to upcycle an empty canister while also creating a hidden place for bits and bobs on your desk, or anywhere in your home. Check out the video tutorial here on Instagram Reels!
Looking for more whimsical storage? Take a peek at this upcycled butterfly storage box here.
what you need:
- Empty canister
- Tin foil
- Craft knife
- Masking tape
- Paint
- Paintbrush
- Paper mache paste (1 part flour, 1 part water)
- Newsprint
- Two wooden beads
- Pipe cleaner
- Hot glue gun
- Patterned paper
- Scissors
- Tacky glue
how-to:
Step 1
Wipe out the inside of an empty canister – the one we used is from roasted cashews. Use a craft knife to carefully make a cut all the way around the canister, about 1″ from the top edge. This line doesn’t have to be perfect, but aim for it to be as straight as you can. Do another cut all the way around about 1″ away from the bottom edge. Discard the center cardboard ring and use masking tape to attach the top and bottom pieces together, forming a shallower canister than you started with.
Step 2
Roll a piece of tin foil into a long rough tube shape. Gently squish and shape the foil into the body of the snail. We bunched up a little more for the head of the snail and added another layer of foil on top to get a nice shape. Hold it next to the shell to make sure you’re happy with how they fit together, and how the snail will stand up with the shell on its back.
Step 3
Take a full-length pipe cleaner and fold it in half, twisting the two strands together. Gently fold in half again, forming two antennae, and use masking tape to secure to the top of the snail’s head. Place a wooden bead on the end of each antenna, using glue to secure these in place if needed.
Step 4
Hot glue the canister to the back of the foil snail body. Put the lid onto the canister.
Step 5
Rip or cut your newsprint into thin strips. Dip into the paper mache mixture (1 part flour to about 1 part water) and squeeze off the excess. Wrap around the foil snail body, smoothing into place. Continue to apply strips onto the foil until it’s all been covered, wrapping the pipe cleaner antenna as well. Leave the lid on for this process, so that you’re sure that the paper mache won’t get in the way of closing the lid later. Any paper mache paste that gets onto the lid can be wiped off now, or easily peeled off later. This process can be a bit messy, so be sure to cover your work surface with parchment paper, or similar, first. Once the snail is all covered, set him up standing on his shell so that the wet paper mache isn’t resting on the table and can dry. Set aside to dry completely.
Step 6
Trace the canister onto a piece of patterned paper and cut out. Measure and cut out a rectangular strip to line the inside walls of the canister. Use white tacky glue to secure both in place.
Step 7
Once dry, apply a coat of paint to the snail’s body. Let dry.
Step 8
Cut a piece of brown kraft paper (or any color to match the lid of your canister) and glue around the outside to cover the tape.
Happy crafting!