
Here’s another installment in the summer crafts feature from Merrilee of Mer Mag. This super fun DIY pinwheel necklace is perfect for a beach trip!
This is a great craft to bring the little ones in on as well. I’d say 6yr olds and up could do these simple shapes and patterns. The littler ones can have fun with this as well, just let them go at it and then see what fun colors and shapes emerge!
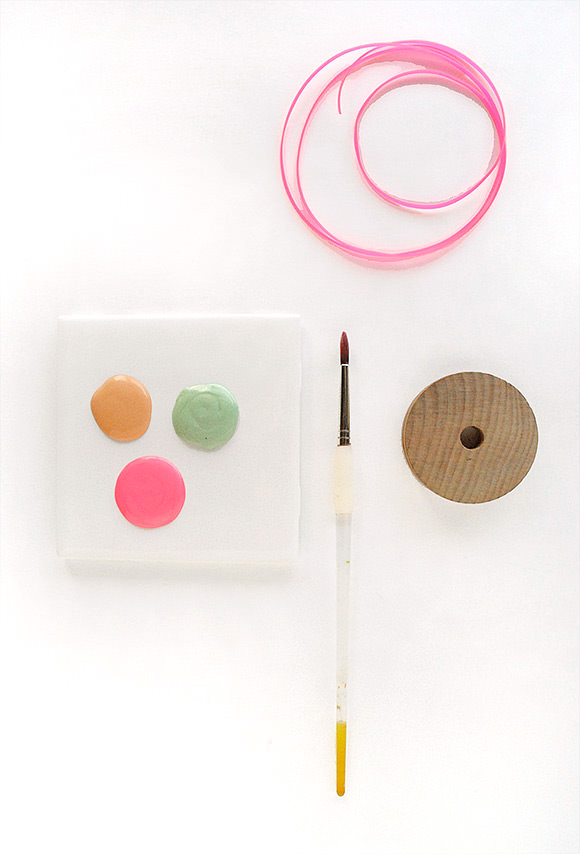
What You Need
- 1 slab wooden wheel (available from most hobby stores)
- A lanyard made from yarn, string, ribbon, etc., sized to fit your child’s neck
- Acrylic craft paints
- Paint Brush
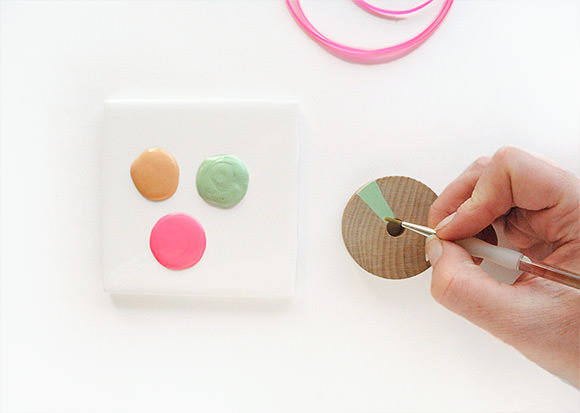
Painting The Wheel
To get started, select an assortment of fun paint colors for your necklace. I chose to go with neon pink, sage green and natural tan.
To begin painting your necklace in a “pinwheel” type fashion, start with a simple triangle shape. Continue painting all the way around the wheel. I might suggest mixing up the widths of the various colors and leaving a bit of the wood showing through for interest. You can then flip the wheel around and do an entirely new design on the back. We went with more triangles but this time kept them around the outer rim with the points facing the center. But you can do whatever inspires you. Have fun with it!

Putting It All Together
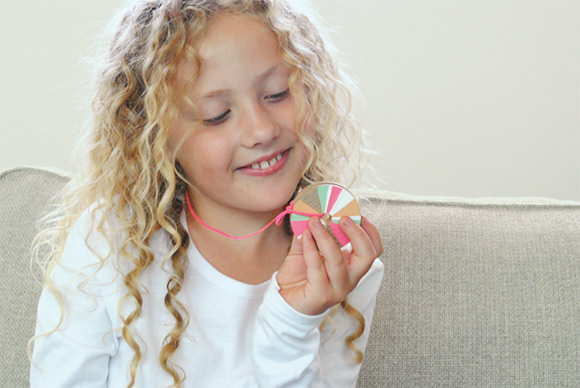
Once the wheel is painted and dry you can attached your lanyard (or yarn, string, ribbon, you name it). We went with a neon pink lanyard for our necklace and attach with simple slip knot. Tie off the top of the necklace with a knot as well.

Now your necklace is complete and ready to wear! And what’s more fun is that you have two necklaces in one. Just pick which side you are in the mood for and then turn it around the next day wear the other side.
Happy crafting!