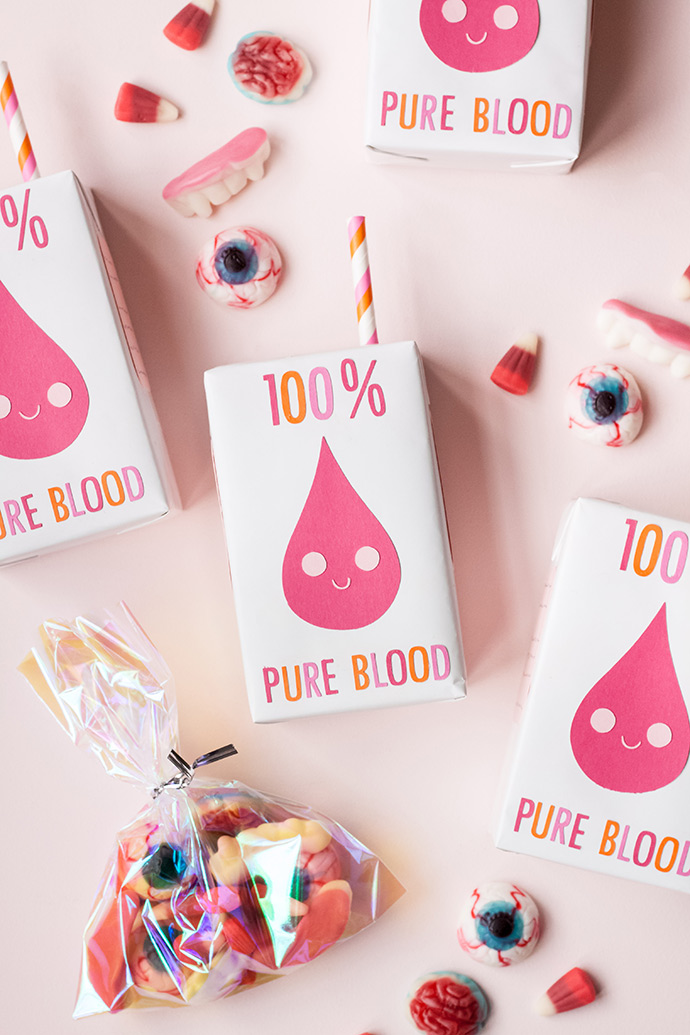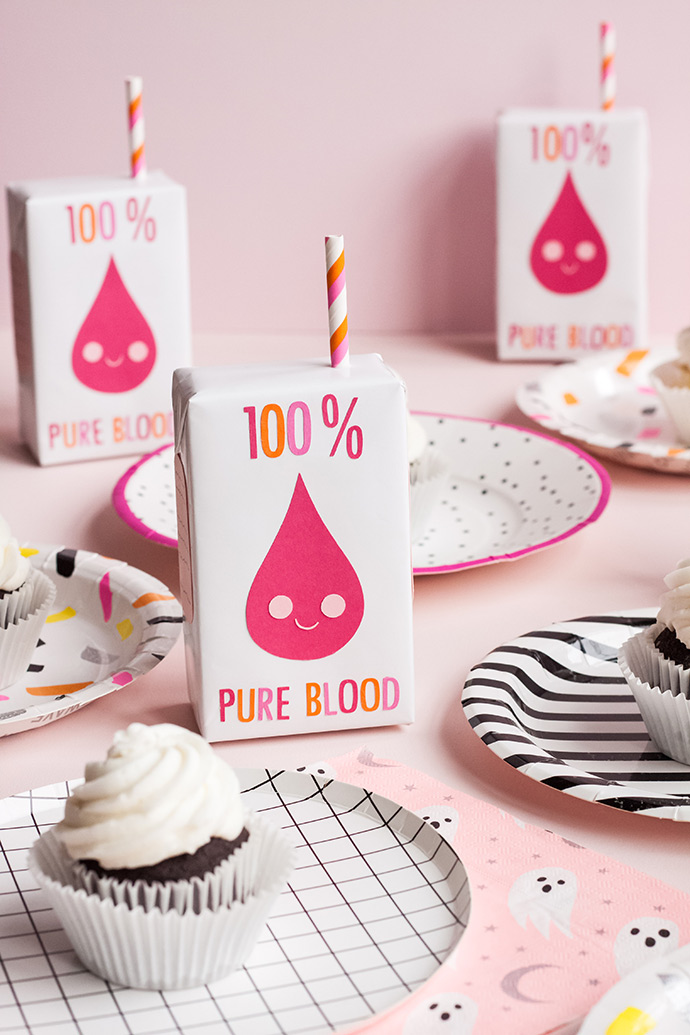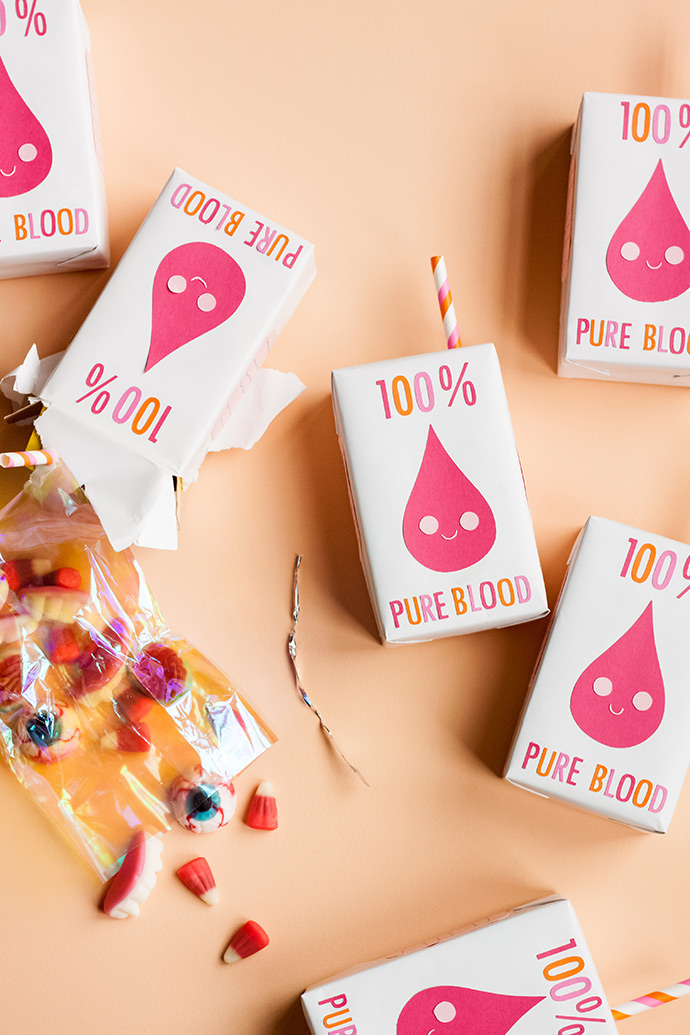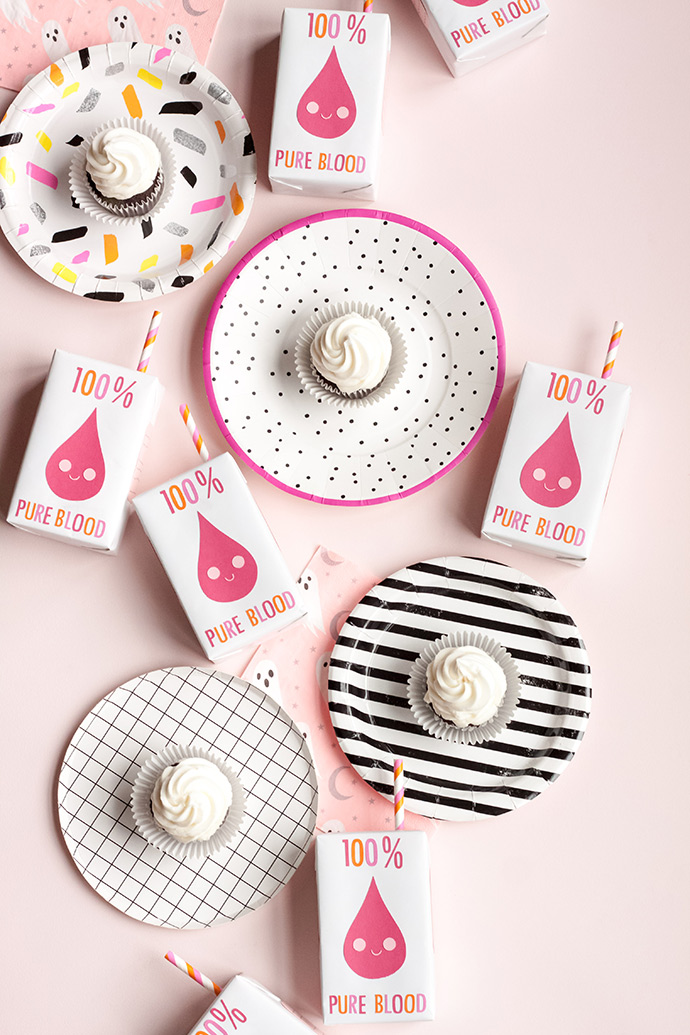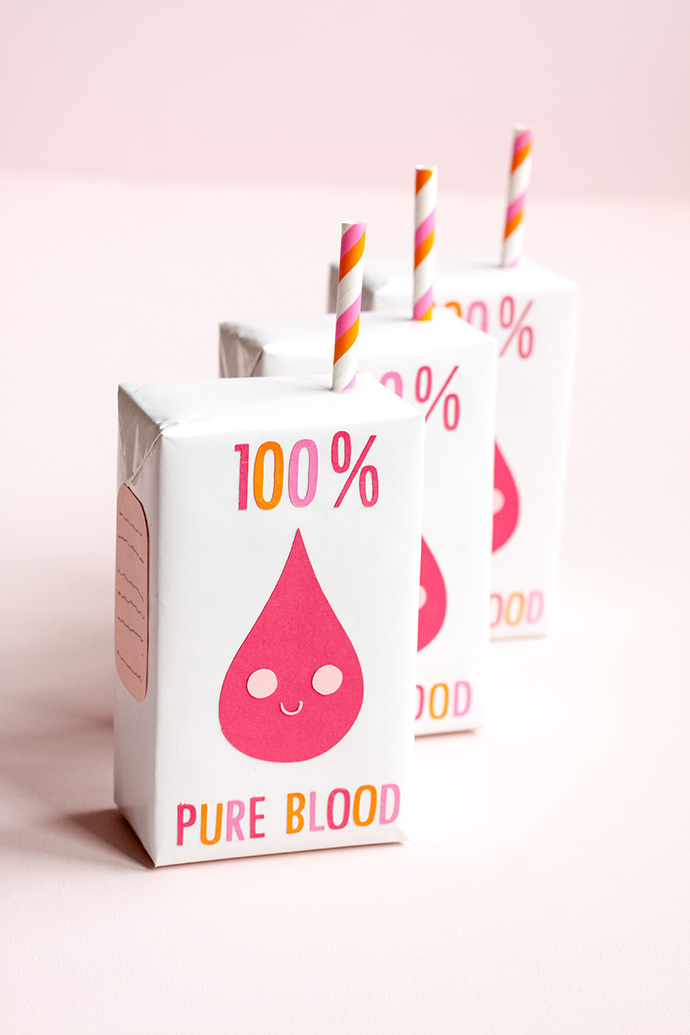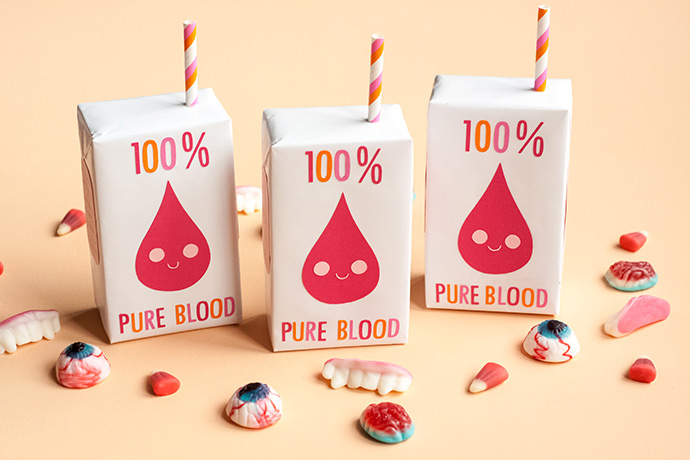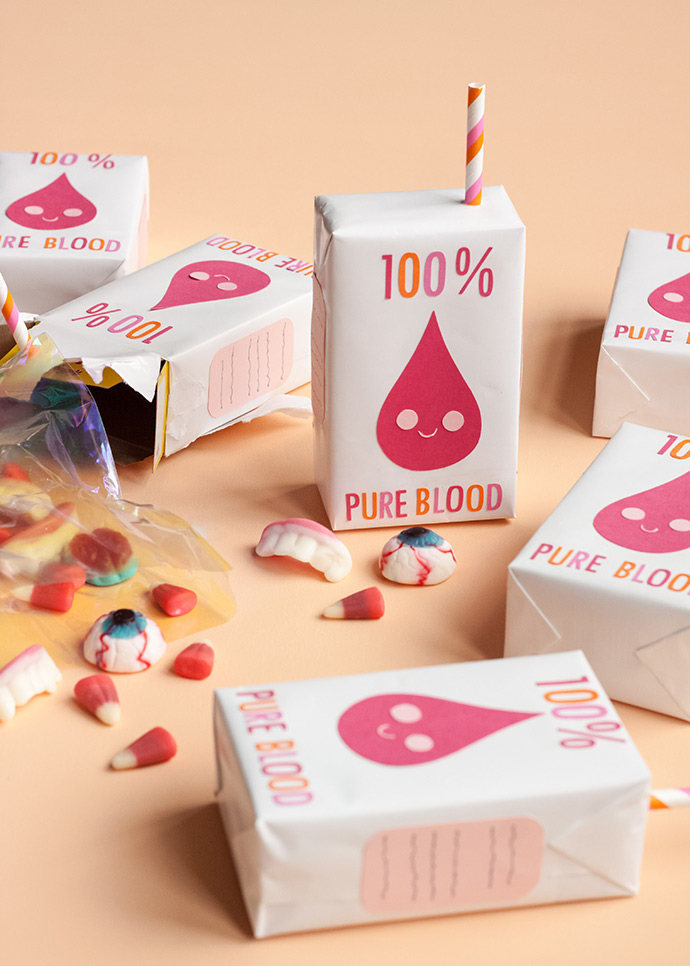
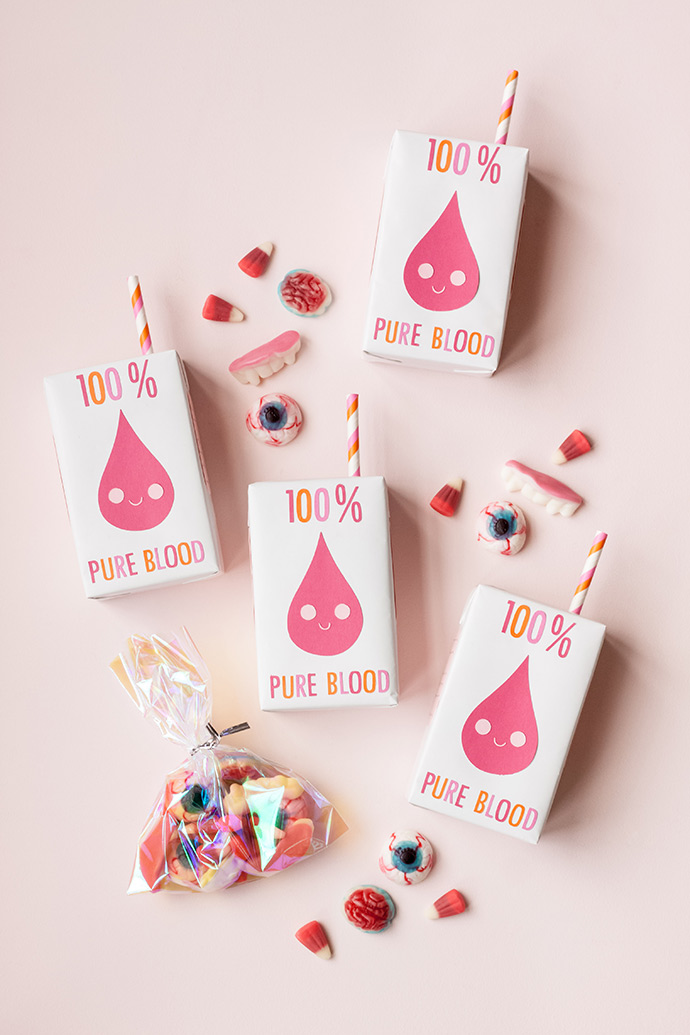
‘Tis the season for creepy, but we like to blend a little creepy with a little cute! I have always wanted to make some kind of juice box party favor out of mini cereal boxes, and Halloween seemed like the perfect time for some blood juice. It’s a great way to recycle the mini boxes, and they hold just the right amount of candy, toys and Halloween trinkets! The drop of blood on the front has such a sweet face, and the color scheme is so cheerful that these work for all ages and levels of creepiness.
We used a cutting machine, but a raindrop shape is simple enough to freehand a template if you don’t have access to one, and you could easily use alphabet stickers as well. These would be cute on actual juice boxes too! You just have to change the dimensions of your wrapping paper.

what you need:
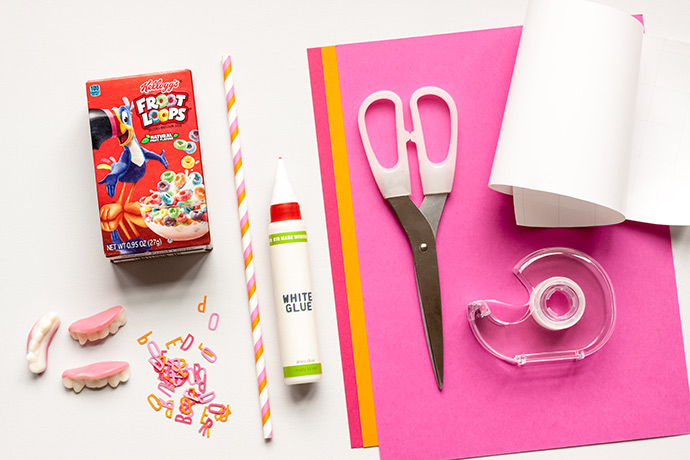
- Mini cereal boxes
- Wrapping paper
- Clear tape
- Glue
- Scissors
- Cardstock (shade of red, and colors of your choice)
- Cutting machine OR alphabet stickers
- Paper straws
- Halloween candy and favors
- Favor bag (optional)
how-to:
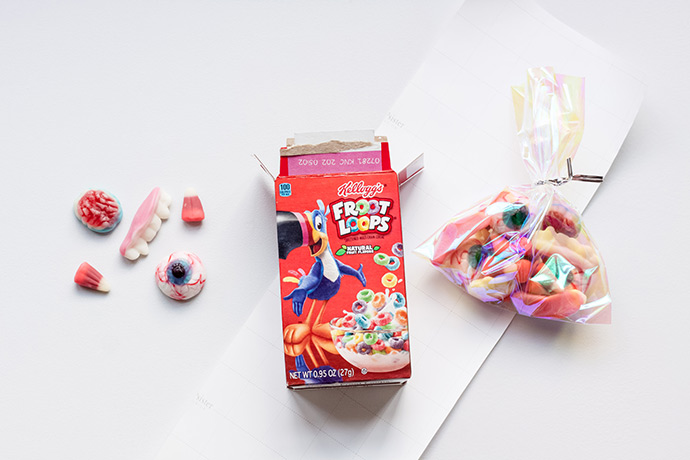
Fill your cereal box with candy and favors, and seal it with tape. You may place an actual favor bag in the box. Cut a piece of wrapping paper to 5 ½” x 14”.
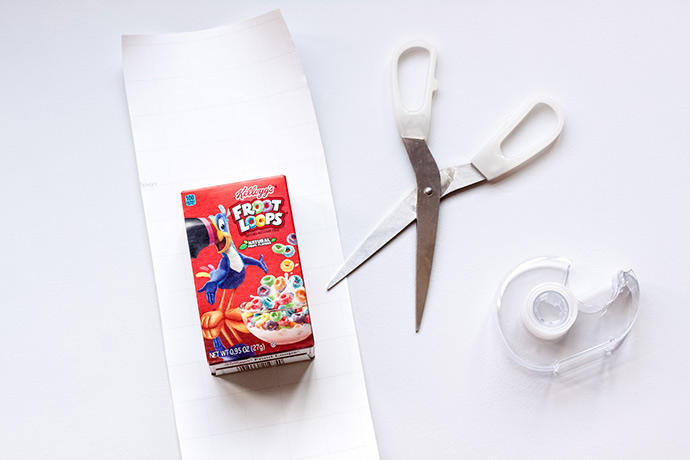
Lay your mini cereal box face down in the center of the wrapping paper, so that both the box and the paper have the long and short sides going the same way.

With the short side of the paper and box at the bottom, fold the top and bottom of the paper tightly over the cereal box, and tape them together.
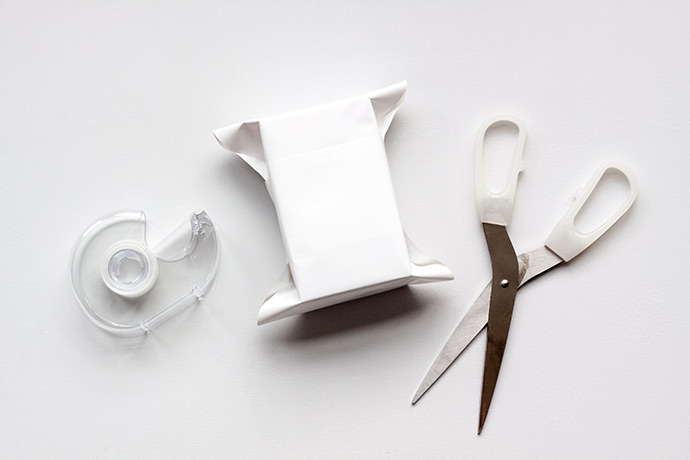
Fold one side down in the middle, and bring the paper from the other side over that piece, and tape it down in the center. Leave the top and bottom without tape, and do not crease – yet! Repeat this step on the other side of the box as well.
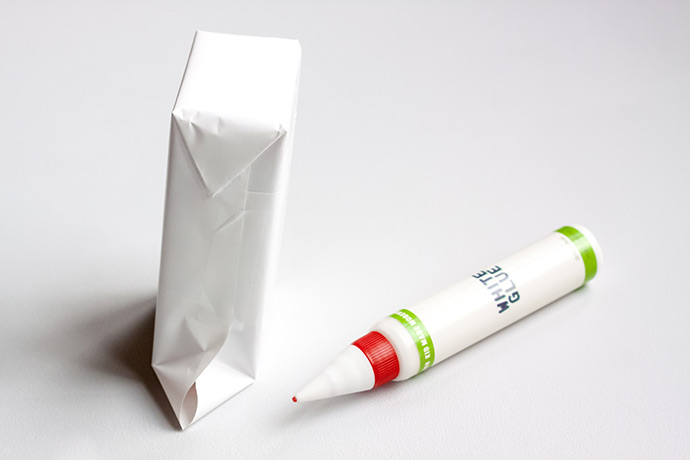
At the top and side of the box, fold the piece of wrapping paper into a triangle, and glue it to the side. Repeat this step on the other side at the top.
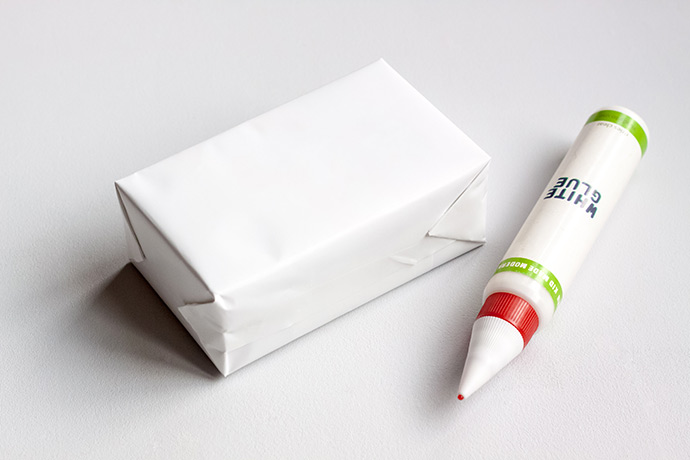
Now fold the flap at the bottom and side into a triangle, but glue this one under the box, instead of to the side. Repeat this step on the other side at the bottom.
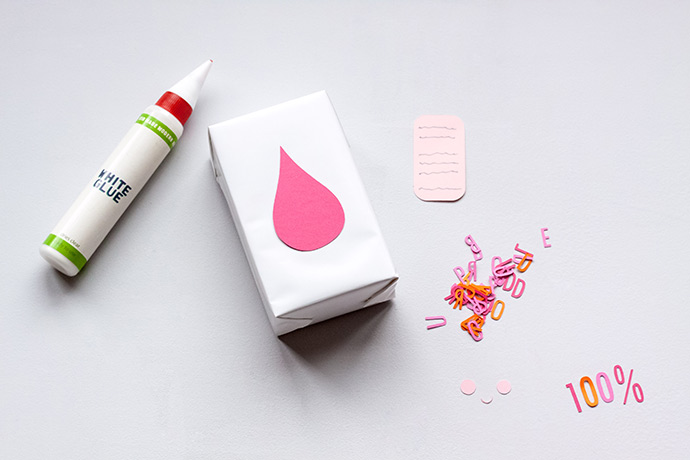
Use a cutting machine or scissors to cut a raindrop shape. You may cut the letters and numbers, “100% PURE BLOOD” as well, or use alphabet stickers instead. If you are using a cutting machine, cut kawaii eyes and mouth too. If not, then you can easily use a marker for two round eyes and a tiny smile! Create a tiny rectangle with squiggly lines under it as “nutrition facts” for the side of the box.
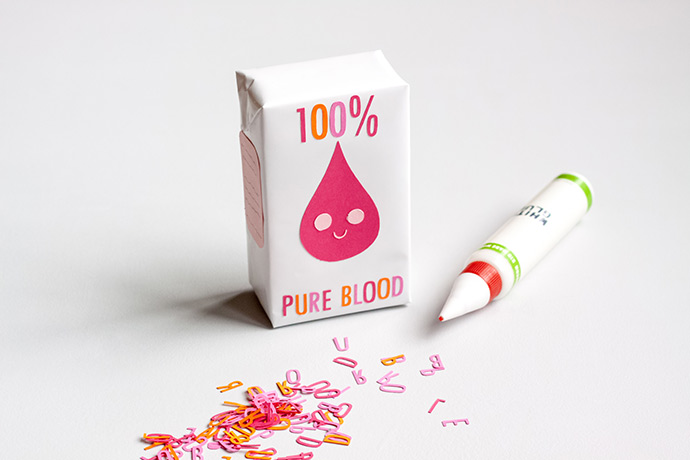
Glue your drop of blood on the front and center of the box, and add a face. Place “100%” at the top and center of the box, and “PURE BLOOD” at the bottom and center. Glue your “nutrition facts” rectangles to the sides of the box, under the triangle flaps.
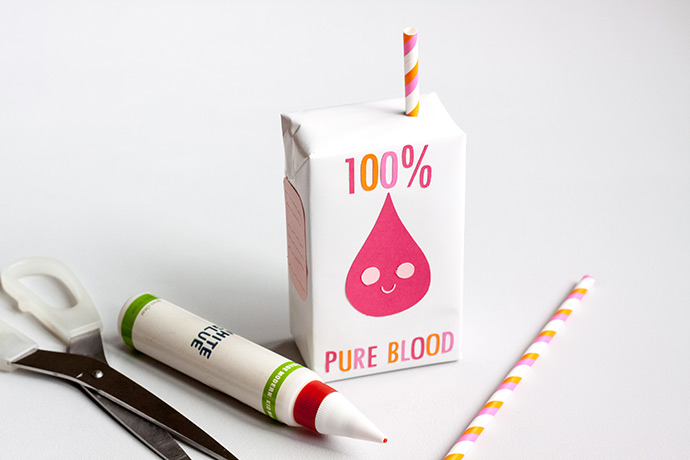
Cut a paper straw into 1 ¾” pieces, and glue the straw piece to one side on the top of the box.