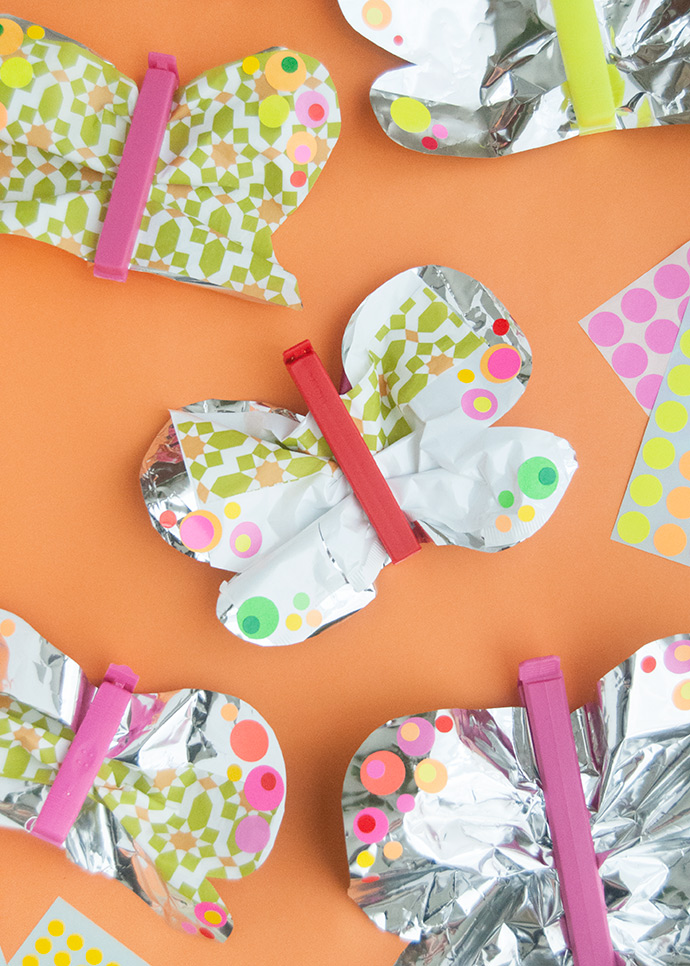
Turn trash into treasure with these handmade butterflies! Before I put anything into our recycling bin, I always try to look at it and think if there’s any way I could reuse or repurpose it into something new and useful. Sometimes I can’t quite think of something on the spot but if the jar or box is cool enough, I’ll keep in anyways knowing that I’ll find a way to use it later. I definitely don’t keep every chip bag that we empty, but when I had the idea of these chip bag butterflies I put a couple of them aside to craft with later. While I was saving them up, I noticed the bread bag I had just emptied had an amazing pattern on it, so I thought it would be a perfect addition to these butterflies too!
Originally I had planned to use clothespins or popsicle sticks from the butterfly bodies, but no matter what I tried they just wouldn’t quite sit right. The solution was staring me right in the face: chip clips! If your house is anything like mine, extra chip clips are usually few and far between so once you’re done with the butterflies just unclip the chip clips (say that five times fast!) and put them back into rotation.
what you need:
- Empty foil chip bags
- Empty patterned or colored bags
- Round office stickers
- Double-sided tape
- Scissors
- Chip clips
how-to:
Step 1
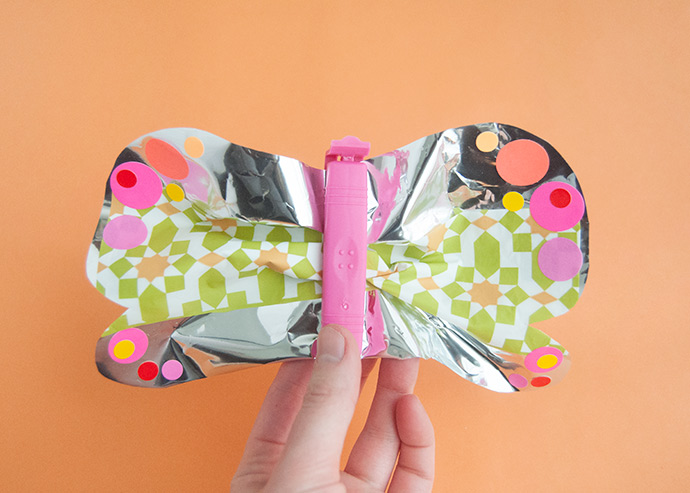
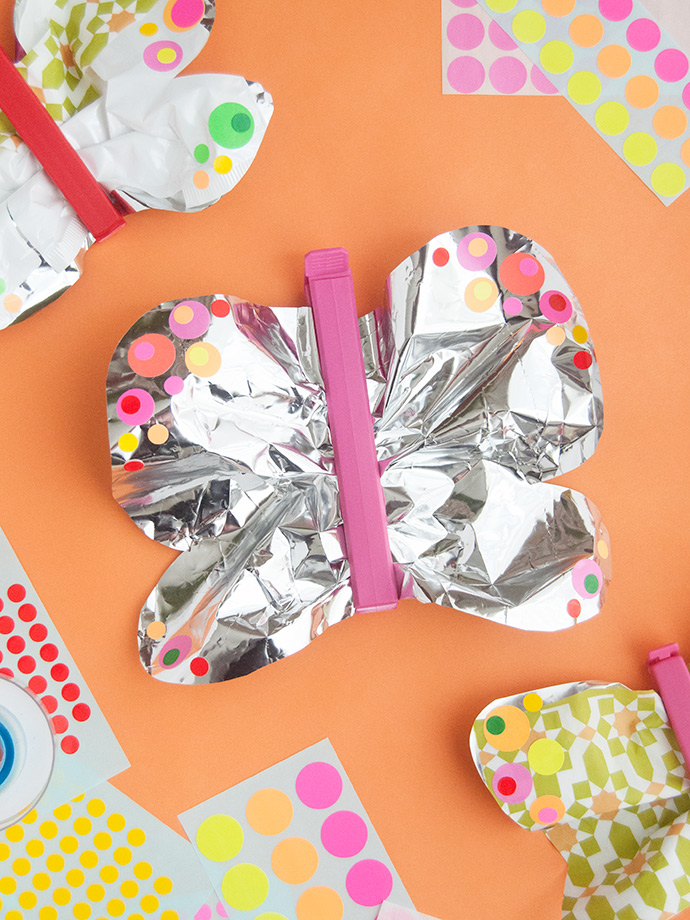
Dump out any crumbs from the empty chip bag and use a damp cloth to wipe away any oil or crumbs. Cut the bag open and lay it flat on your work surface. Do the same for any other bags you’ll be using – the green and orange geometric patterned bag in the photos was from a loaf of bread! We also used a small white bag from a chocolate bar. Look around to see what you already have at home that you can repurpose.
Step 2
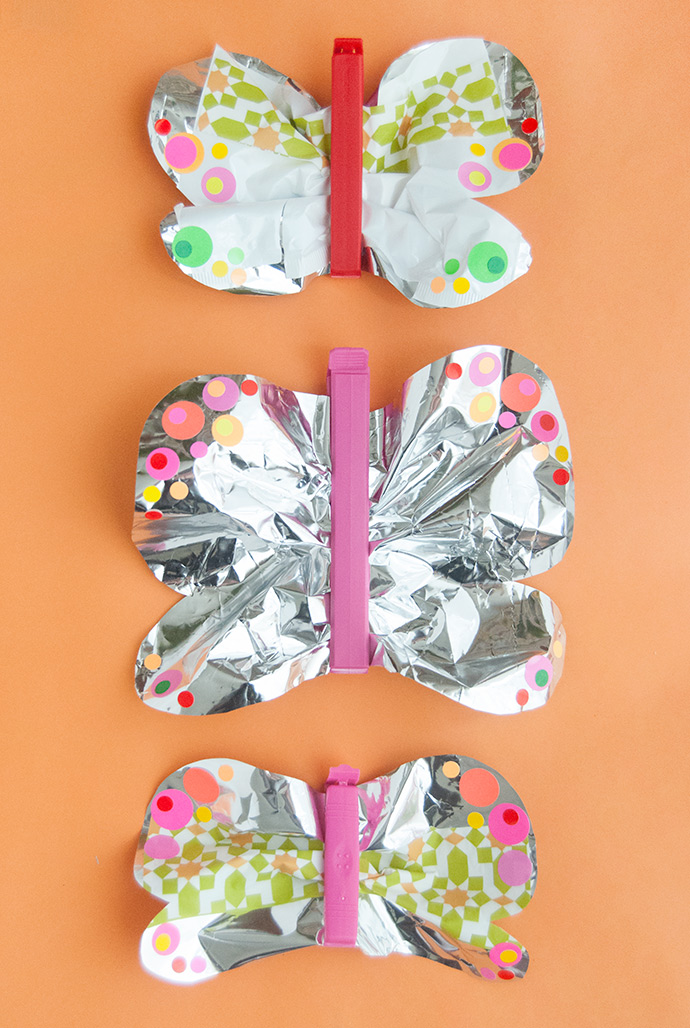
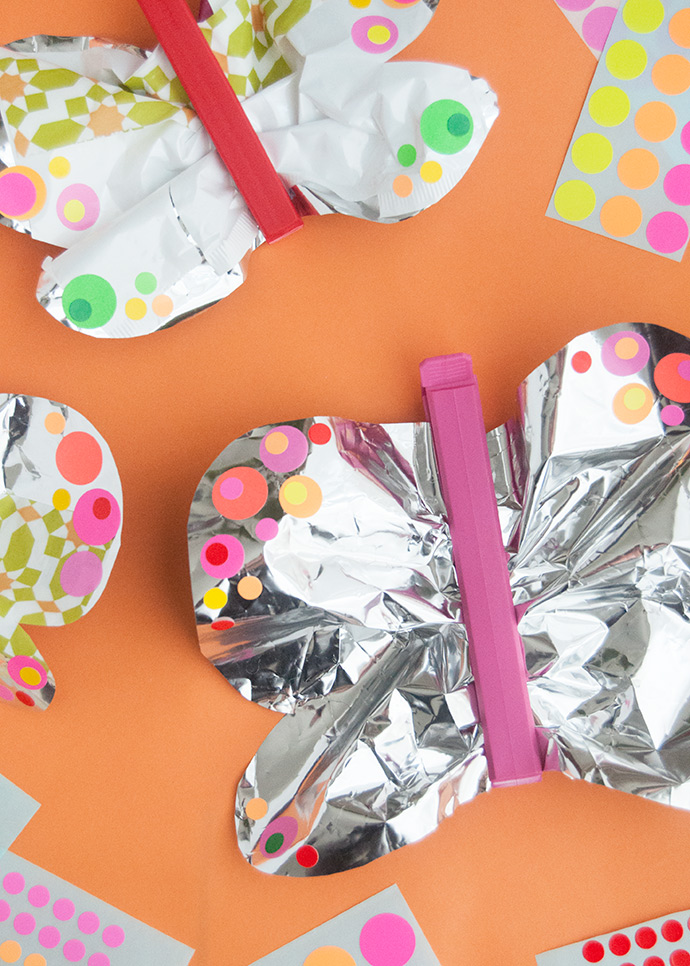
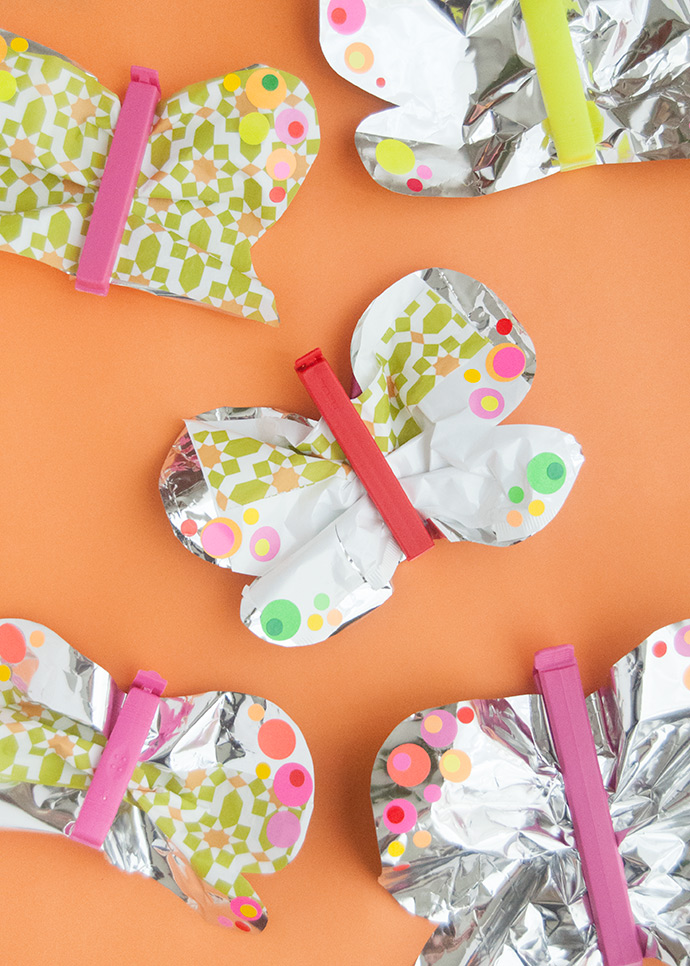
Pick a chip clip for the butterfly’s body and use this as a general guide for cutting the wingspan from the chip bag – you’ll want the height of the wings to be a little bit longer than the chip clip itself so that you can scrunch it up to add dimension. When cutting the wings, make sure to keep them as one roughly symmetrical piece and not two separate wings.
Step 3
Once the wings are cut, use double-stick tape to layer on any additional bags. I trimmed the edges of these new layers to match the shape of the wings.
Step 4
Time to put the wings and body together! Make a few little scrunches in the wings right at the center and use the chip clip to secure them in place. You can open and close the clip as many times as you need to get this just right. Once you’re happy with it, you can always trim the wings if needed – the foil chip bag has a mind of its own, so you can’t always force it to sit exactly how you want. Just trim it to make it work!
Step 5
If you have round office stickers (or any stickers or washi tape!) this is the time to add them on for some fun details. Have fun mixing and matching colors and layering them together.
Happy crafting!