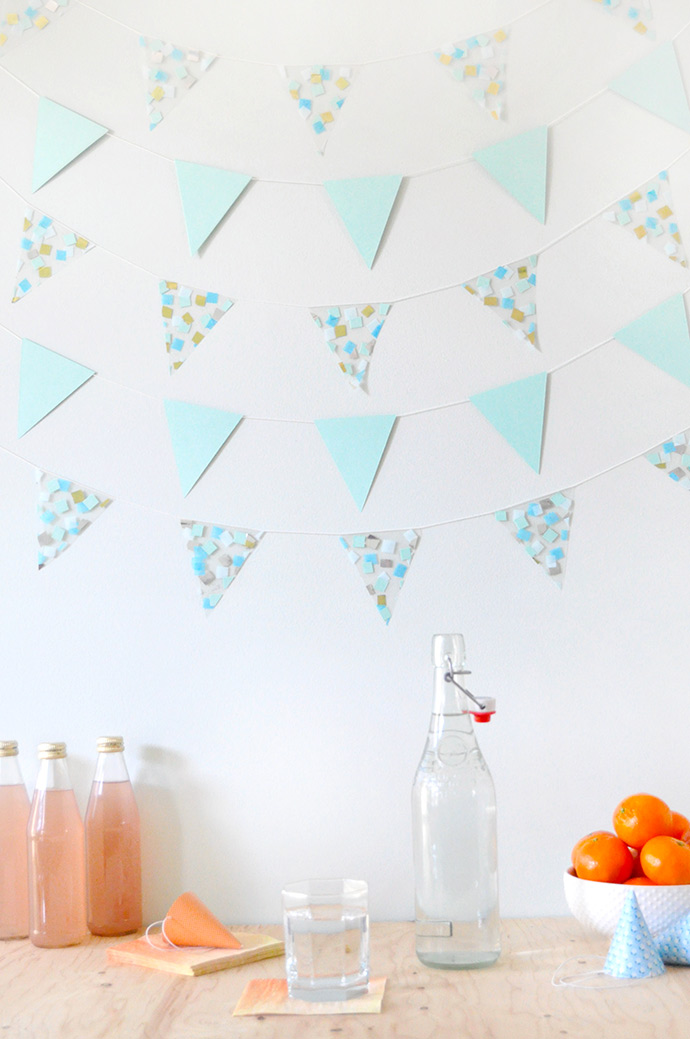
New Year’s Eve celebrations may be over, but who says you can’t celebrate with confetti any day of the year? For today’s DIY, we paired clear contact paper and confetti for this festive garland! And speaking of New Year’s Eve, if you have any leftover confetti from earlier this week, this handmade garland is a great way to repurpose it. If not, you can turn any paper scraps (wrapping paper, old envelopes, anything!) into colorful confetti with the help of a pair of scissors and a hole punch. We hung this garland up against the wall, but the transparent contact paper would look really neat hanging in the window too, kind of like a sun catcher! Keep reading for the full instructions below.
what you need:
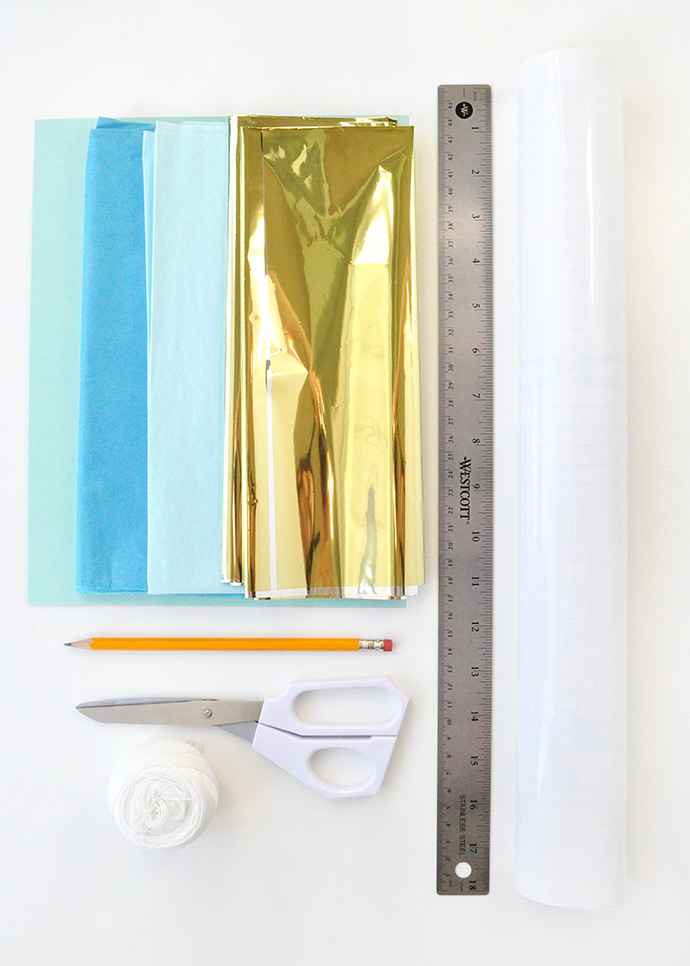
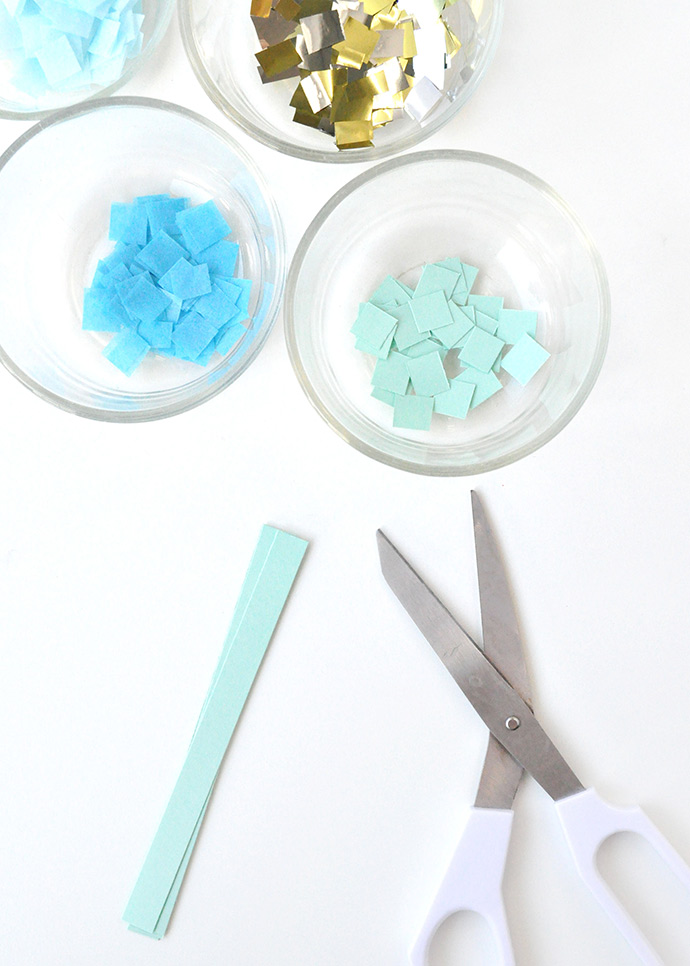
- Tissue paper (assorted colors)
- Mylar (gold)
- Transparent contact paper
- Scissors
- Ruler
- Pencil
- String
how-to:
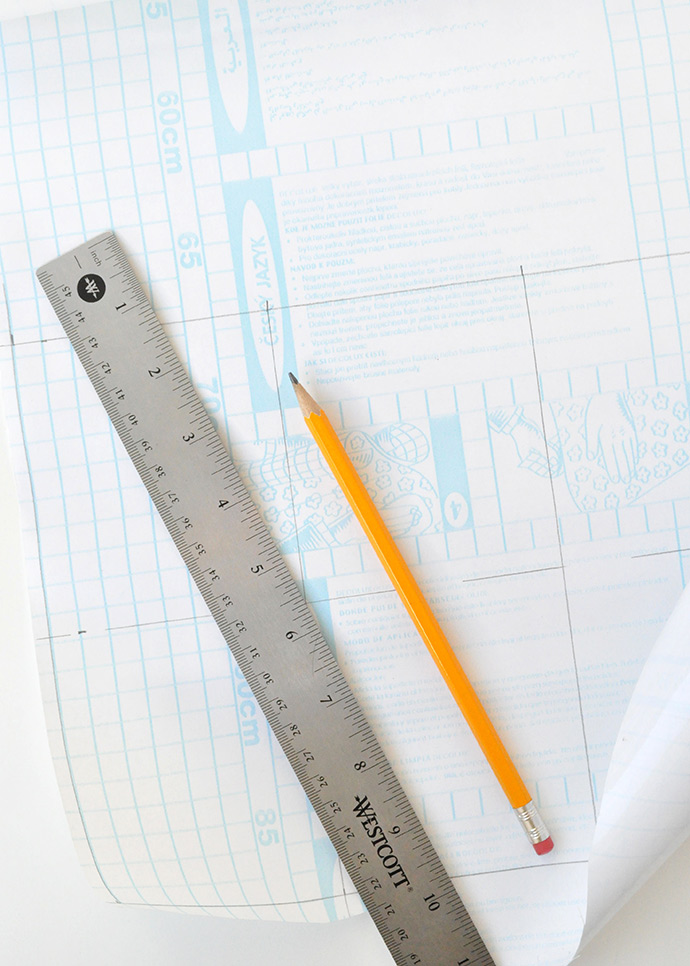
Step 1
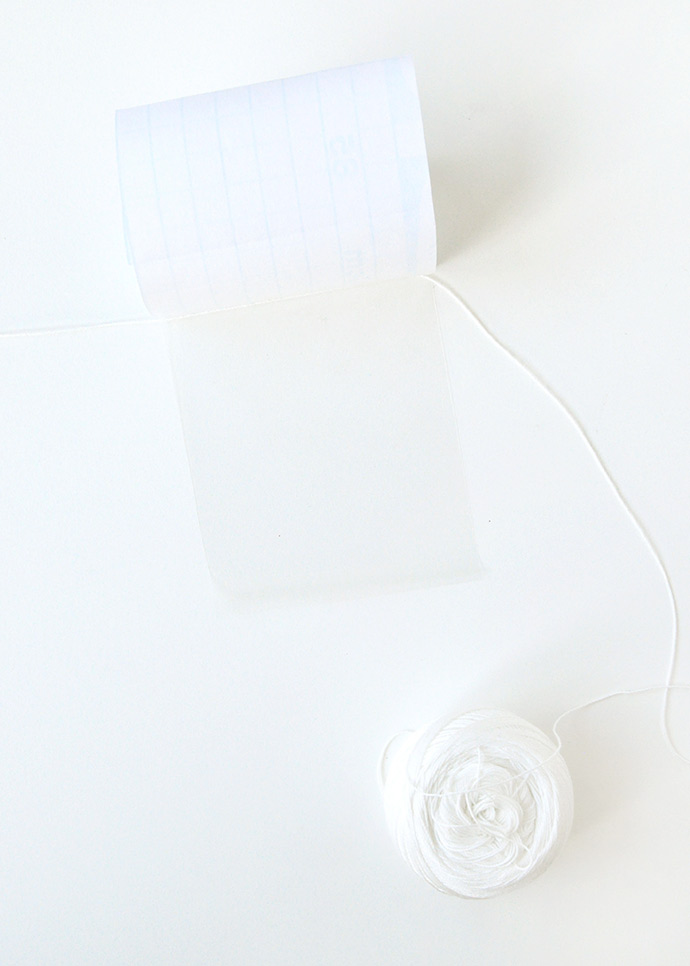
Begin by laying out your transparent contact paper so that the paper side is facing up. Use a ruler and pencil to mark out even rectangles – ours were about 3″ wide and 8″ tall. We drew a dotted line down the center at the 4″ mark – this is where we’ll be folding them later.
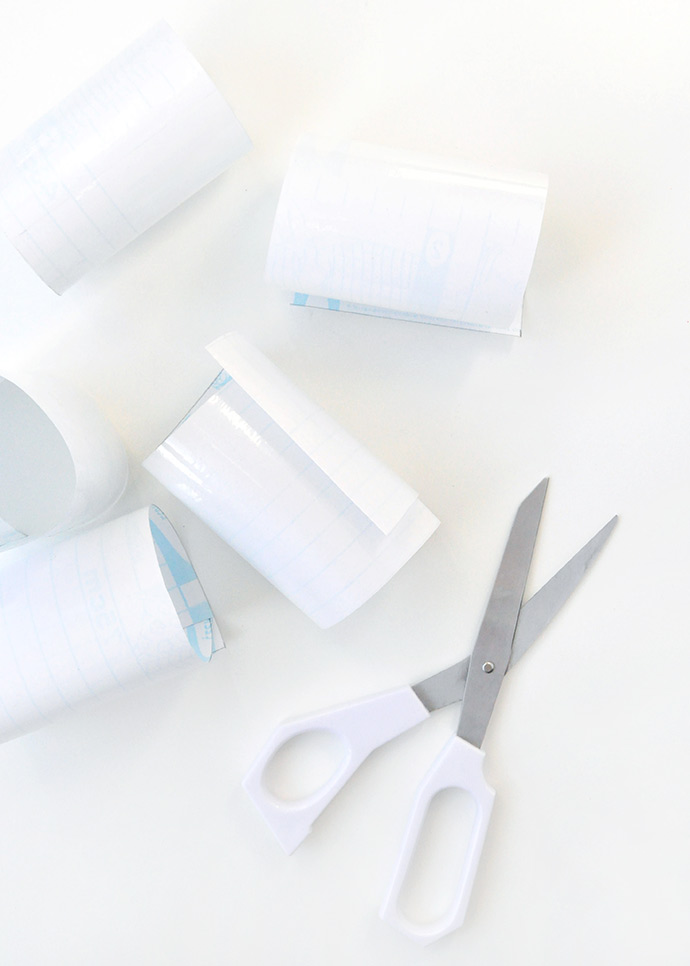
Step 2
Cut out the rectangles you just drew. You can make as many as you want, depending on the size of garland you’re going for.
Step 3
Time to make some confetti! You can use confetti you already have on hand, or make your own custom mix using tissue paper, mylar, or any paper you like.
Step 4
Peel the paper backing away from the contact paper so that only a half of the rectangle is exposed. Lay a piece of string across the center of it, keeping it as even as possible. You’ll want to leave some excess string off the edge for hanging later.
Step 5
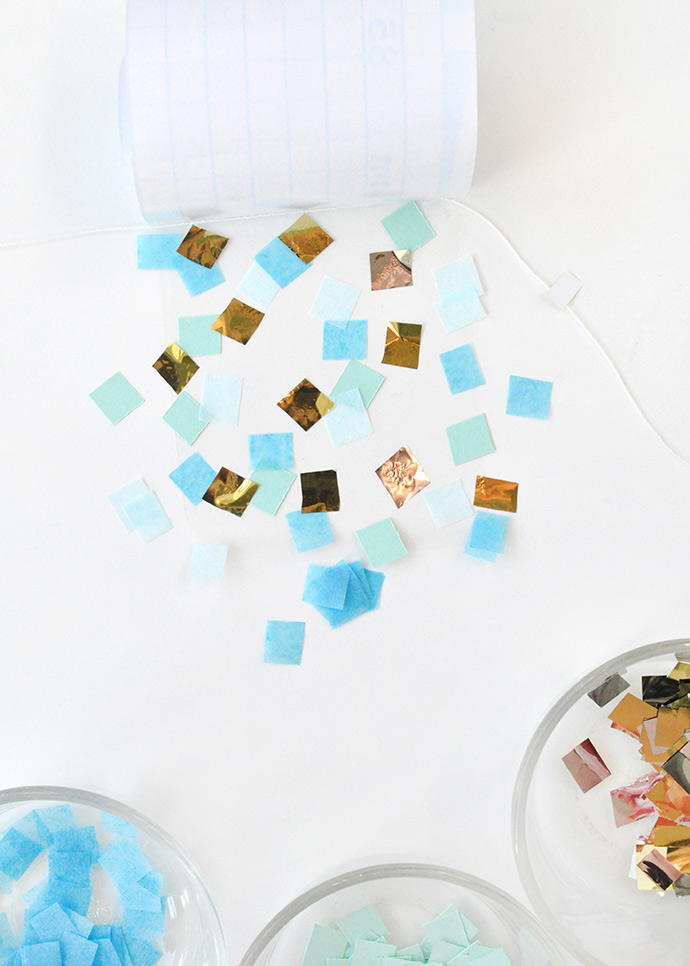
Sprinkle some confetti onto the sticky side of the contact paper. Once you’re happy with the look, remove the rest of the backing and carefully fold the contact paper onto itself, sealing the confetti inside.
Step 6
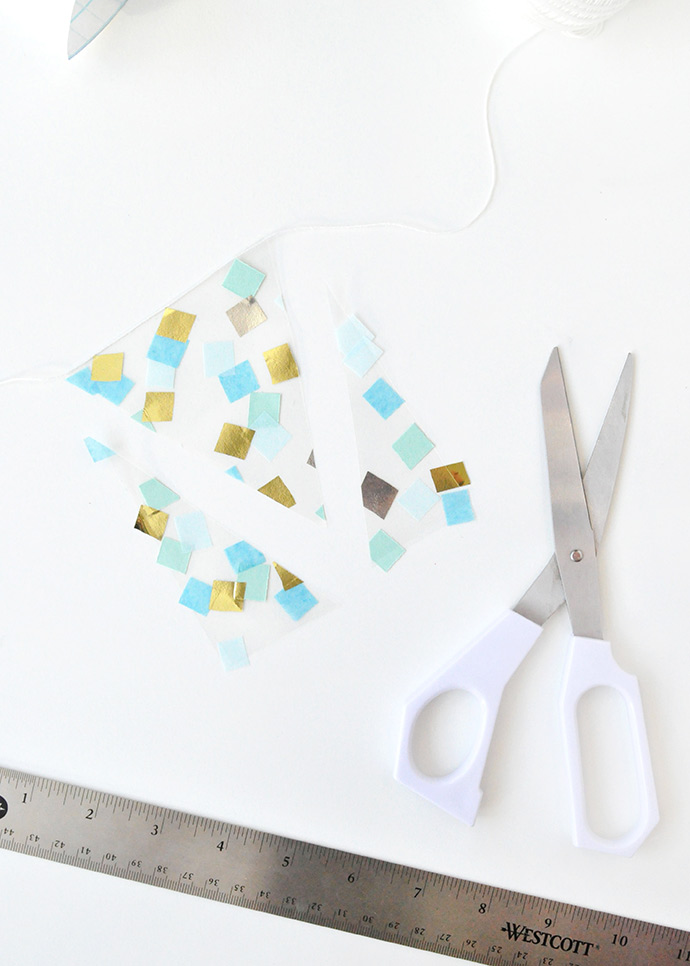
Leave as is, or use scissors to trim into a triangle shape. Repeat steps 4, 5, and 6 for the remaining rectangles.
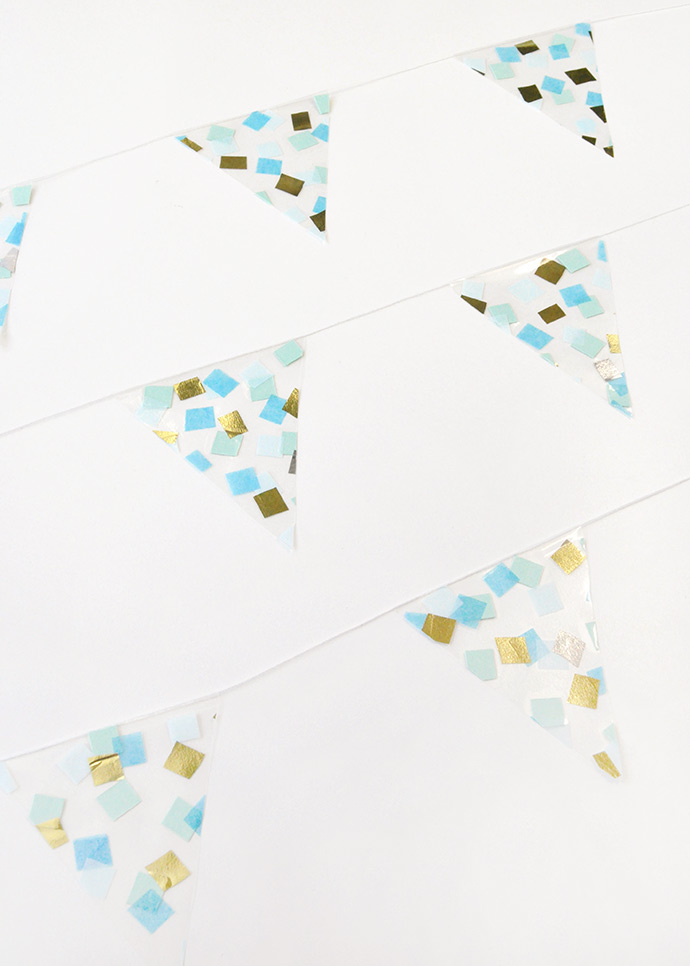
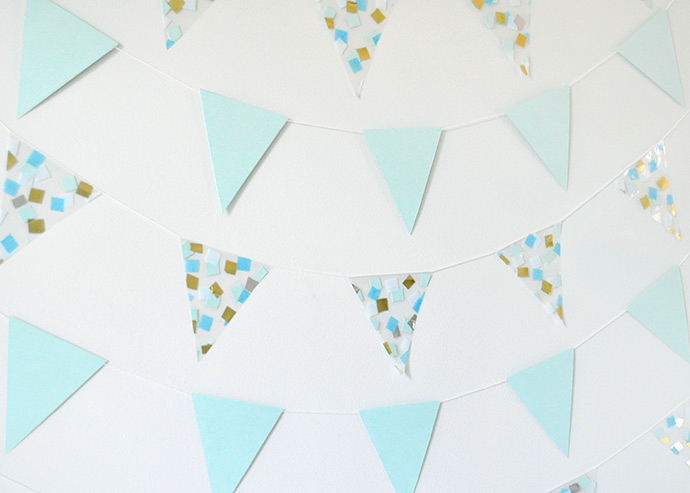
Your garland is ready to hang! Mix and match with other garlands, or make a whole bunch and hang them all together.
Happy crafting!