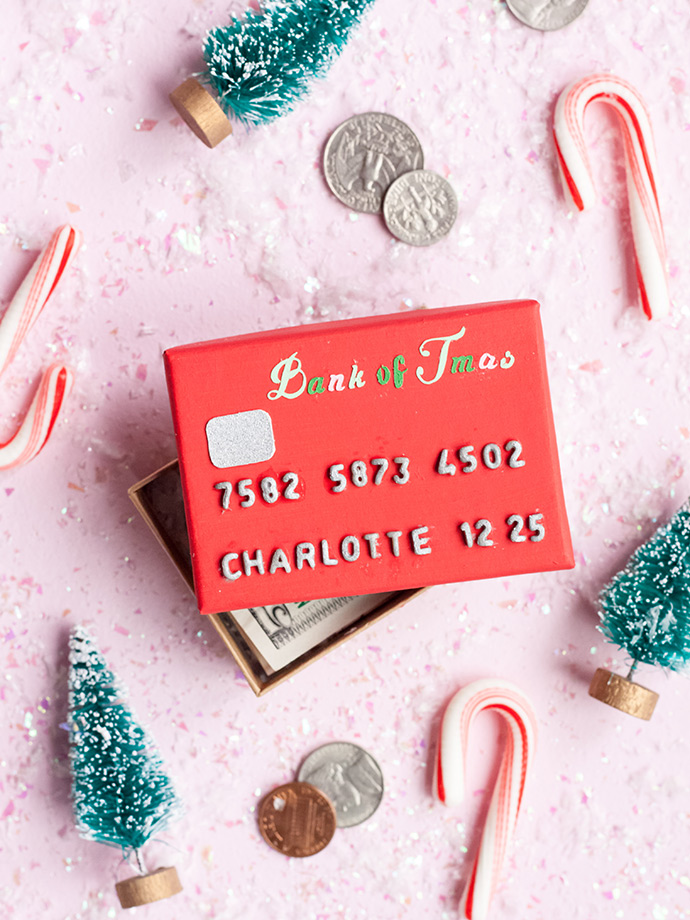
It’s hard to figure out what to get a teen or tween these days! My daughter is at the age where the things on her wish list are either too pricey, or other options are just too juvenile. I don’t know a single kid (or adult!) who would be disappointed to receive cash!
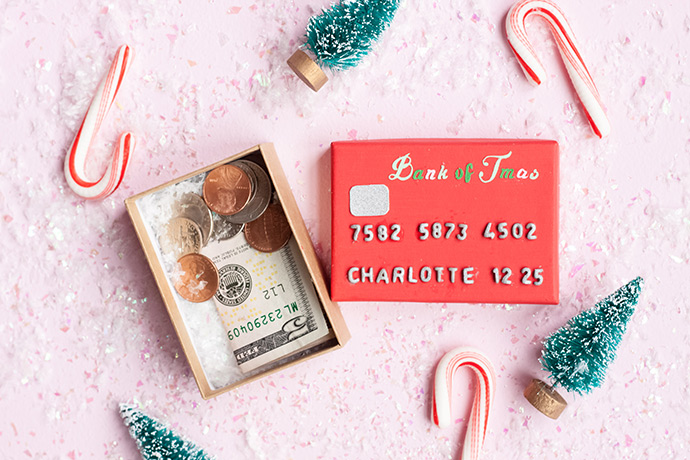
I know a lot of people don’t like to give money, because it can feel impersonal. If you spend a little time making these adorable, personalized credit card gift boxes, it is a fun way to give or receive money. Much more fun than a white envelope under the tree, right?! (But don’t feel guilty if you decide to go the white-envelope route…the receiver will love the gift either way!) You could also change the color scheme to suit a monetary birthday or graduation gift. Younger kids can even enjoy playing with the faux credit card!
what you need:
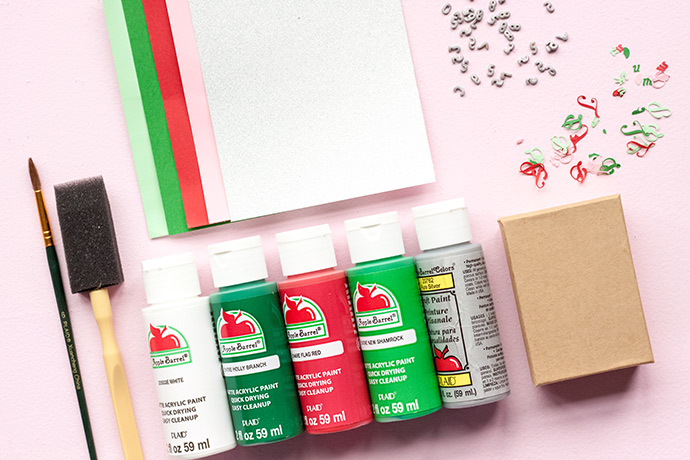
• Jewelry box (2.16 in x 3.07 in x 1 in)
• Apple Barrel Acrylic Paints (white, silver, and the colors of your choice)
• Sponge brush
• Paintbrush
• Letters (stickers, stamps, or cardstock from a cutting machine)
• Silver cardstock (and scissors or a cutting machine)
• Alphabet Noodles (including numbers)
• Glue (all-purpose & stick glue) – not pictured
how-to:
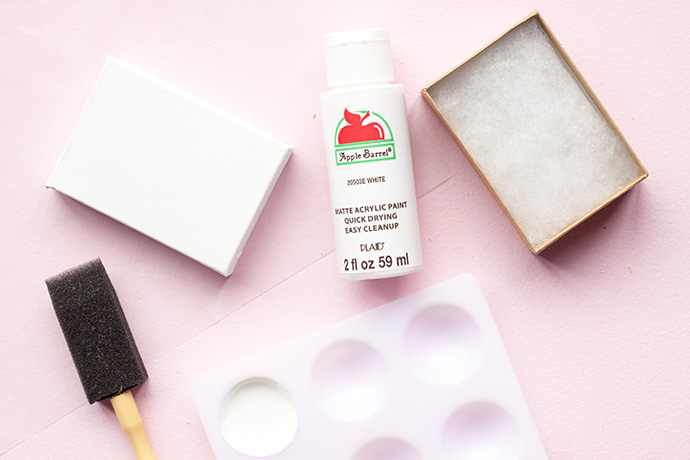
Step 1
Paint the lid of your jewelry box using white acrylic paint and a sponge brush.
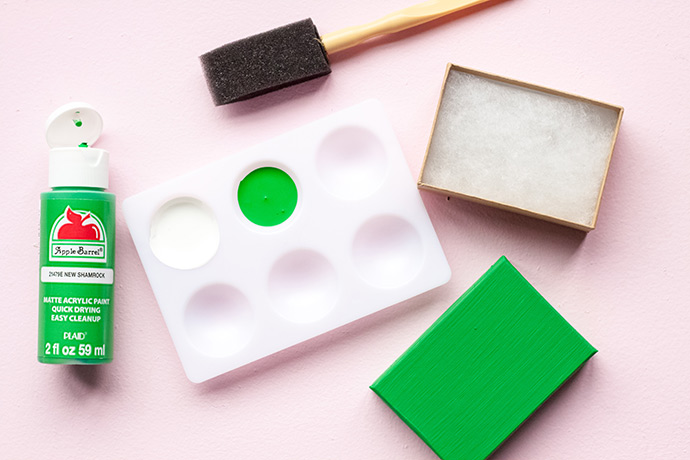
Step 2
Once the white paint has dried, paint the lid the color of your choice.

Step 3
Choose the numbers and letters that you will use to create your credit card, and paint them silver.

Step 4
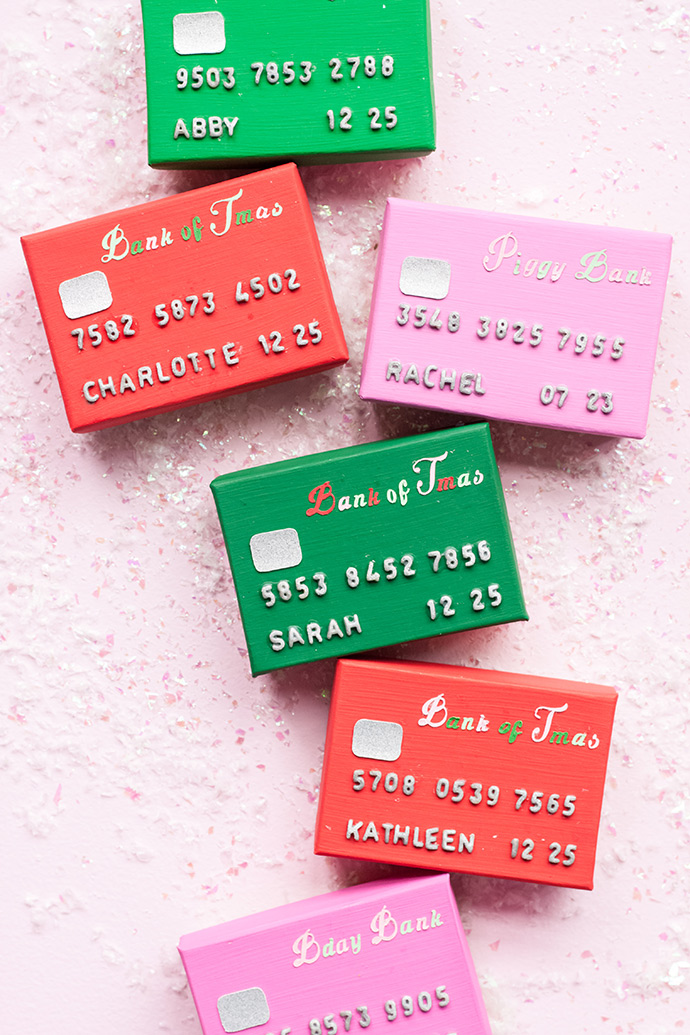
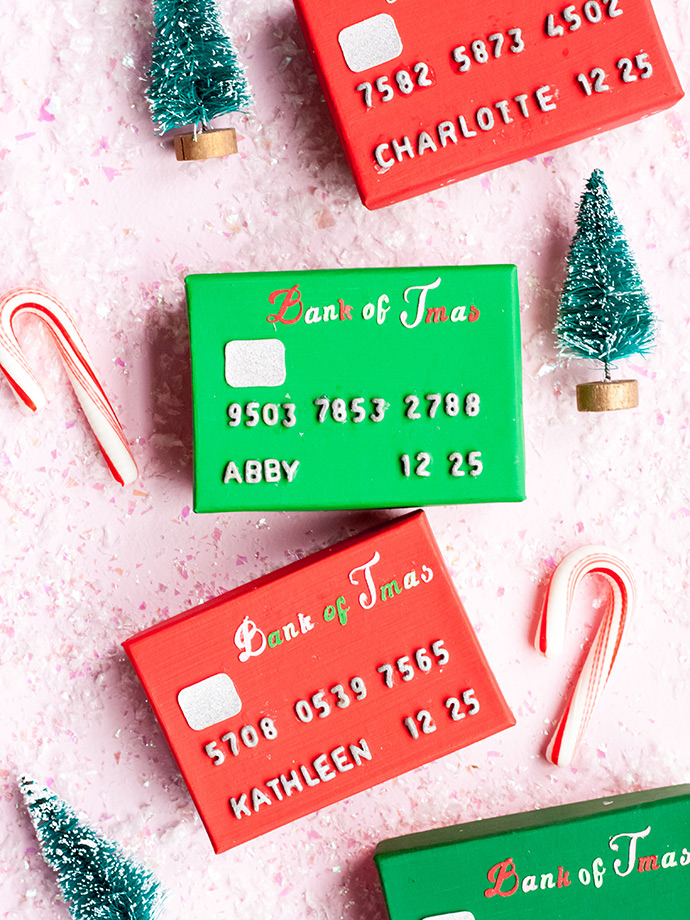
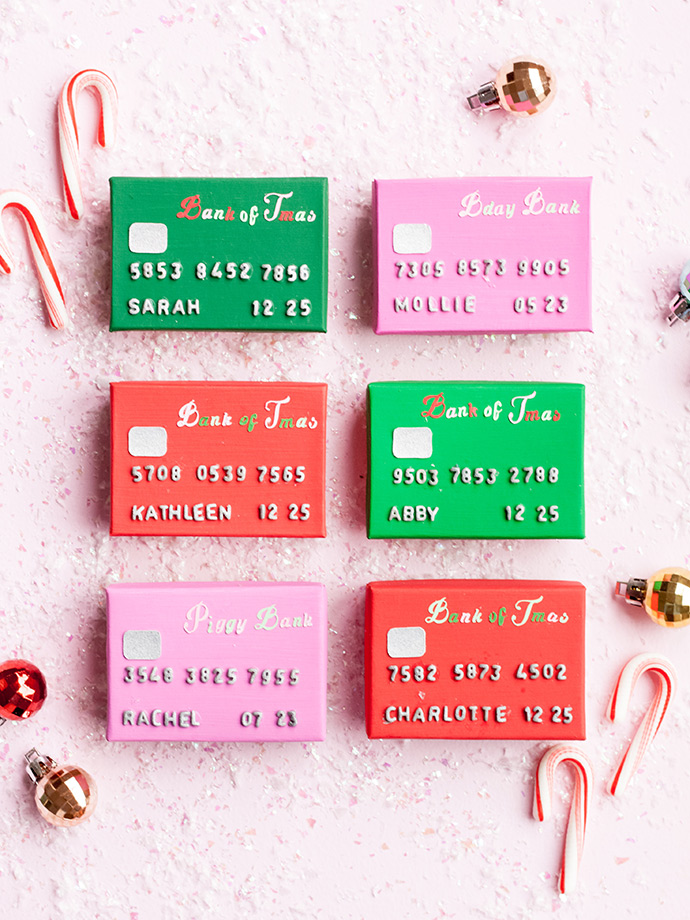
Prepare your cardstock (sticker, or stamp) letters to create a bank name. You may use “Tmas Bank, Bday Bank, Piggy Bank, etc.)
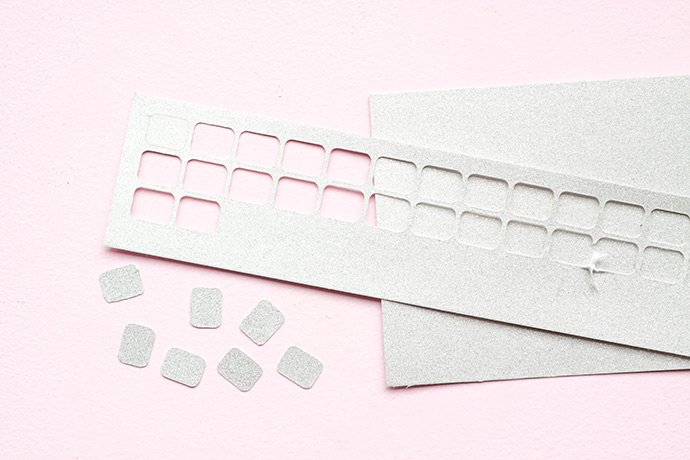
Step 5
Cut small rectangles (with rounded corners – if possible) out of silver cardstock using scissors or a cutting machine. Make them just a little over ½ inch in length.
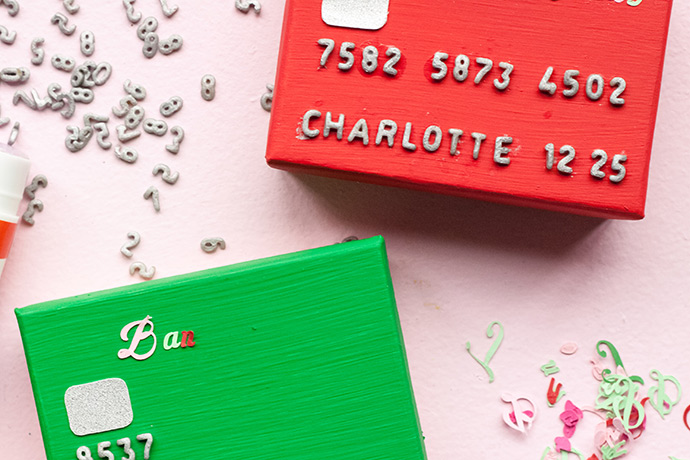
Step 6
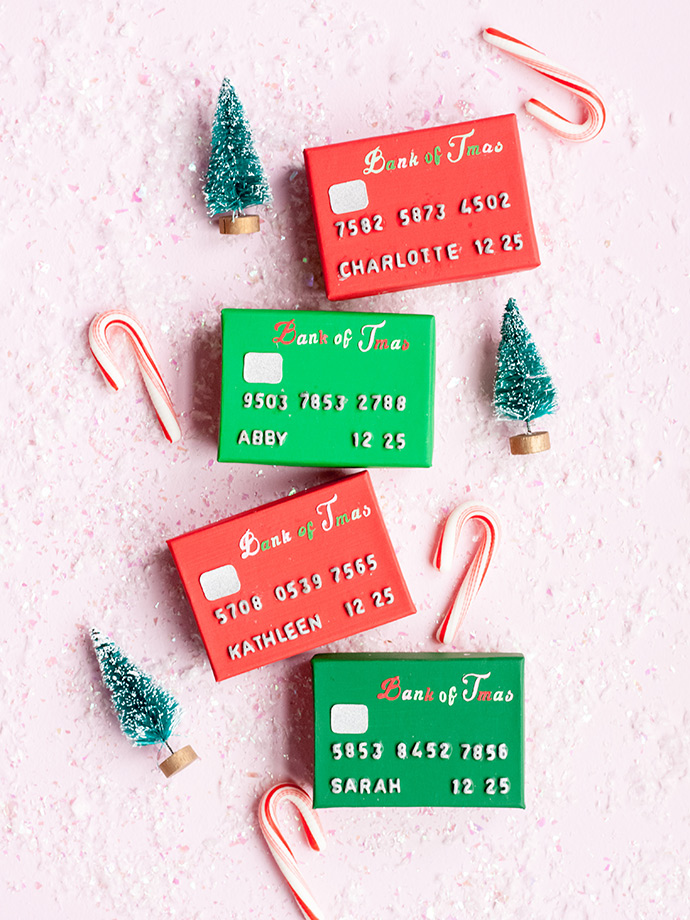
Lay out your silver numbers and letters, silver “chip”, and Bank name before gluing it all to the box lid. We used a 12-digit card number with spaces between each set of four numbers. Place this slightly below the center of the lid. Place the recipient’s name under the card number, and the “expiration date” on the right side of the lid, under the card number. Place the sliver “chip” just above the card number, in line with the first number. Glue the bank name to the top, right side of the box lid. Glue everything down once you are satisfied with the placement. It is easiest to put small dots of glue where you plan to place each letter or number, and then place the noodle on the dot. Use the glue stick if you are using cardstock letters for the bank name.

Happy crafting, and Merry Christmas!!