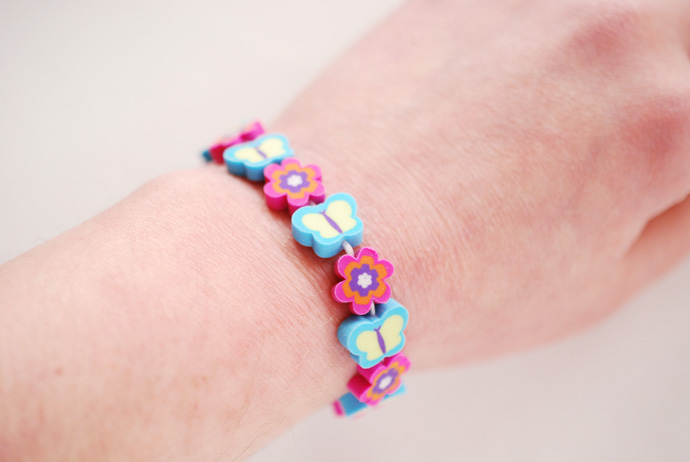
Since I was a child, I’ve always loved little erasers. I still love them now, but I’m never sure what I should do with them. Should I collect them? Should I just use them as erasers? Even with all the mistakes I make, how many do I really need? But they are just too cute. If you or your kids are like me, put those sweet little erasers to use in a big new way by wearing them!
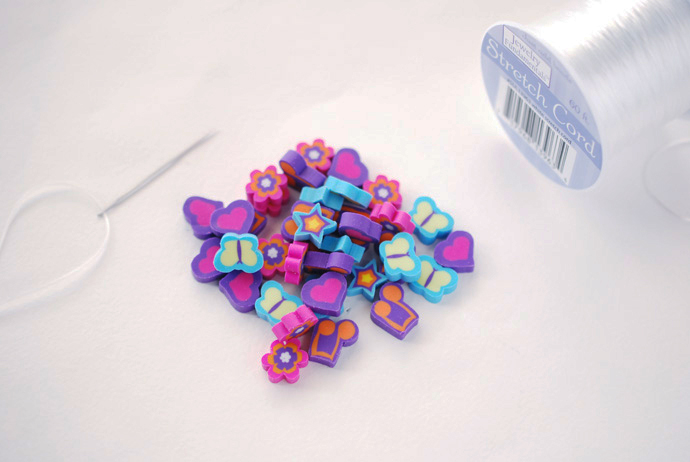
What You Need
- Mini Erasers
- Stretch thread (this is thinner than stretch cord)
- Scissors
- Needle (choose a needle that is sharp, thick, and has a large eye)
How-To
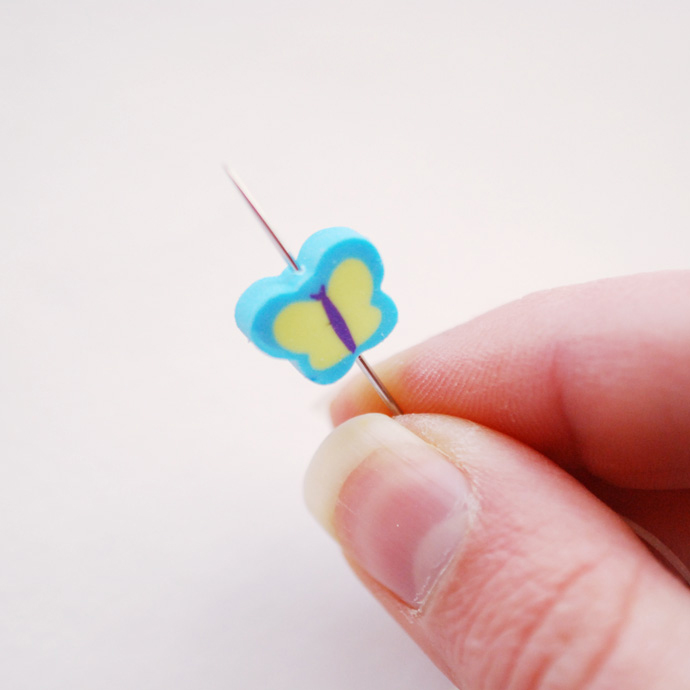
Step 1
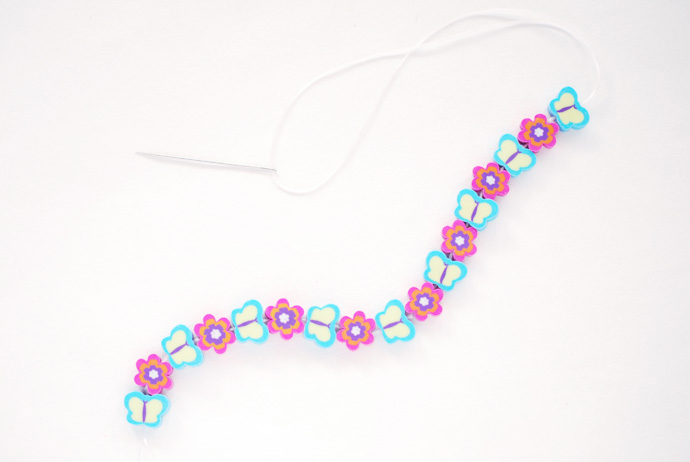
Cut a 24” piece of stretch thread and thread the needle, doubling the thread. You won’t need to tie a knot in the end.
Carefully poke the needle through an eraser, pushing it through as straight as you can.
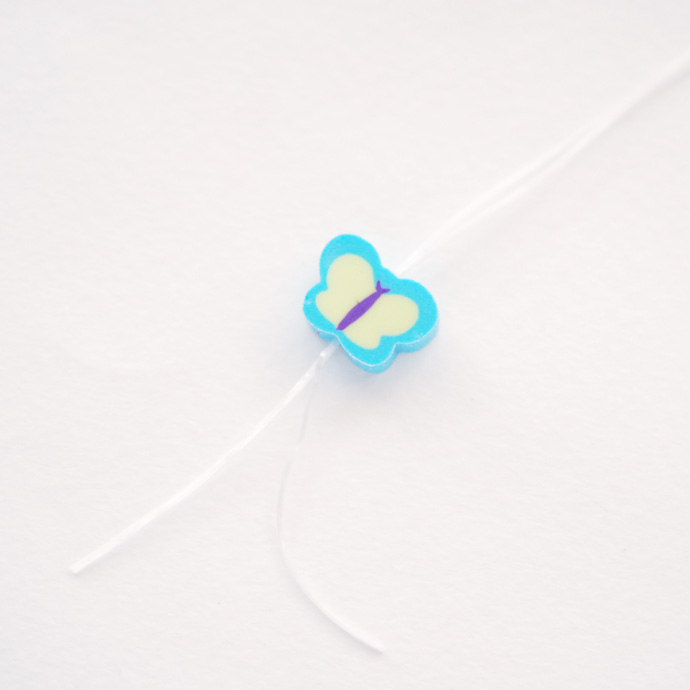
Step 2
Pull the eraser down the thread to within about 1-2 inches of the end. The thread will stretch as you slide the eraser, so pull it slowly, working it down a few inches at a time.
Step 3
Continue adding erasers. Don’t pull them so close to each other that the thread is stretched. You should be able to see some thread showing between the erasers.
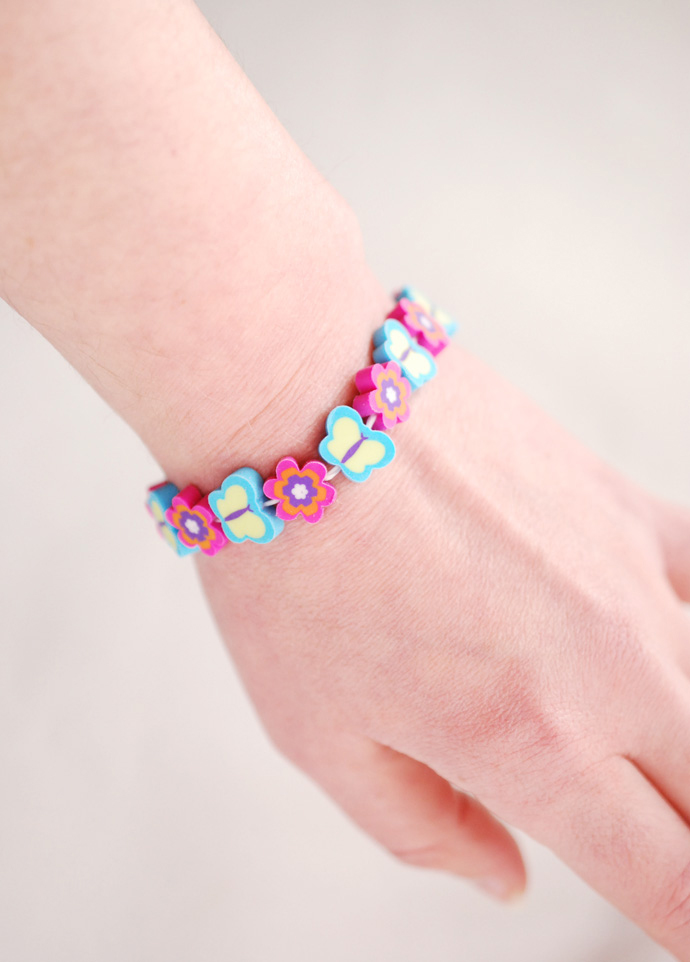
For my small adult wrist, I made the bracelet 7 inches long. Adjust this size to fit your child.
Step 4
Tie a secure knot with the ends, knotting it close to the erasers. A double square knot is a good knot for this, or you may find suggested knotting techniques for the stretch thread you choose.
Trim the ends and slide the bracelet over your child’s hand.
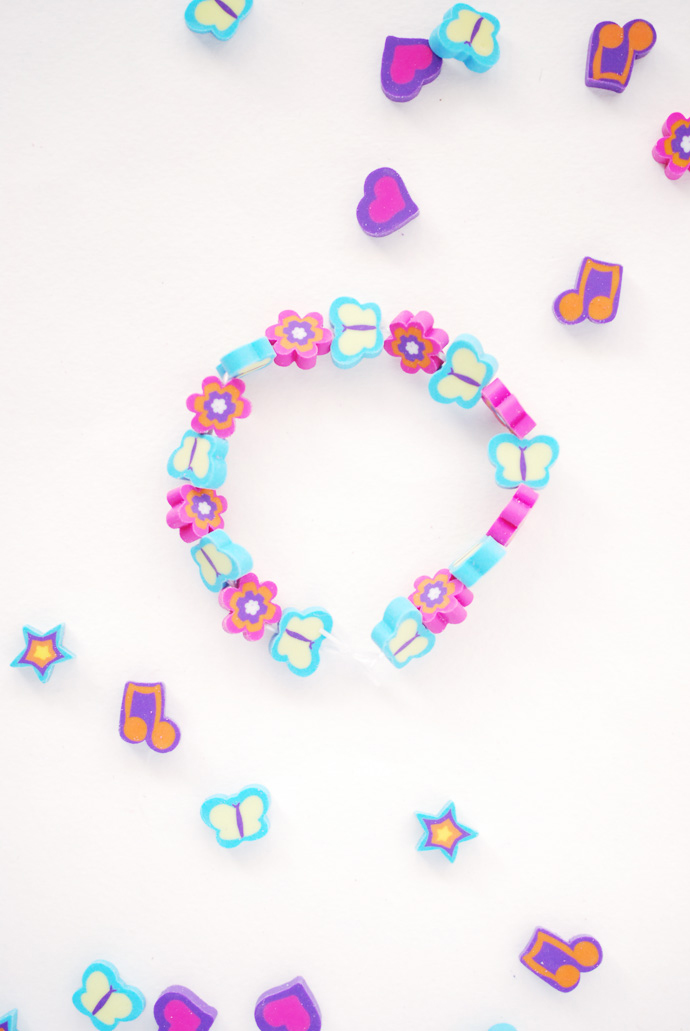
Now that you’ve made a bracelet, how about a necklace? Or maybe try adding a larger eraser as a charm? There are so many cute erasers to make each piece of jewelry totally unique!
Happy crafting!