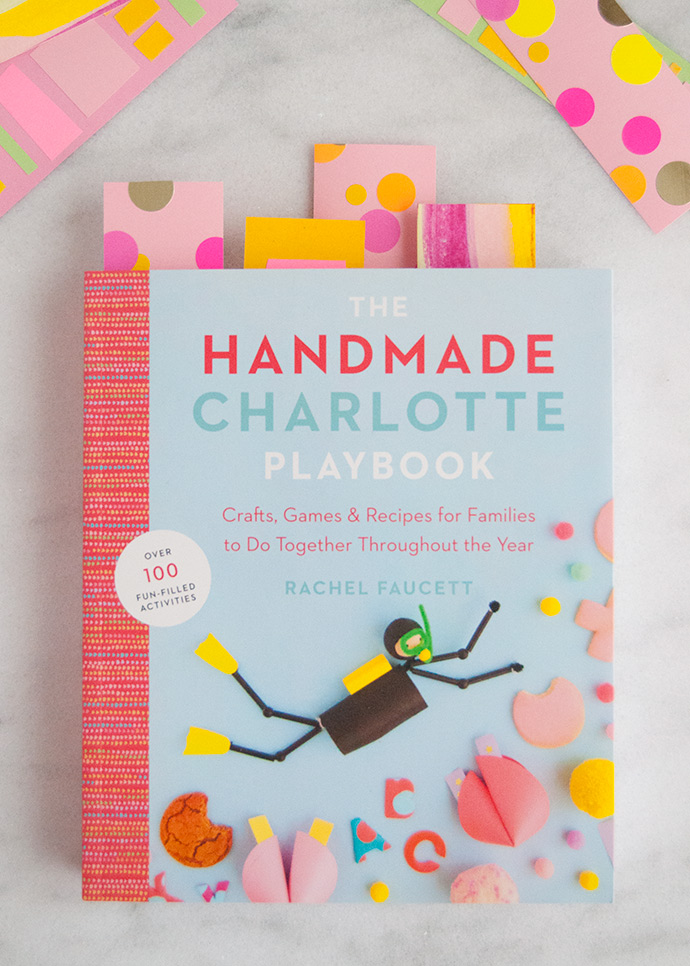
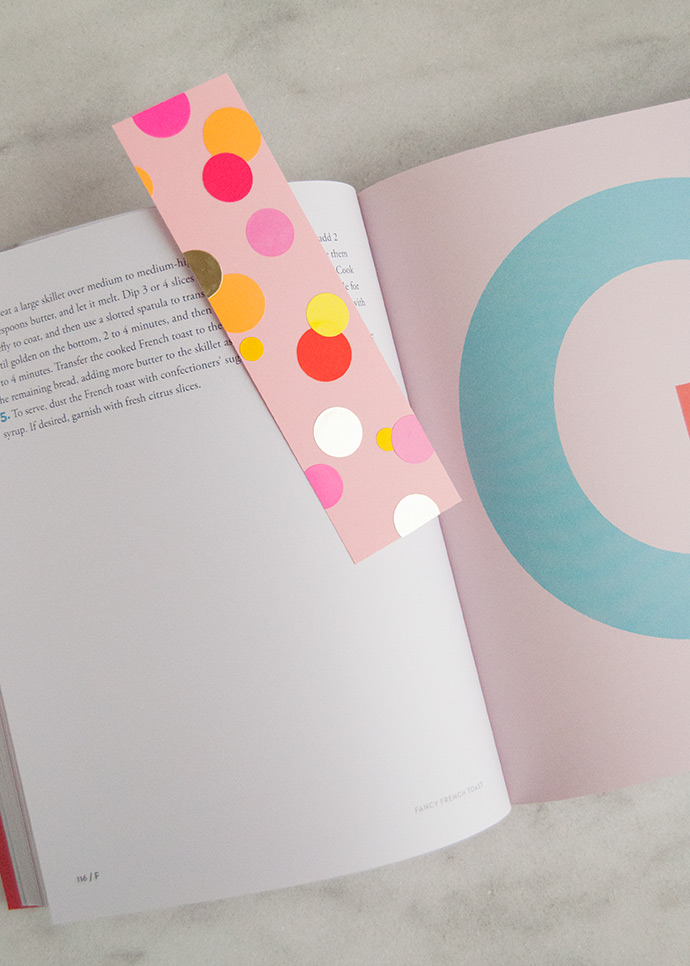
Booklovers, this is one is for you! You’ll never need to dog-ear any pages again with these playful bookmarks around. It’s easy to use a scrap of paper, an old receipt, or whatever slip of paper you have laying around as a bookmark but where’s the fun in that? These colorful ones are much easier on the eyes! Make them for yourself or add them as a small DIY touch into a book you’re giving as a gift. Write a little message onto the back of the bookmark and it even doubles as a card!
what you need:
- Cardstock
- Scissors
- Round office stickers
- Colorful scrap paper
- Glue stick
- Acrylic paint
- Old gift card
how-to:
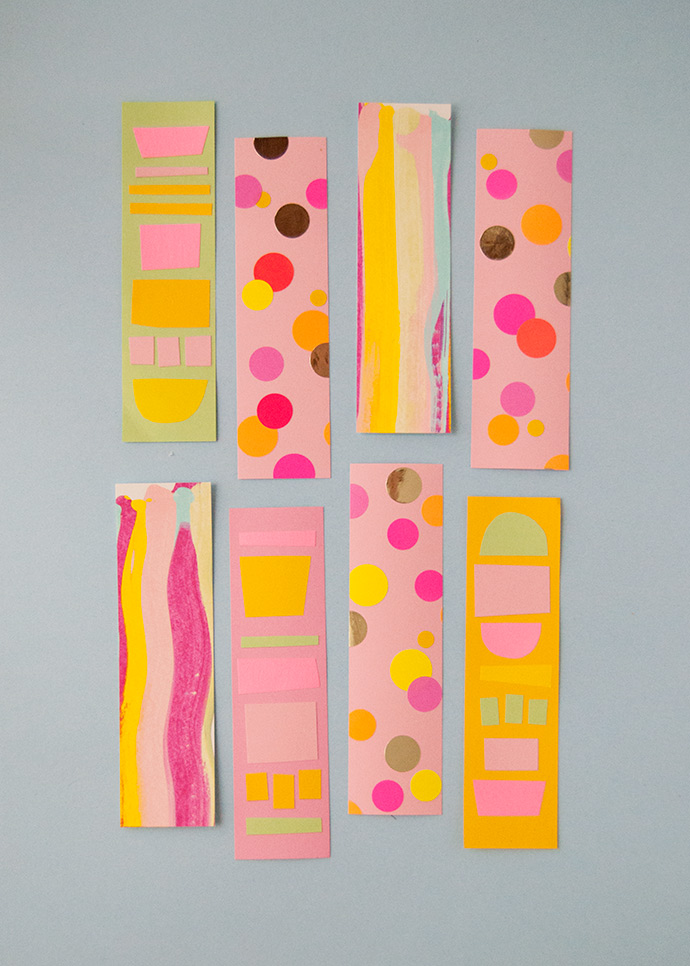
For the confetti office sticker bookmarks:
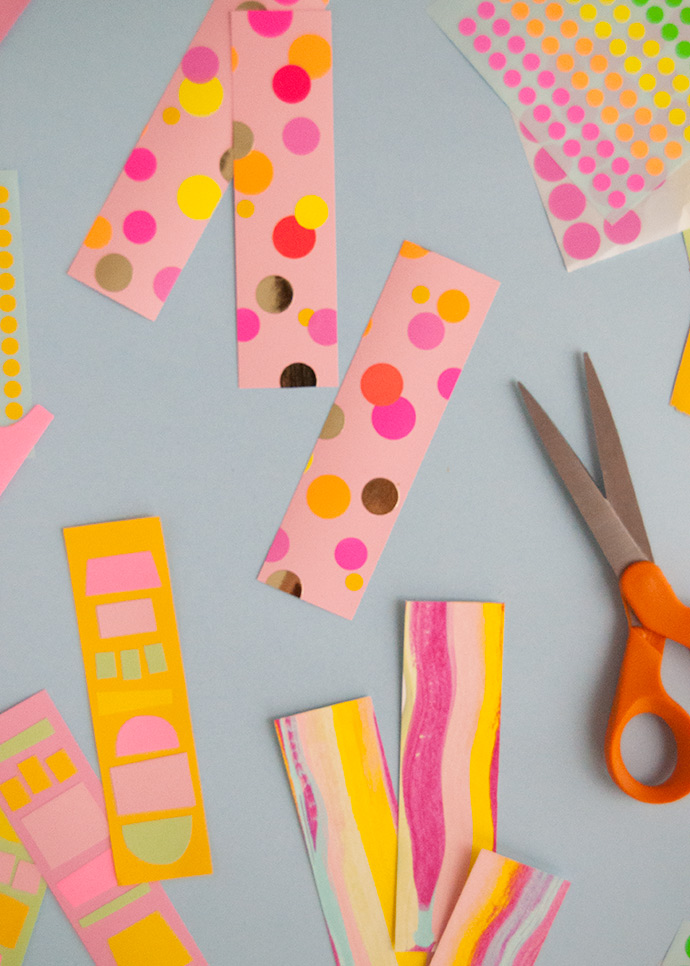
Grab a bunch of round office stickers in various colors and sizes – the more the better to look like confetti! Stick them all over a piece of cardstock and then use scissors to cut the page down into bookmark-sized rectangles. You can find these round stickers at the office supply store or dollar store (I’ve also had great luck finding them at the thrift store too) but if you don’t have any on hand, you can instead use a hole punch on regular colored paper and glue them in place.
For the paper collage bookmarks:
Cut out bookmark-sized rectangles from cardstock and set them aside. Gather up other scraps of paper (construction, tissue, magazines, whatever you have in your craft stash) and cut them into assorted shapes that fit within the size of the bookmark. Arrange the shapes, overlapping them if you like, and glue into place.
For the paint scrape bookmarks:
On a piece of white cardstock, apply small blobs of acrylic paint in a row across the top. Use a handful of shades and do multiple dots in each color. When applying the paint, the blobs don’t need to be right next to one another, but fairly close. Grab an old gift card and hold the edge perpendicular to your paper, above the row of paint blobs. Pressing the card edge down, pull the card towards yourself and you’ll see the paint come along with it forming a neat sort of rainbow. Let the paint dry completely and then cut the cardstock into bookmark-sized rectangles.
Seal with a laminator, clear contact paper, or packing tape if you want an extra sturdy bookmark. And don’t forget to write a little message on the back first!
Happy crafting!