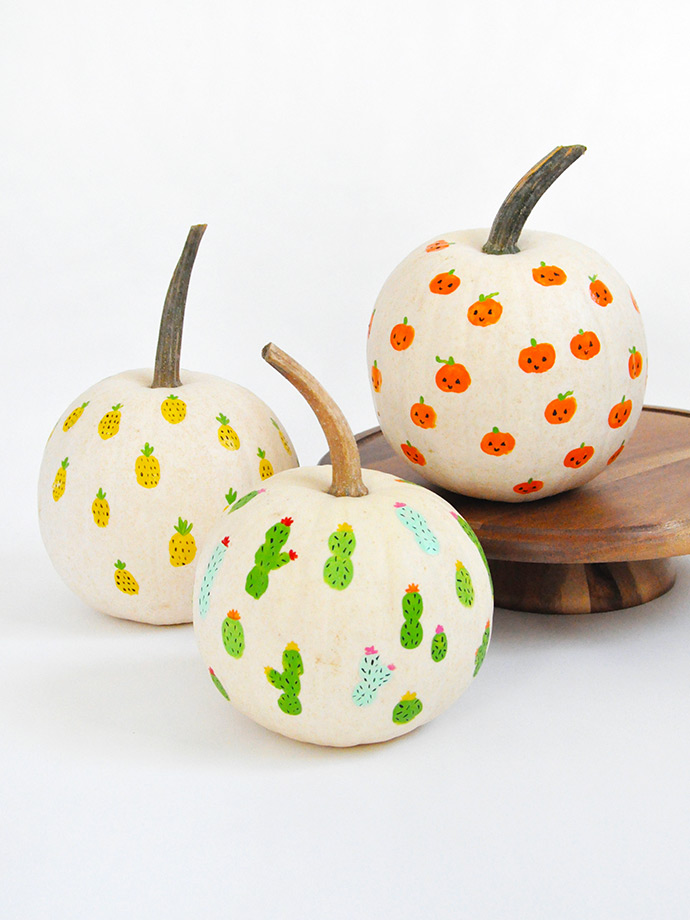
We love painting pumpkins! It’s a fun way to add some color to your Halloween decor, and since you’re not cutting into them they last so much longer! Today we’re sharing these simple fingerprint art pumpkins – they’re super quick to make and so adorable! If you have little ones that aren’t quite old enough to carve or decorate pumpkins on their own, these thumbprint pumpkins are a great option – just dip their thumbs in paint, stamp all over the pumpkin, and then add the details yourself, or older kids can do this with you.
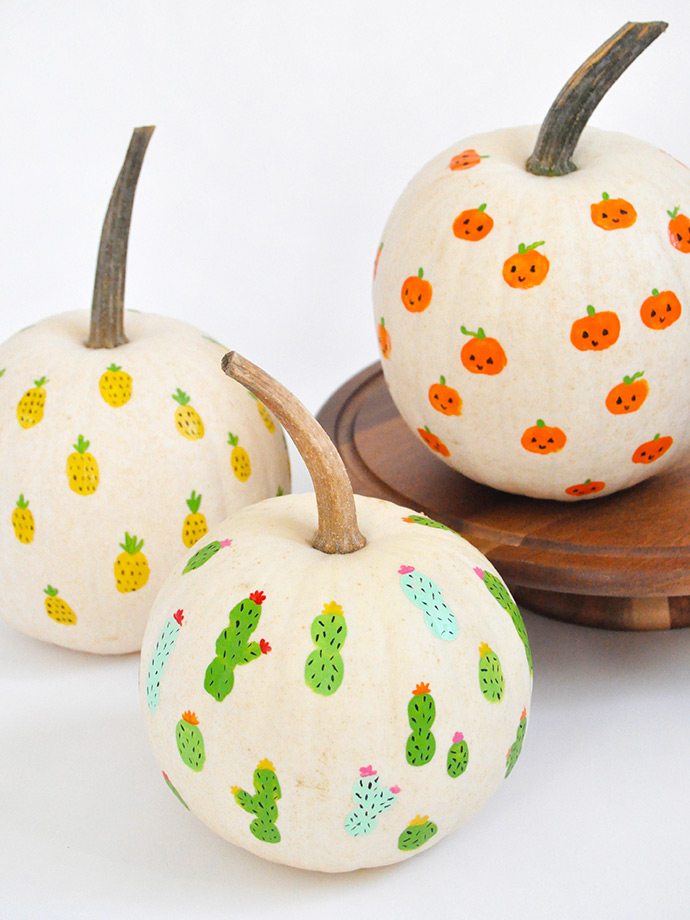
We used white pumpkins for this technique because they’re the perfect blank canvas, but this could be super fun on regular orange pumpkins, or painted pumpkins too! If you’re using an orange pumpkin, you could make white thumbprints and turn them into spooky ghosts! Keep reading for the full instructions and even more photos.
what you need:
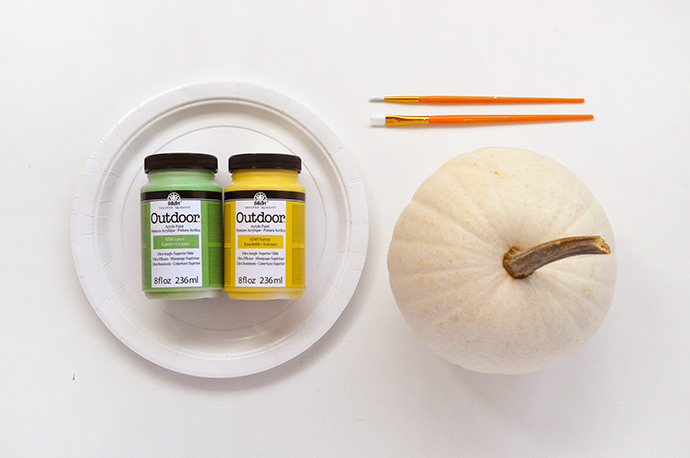
- White pumpkin
- Folk Art Outdoor Acrylic Paint
- Paper plate
- Paintbrushes
how-to:

Step 1
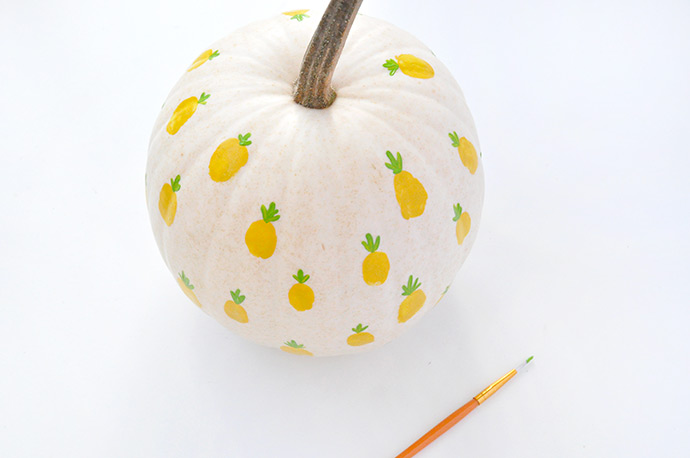
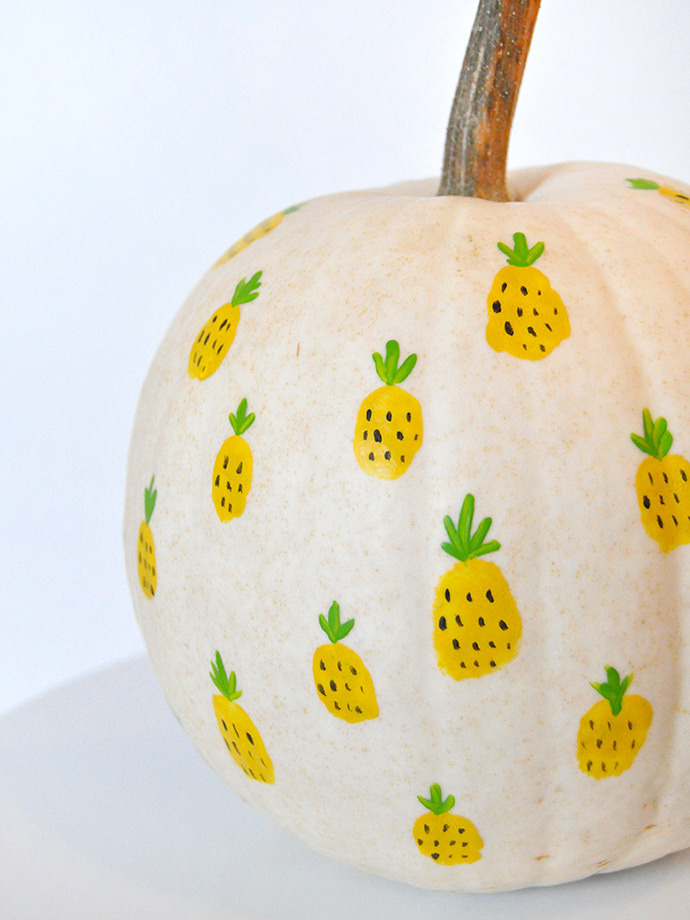
Pour some paint onto the paper plate and have your child dip their thumb (or finger) into the paint. Try a couple practise thumbprint stamps on the paper plate first so that you can see how much paint you want for the best print. For the pineapple pattern, stamp the thumbprints vertically all over the pumpkin.
Step 2
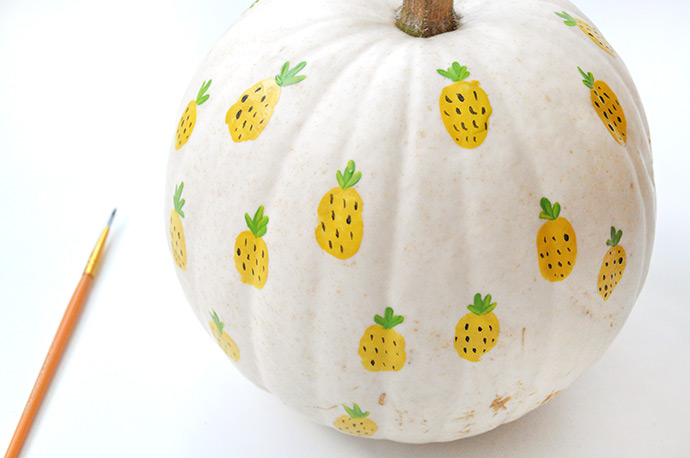
To add the pineapple’s leaf detail, use a fine brush and green paint. Simply paint on three little wisps on top – if you’re doing this with older kids, they can help with this step too.
Step 3
Finally, use a fine brush to paint on tiny black dots for the pineapple texture. You could also have your kids use black markers to make these little dots.
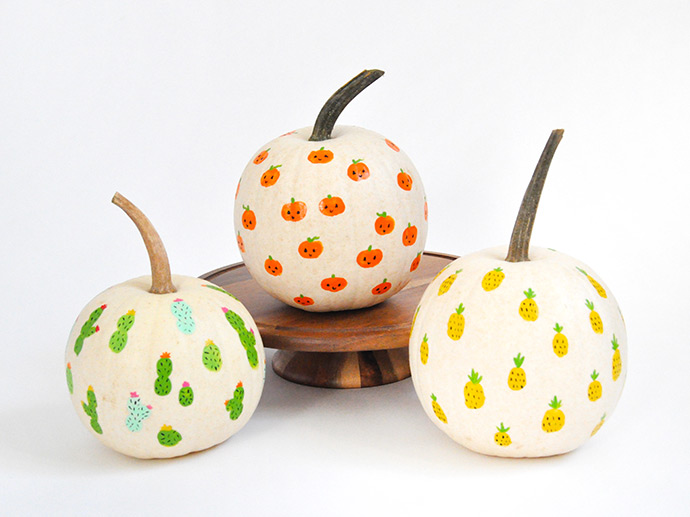
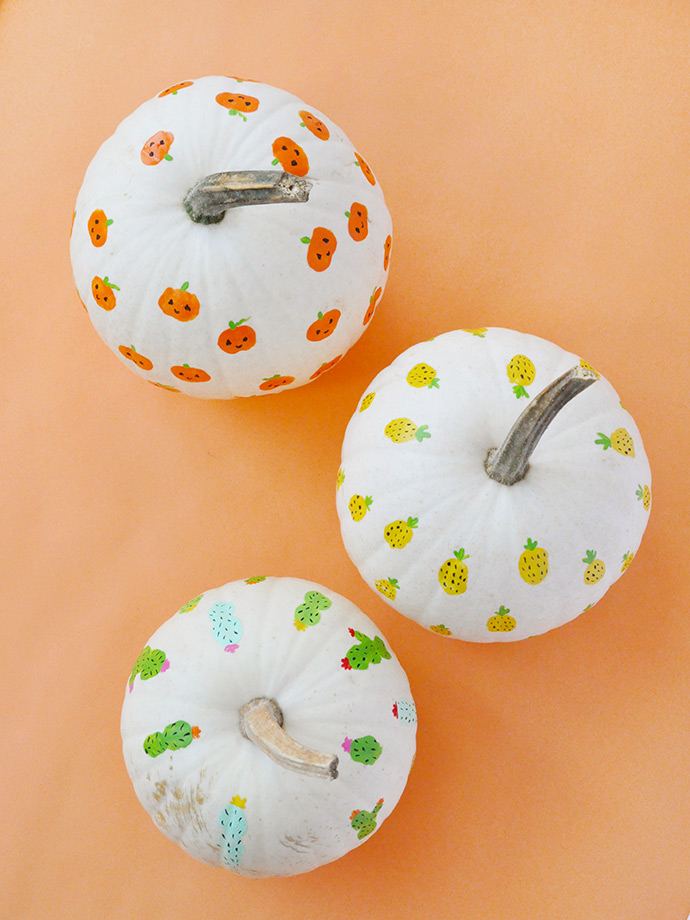
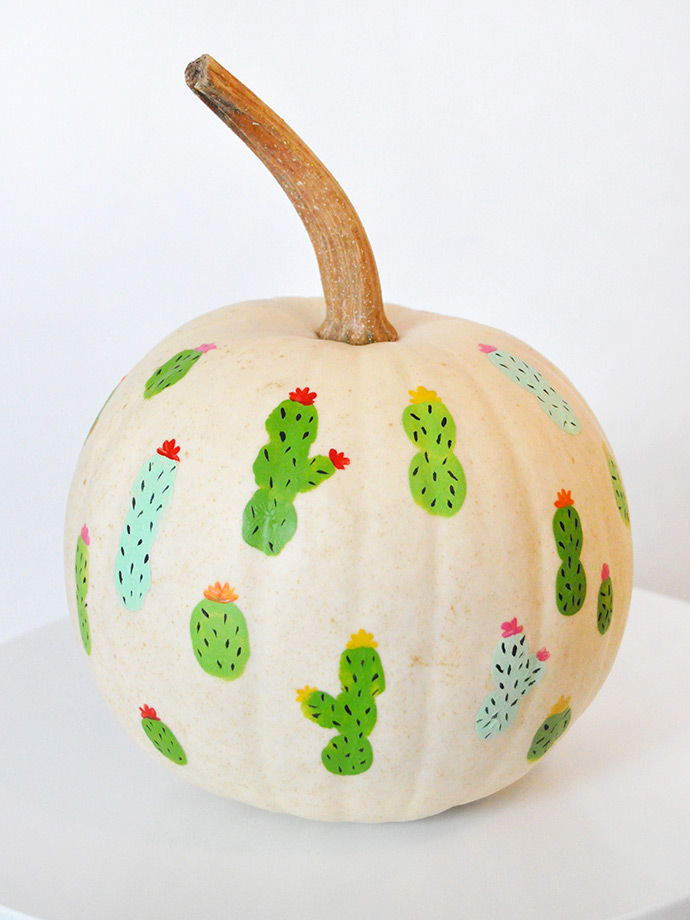
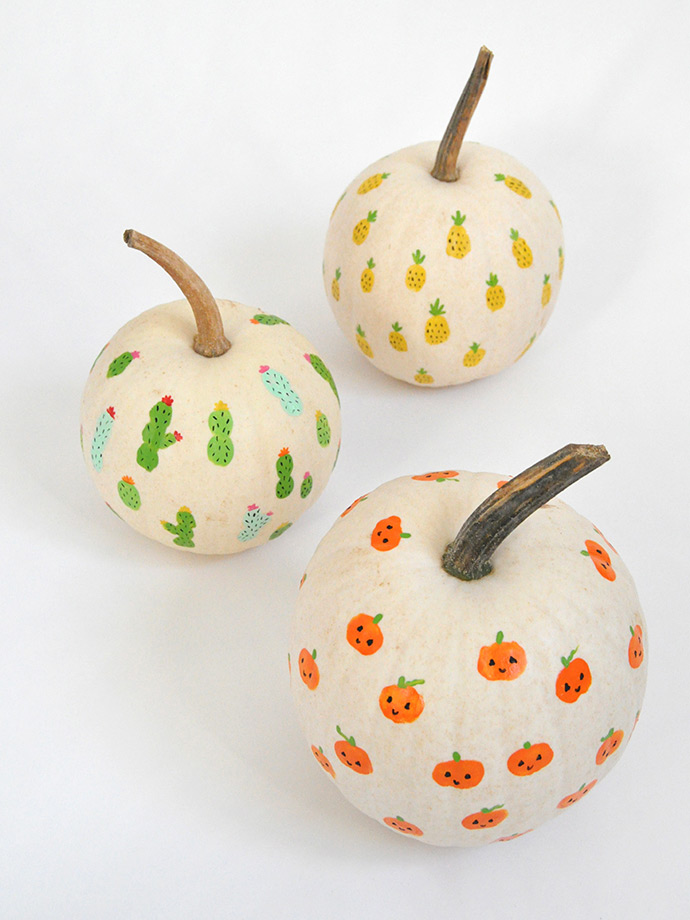
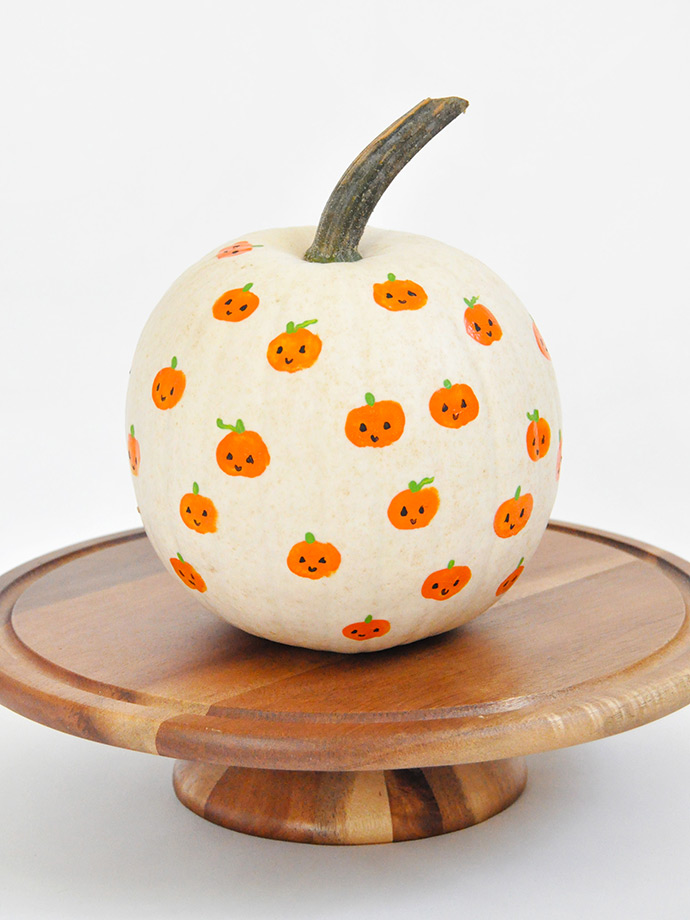
There you have it! The steps are essentially the exact same for the jack-o-lantern and cacti pumpkins: just use orange paint and sideways thumbprints for the jack-o-lanterns, and then add stem details with green and faces with black paint. For the cacti pumpkin, make green vertical thumbprints (some solo, some stacked in twos or threes) and then add black spikey details and colorful flowers on top.

Happy Halloween crafting!