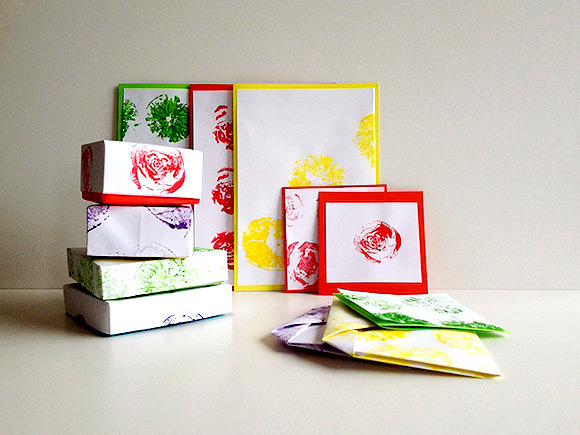
Everyone knows about potato stamps, but did you know that you can make a beautiful rose print with swiss chard or a colorful circle pattern with citrus fruits? We had a lot of fun trying out this craft! Here’s how to make your own stamped paper and fold super cute origami boxes.
What You Need
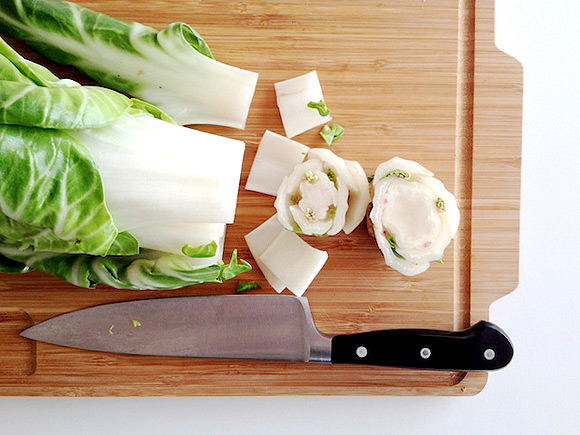
- Swiss chard or celery flower
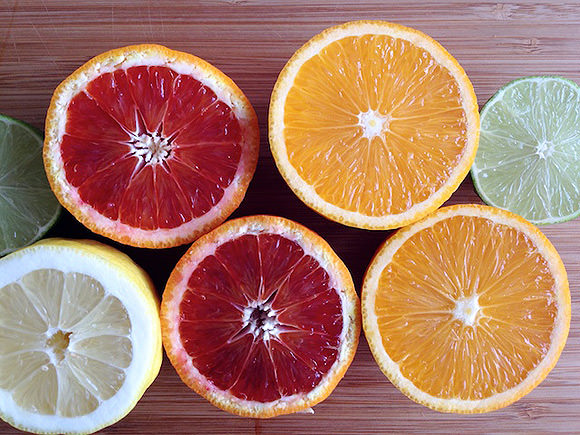
- Lemon, orange, and lime
- Knife
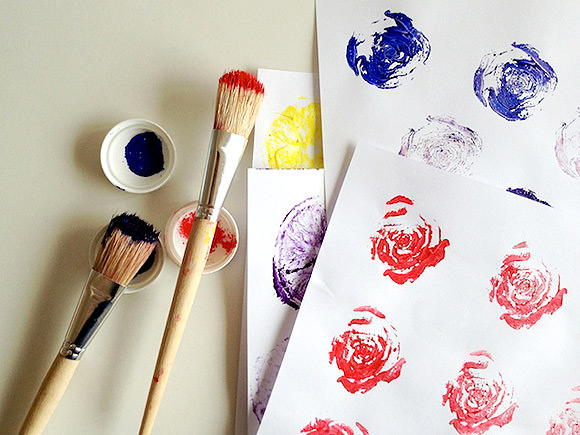
- Acrylic paint, different colors
- Paint brush and palette (I used bottle caps)
- Copy paper, size A4
How To Make The Stamps
Step 1
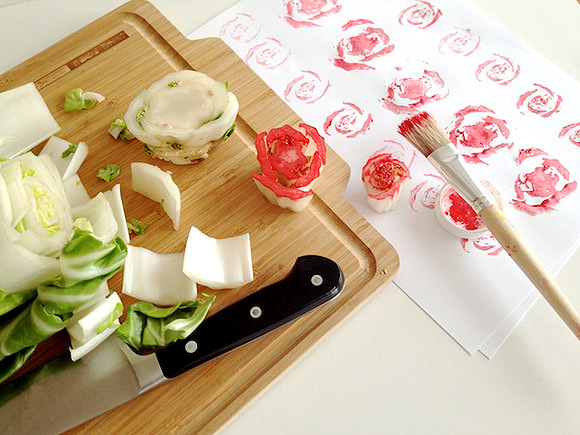
Cut the Swiss chard in slices as shown and use the second and third pieces for stamping. Cut the fruits in half.
Step 2
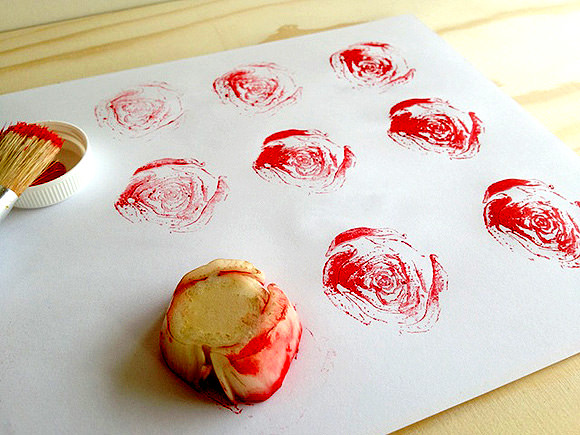
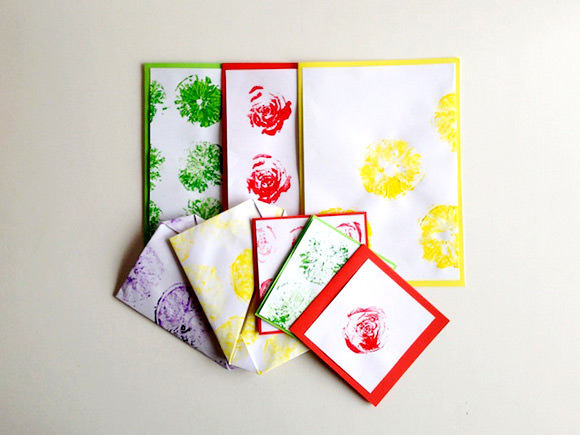
You don’t need to add water to the paints; apply as is to the slices and press onto the paper. You can stamp twice or three times before adding more paint. Play around using different colors and making different patterns, then let the paper dry.
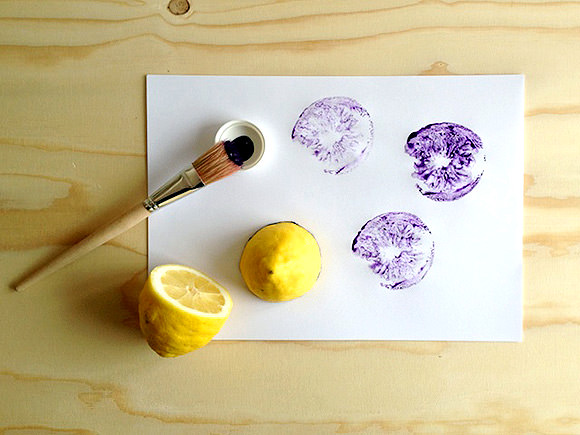
And if you’ve got some lemon juice left, how abut writing some secret messages with it?
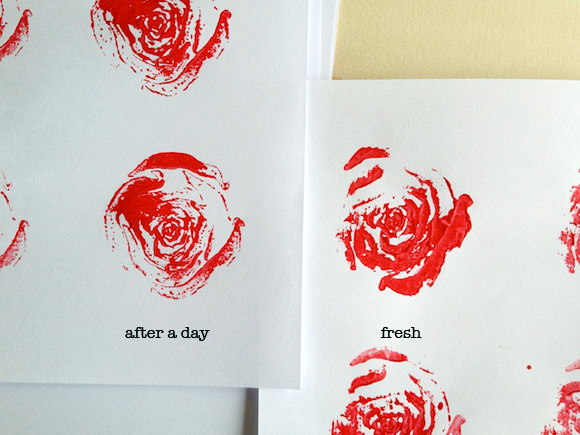
Note: You’ll get different results from freshly cut fruits and veggies and those that have been left out to dry for a couple of hours up to a day. Even the very next stamp will look different from the one before. The first swiss chard stamp starts as a perfect rose, the second is still interesting, but not that great—it’s nature after all.
What to do with that leftover swiss chard? I chop it up, cook it for 15 minutes in salted water, then mix it with cream, salt and pepper, and raffled cheese. Put it in the oven for 20 minutes. Yum!
How To Fold An Origami Box
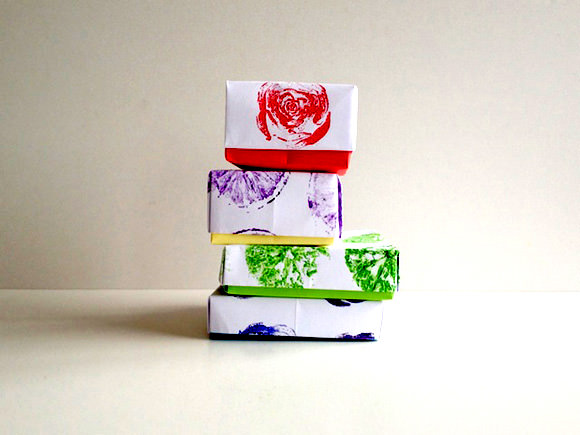
Now that you have fruit and veggie stamped paper, it’s time to make some cards, envelopes, and origami “masu” boxes. To make the envelopes, see the “How To Fold An Origami Envelope” section of my DIY Stationery for Valentine’s Day post. I’ll show you how to make the boxes below.
We’ll start by making the lid for the box, which is just slightly bigger than the bottom box.
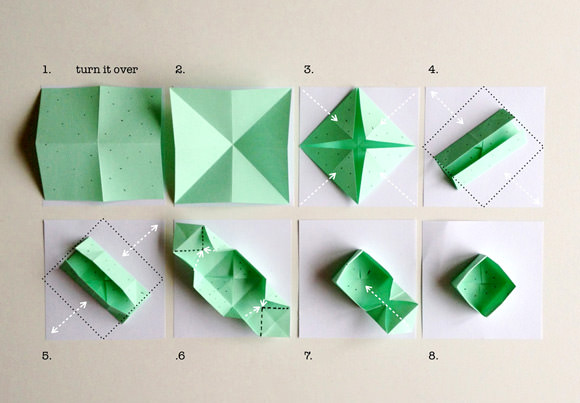
Cut the paper in a square. Then fold as shown above.
- Fold the paper twice in half and open up. Turn it over.
- Fold it twice diagonally and open up again.
- Fold all 4 edges to the middle.
- Fold the 2 sides to the middle and open up again.
- Fold the other 2 sides to the middle and open up again.
- Open up two edges and bring the folds to the middle line (this is the tricky part).
- Bring the two edges to the middle.
- Your origami box top is ready!
To make a bottom box, cut your square paper just a little bit smaller than the one you used for the lid. Fold it the same way, except in step 4, fold the two sides half way to the middle.
Happy stamping!