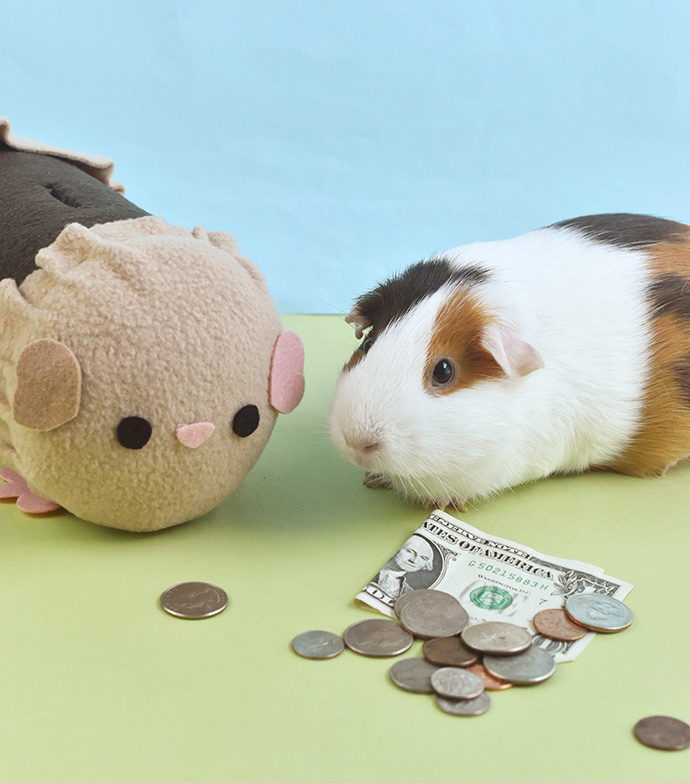
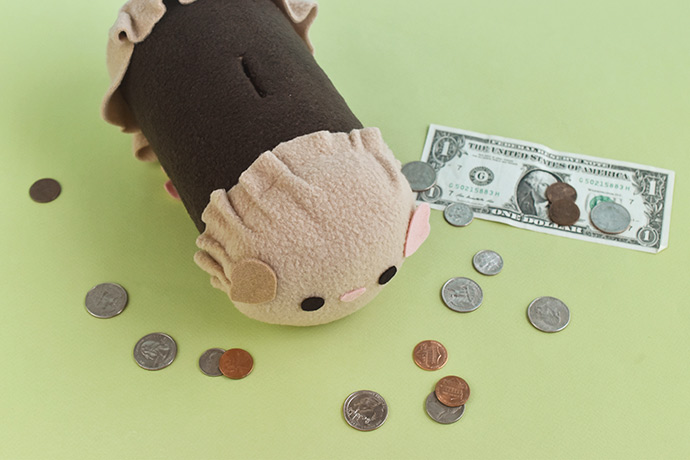
Have you ever wanted to make your own piggy bank? How about a guinea piggy bank? This slightly silly, but oh-so-cute project lets you craft a bank that looks like one of the sweetest cuddly critters ever!
By wrapping a cardboard canister in fleece, it transforms what would go in the recycling bin into something fun and useful! Plus, who doesn’t want a guinea pig guarding their money?
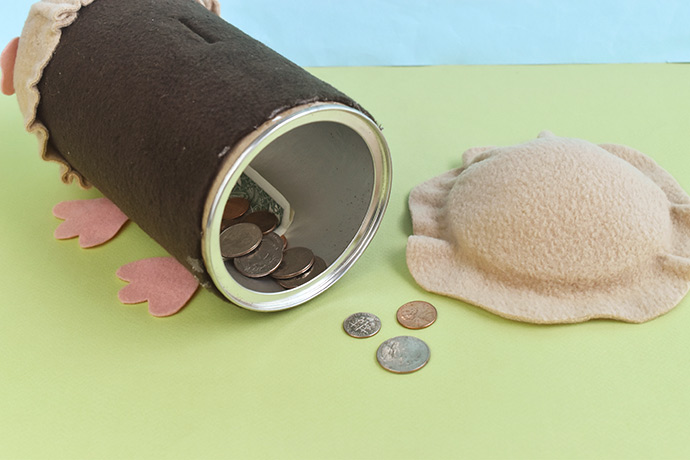
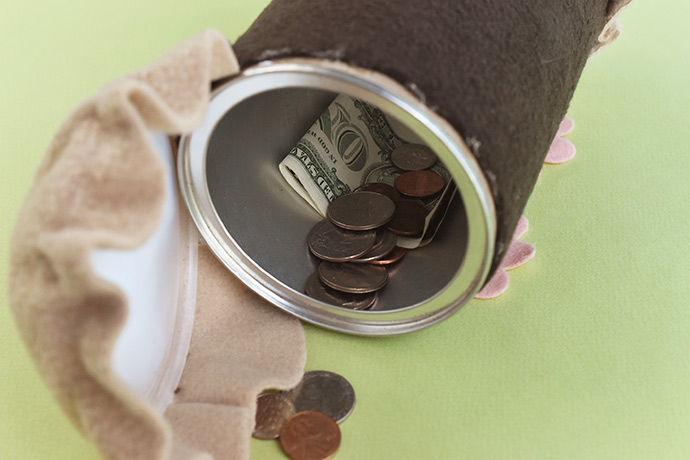
After you’ve saved up some cash, you can open up the back to retrieve your funds. Then snap the back lid in place so you can add more to this piggy. Guinea pigs are rarely full. Trust me.
You can make this bank in an afternoon, but because it requires cutting with a craft knife, you will need a grown-up to help. We also used E-6000 glue for some parts and it’s important to work in a well-ventilated area for that. But you can get by with a craft glue like Tacky Glue.

Gather up your supplies, and start crafting a guinea pig!
what you need:
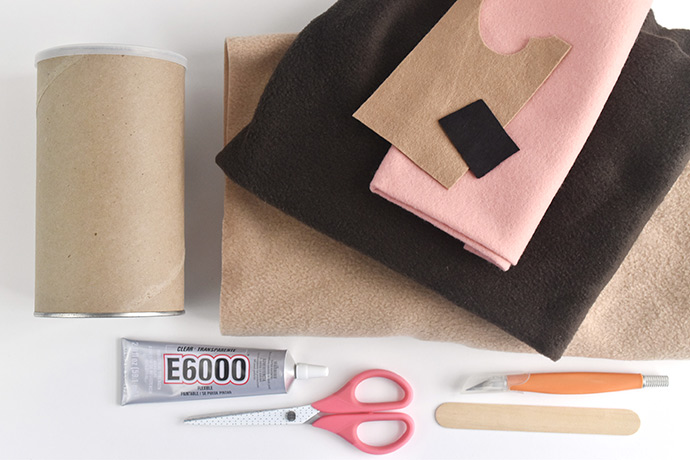
- Cardboard Canister with a Lid (we used a coffee container from Trader Joe’s)
- Fleece in Guinea Pig Colors (fleece works well because it stretches)
- Stuffing
- Large Craft Stick
- Felt in Black, Pink, and Tan
- Craft Knife
- Scissors
- Strong Glue (we tried both E-6000 and Tacky Glue)
- Rubber Bands
- Printable template
how-to:
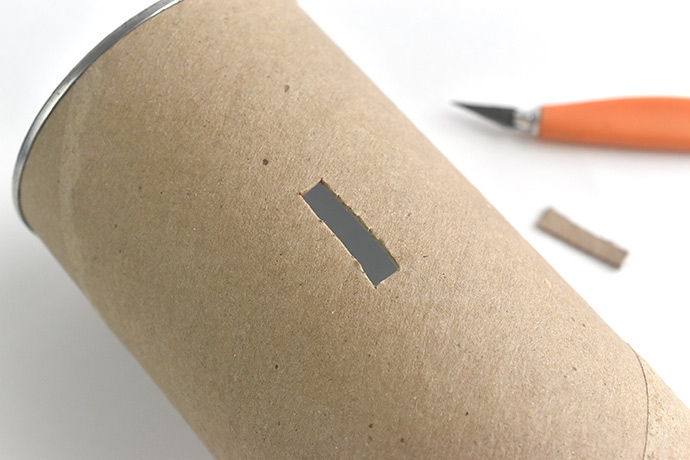
Step 1
Wipe out the inside of the canister so it’s clean.
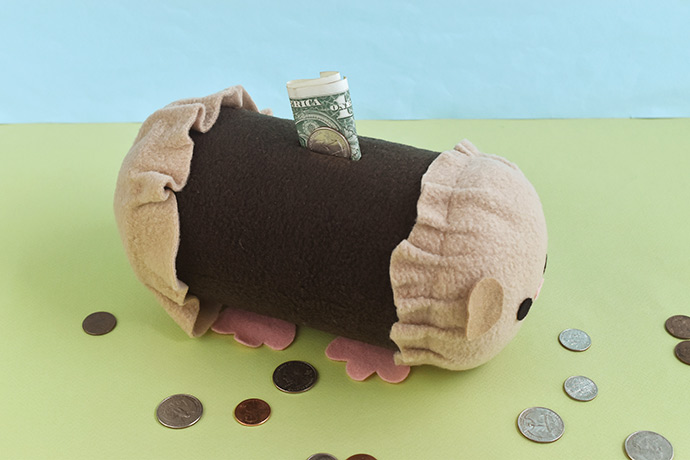
Have a grown-up cut a slot centered on the side of the canister. It should be at least 1/4″ wide and 1-1/2″ long.

Step 2
Cut a rectangle of fleece that matches the height of the canister, and wraps around the canister. Ours measured 6-3/”4 x 13″.
Cut a slit in the middle of the fabric so it matches up with the slot on the canister. It helps to start small so if it’s not quite in the right spot, you can cut in the direction it needs to go.
When the slit is long enough, make two tiny cuts at each end so the cuts look like an uppercase I. This way you can wrap the fabric around the bank opening.
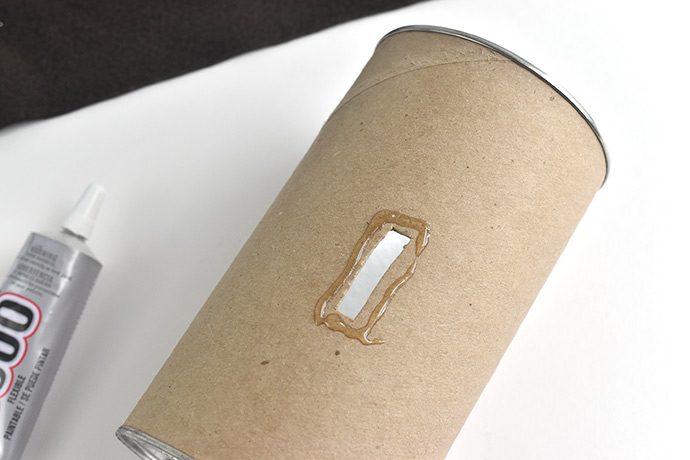
Put some glue around the slot on the canister. Lay the fabric in place so the openings line up. Press it down onto the glue.
Step 3
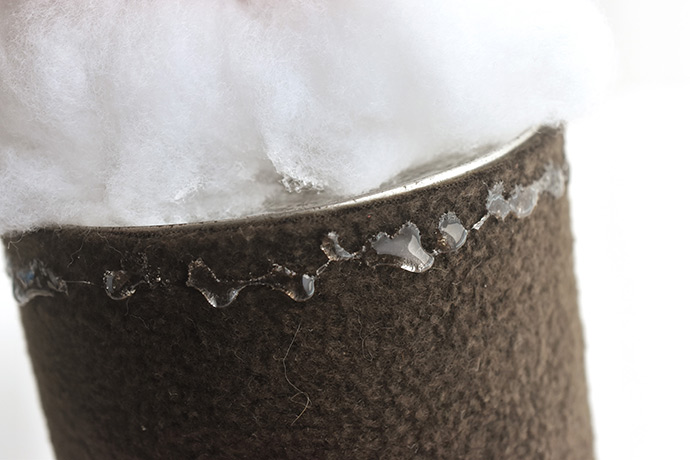
Leave the lid on the canister and put some glue around each end of the tube. Press the fleece onto the glue. Add glue to the bottom of the bank (the opposite side of the coin slot) and on the overlapping fabric ends.
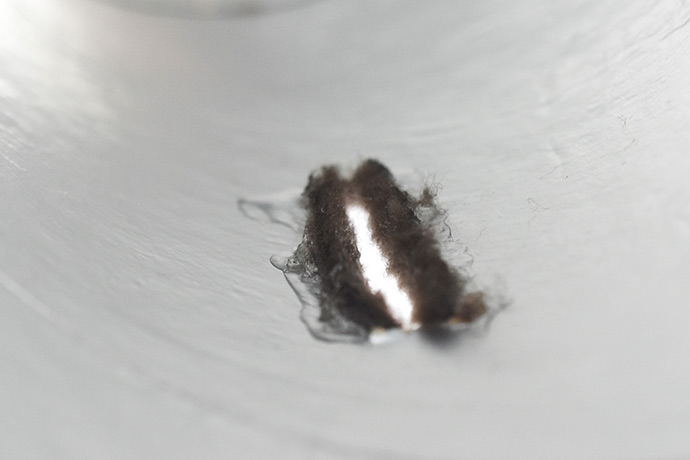
Put a little glue around the slot on the inside of the canister. Push the fabric flaps through the opening and hold it onto the glue so it has a few moments to set up.
Step 4
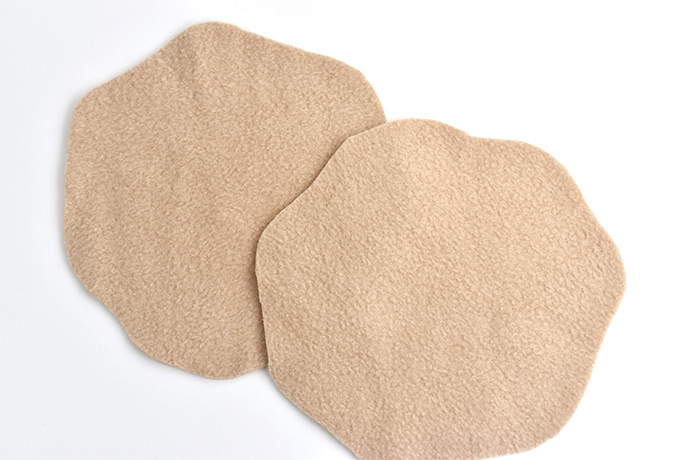
Use the wavy circle pattern to cut two shapes from fleece for the ends of the guinea piggy bank.
Step 5
Place a small handful of stuffing on the non-lid end of the canister. Add glue around the end of the wrapped tube.
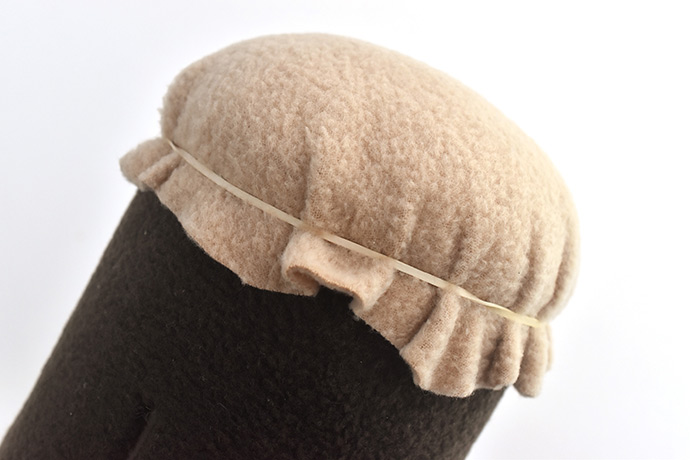
Lay a fleece circle piece over the stuffing and press the edges onto the glue. Be careful not to press the stuffing onto the glue!
To hold the fleece in place as the glue dries, secure it with a rubber band. You’ll see that the circles make a little ruffle, and that’s okay! That’s what makes this a fluffy guinea pig!
Step 6
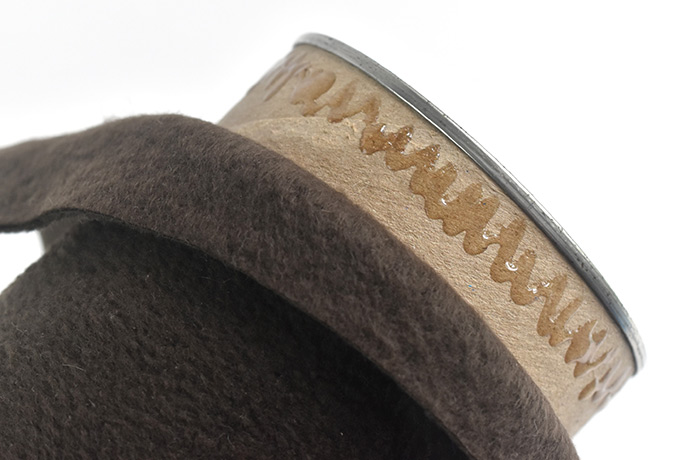
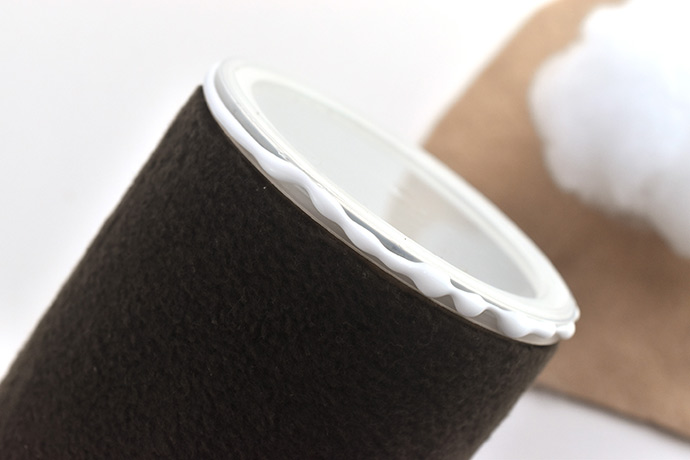
Repeat step five on the lid end of the canister. This time, only run a line of glue around the edge of the lid. This makes it so you can remove this end to get the money out of the bank.

Wrap the stuffing with fleece as before and hold it with a rubber band. As the glue dries, continue on with the next steps.
Step 7
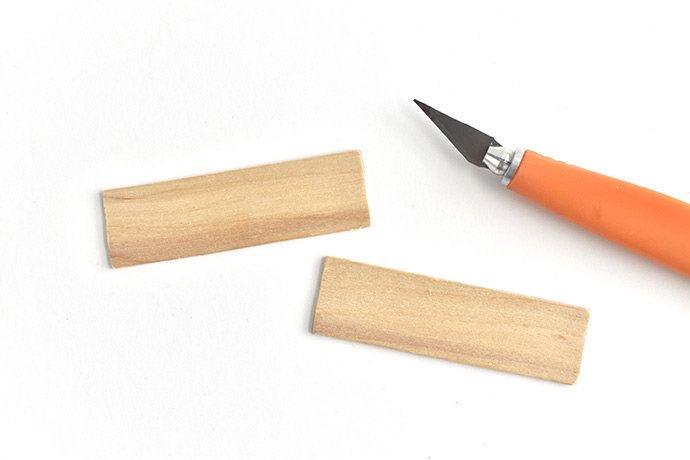
Use a craft knife to score and break off the ends of the jumbo craft stick and then cut it in half. You may want to sand the edges a little.
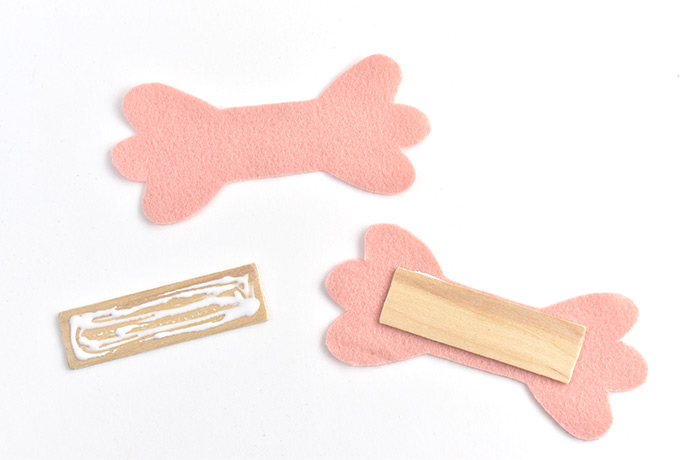
Cut out two feet pieces from pink felt and glue a craft stick piece to the middle of each one.
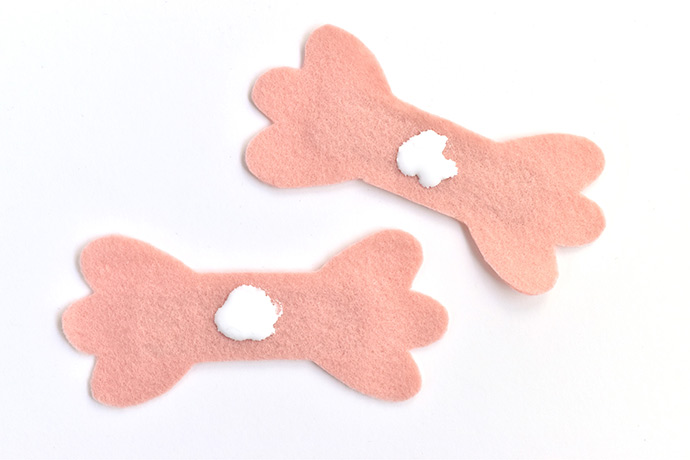
Put a little glue in the middle of each set of feet and glue them to the bottom of the guinea piggy bank.
Step 8
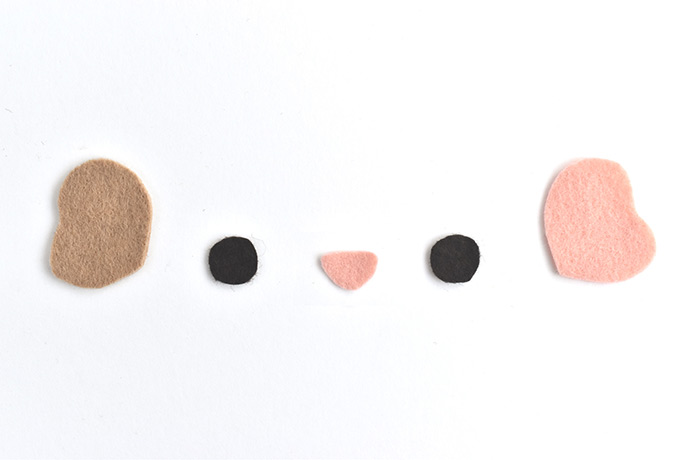
Cut out face pieces from felt. You can make the ears match the fleece fur colors, use all pink, or mix and match!
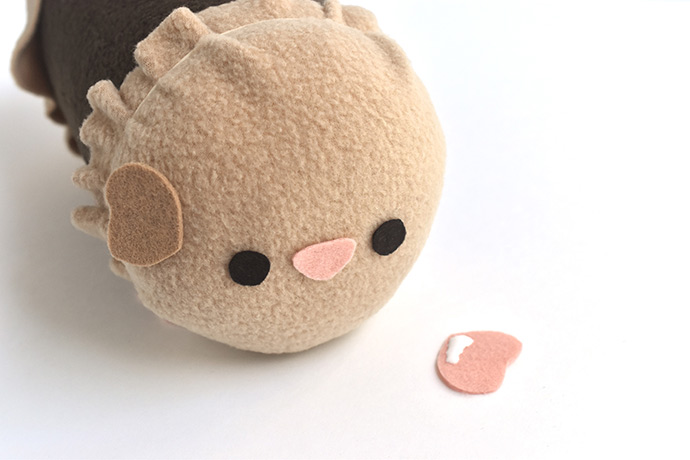
Use glue to attach the face pieces to the non-opening end of the bank.
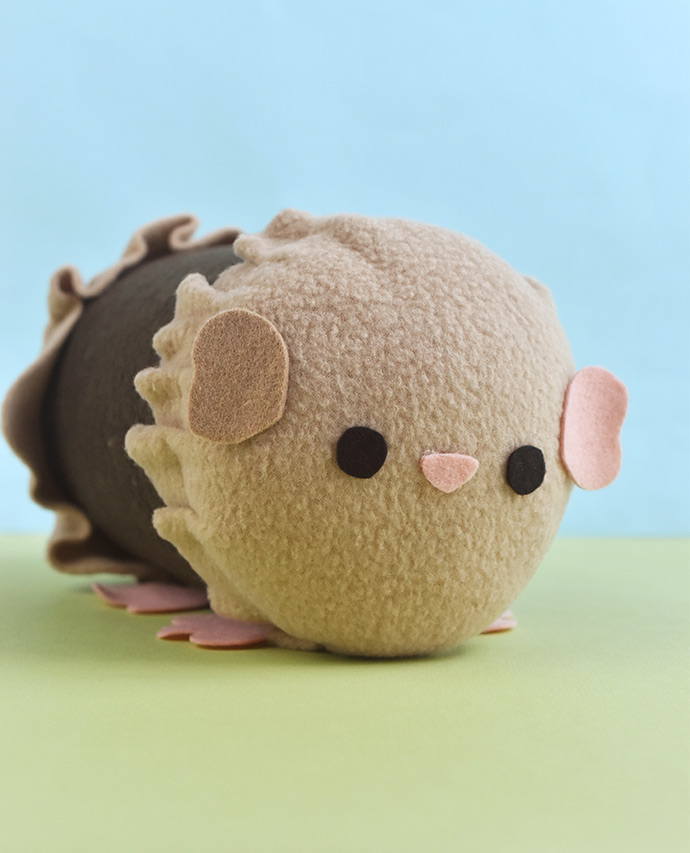
After the glue dries, carefully remove the rubber bands and start saving some money in your new guinea piggy bank!
When you’re ready to get the money out, make sure that you grip the lid part as you open it so you don’t pull at the fabric too much. If it starts to peel away with wear, you can always add a bit more glue.
If you have a guinea pig as a pet, just be aware that they may think that you’re gonna buy them some veggies with all that money!
Happy crafting!