
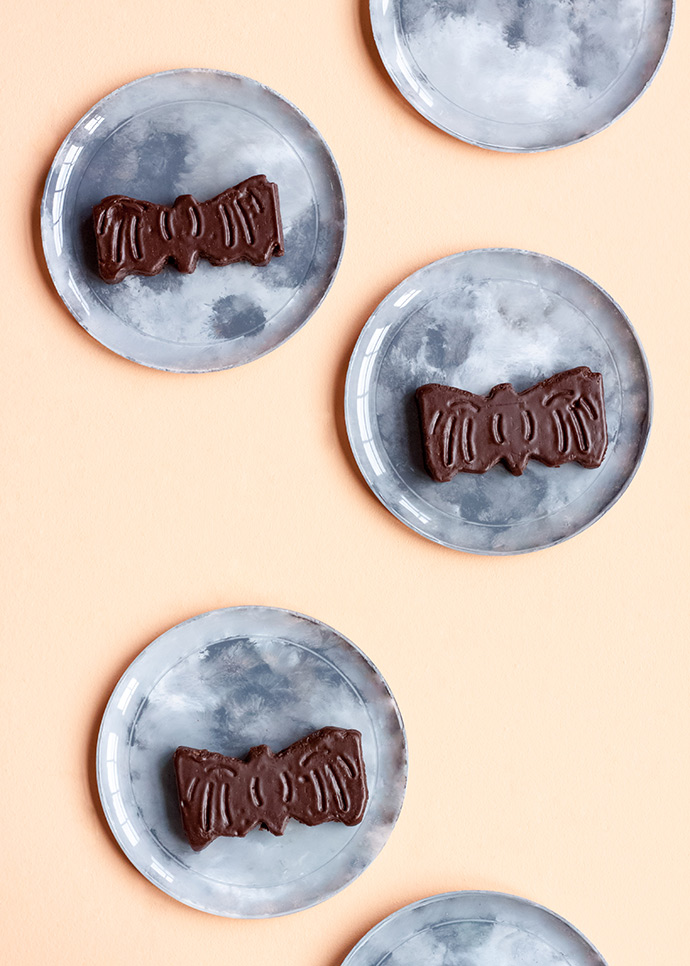
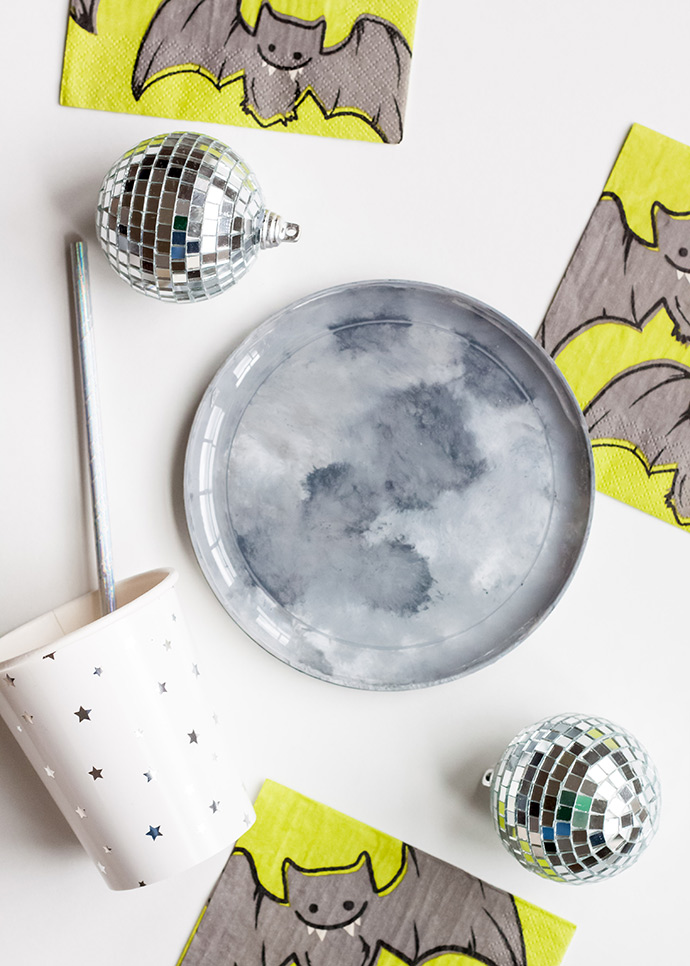
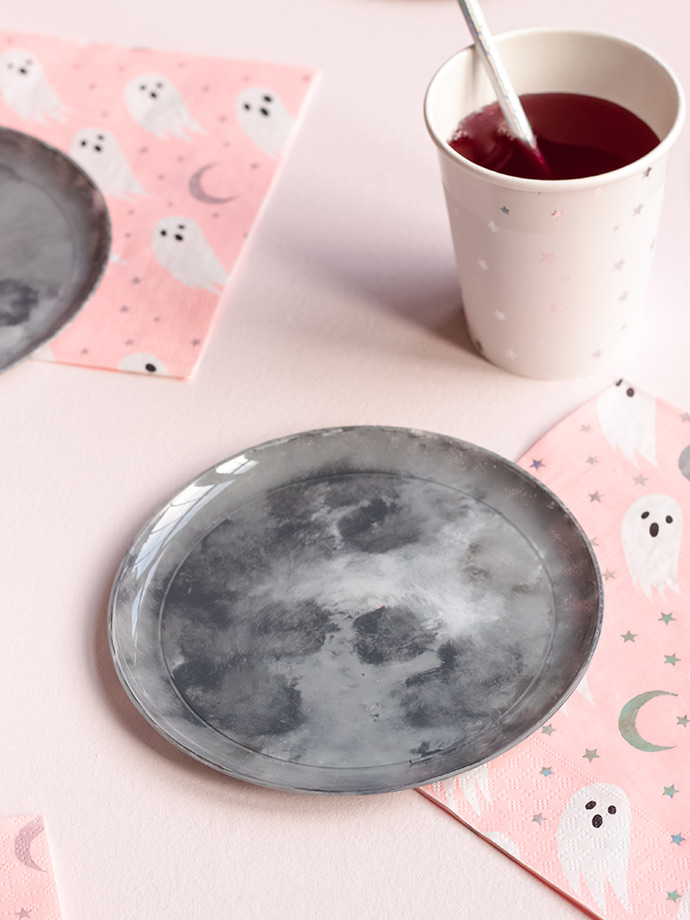
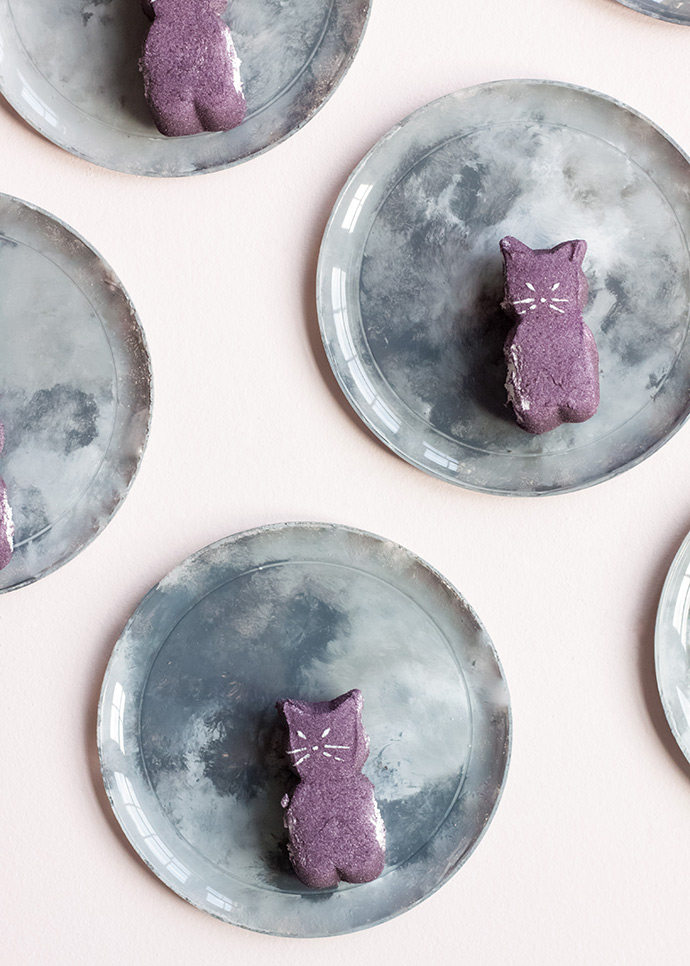
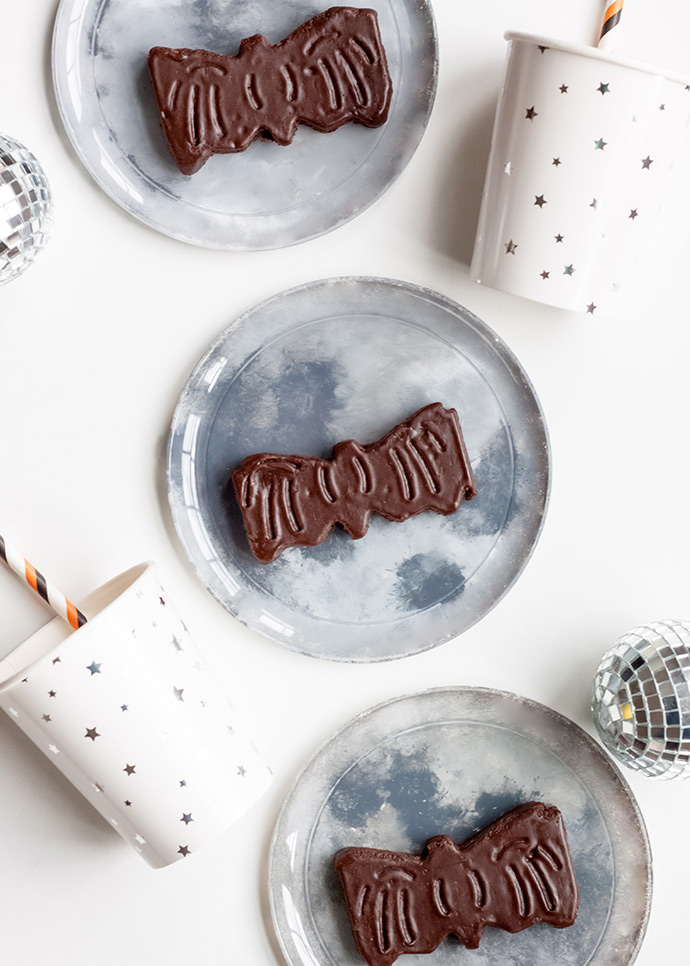
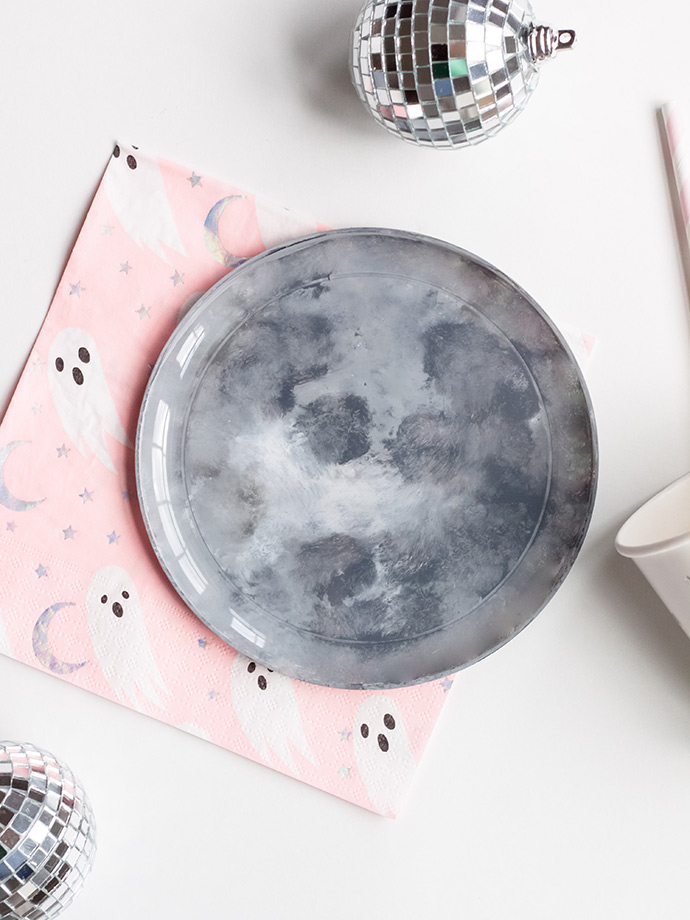
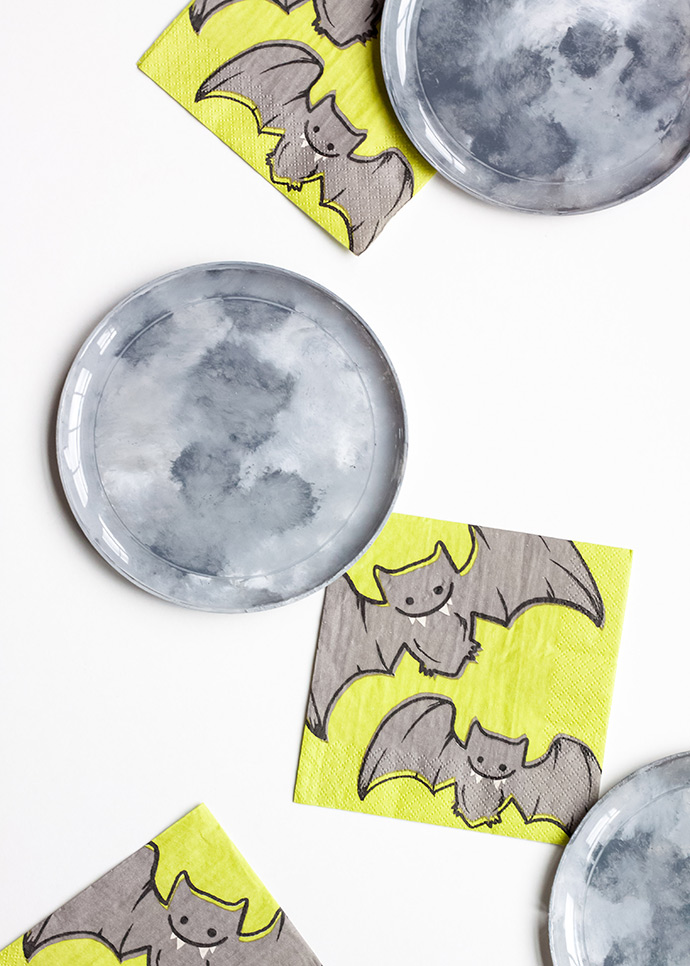
After our trip to NASA this summer, it’s safe to say we’re big fans of the moon! It adds the best mysterious vibe to Halloween – especially when you pair it with a black cat or bat silhouette. It is the perfect backdrop for a cool, October night, and for a fun Halloween treat! Serve bat brownies, ghost marshmallows, or black cat Peeps on a moon plate.
They are made from inexpensive dollar store plates, and you can make an entire set in less than an hour! A couple of years ago, I made this moon cake topper, and these plates would be an adorable addition to any space party as well.
what you need:
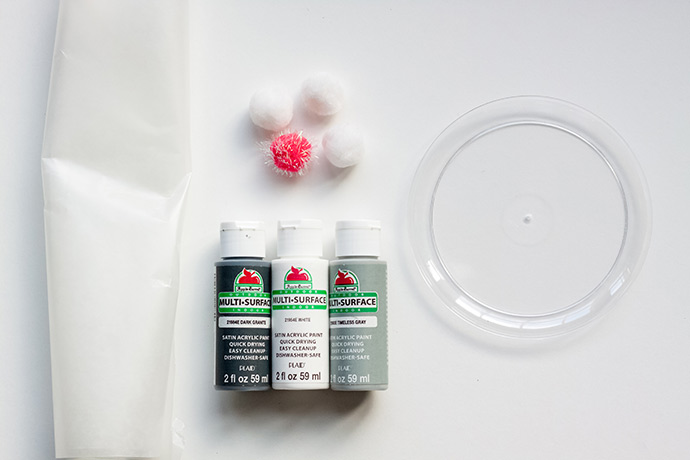
• Plastic plates (8 for $1 at the dollar store!)
• Apple Barrel Acrylic Paint (light gray, medium gray, dark gray & white)
• 1” Pom poms
• 1” Iridescent pom poms
• Wax paper
how-to:
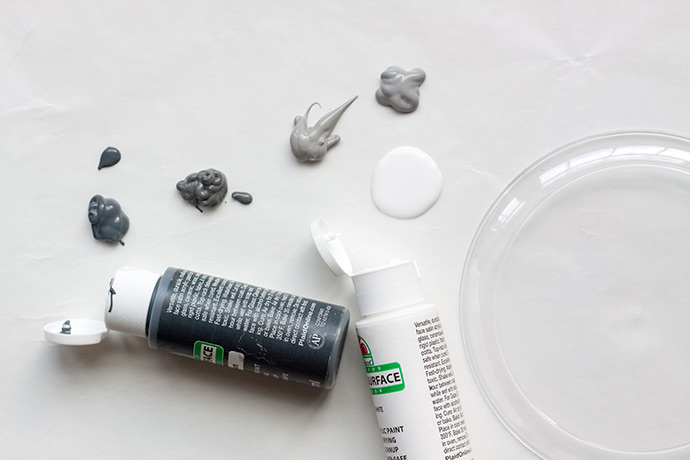
Step 1
Flip your plastic plate over to the back side, and squeeze out a quarter-sized puddle of each paint color on a piece of wax paper. Leave a little space between each color.] 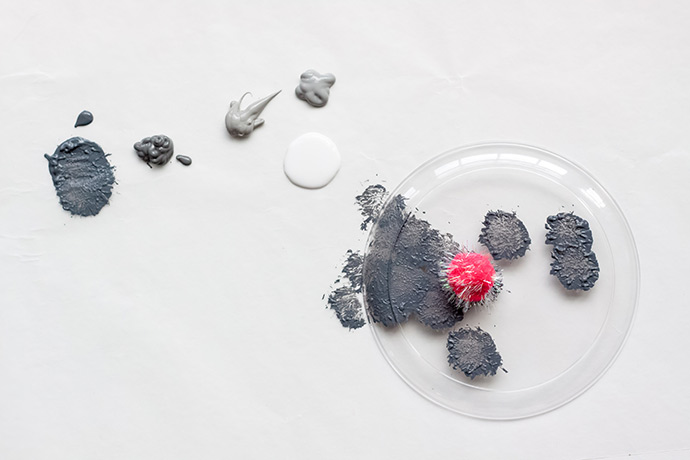
Step 2
Use your iridescent pom pom to dip in the darkest gray paint, and using an image of the moon, stamp dark circles onto the darkest areas of the moon. It doesn’t have to be perfect – the goal is to resemble the moon!
Step 3
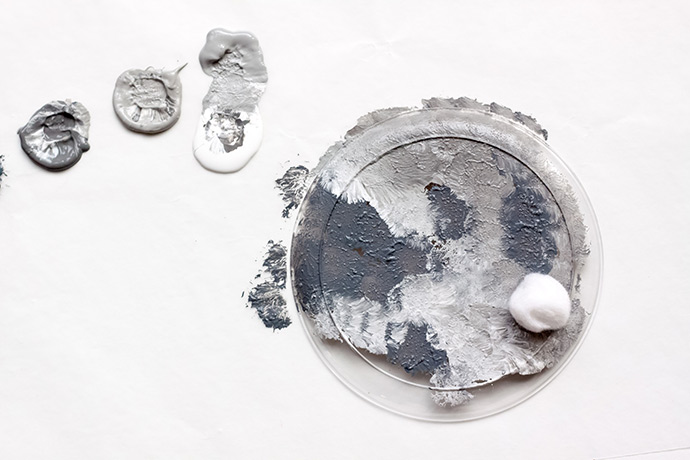
Use your other pom poms to dip in the other shades of gray and white. Stamp shades of gray and white all over the plate, around the darker circles. Play with the colors, and mix the grays on your pom poms as well.
Step 4
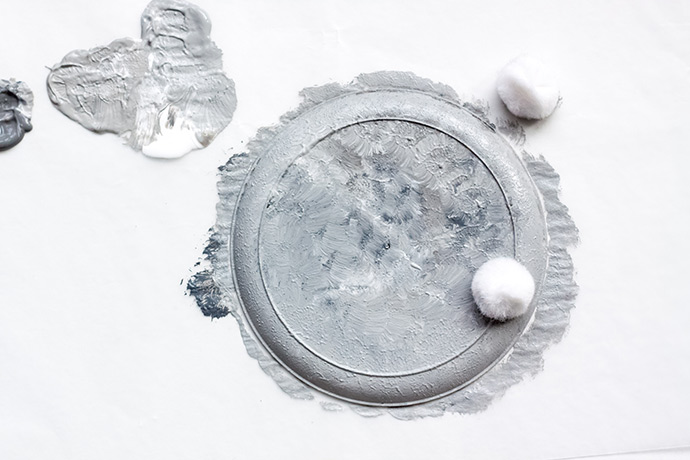
Blend the shades of gray together by stamping another layer of light gray mixed with white over the back of the plate. Hold the plate up and flip it over to see what it looks like from the front, and decide if you need to do any additional blending. Allow to dry.
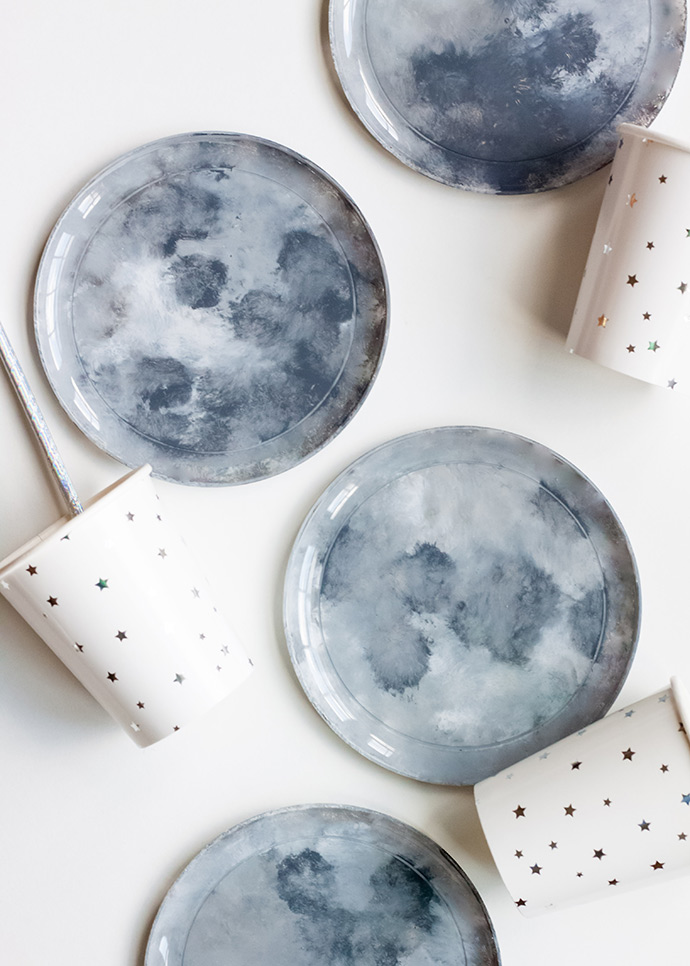
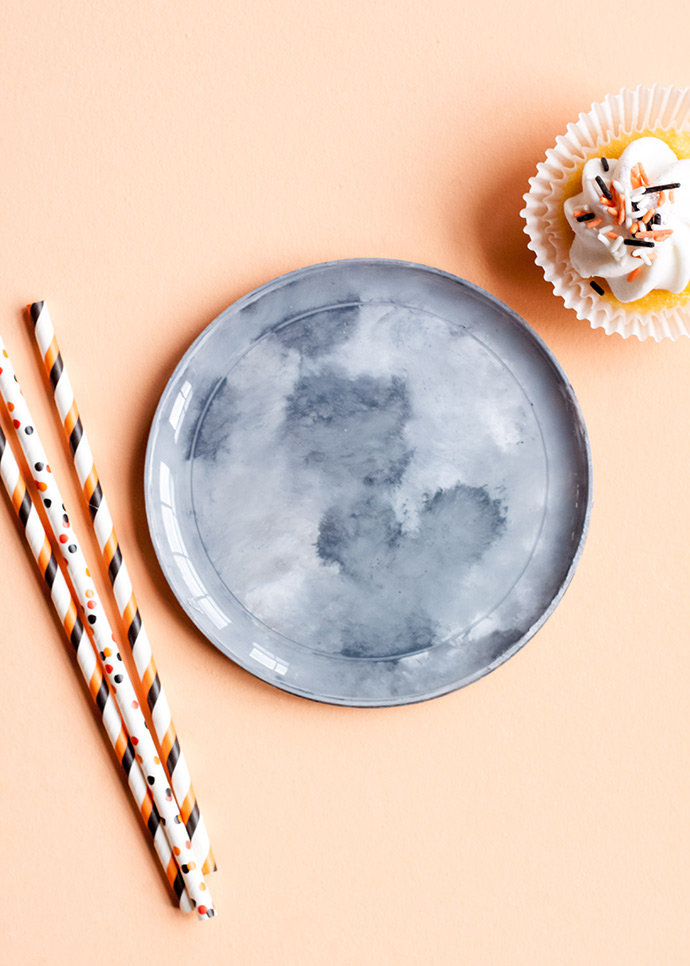
Now your basic dollar store plates are out of this world! Happy crafting and happy Halloween!