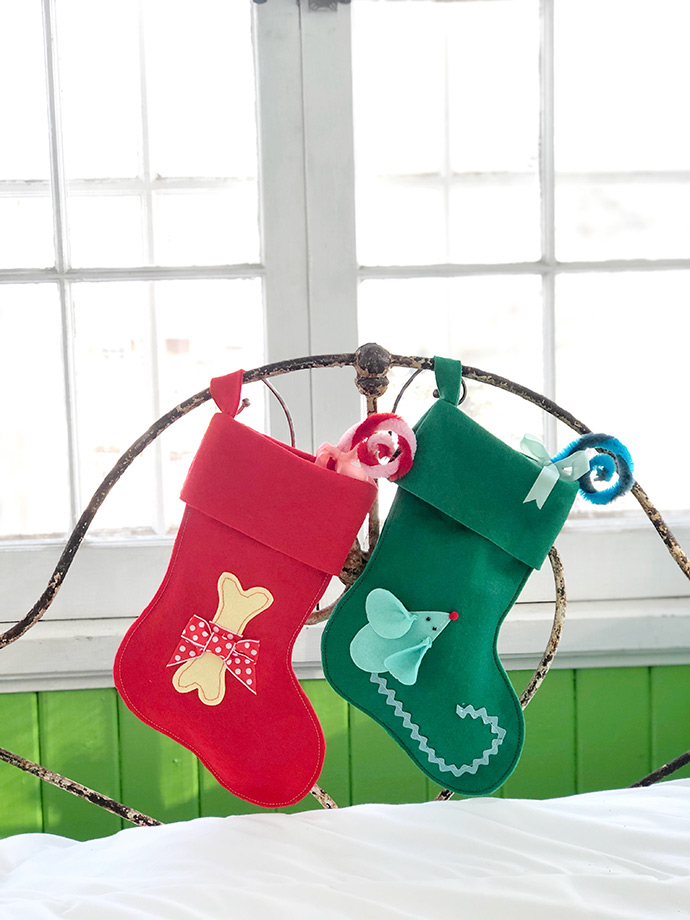
Let’s make a pet stocking!
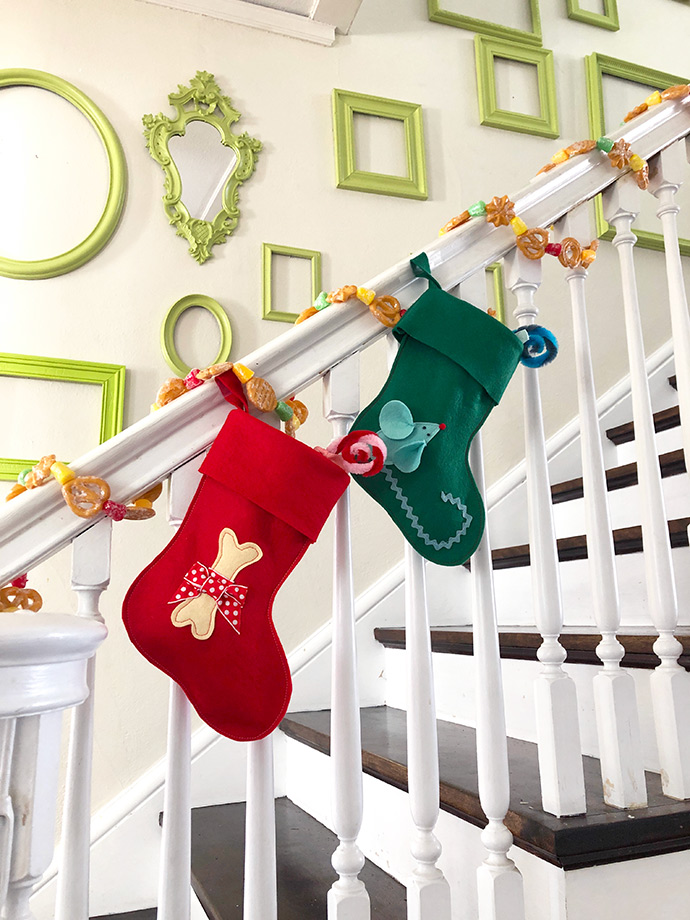
You may want to coordinate colors with the rest of the stockings hung with care, or you could take Luna or Marshmallow’s stocking design in a different direction altogether.
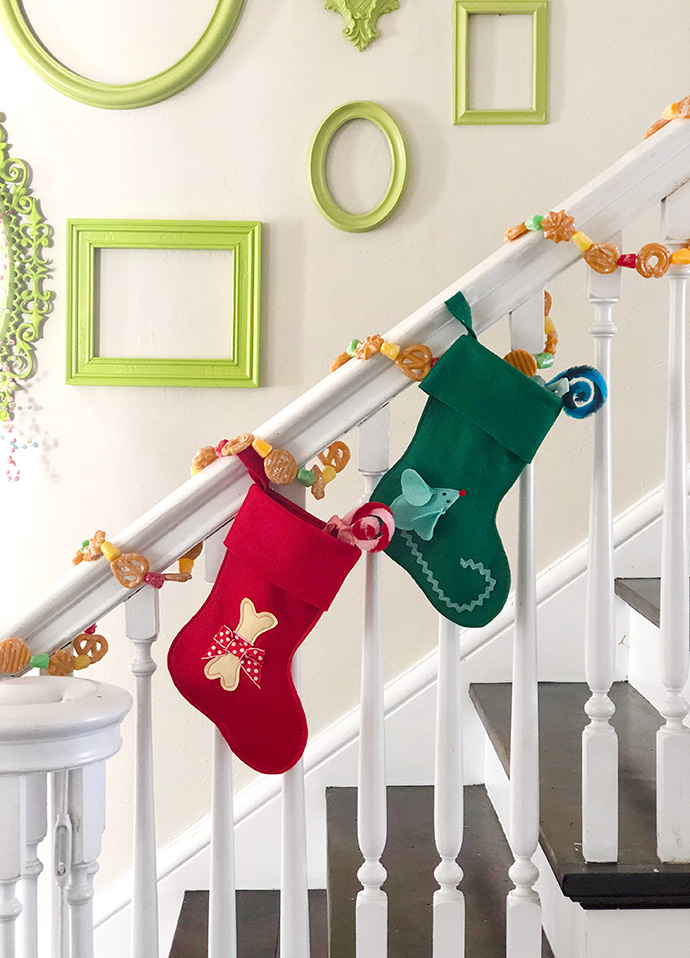
Keep in mind which way the other stockings point and whether the stockings will be hung together or on opposite ends of the mantle/banister/reindeer corral. Then create the stockings shown here pointing left or right accordingly
what you need:
- Printable templates
- Felt, 8 ½ x 11” (3 pieces)
- Contrasting color of felt for mouse or bone applique
- Needle and thread (Either hand-sewing or sewing machine)
- Scissors to cut fabric
- Scissors to cut paper
- Glue gun, low heat
- Straight pins
for bone design:
- 12” Ribbon, 1” wide or less
for mouse design:
- 12” Ric Rac for tail
- Small pom pom for nose
- Two small black beads for eyes
how-to:

Step 1
Print out stocking templates. One page has the stocking body; the other, the cuff, applique parts (bone and mouse) and hanging loop.
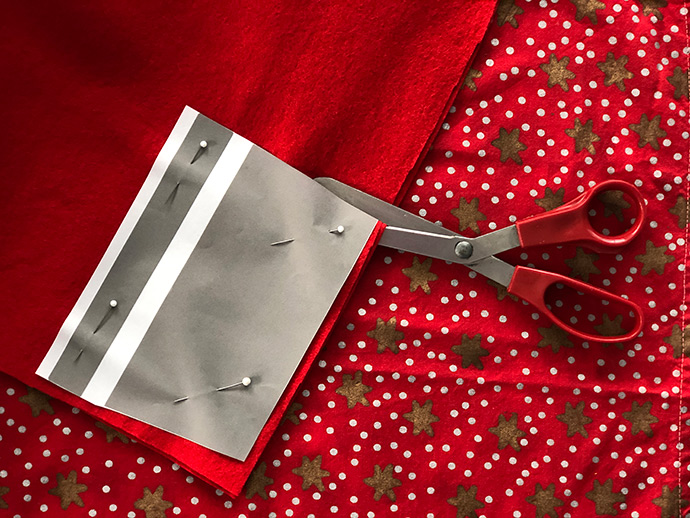
Step 2
Cut out the stocking body template and pin it to a double layer of felt. Cut out shape; no need to add seam allowance to this or any of the other pieces.
Step 3
Pin the cuff and hanging strap template to the next piece of felt. The cuff felt should be doubled to create two; a single layer of felt for the hanging strap is all you need.
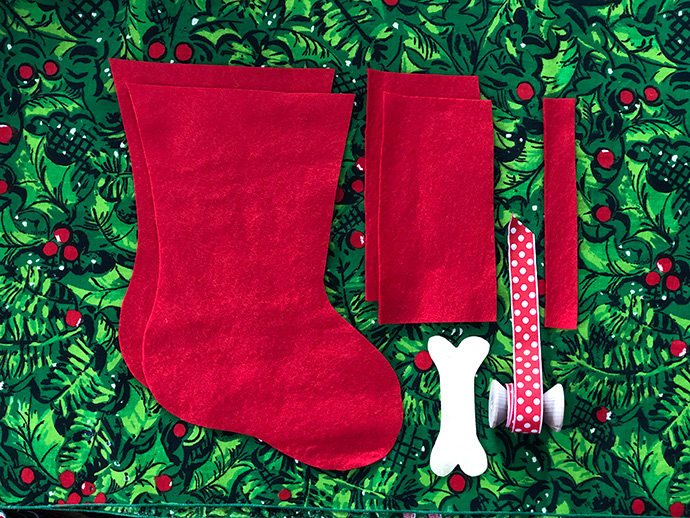
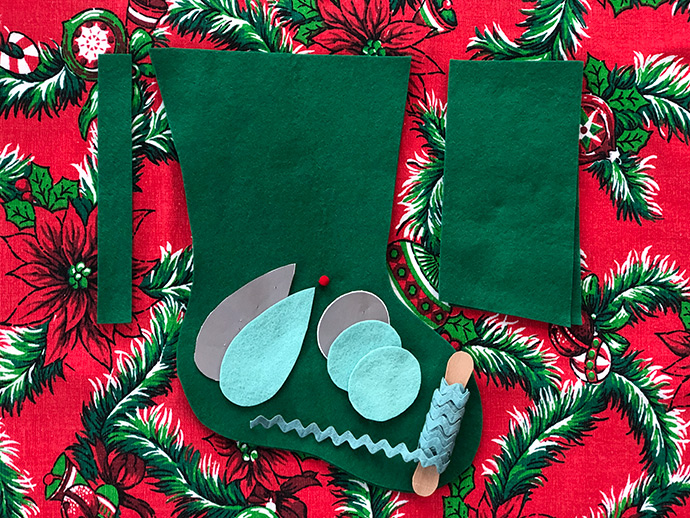
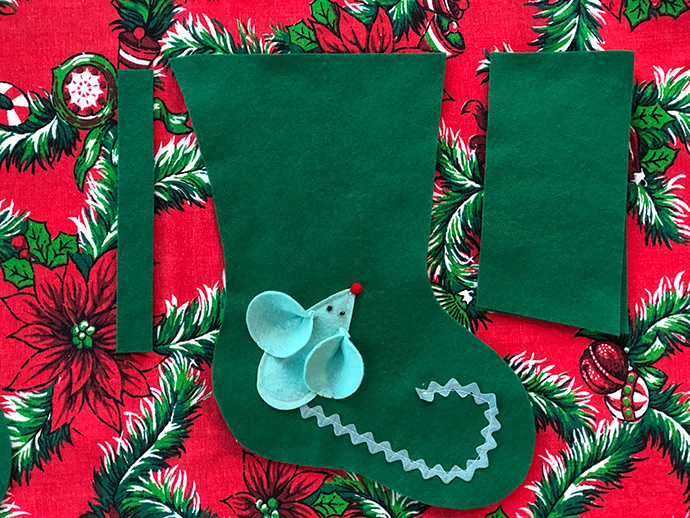
With steps 2 and 3 compete, you will have five pieces total:
- two stocking shapes,
- two cuff halves,
- and one hanging loop.
Step 4
Choose from the mouse or bone shape applique that will be sewn to the front of the stocking. Let’s go through how to make the bone version first.
BONE
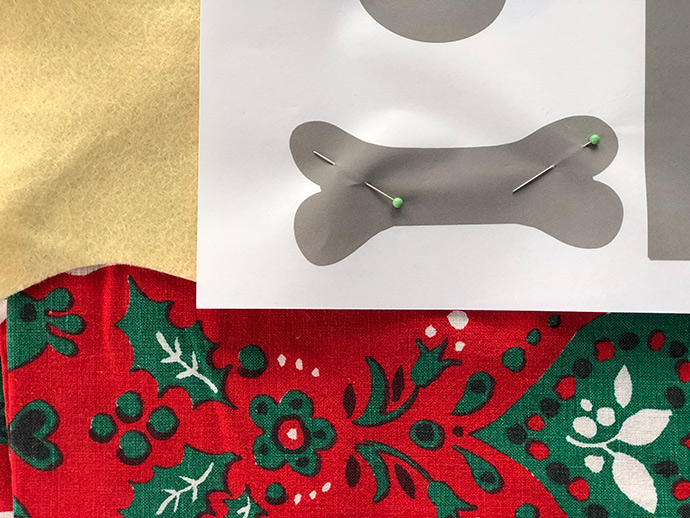
Pin bone template to a single layer of contrasting felt. Cut out shape (one).
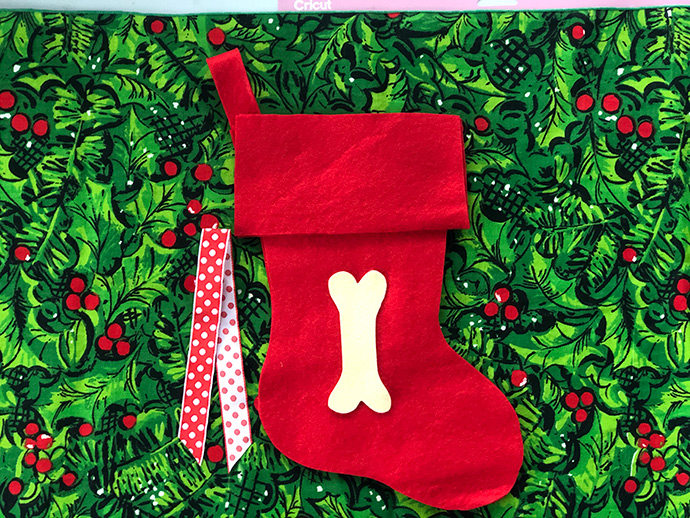
Place bone on top of stocking.
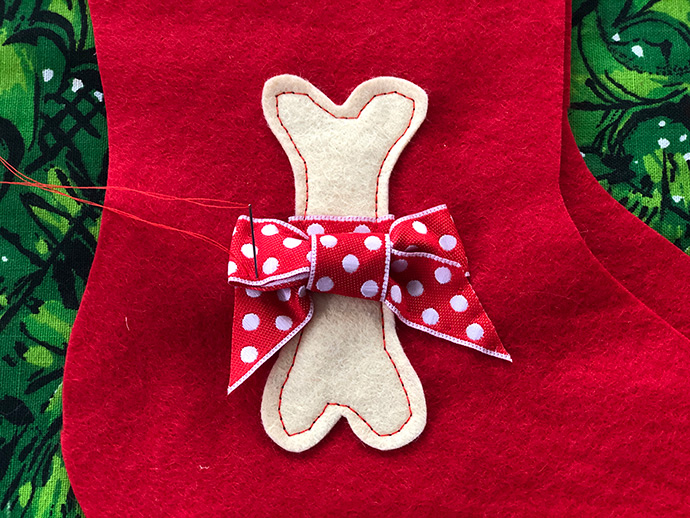
Cut a three-inch piece of ribbon; rest it on the center of the bone.
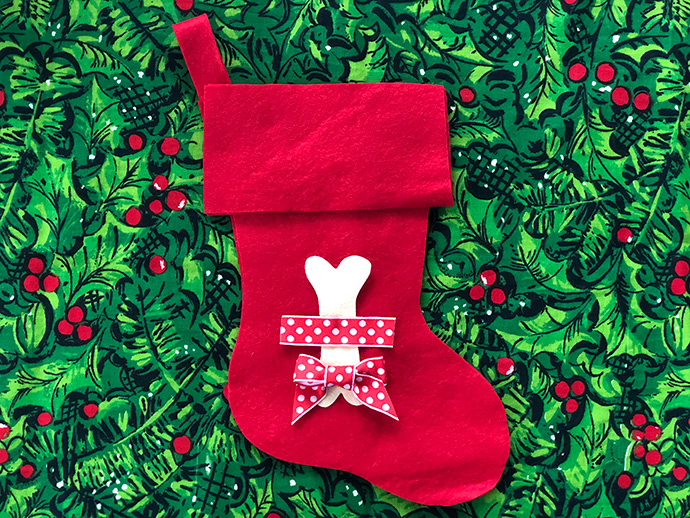
Make a traditional bow with the remaining ribbon. Adjust the loops so they’re even and cute. Pull bow tight. Trim ends.
Step 7a
Tuck the ends of the three-inch ribbon behind the bone. Tack down with a couple of stitches in the center. (These will be covered by the bow.) Sew the bone to the front of the stocking, either by hand or sewing machine.
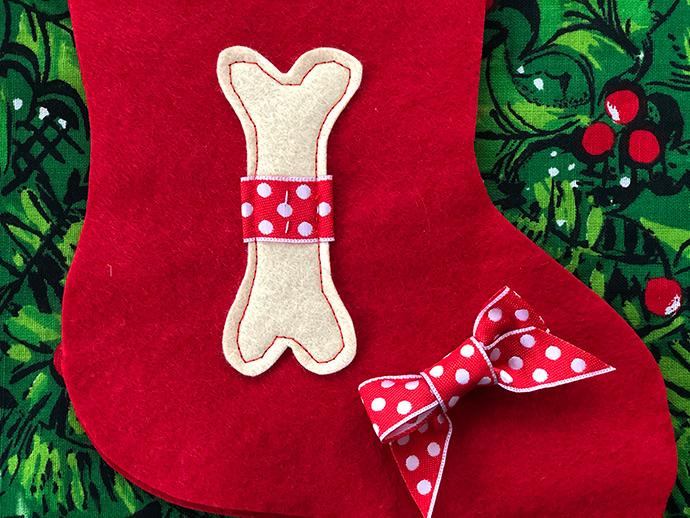
Step 8a
Hand-sew the bow to the bone and stocking front by bringing your needle and thread at various points through the stocking, bone, and bow layers until secure.

Step 9
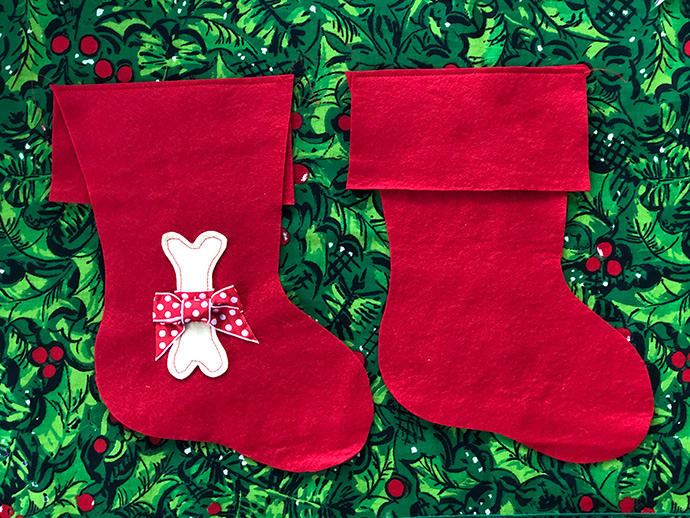
Next make a “sandwich” of the two body pieces and two cuff pieces. The two cuff pieces go INSIDE the “sandwich” because once sewn to the body, they will flip right side out. Refer to the photo to be sure the narrower part of your cuff pieces are at the top. (Note how at the top, they are just as wide as the top of the stocking.)
Step 10
Now separate the top two pieces from the bottom two, as shown. Sew a body piece to a cuff piece ¼” from the top of the stocking; repeat.
Step 11
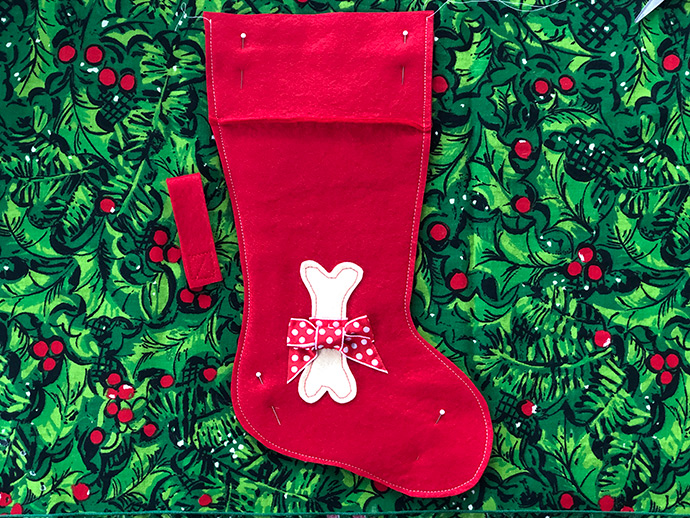
Stack the stocking halves with the cuff open. Sew around the stocking from the top of one side, down and around the stocking toe, then back up the other side, at ¼”. Leave the top open so the stocking can be filled!
Fold the hanging loop into shape and sew the bottom together by machine or hand. Trim around the stocking if needed to make the two halves align seamlessly.
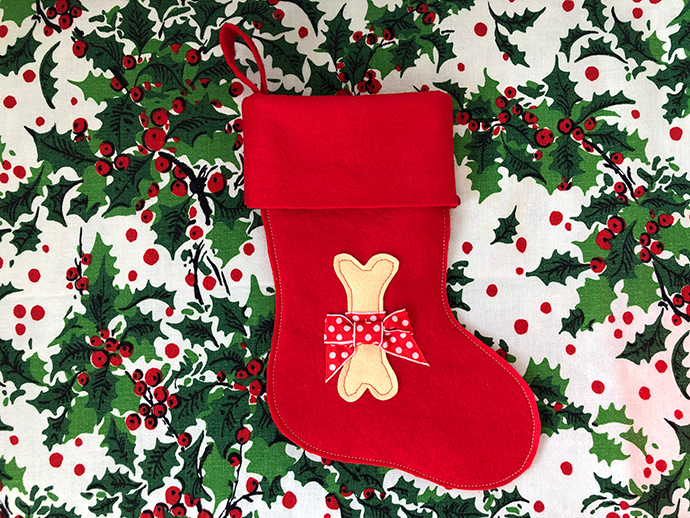
Step 12
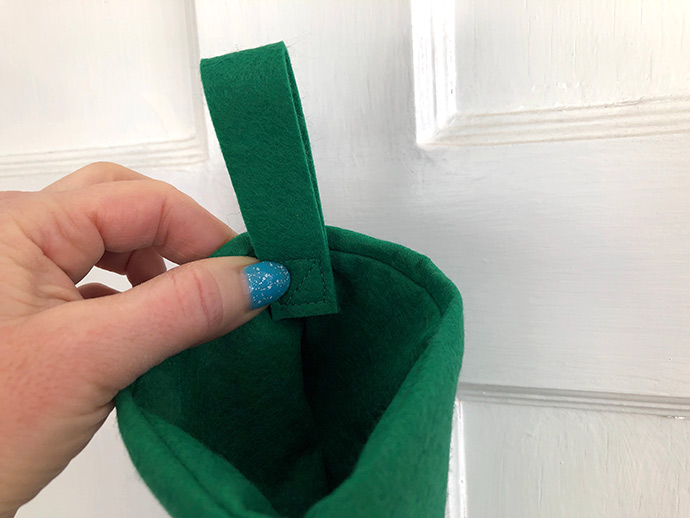
Fold cuff down. Hand-sew or hot glue hanging loop inside stocking, an inch down.
Switching gears, let’s go through how to make the mouse applique.
MOUSE
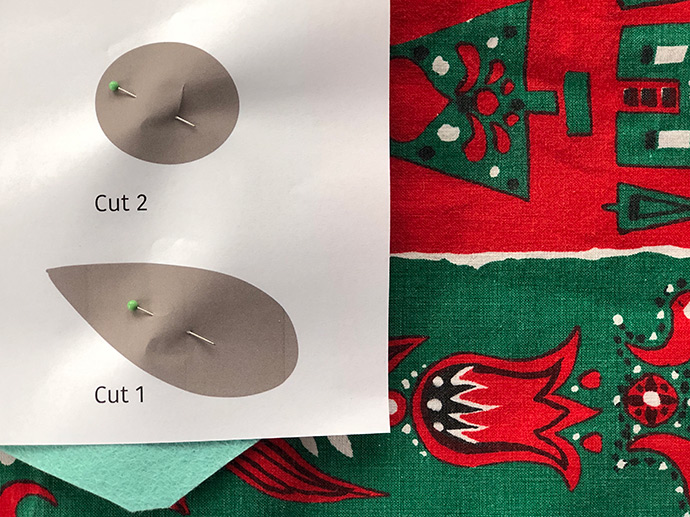
Pin mouse body template to a single layer of contrasting felt. Cut out one. Pin mouse ear to a double layer of contrasting felt. Cut out two. Gather your ric rac.
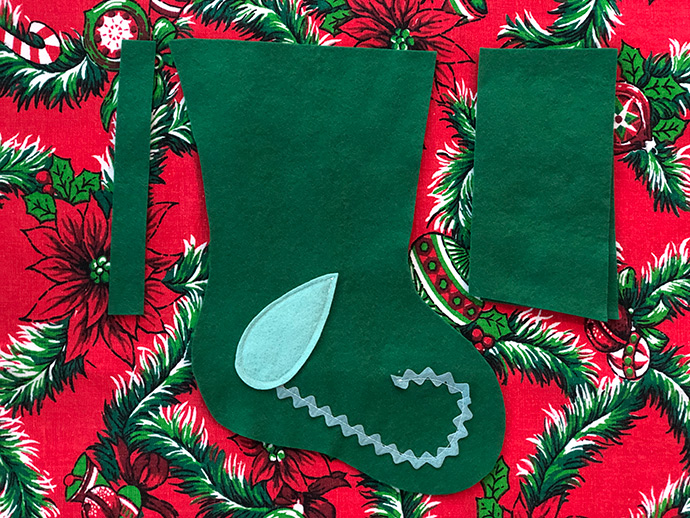
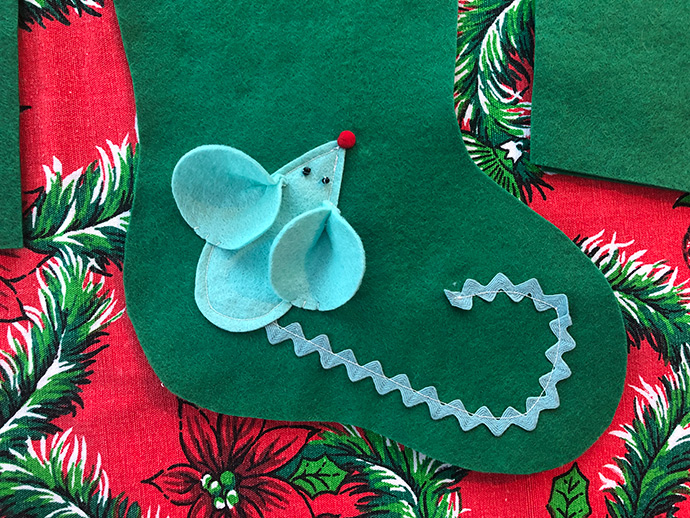
Next, lay your ric rac in a pleasing mousetail pattern, following the above photo as a guide. Sew the tail in place, by hand or machine.
Then place your mouse body on the stocking as shown, being sure to cover the top of the mouse tail with the mouse keyster. Sew in place, by hand or machine.
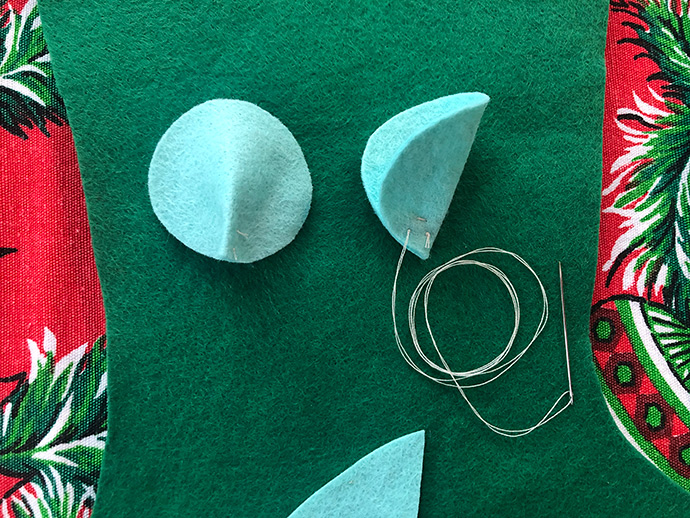
Next pinch a circle to form a mouse ear. Make a couple of stitches to hold the shape of the ear. Repeat with other ear.
Hand-stitch the ears to the mouse body and stocking front, as shown. Hand-stitch pom pom nose and bead eyes.
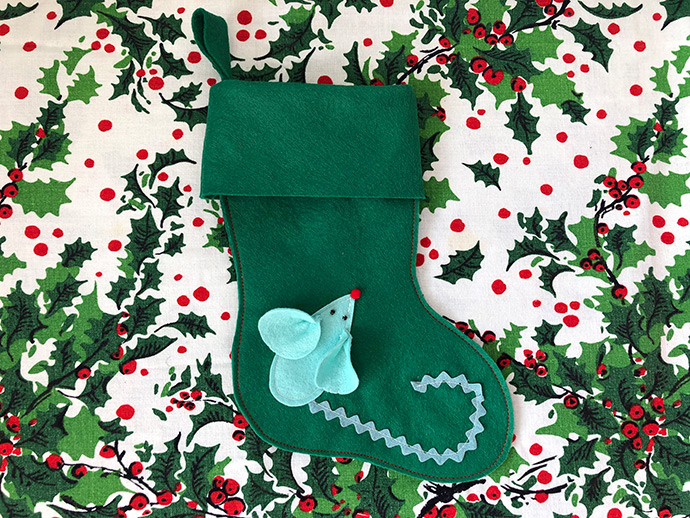
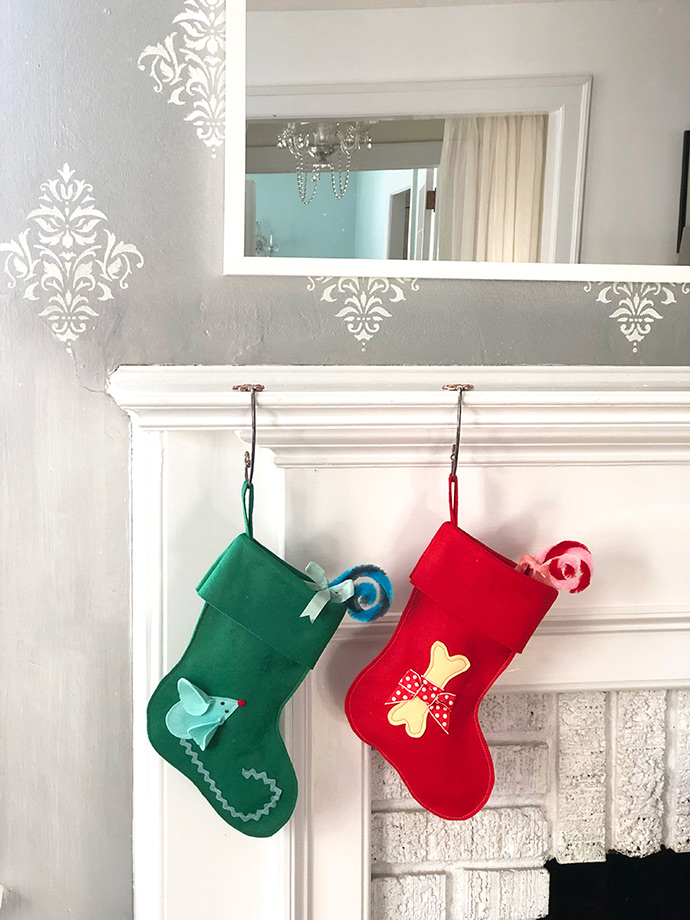
From there, follow steps 9-12, above. The completed mouse stocking will look like this:
Stuff kitty’s stocking with enough catnip, and he may consider climbing down the Christmas tree to investigate.
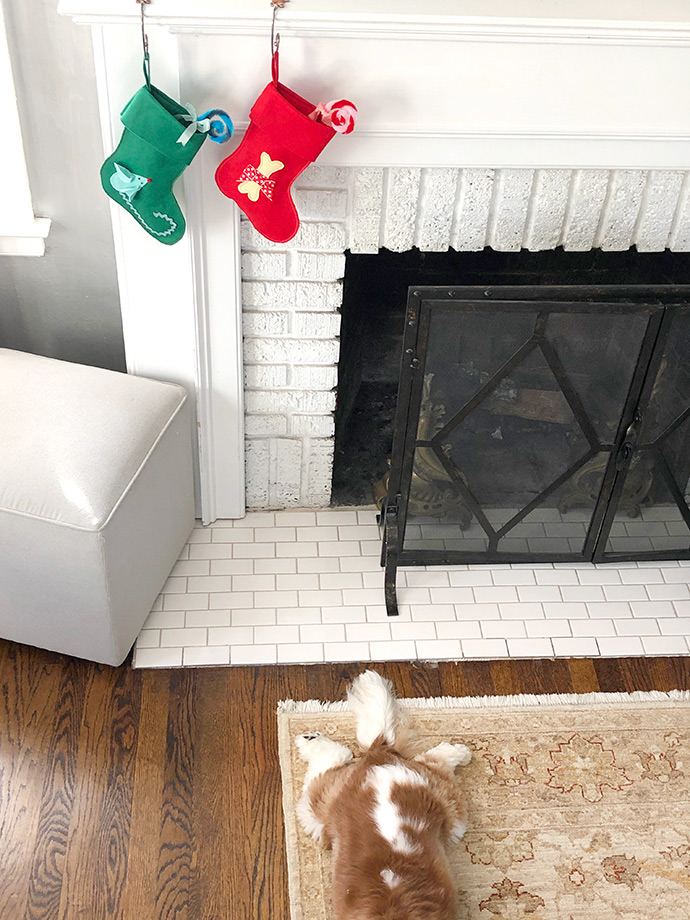
Although your dog’s sniffer will be interested in what his stocking holds, keep it away from your furry friend for his safety. (Many pets aren’t that into holiday home décor, anyway.)
Happy crafting!