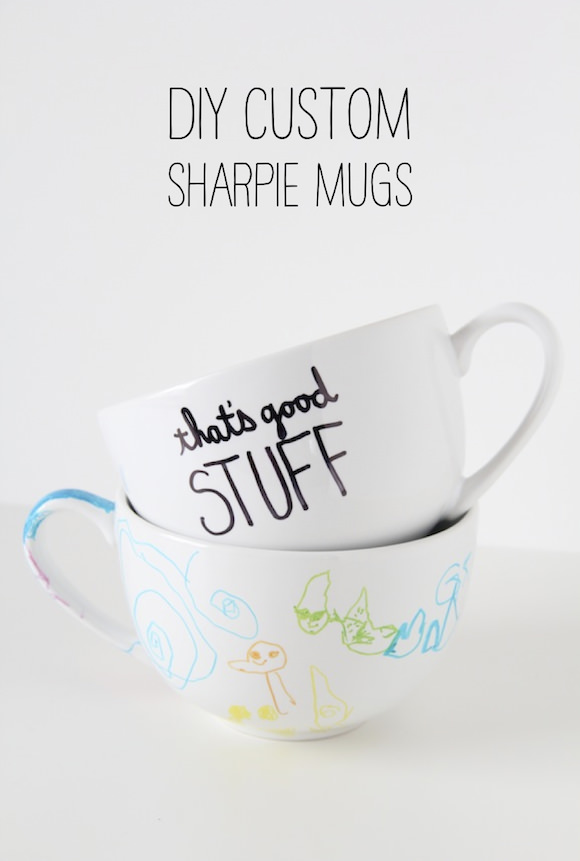
Sharpies aren’t always a parent’s best friend, but in this case, we couldn’t resist using them! Grab your favorite Sharpie markers and make some fun customized mugs for this winter’s drinks! This is a craft the whole family will want to get in on.
What You Need
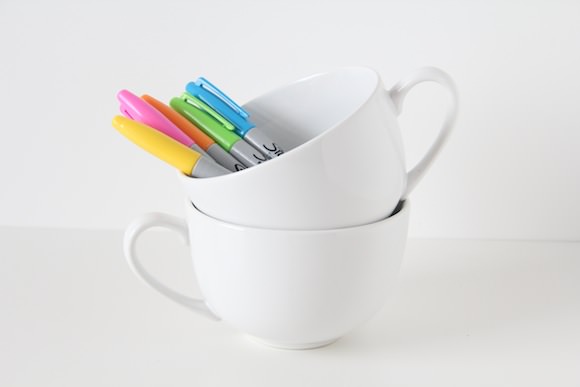
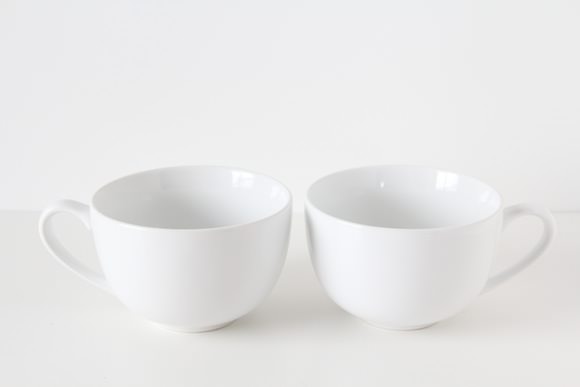
- White ceramic mugs
- Sharpie markers
Step 1
Wash your mugs thoroughly with soap and water. Get all the grime and dust off to ensure the markers stick to the mugs well.
Step 2
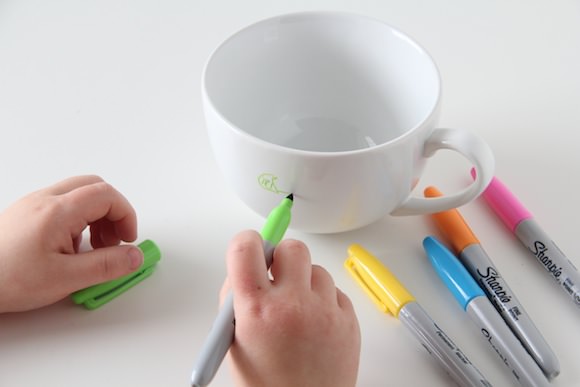
Once the mugs are clean, it’s time to decorate! Pick your favorite colors of Sharpies and go to work. Please keep in mind that some colors will darken slightly during the baking process. Choose wisely! Also keep in mind that you don’t want to draw on the rim or on the inside of the mug—just on the outside and away from where your mouth will touch the mug.
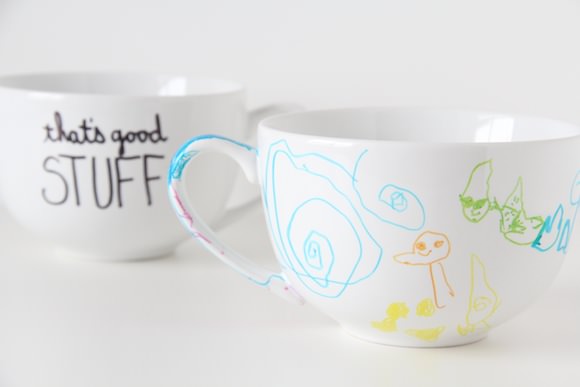
Step 3
Bake the mugs in the oven at 350 degrees for about 30 minutes. Then shut off the oven and let them cool down.
And you’re done! Enjoy your new mugs with some hot cocoa.