If you can color a coloring picture, you can make a springtime paint-by-number painting! It’s easy to transfer the design onto a canvas or other surface and create something truly special. Plus, we have five fun spring templates to choose from!
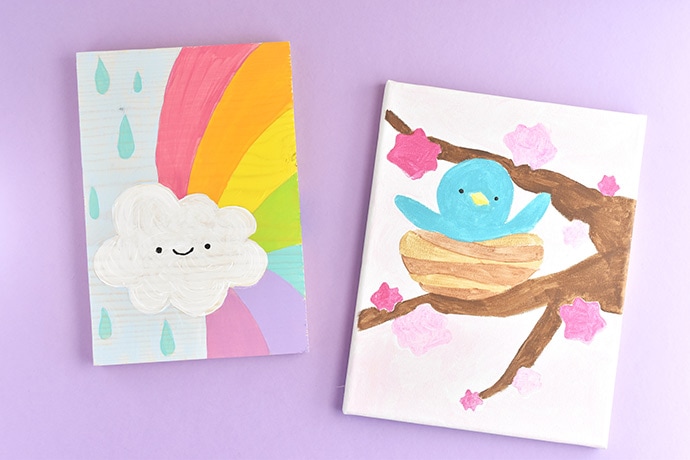
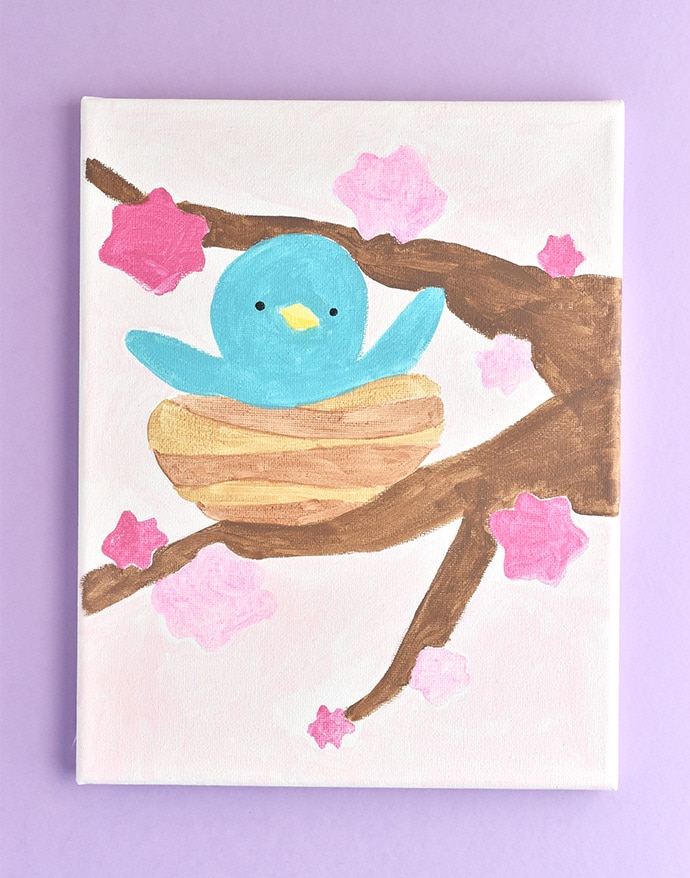
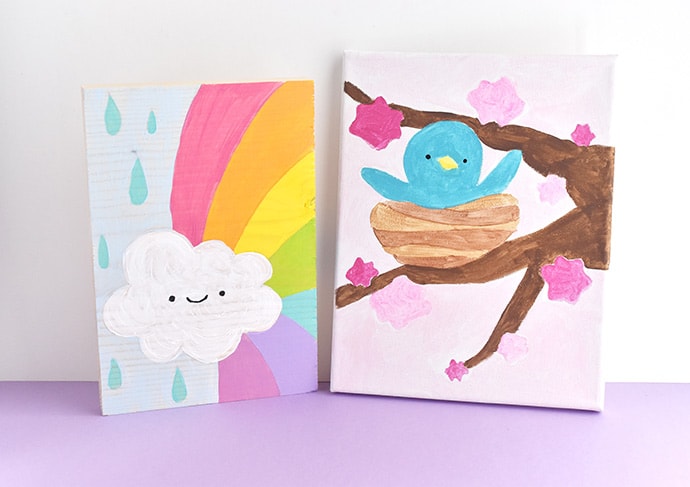
In the set of printable patterns, you can paint flowers, a snail, a rainbow, a bird, and a flower pot! Each design has a color page to choose which paint colors you want to use and where to use them. You can also make your own with this same technique by working with your favorite coloring pictures!

Ready to start painting? Here we go!
what you need:
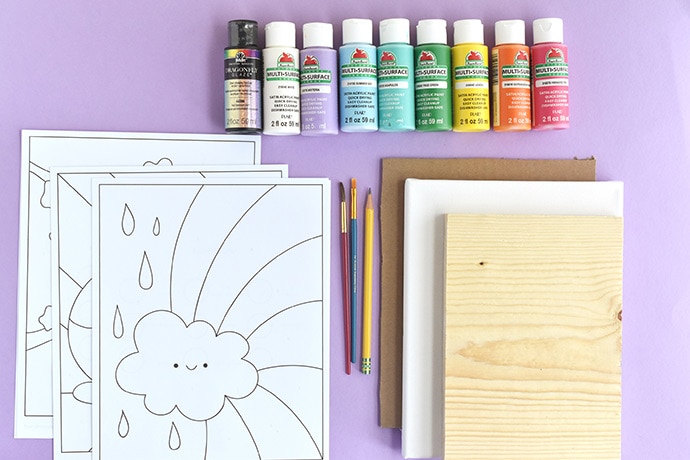
- Printable paint-by-number templates
- Paper
- 8×10-inch Canvas, Wood Piece, or Cardboard
- Pencil
- Paintbrush
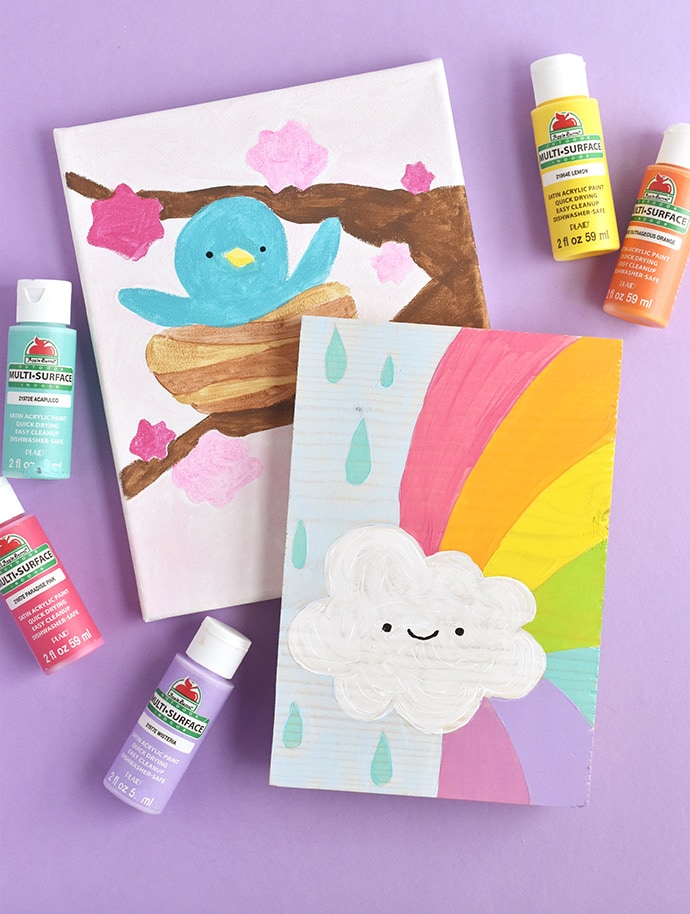
- Acrylic Paint
- Top Coat (optional)
how-to:
Step 1
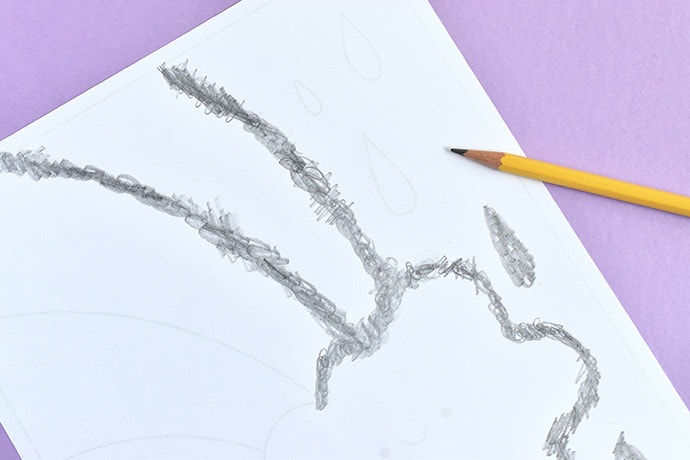
Choose one of the painting designs from the PDF and print it on plain paper. Print the color circle page to match.On the back of the paint by number page, scribble over the lines with the side of a pencil. If it helps, tape the paper to a window so you can see through the paper and only cover that area with the pencil rubbing.Softer pencils (like a 4B or 6B from an art set) work a little better, but a regular number 2 pencil does the job!
Step 2
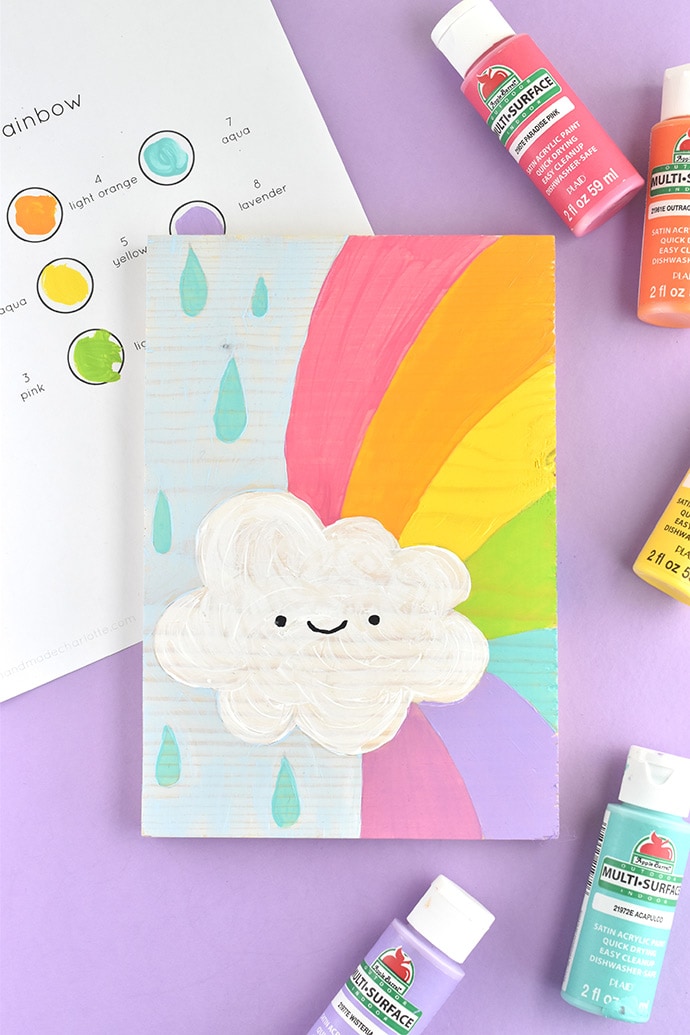
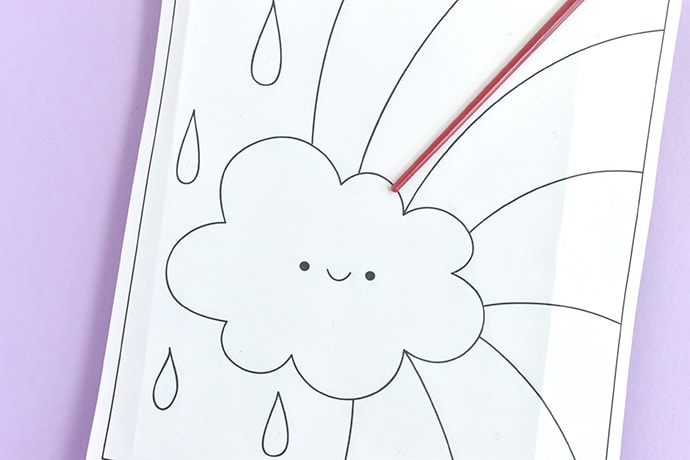
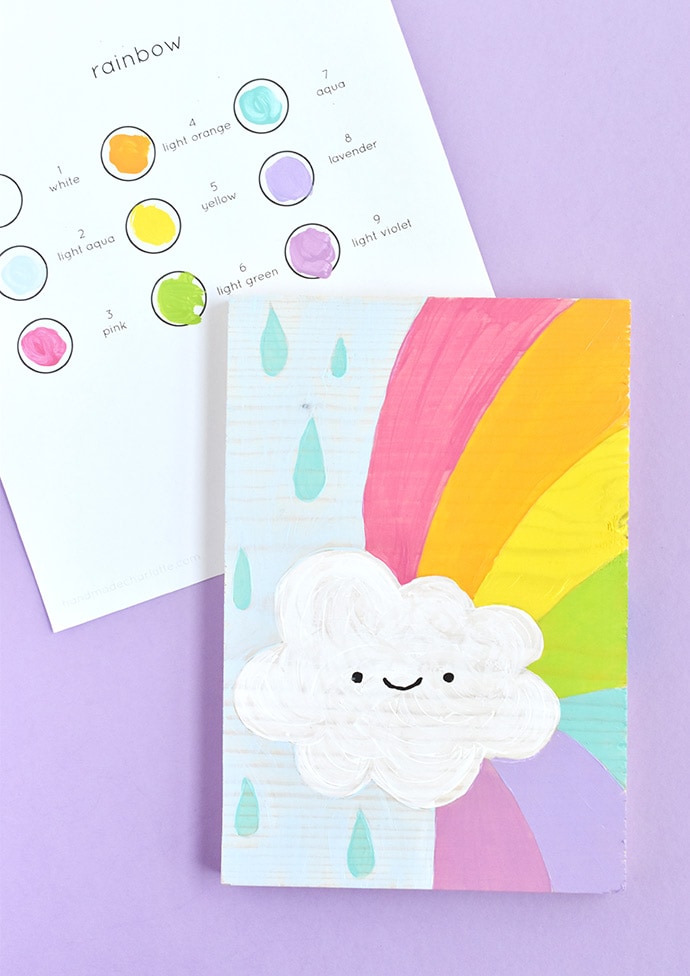
Place the paper on whatever you’re making your painting on.For this painting on wood, the wood scrap was a little smaller than the design. I chose to keep more of the raindrops showing and let the rainbow cut off a little. You can do this with any of the designs or you can shrink the templates a little before you start!Use the non-brush end of your paintbrush to trace over the printed lines on the template.
Test one or two lines first and check to see if the lines are transferring. If they aren’t showing up, try rubbing more pencil on the back.
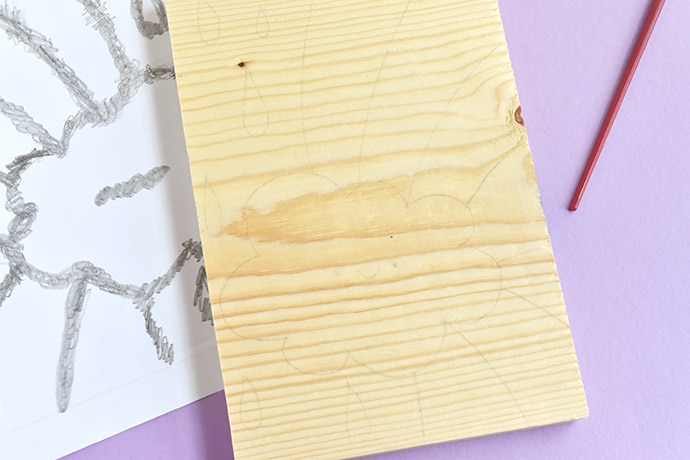
After you trace over all the lines, remove the paper to show the outlines for your painting.
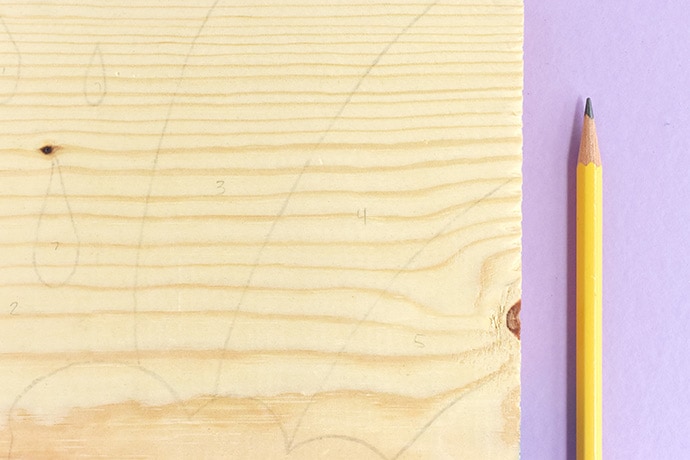
If you want, you can lightly write in the numbers from the template. Or you can just look at the template as you paint.
Step 3
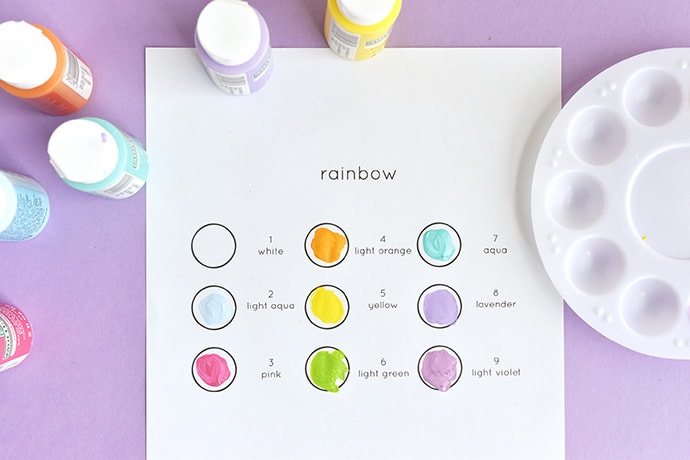
On the page with the circles, there are numbers and suggested colors. You can use these colors or choose your favorites! Add a little paint to the circles so you can see which colors to use for each number.
Step 4
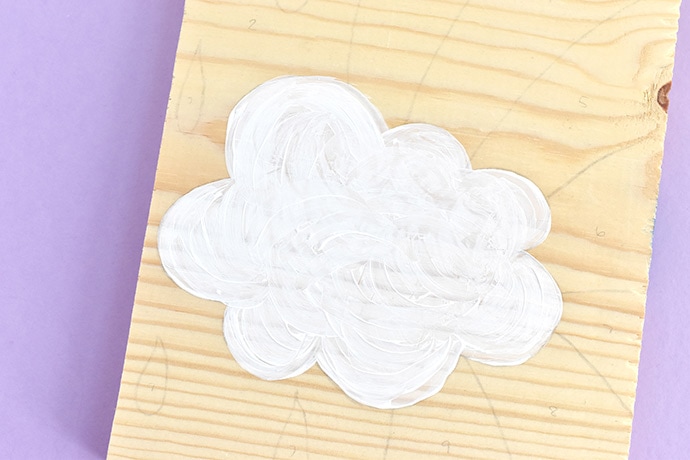
Start painting in the numbered areas. It’s best to begin with the lightest colors first and then move on to the darker colors. Paint the faces with black when you’re done.
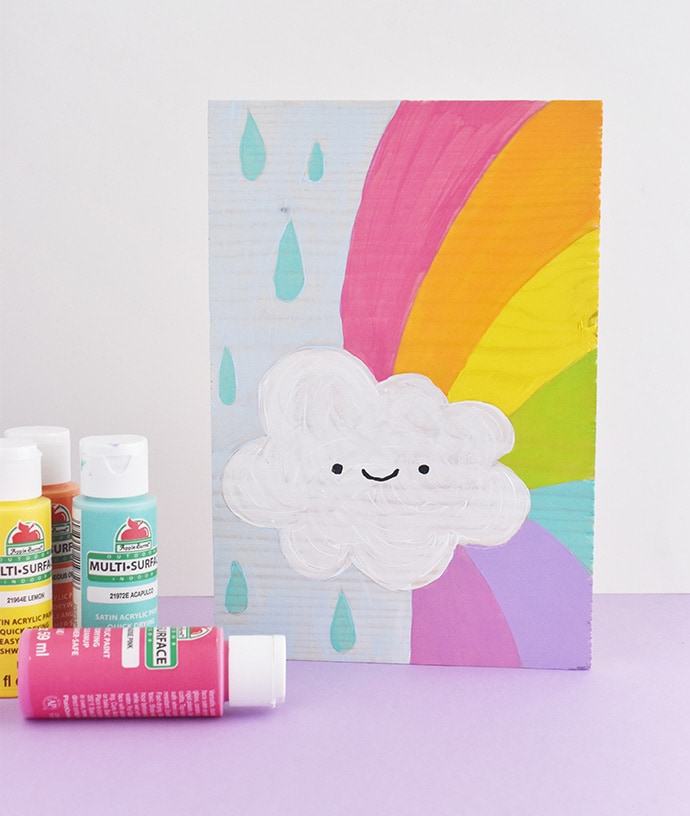
When all the paint is dry, you can add a top coat to the whole painting or use a sparkly top coat and add some shimmer to one part of the painting!
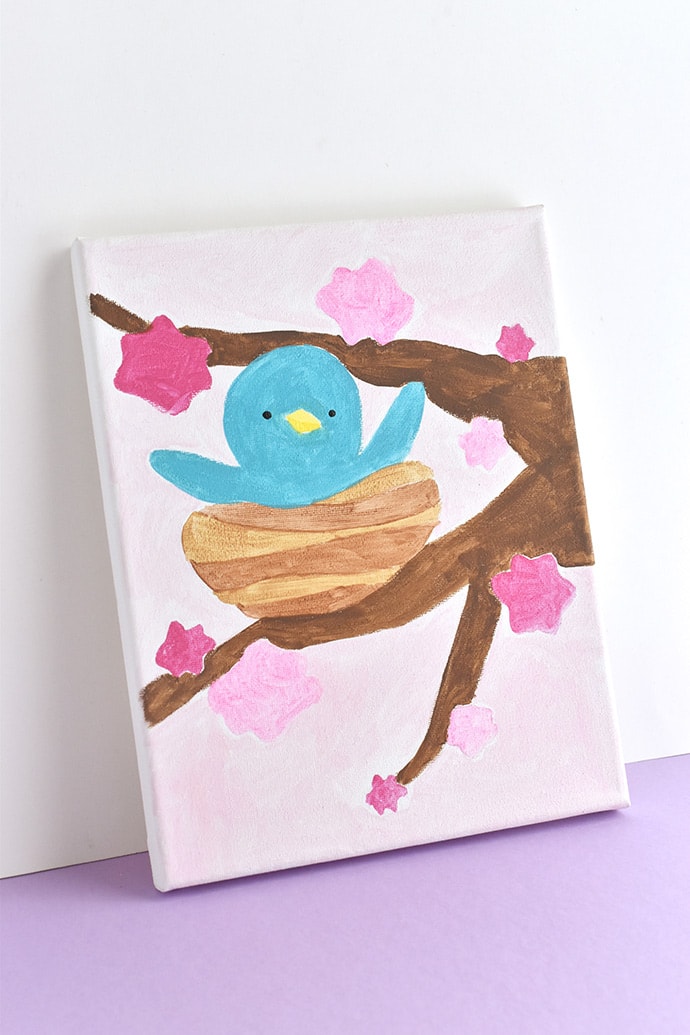
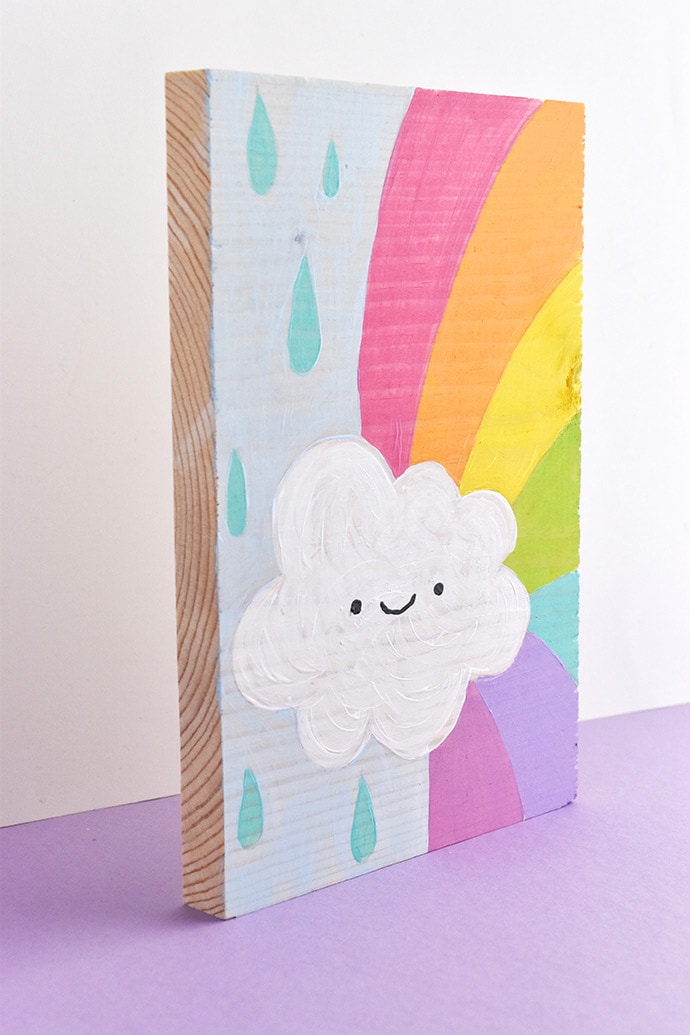
One of the fun parts about painting on a wood board is that it can stand up on its own so you can display it on a shelf! You can also add a picture hanger to the back of your painting or tie a string hanger through the corners of a cardboard painting.
If you want to, you can add outlines with black paint or even a permanent marker. Or add other little details too.
If you don’t have a canvas, wood, or cardboard, you can also print the template on cardstock and color or paint with crayons, watercolor, or markers!
Happy crafting!