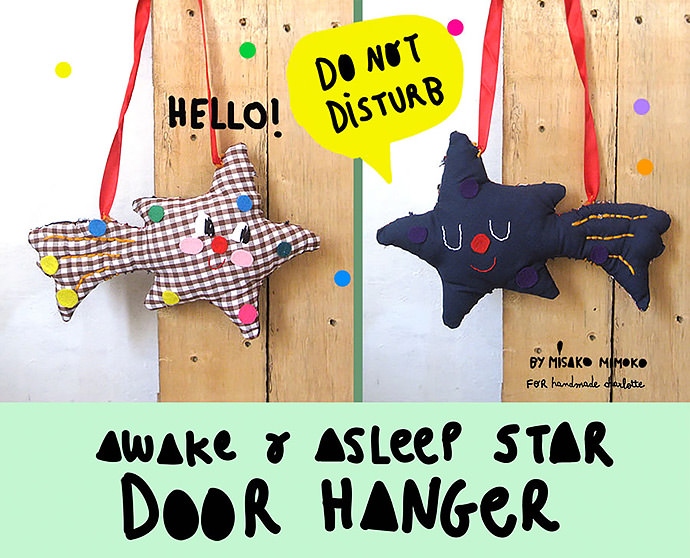

Let’s make a cute ‘Do not Disturb’ Christmas door hanger! This awake-and-asleep star will be a fun family project, and kids will enjoy using it to keep siblings away from their rooms. Customize stars using different colors, embroidered designs, or marking kids names.
What You Need
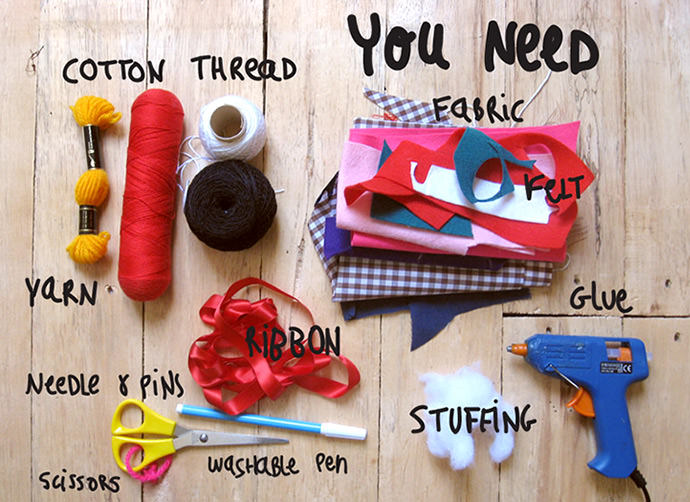
- Printable template (download here)
- Fabric scraps (fleece, flannel or soft knit)
- Felt
- Wool and a large-eyed needle
- Stuffing
- Pins
- Cotton embroidery thread and needle
- Scissors
- Washable pen
- Hot glue gun or fabric glue
How-To
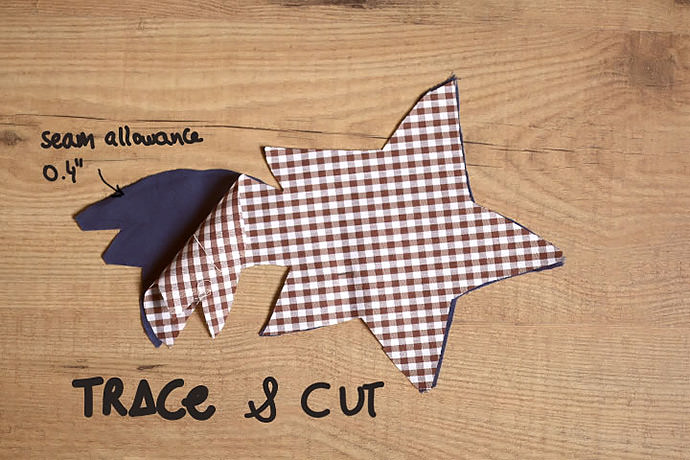
Step 1
Download, print, and cut out star templates. Trace and cut them from two different fabrics, leaving a 0.4 inch seam allowance.
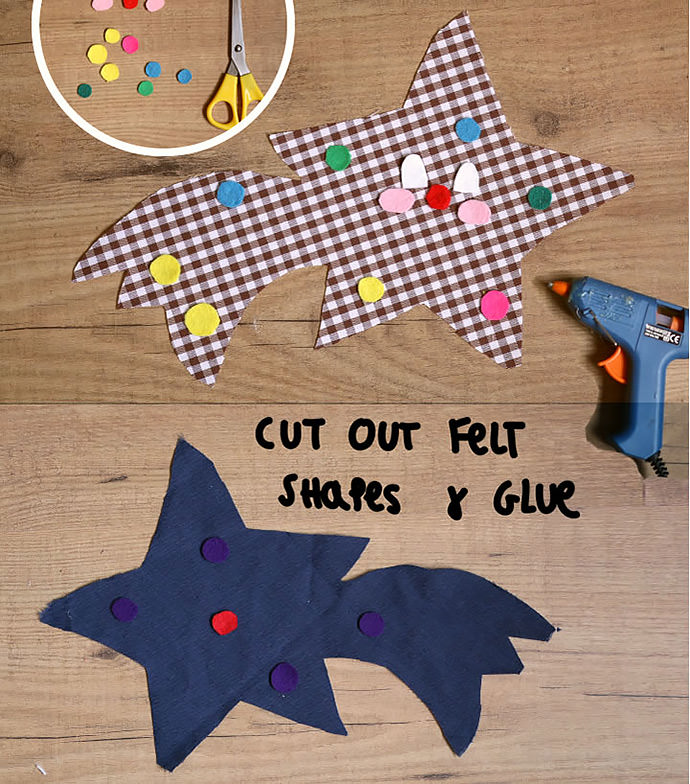
Step 2
Cut out felt circles, eyes and chicks. Distribute felt circles and glue to each one of the star shapes. Take one red felt circle, eyes and chicks and place onto the awake star shape following the template, then glue. Glue the other red felt circle to the asleep star.
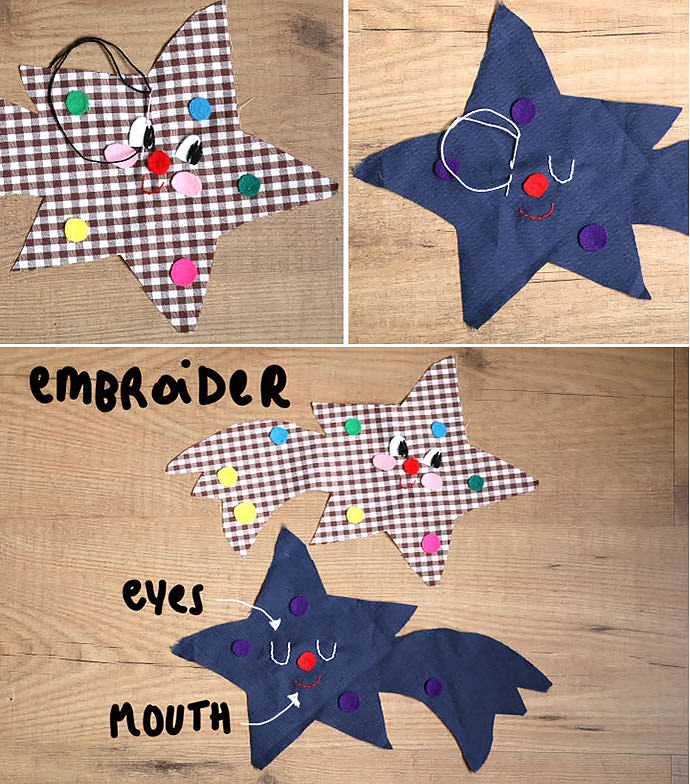
Step 3
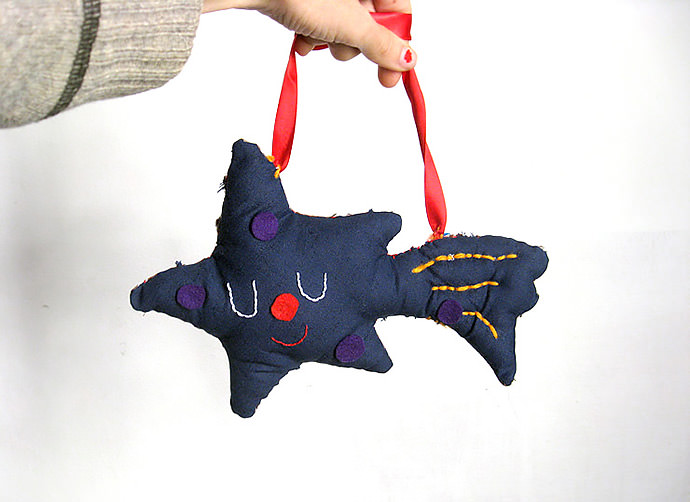
Now embroider awake eye pupils using straight stitches with black cotton thread. Use red thread for embroidering smiles and white for sleepy eyes.
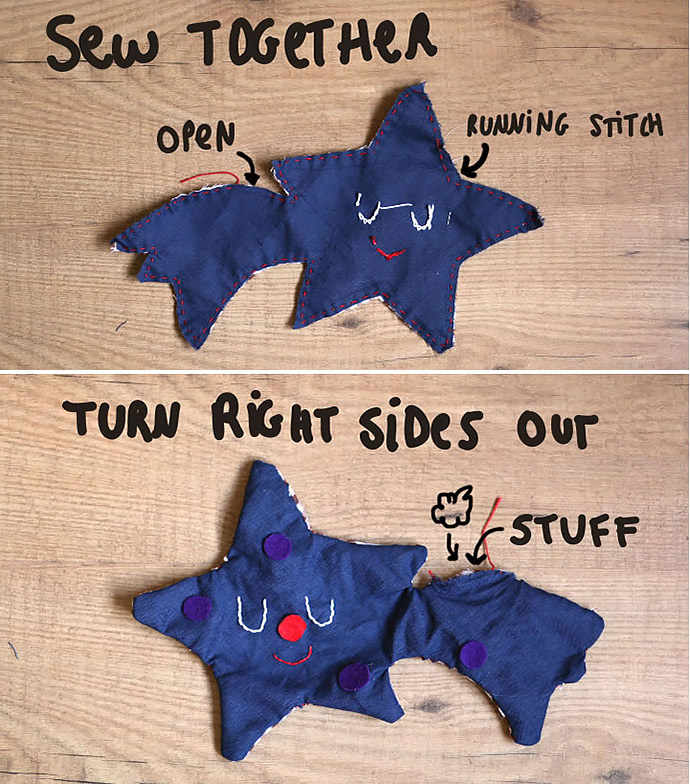
Step 4
Sew using a running stitch, or sewing machine two star pieces together with right sides facing in. Leave a 1/4inch (0.5cm) opening at the top of the tail.
Turn the star right-side-out and stuff it with stuffing.
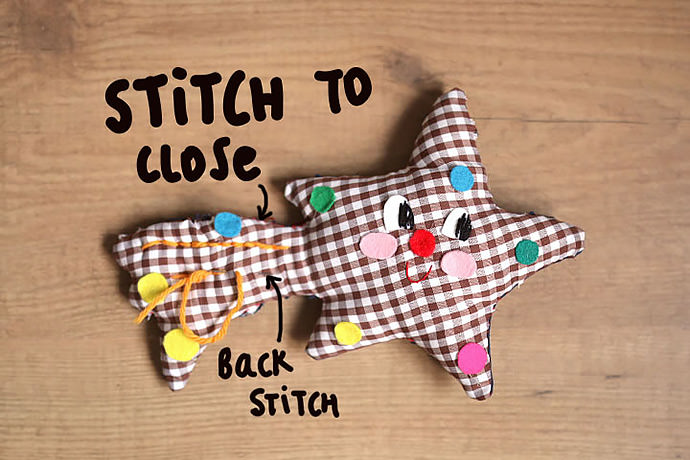
Step 5
Stitch to close up the opening. Embroider three curved lines onto the tail, using yarn, piercing out the stuffing and also the other side of the star to get a quilted look.
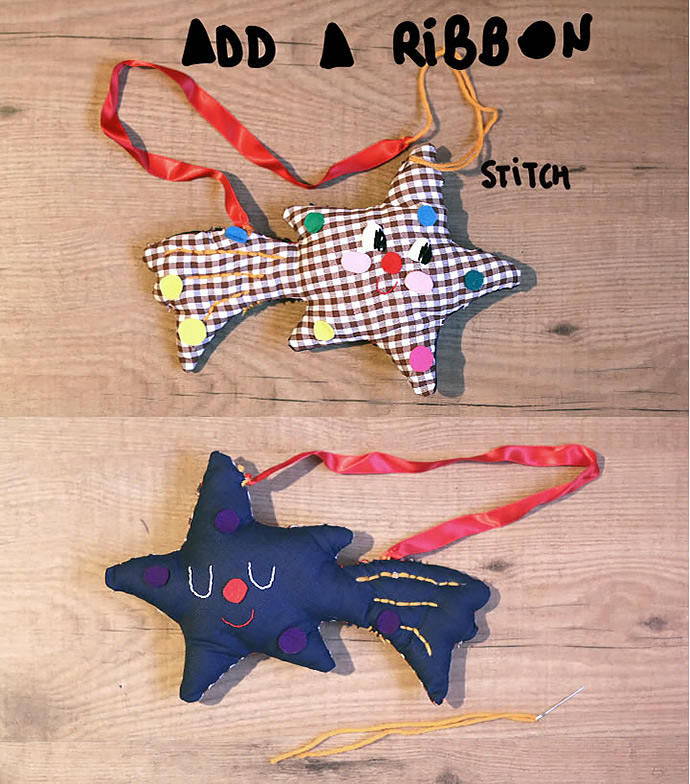
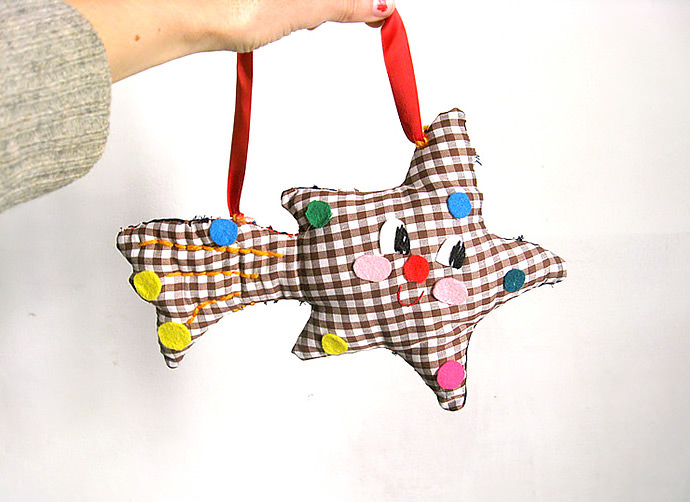
Step 6
Cut a piece of ribbon 15 inches long and add to the star, stitch it following template marks. You’ve done it! Just hang it to your rooms door and enjoy!
Happy crafting!