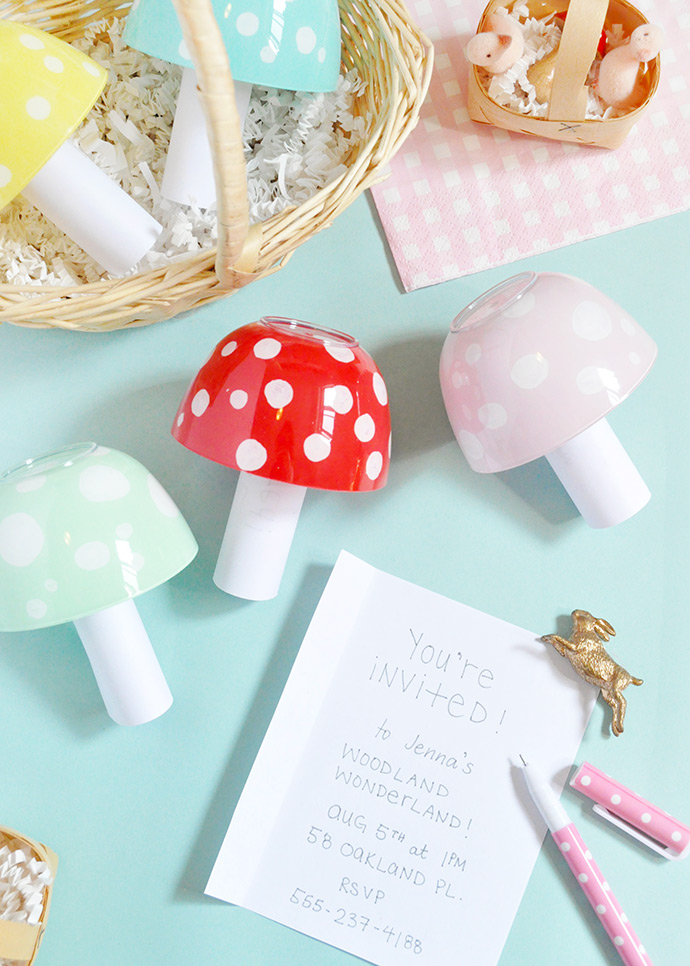
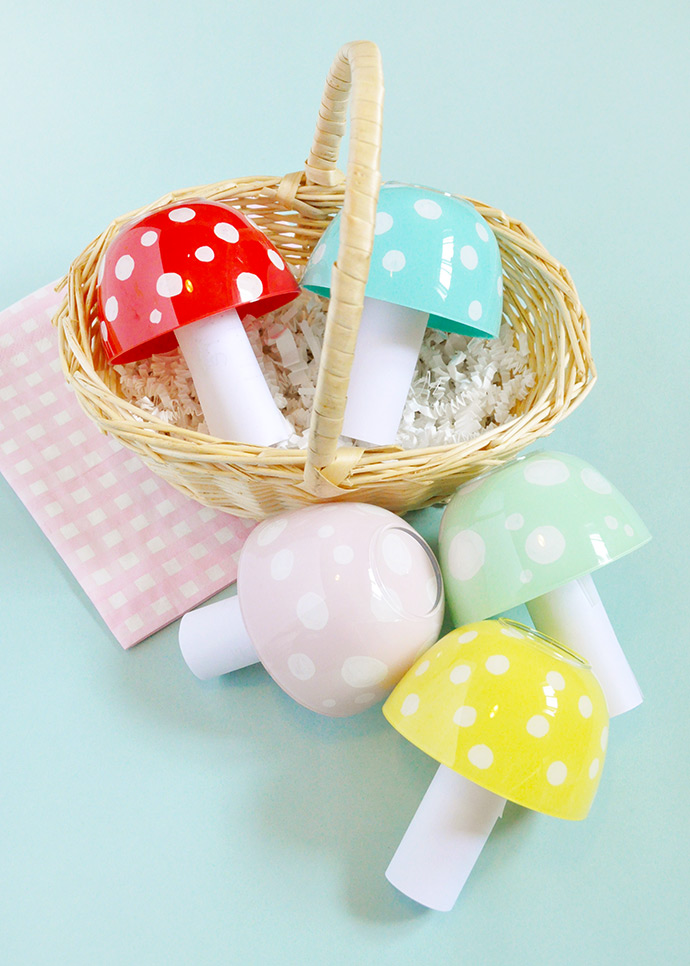
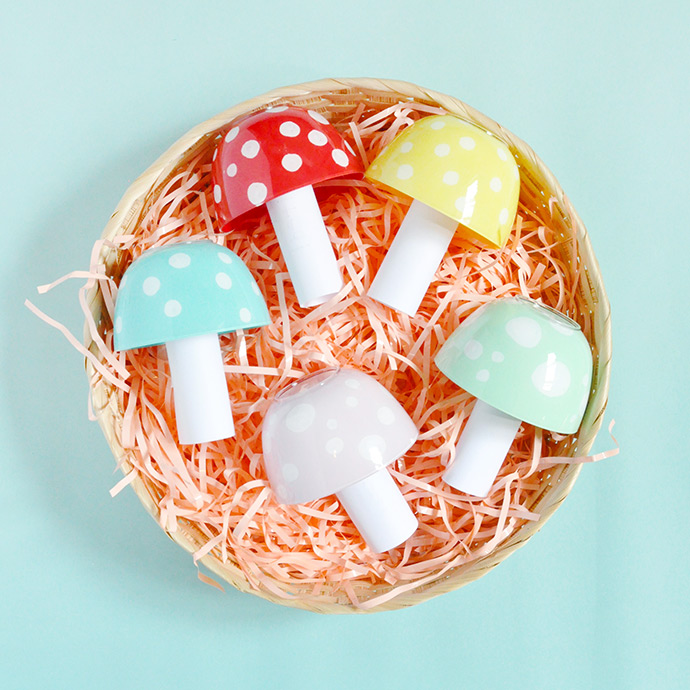
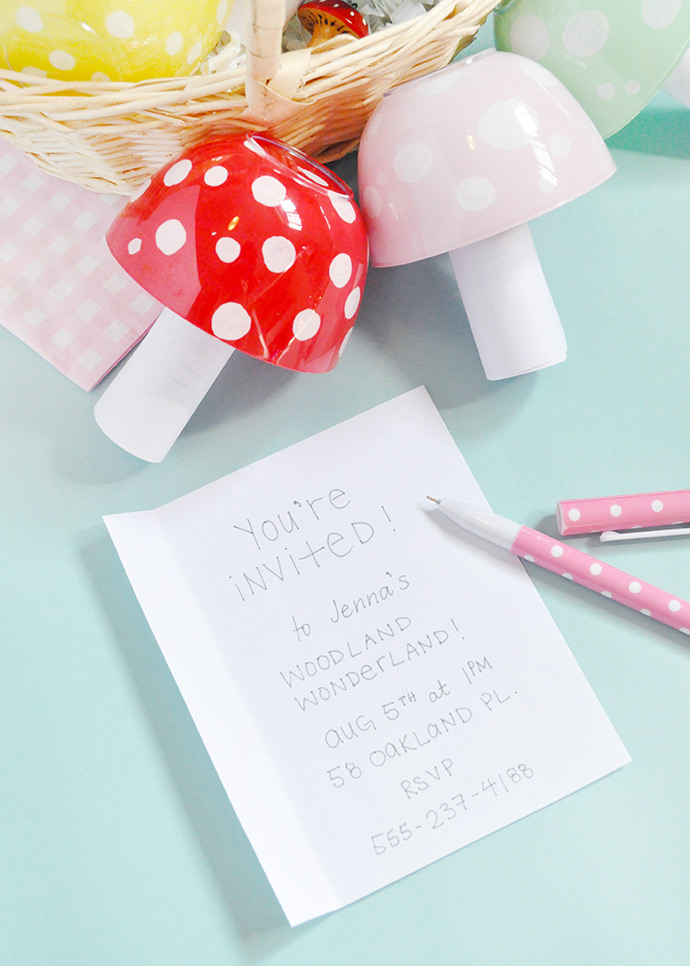
Hello little toadstool! If you’re hosting a woodland, forest, or camping themed gathering these DIY toadstool invitations are just the ticket! The key is finding small plastic tasting bowls at the dollar store – we actually found a few different options, but these ones had the best shape. Once you’ve painted the bowls, simply add your party details in the paper stem and you’re ready to go!

You could even attach cute faces (googley eyes!) or use different patterns (rainbows, hearts …) to make your toadstools super unique. Make a few extra for party decorations too, and mix in some bigger bowls for larger toadstools. These would also be perfect for Brownie or Girl Scout meetings – what a fun craft to do with the troop!
what you need:
- FolkArt Acrylic Paint (white and other colors)
- Tape
- Glue stick (optional)
- Paintbrushes
- Pencil / pen
- Scissors
- White paper
- Small clear plastic bowls
how-to:
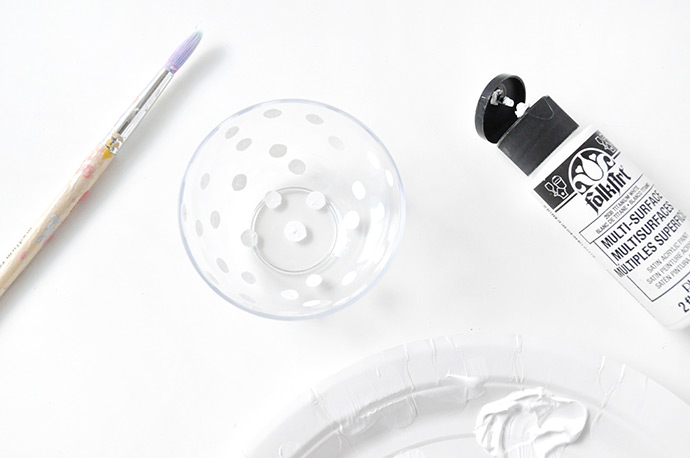
Step 1
Paint white dots on the inside of the clear plastic bowl and let dry completely.
Step 2
Paint over the polka dots on the inside of the bowl using fun, bright colors. You can make them all the same, or do multi-colored toadstools like we did. Let dry.

Step 3
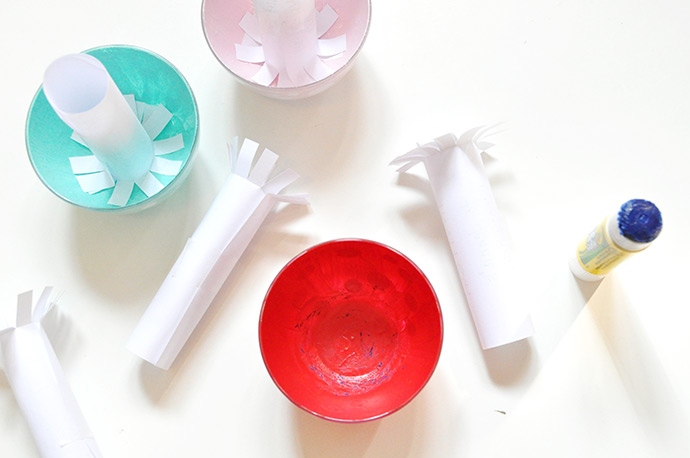
Write your party invitation details on paper – these papers will act as the toadstool stems! We cut an 8 1/2″ x 11″ piece of printer paper into quarters and used one for each stem, but the exact size will vary depending on the size of your bowls. Along one side of the invitation, cut small snips to make a fringe.
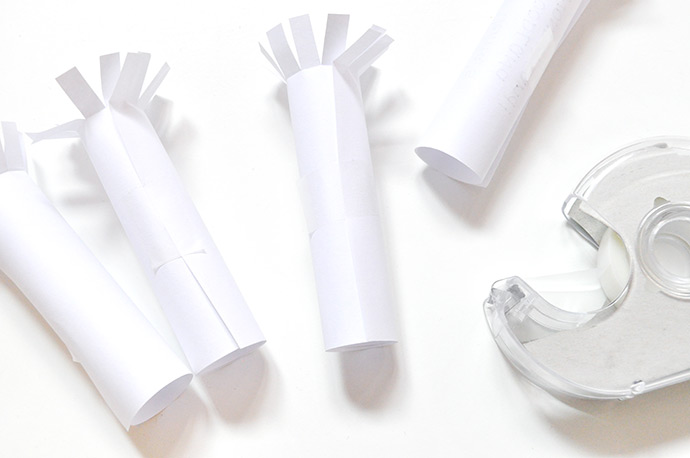
Step 4
Roll the invitation papers into tubes and use a piece of tape to hold in place. Since your guests will need to unroll this paper, don’t use too much tape! We actually folded a small tab on the end of each strip of tape so that each guest can easily pull it to open the paper roll. You could also write a small “unroll me!”, “pull!”, or “details inside!” along the back if you like.
Step 5
Apply glue into the dry inside of each toadstool and attach the paper roll inside, using the fringes to secure. You could also do this step with tape if you prefer – either way, the roll will be easily removed for your guests to read the invitation.

Happy crafting!!