Airbrushing always meant three things to me — corny license plate art, tourist t-shirts, and fake tans. The thought of buying an airbrush never once crossed my mind. But when I recently came across the tiny and affordable Testors Blue Mini Airbrush Compressor. I simply had to try it for myself. Don’t knock it until you try it, right?
I’ll be the first to admit the little blue wonder won me over. The airbrush instantly elevated the finished quality of my crafting a notch (or few). My new take on airbrushing? It’s an indispensable tool for any craft studio. No mess, no brush strokes, and no cheesy license plate art. It opens a whole new world of crafting possibilities, from paper crafts to cake decorating, and yes, even fabric design.
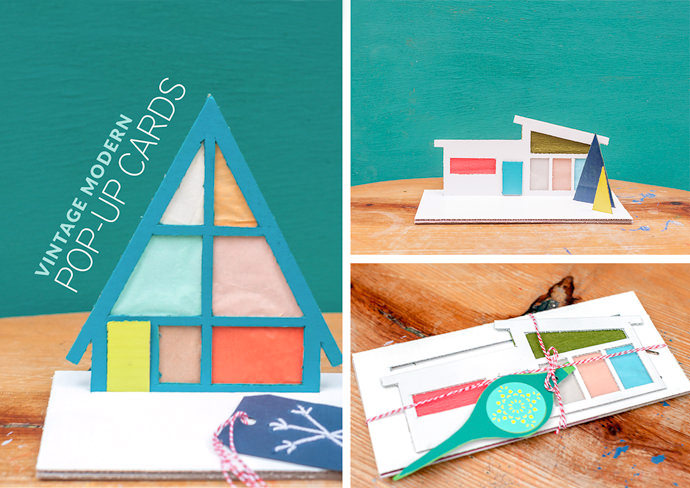
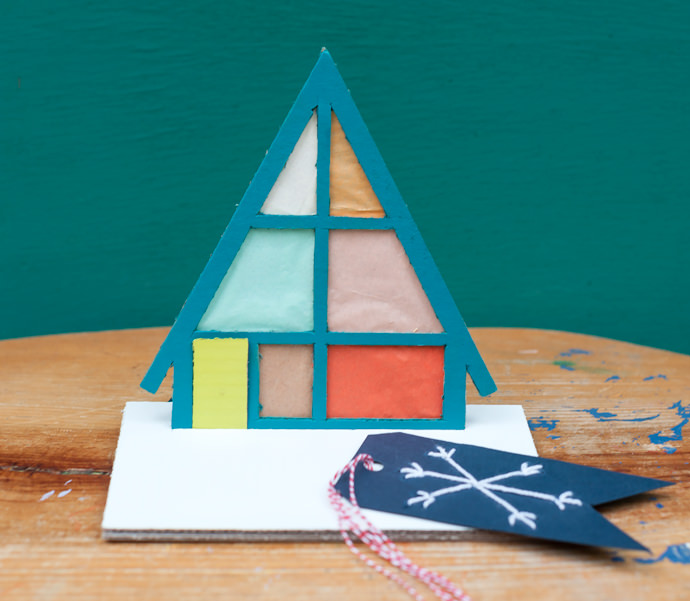
Inspired by the new tool I had at my disposal, I decided to make a series of pop-up cards for the holidays. These retro mod cottages are simple to make using cardboard and featuring colorful tissue paper windows that draw you to take a peek inside. The key to making the pop-up cards truly gift-worthy is the airbrush. It allows you to apply several light, successive coats of paint that give the facade a smooth finish. Yes, it’s definitely something to write home about!
Seal it in an equally awesome airbrushed envelope, slap a stamp on it, and off to grandmother’s house it goes! Get all the details in the step-by-step instructions below:
What You Need
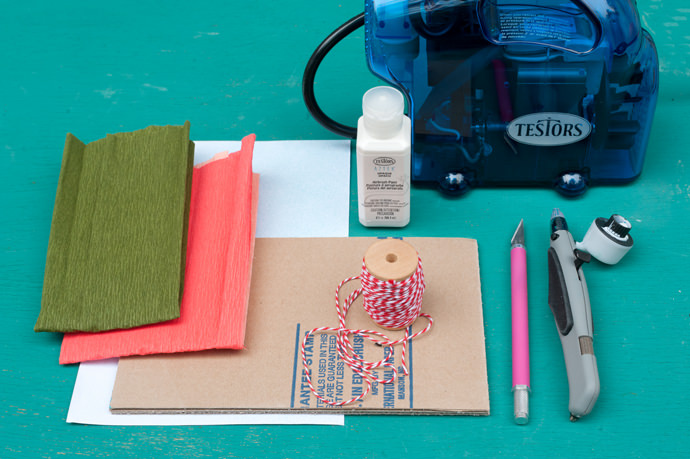
- Cardboard
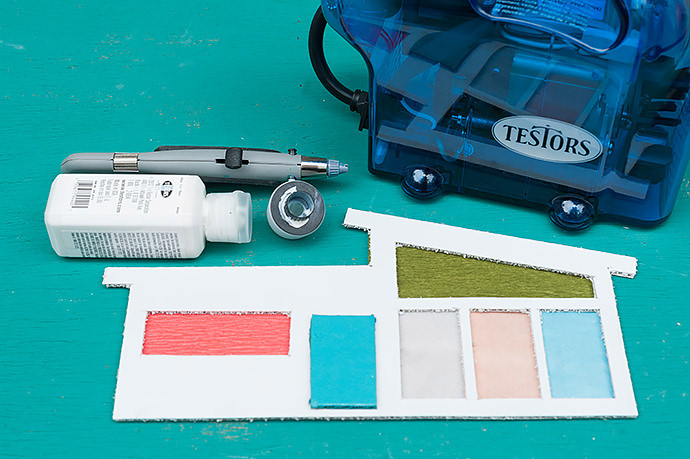
- Testors® Aztek® Airbrush
- Testors® Aztek® Blue Mini Compressor
- Testors® Aztek® Airbrushable Paint
- Tissue Paper
- Tape
- Craft Knife
- Large Envelopes
- Red & White Twine
- Retro House Pop-Up printable template (download here)
How-To

- Download and print the Retro House Pop Up Printable. Glue it to the cardboard and cut out the shapes with your craft knife.
- Assemble your Testors® Aztek® Blue Mini Compressor kit and select your airbrush paint colors. Flip the switch and start spraying! Spray the cardboard with steady even pressure in a back and forth motion until the entire piece is covered. You shouldn’t need more than two coats of the airbrush paint. (For more airbrush tips, check out this handy ebook.)
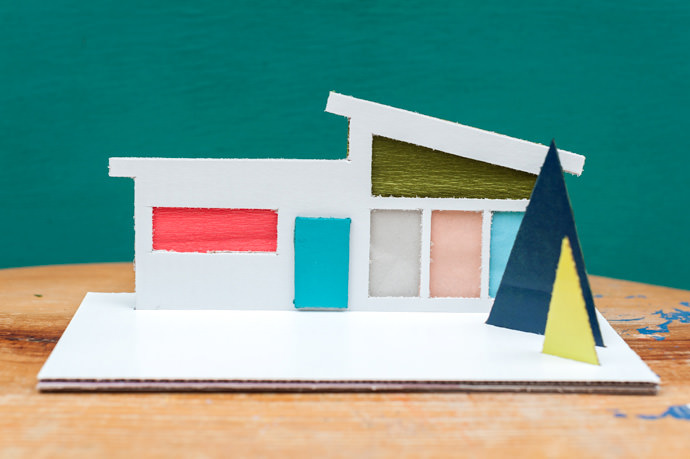
- Use your tape to stick the colorful tissue paper on the back of the house for bright and cheery windows.
- Create a snowy airbrushed envelope by cutting festive shapes out of paper and gluing them to your envelope with repositionable adhesive. We used a Christmas tree, but you might consider little snowflakes or some other sweet holiday shape. Have a blast creating a winter wonderland with your airbrush and different airbrush paints, then peel the paper shapes off the envelope.
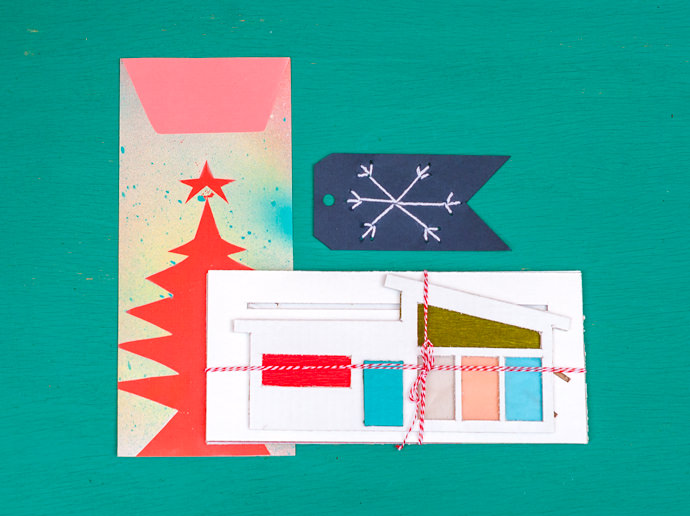
Once you’ve finished, wrap all the pieces together with twine and pop it in your snowy envelope and send it to a friend. Congratulations, you have now entered the world of airbrushing! We hope you love it as much as we do. Click here to learn more about Testors® Aztek® airbrush systems.
This post is sponsored by Testors.