This post is sponsored by Kid Made Modern.
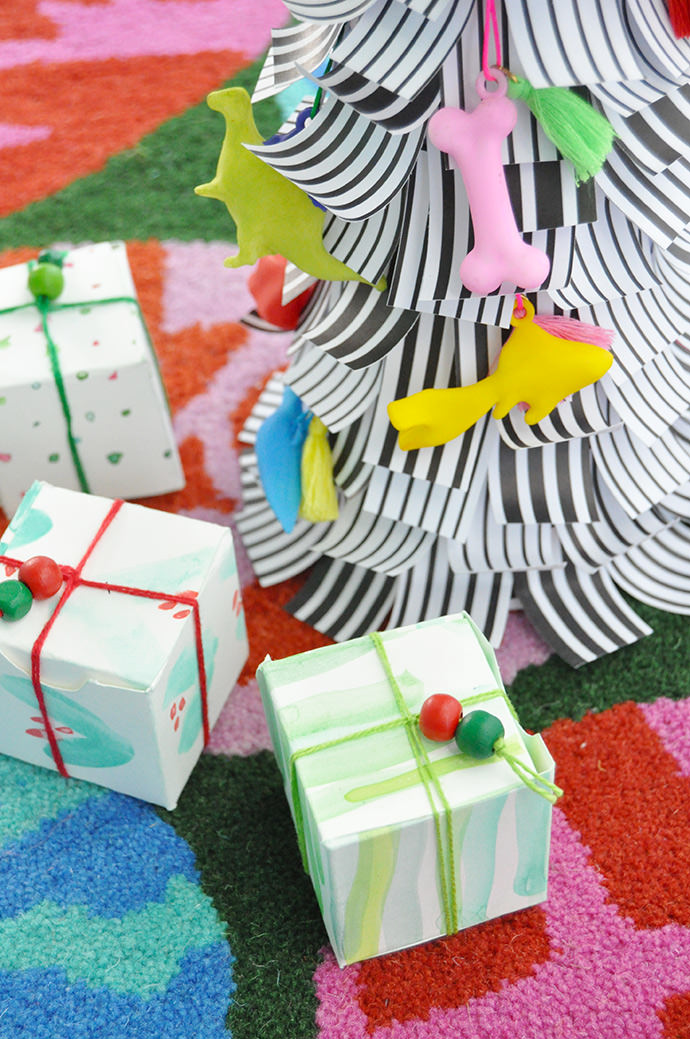
If you’re almost done your holiday shopping, it’s time to start thinking about how to wrap everything up! Today we’re sharing this super fun way to put a handmade touch on your gifts this year: these mini watercolor gift boxes! Kids will love helping out too – just get them started with Kid Made Modern’s watercolors and paper and once they’re done painting, you can turn their creations into these custom boxes. So simple!
And the great thing is that you can customize these boxes to be whatever shape and size you want! We’ve provided the template we used below, but keep reading for our tips on how to make any size you want.
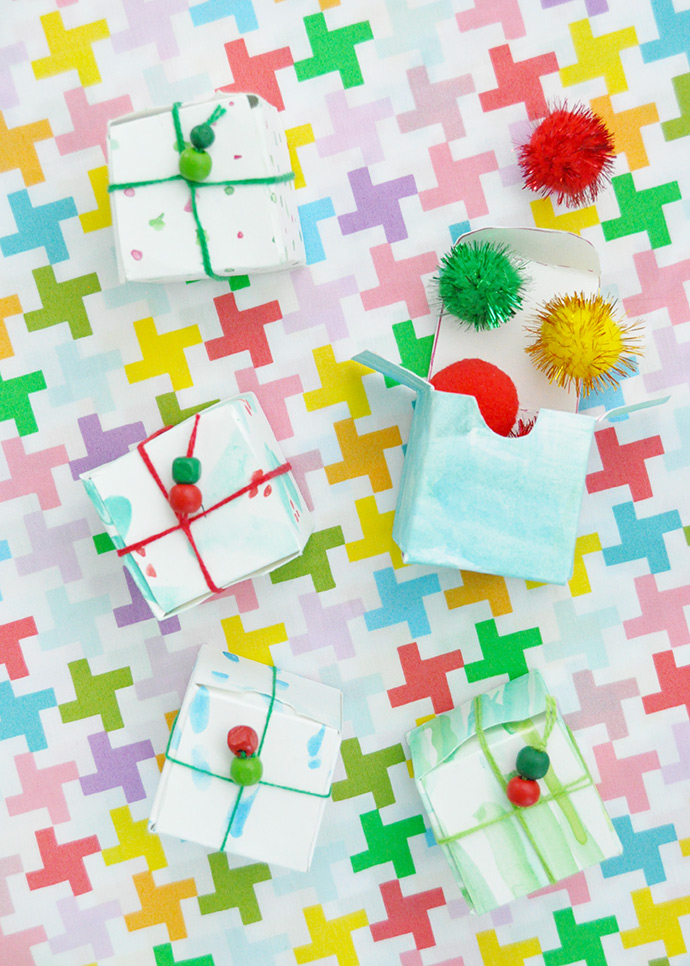
These mini boxes are SO cute and perfect to use for stocking stuffer or small handmade gifts. Watch the how-to video below, and keep reading for full instructions. Happy crafting!!
what you need:
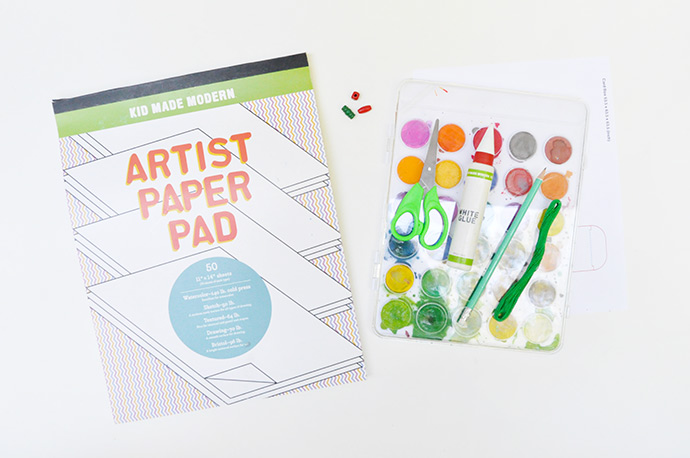
- Kid Made Modern Wondrous Watercolor Kit
- Kid Made Modern Artist Pad (to make larger boxes)
- Kid Made Modern Arts and Crafts Supply Library (scissors, glue, beads, string)
- Pencil
- Box template (we used this one, but you can make your own custom box here)
how-to:
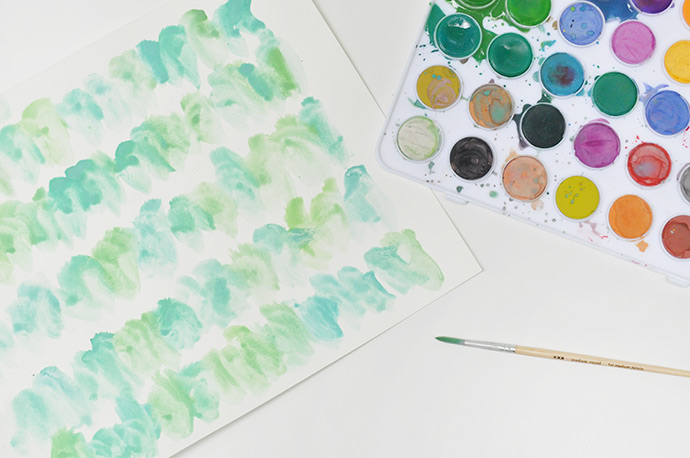
Step 1
Begin by picking out a piece of paper and painting fun designs and patterns all over it! Mix and match holiday colors, patterns, and shapes. We suggest painting all over each paper so that you’ll have lots of room to place your box template later. For this step, you can use the watercolor paper that comes as a part of Kid Made Modern’s Wondrous Watercolor Kit, or for slightly bigger boxes you can use the watercolor paper in the Kid Made Modern’s Artist Pad instead. Whichever paper you choose, paint a handful and once you’re done let them dry completely.
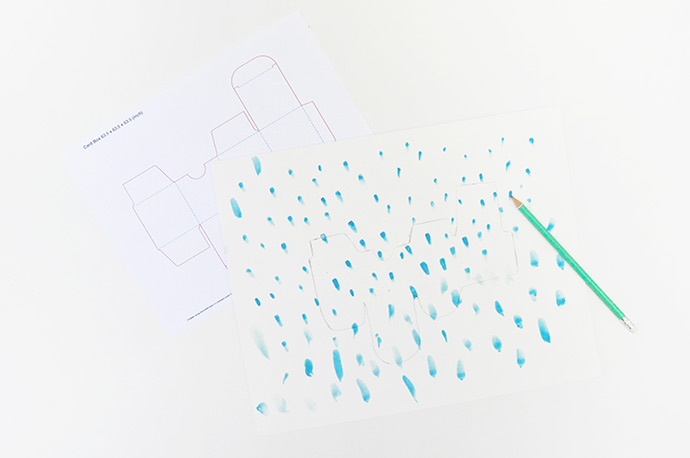
Step 2
Once your paper is dry, time to transfer your template over! As mentioned above, we use this awesome tool to create our own custom box template – feel free to make your own custom template there, or even use a small recycled box you already have on hand by simply unfolding it. Whichever template you choose, use a pencil to trace the outside edge of it onto the paper. We did this on the patterned side so that we could see exactly what would be on the outside of the box as we traced.
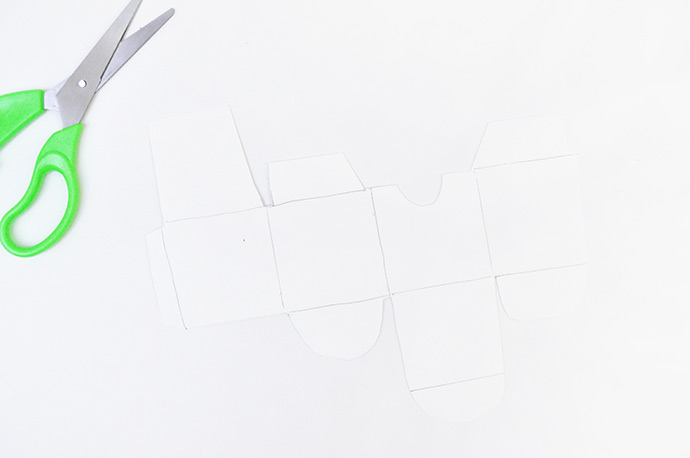
Step 3
Once traced, cut the box shape out of the painted paper. On the back plain side, use the pencil to draw the folding lines.
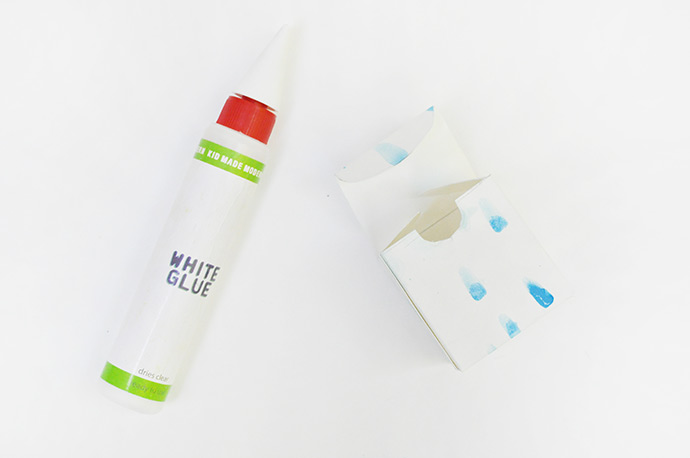
Step 4
Fold your box along the lines you just drew and then use glue to attach it together, applying glue onto the flaps as necessary. Let dry.

Step 5
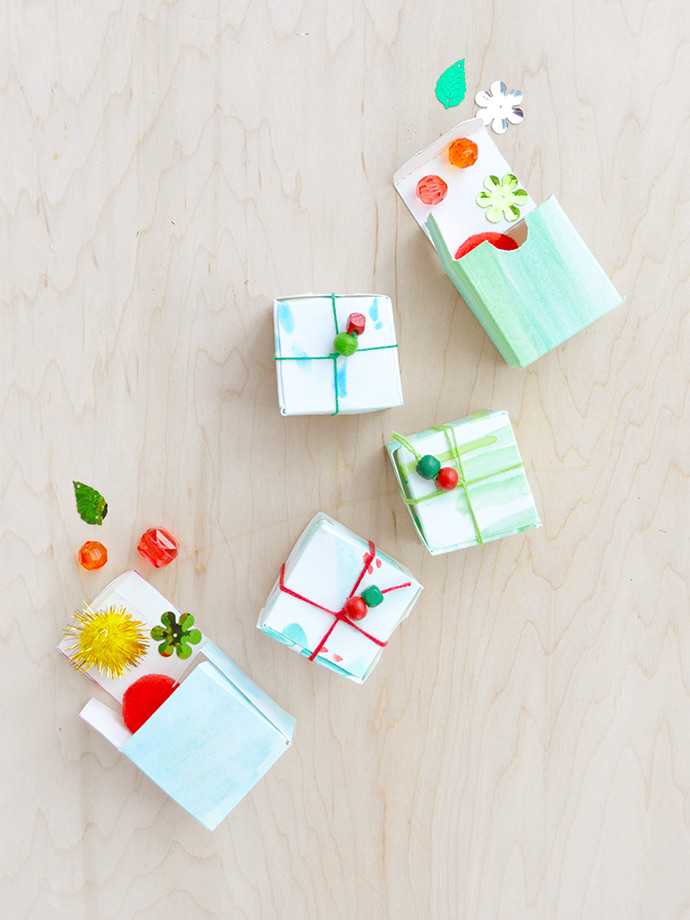
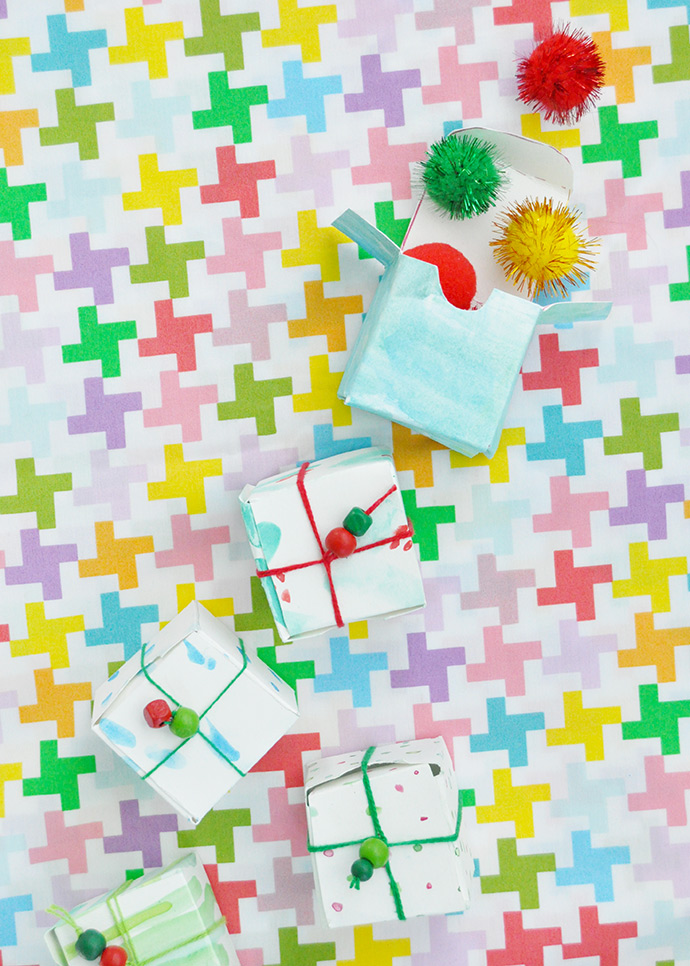
Time to fill your box! Add little gifts, trinkets, and fun surprises inside – these ones are perfect stocking-stuffer sizes, or for small handmade gifts like bracelets or keychains. Once the gift is inside, close the box and use embroidery thread and beads from Kid Made Modern’s Arts and Crafts Library to wrap around the box and tie in place. Make sure to tie a double knot to keep the beads nice and secure.
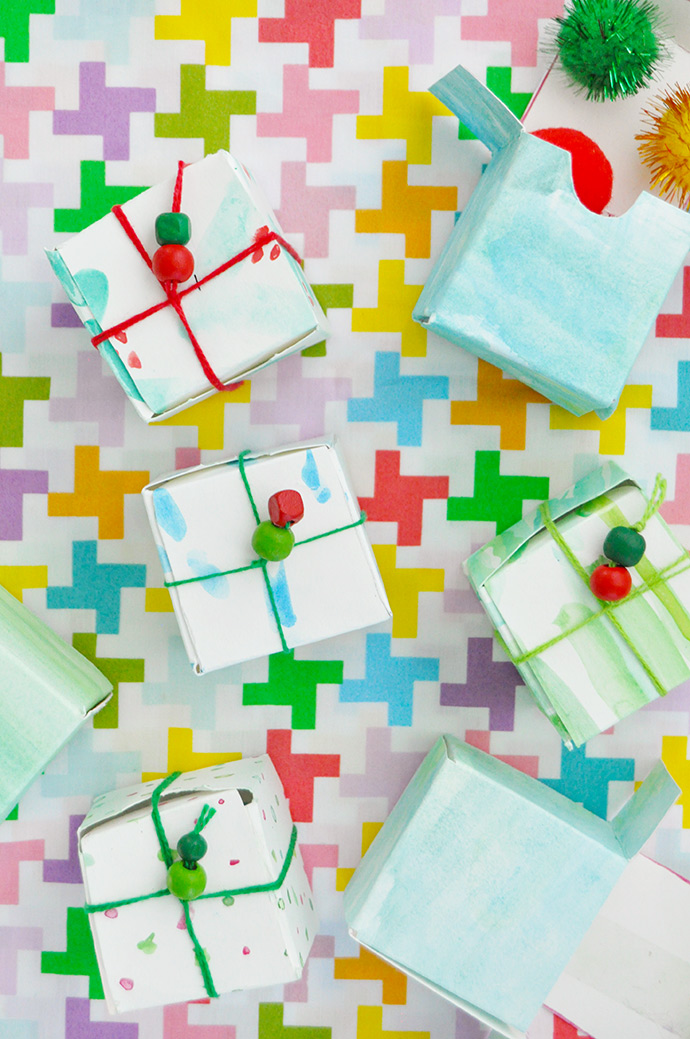
Repeat this process until you have as many boxes as you need! They’re so quick and easy to make that you’ll have a whole bunch in no time at all. You could even tie other little trinkets on top like sequins or charms!


Happy holidays!