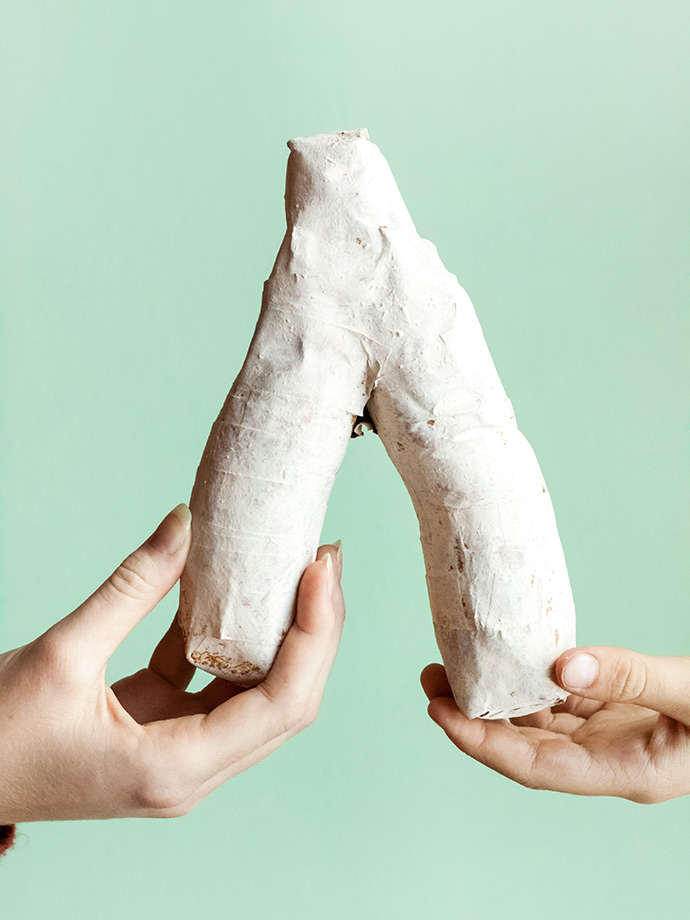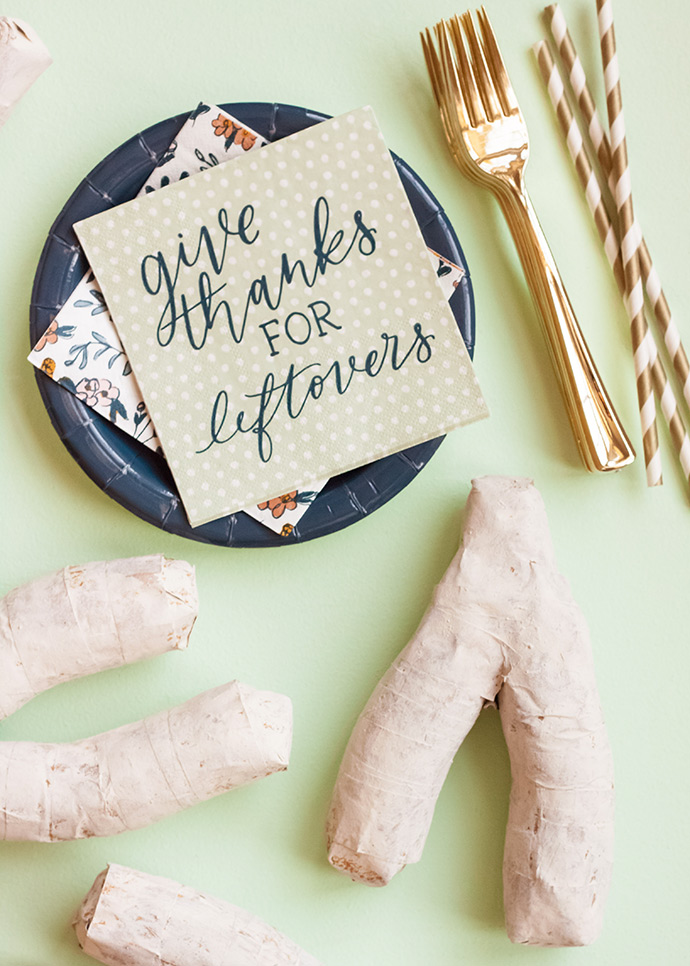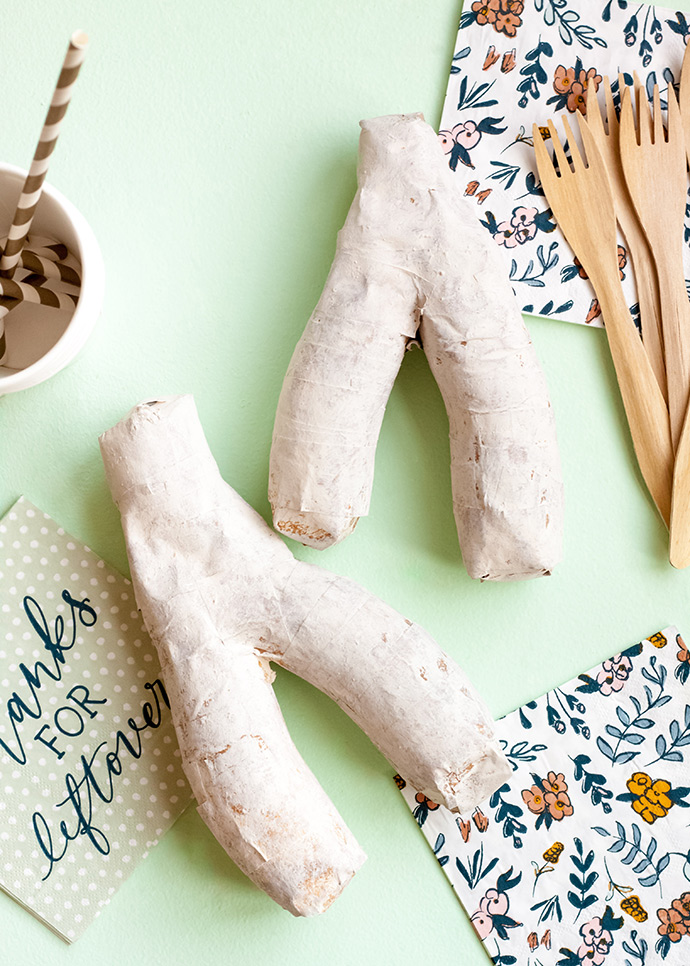
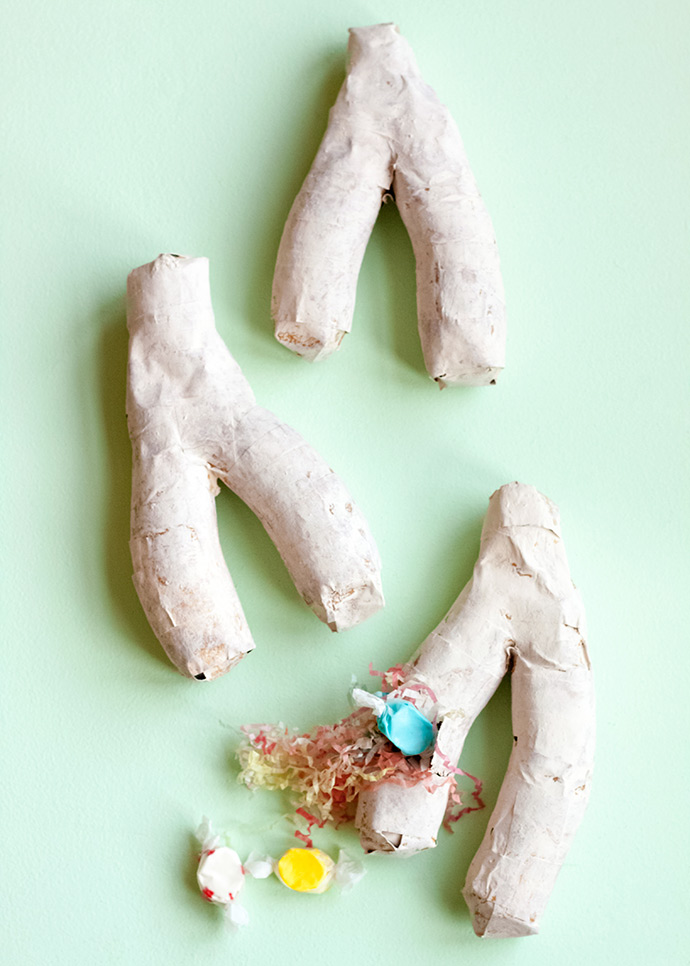
You get a wishbone…and you get a wishbone…and YOU get a wishbone! This Thanksgiving, you can keep fighting over the wishbone to a minimum, because with these fun individual piñatas, there’s one for EVERYBODY!
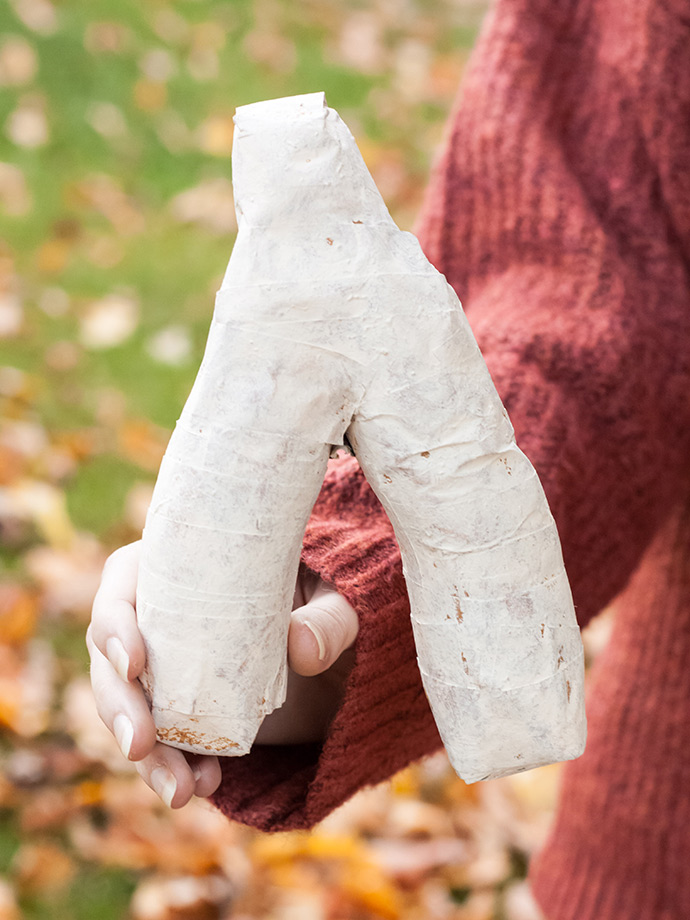
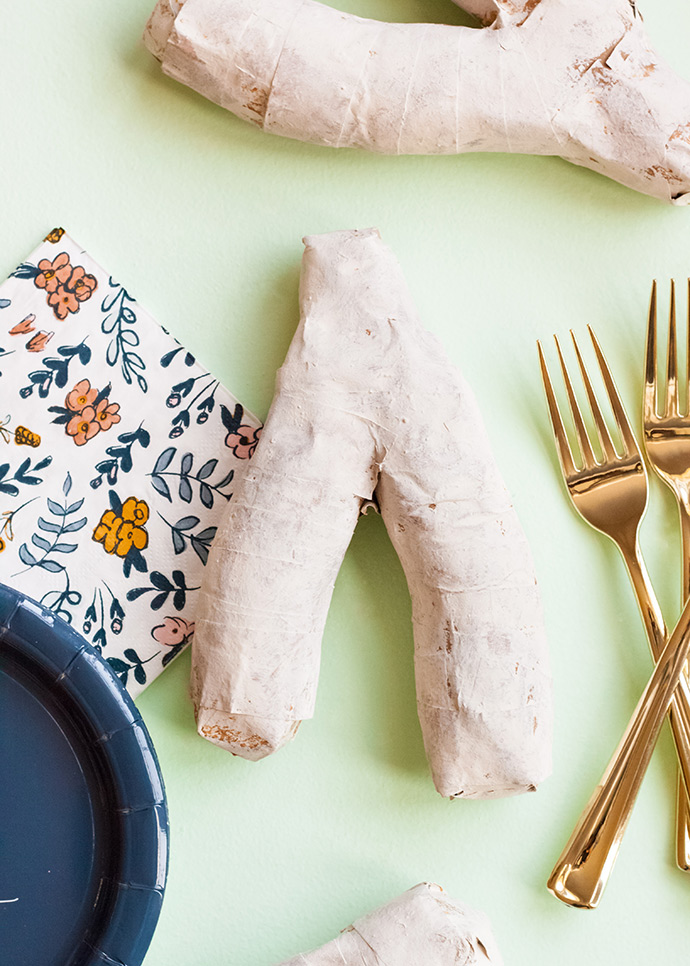
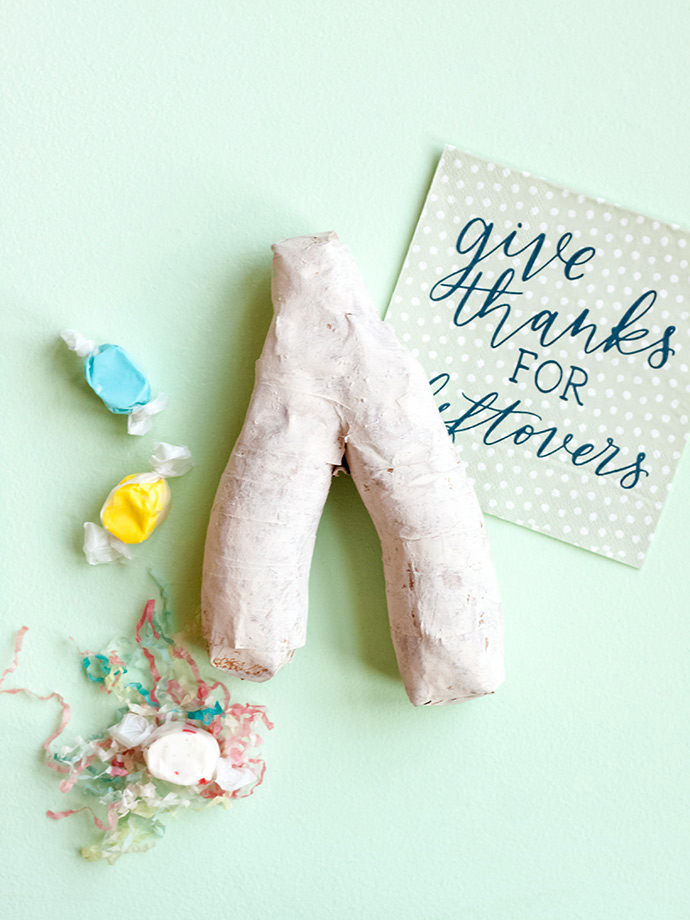
Not only that, but when you break it in half, you can make a wish, and get access to some fun Thanksgiving goodies! These are perfect place cards at the kiddie table, or fun favors for guests to take home. Fill them with fall candies, or small toys to occupy kiddos during the long wait for turkey dinner. These wishbone piñatas also add a touch of whimsy to your Thanksgiving décor.
what you need:
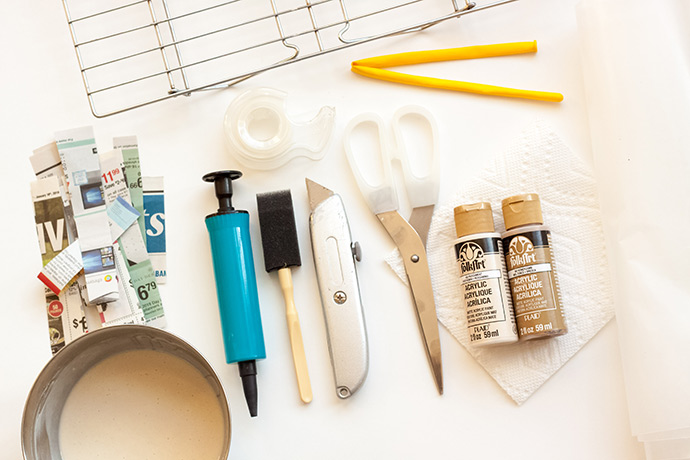
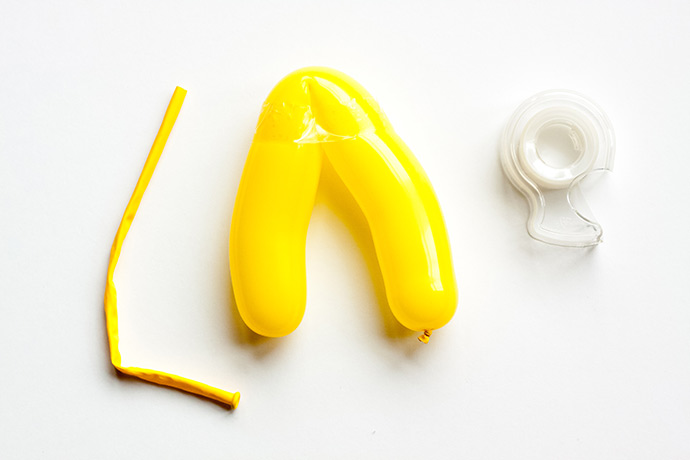
• Twisty balloons
• Balloon pump
• Clear tape
• Scissors
• Paper mache paste (1 C flour, 1 C water)
• Wax paper
• Cooling rack
• Newspaper strips
• FolkArt Acrylic Paint Set (parchment and honeycomb)
• Sponge brush
• Box cutter
• Paper towel
how-to:
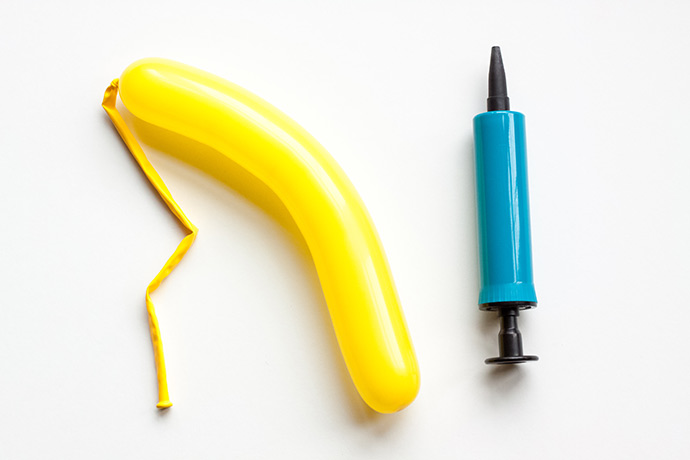
Use a balloon pump to blow up a twisty balloon, and then let out some air until the balloon is about 11 inches long. Tie it off at the end, and cut off the excess balloon.
Fold the balloon in half, and put a long piece of tape around the top to hold it in place. Bend the two sides out a bit to look like a wishbone.
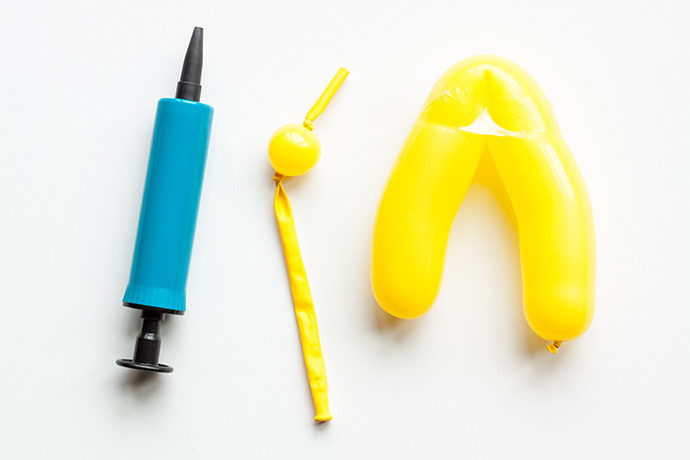
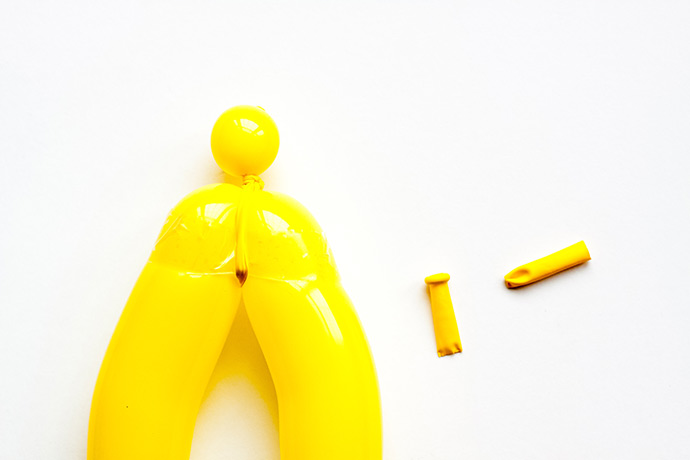
Take the remainder of the balloon, and tie a knot in the cut end. Use the balloon pump to blow it up, and then let out some air until you have a 1 ½” stub. Tie off the end, and use the remaining balloon “tail” to tie it around the folded wishbone balloon. Cut off any excess.
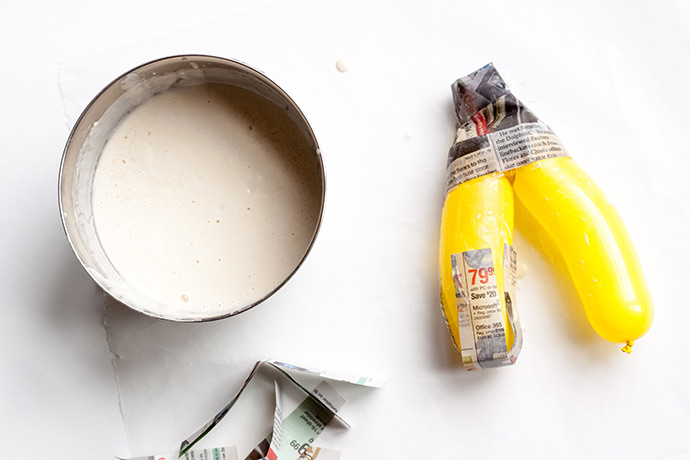
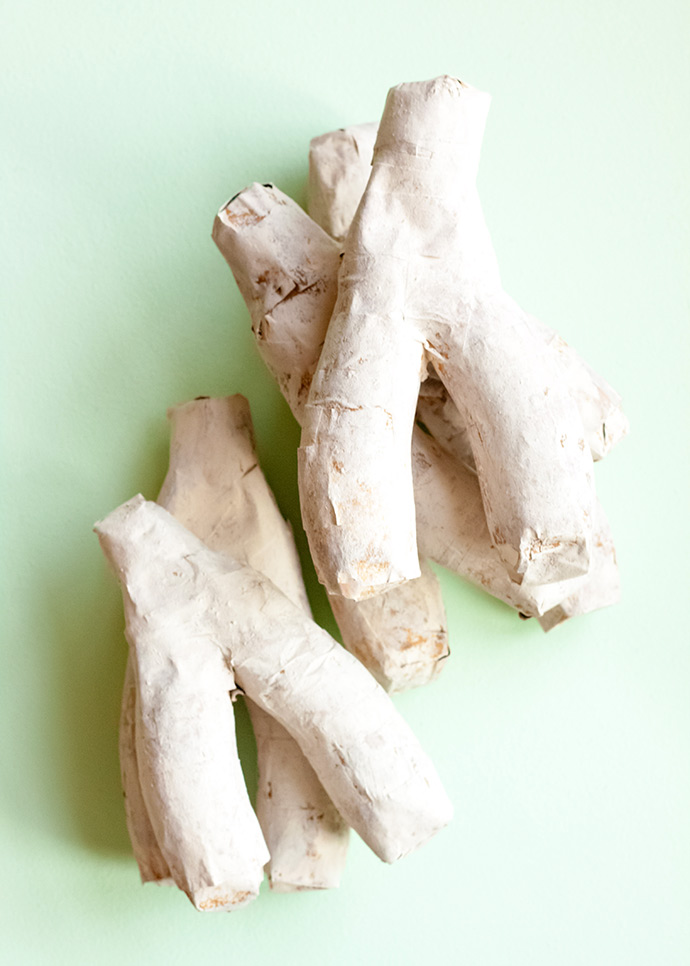
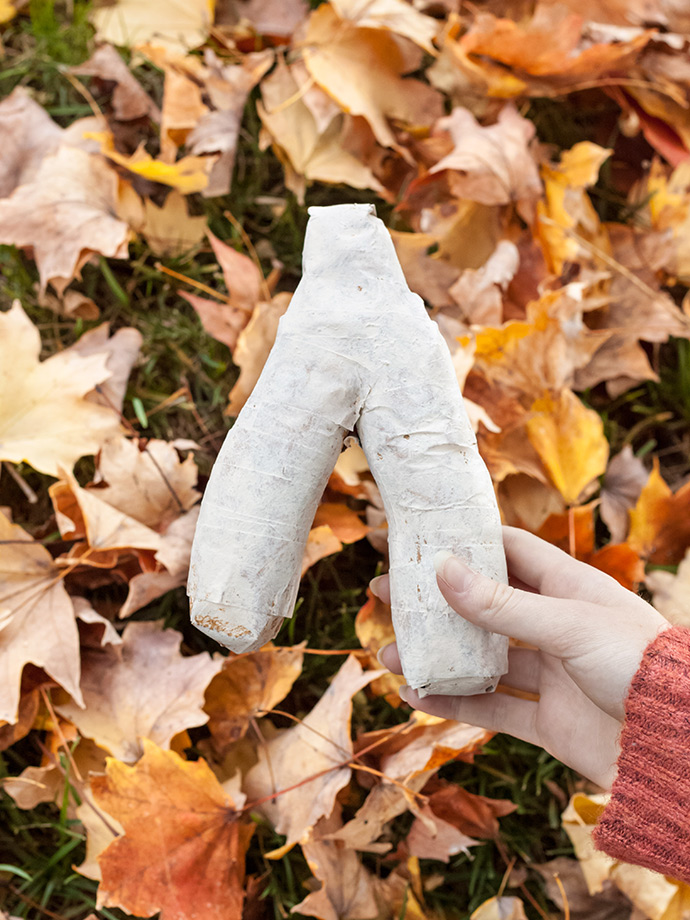
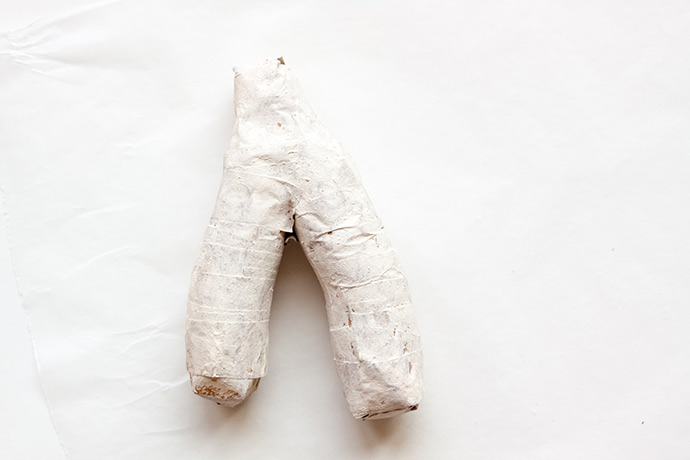
Dip your newspaper strips in paper mache paste (one at a time), and smooth the pieces out on your balloon. It is easiest to start at the top “stub”, and create an “x” over it with two strips of newspaper. Continue to wrap the balloon in strips until it is completely covered. When you get to the bottom, it works best to create an “x” on each end with newspaper strips as well, and then continue working to cover the entire wishbone. Allow to dry on a cooling rack.
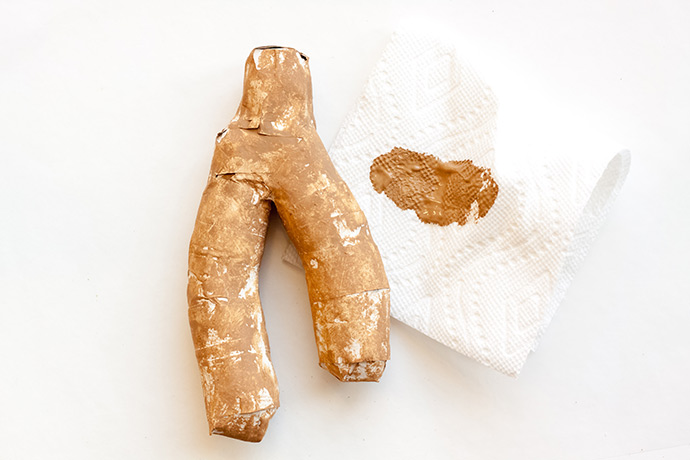
Use a sponge brush or paper towel to cover the wishbone in honeycomb paint. Allow to dry.
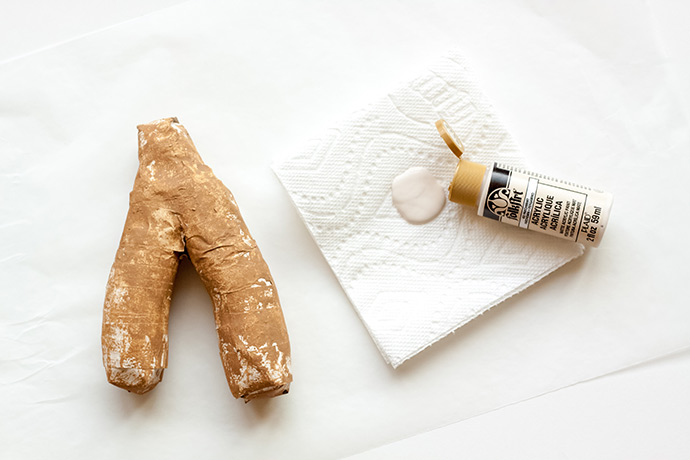
Squeeze some “parchment” colored paint into a paper towel, and rub the paint over the entire wishbone, allowing some of the honeycomb color to peek through.
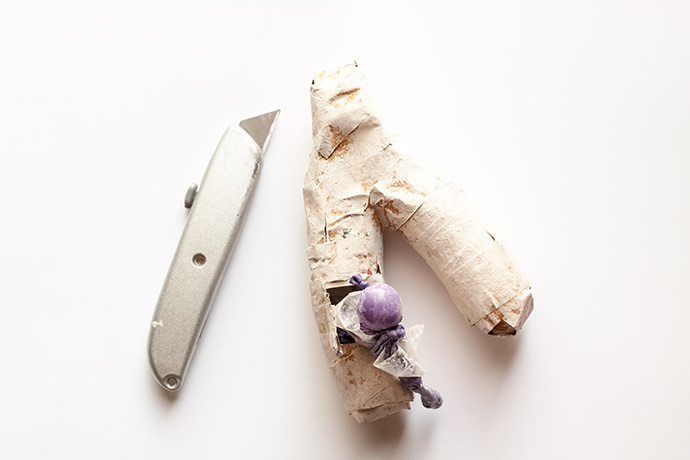
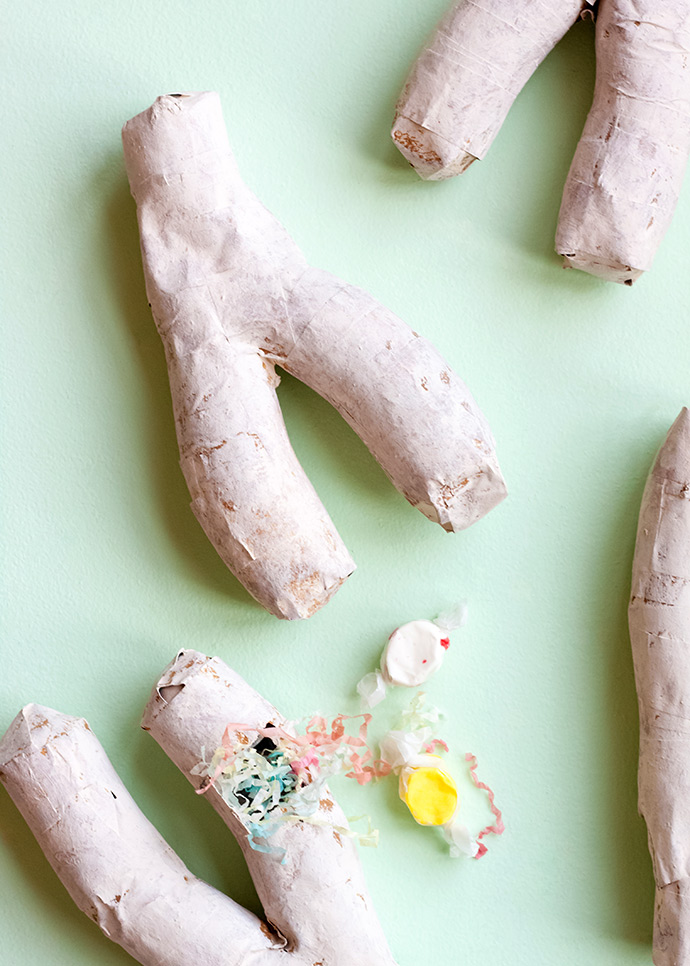
Use a box cutter to cut a small door in the back of your wishbone. Take out the balloon, and shake out any glue flakes. Fill the piñata with fun Thanksgiving goodies.