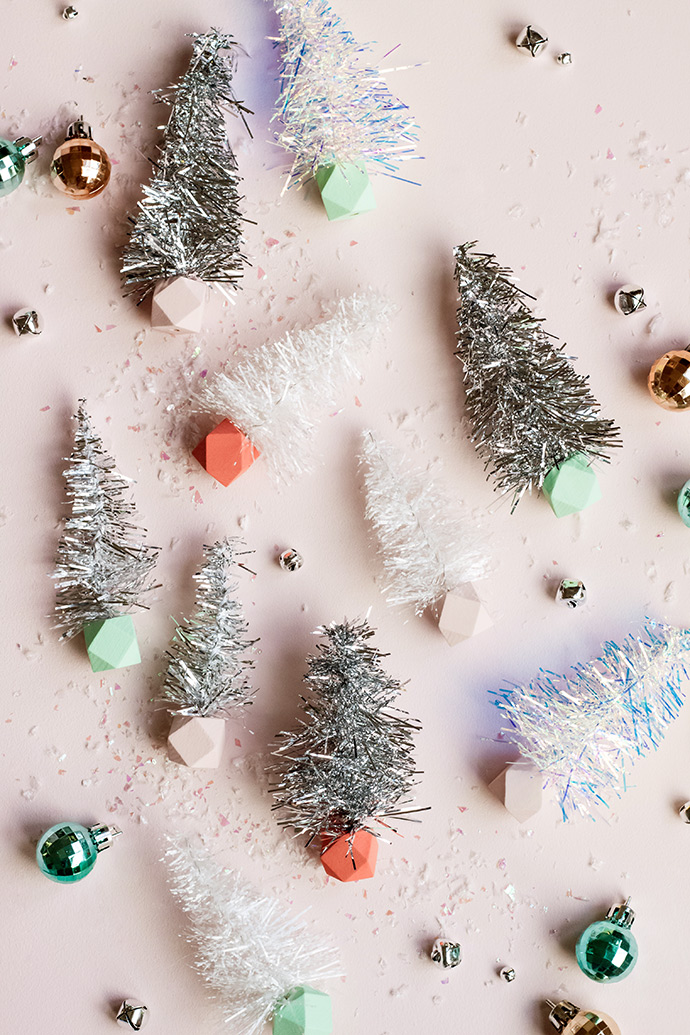
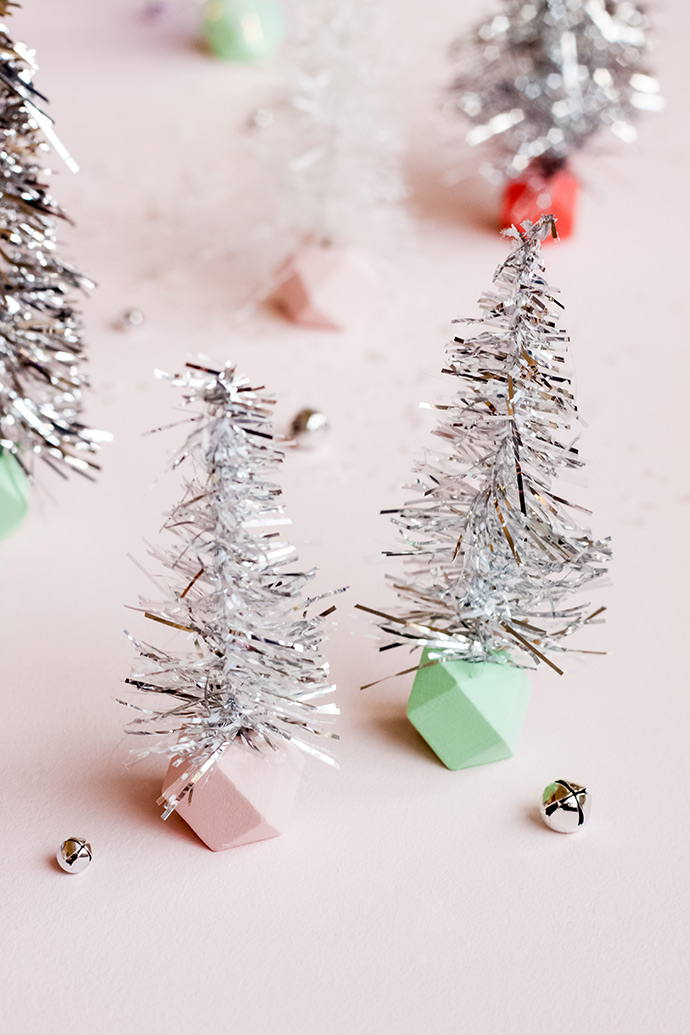
There are so many beautiful words to describe the month of December, but we probably all have to add “busy” to that list! We enjoy all that goes along with the hustle and bustle this time of the year, but still want to be able to create something handmade that will be festive and fun, but not incredibly time-consuming. Let me tell you, a whole bunch of these little tinsel garland trees can be made in less than thirty minutes! Not only are they adorable additions to your holiday décor, but they are so fun to make, and so simple that even the kids can do it!

These would be cute in a bedroom, on shelves, dressers or nightstands, or on a fireplace mantle. You can use them as present toppers, add little tags for place cards, or create a mini tree farm for the kids to “shop” and then use to decorate their rooms. Your Elf might even show up to work the tree farm! You could also place a dowel in the bottom of the bead base, and stick these on a cake or cupcakes. Oh, and if you have a dollhouse, these are the perfect size!
what you need:
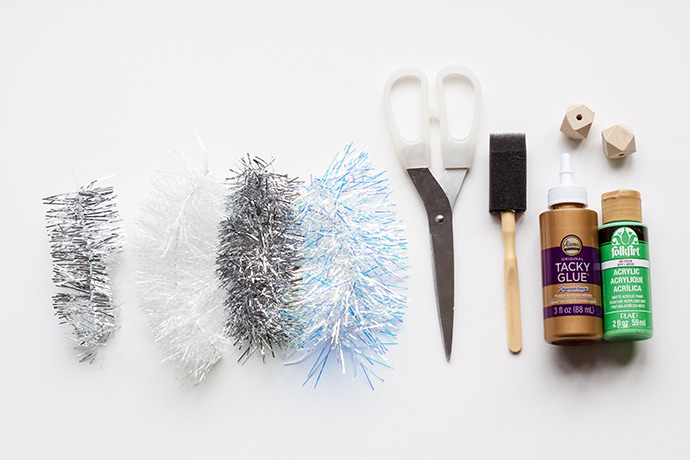
- Geometric wood beads – unfinished (We found them here!)
- Tinsel garland with bendable wire center (silver, white, iridescent, etc.)
- Acrylic paint – colors of your choice
- Sponge brush
- Tacky glue
- Scissors
how-to:
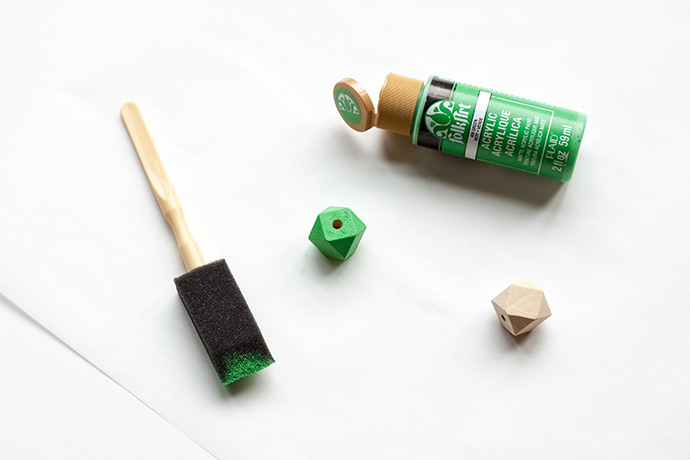
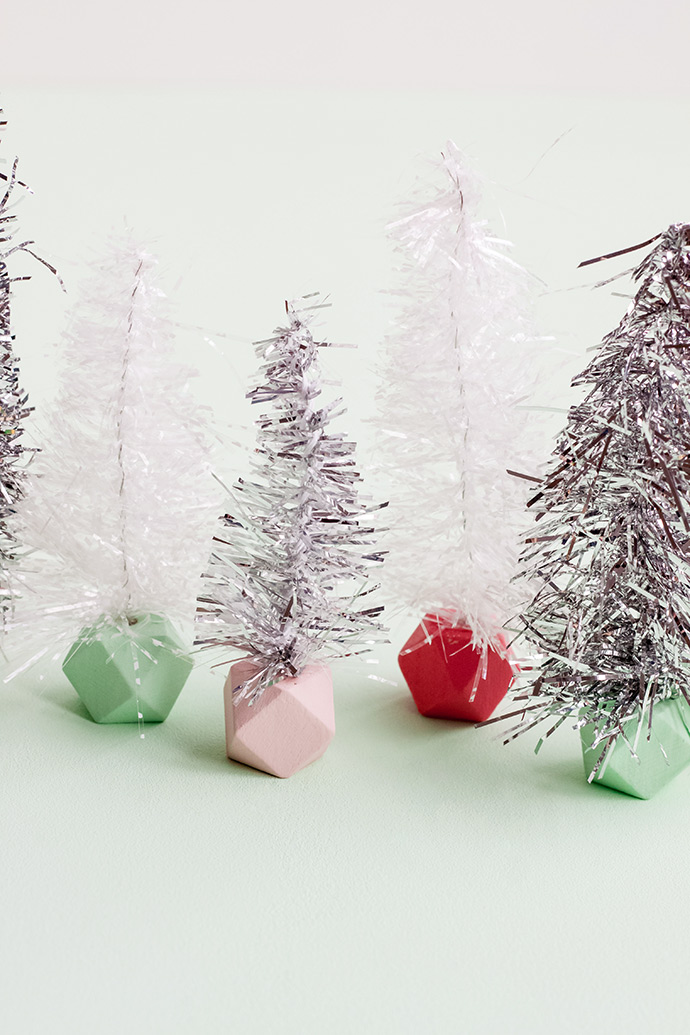
Use a sponge brush to paint your unfinished wood beads in the colors of your choice. Allow to dry. You may need two coats.
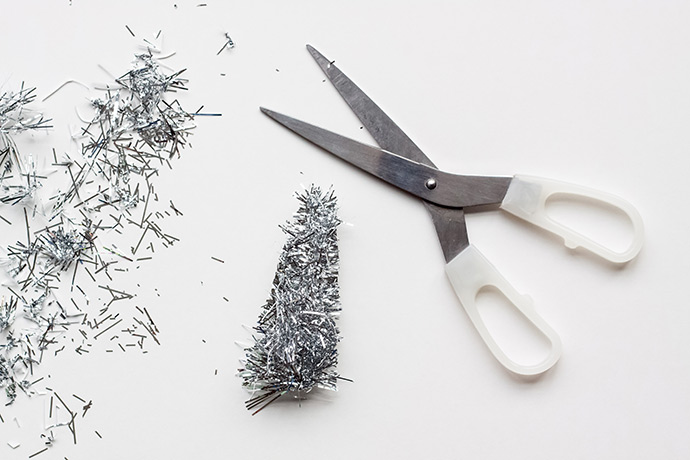
Cut a 3 ½”-4 ½” piece off of your tinsel garland. Cut at an angle from the bottom corner, to the middle of the top from both sides, until the tinsel piece is triangular like a tree. You may need to do a little bit of tree trimming on the front and back as well.
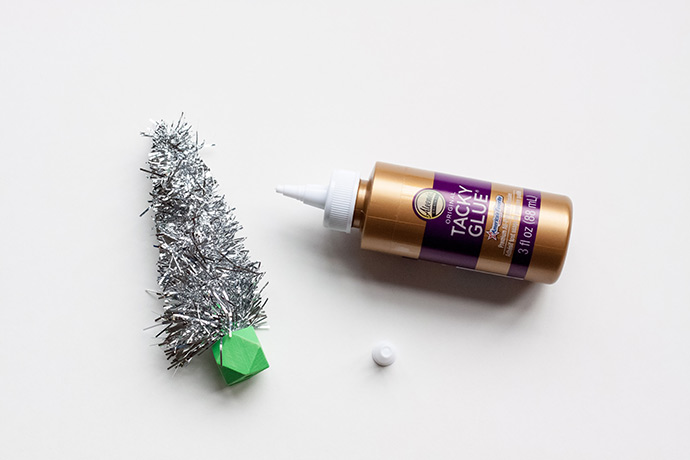
Squeeze your tacky glue into the hole on one side of your bead, and add a little dab to the top of the bead as well. Scoot the tinsel from your cut piece up on the wire a bit, so the bottom of the wire is exposed on the wide end. Place the wire in the hole of your bead, and push it in as far as possible. You may have to lean your tree on something until the glue dries, to keep it in position. Allow to dry.