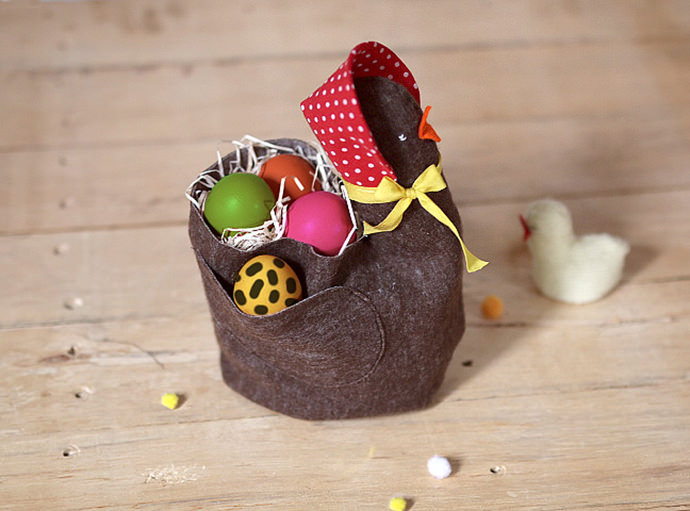
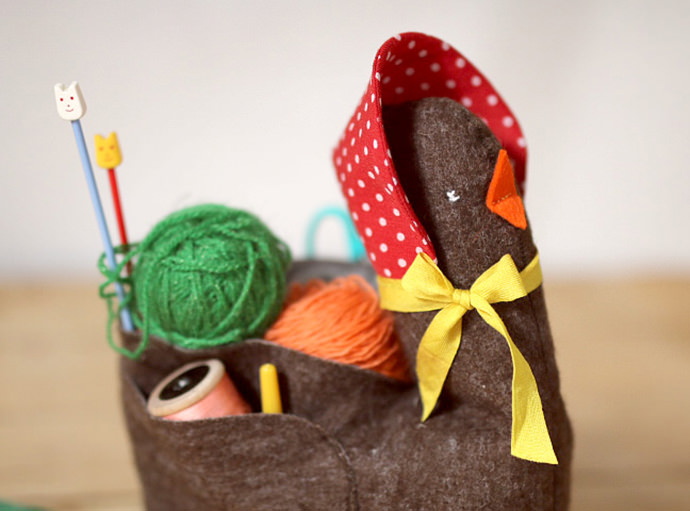
If you like hens and roosters and little baby chicks as much as I do, you’ll love this easy Easter project! All it takes is felt and fabric. It’s a cute, quick craft that doubles as a wonderful gift (and triples as an adorable tabletop Easter decoration!) Fill it with painted eggs or yummy candies, and once the holiday is over, reuse it as a place for keeping tools and crafts. Plus – who ever heard of a bunny hatching eggs?The Easter chicken is where it’s at :)
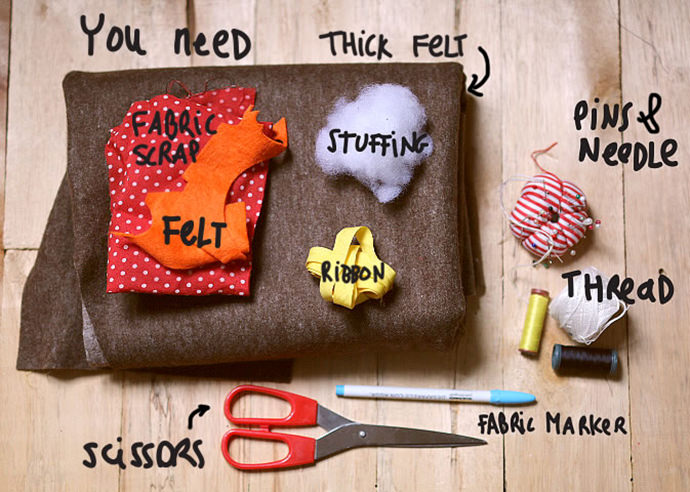
What You Need
- Printable templates (download here)
- Thick Wool Felt (mine is in two colors)
- Orange felt
- Fabric scrap
- Ribbon
- Stuffing
- Marker for fabric /chalk
- Needle & pins
- Embroidery and sewing thread
- Scissors
- Sewing machine and iron (optional)
How-To
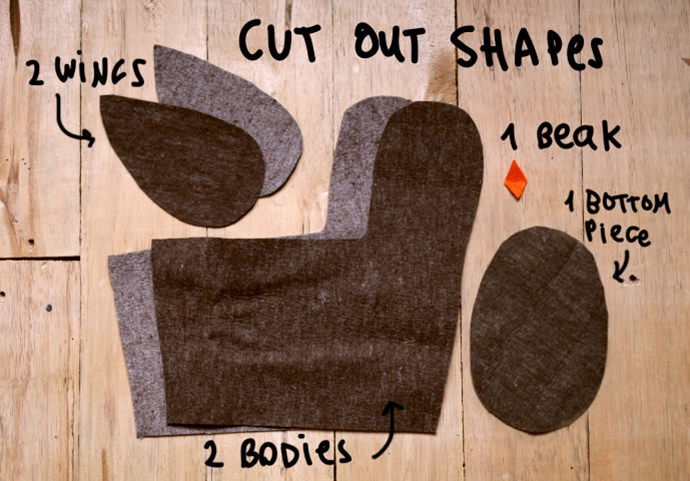
Step 1
Download the pattern. Scale to 200% and print. Cut out the template shapes and using a fabric marker, trace them onto your felt and cut them out.
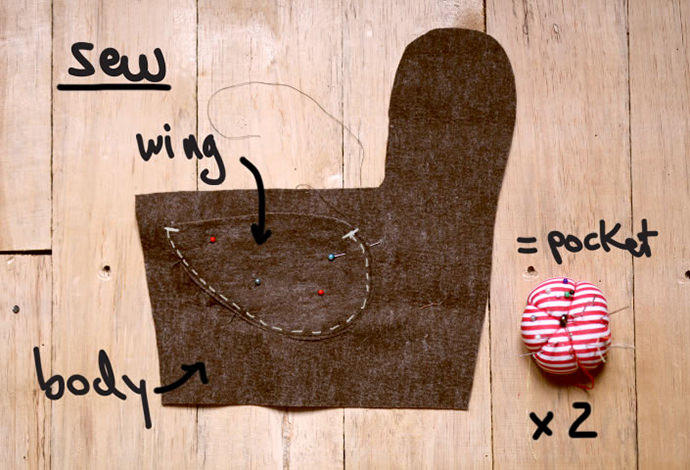
Step 2
Take one wing and place it on one large body piece. Sew the curved part of the wing, leaving the top of the wing open. This will serve as a pocket. Repeat for the second body shape.
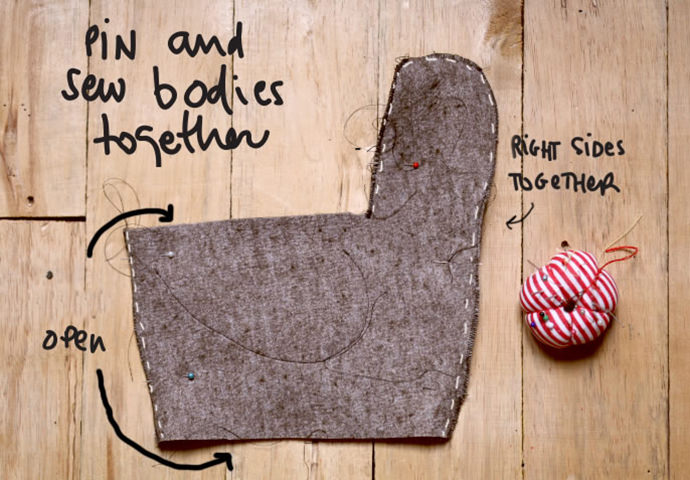
Step 3
Line the body shapes together so that the right sides are touching (it will look inside out to the eye) and sew the sides and all around the head, but leave the top and the bottom of the body open.
Step 4
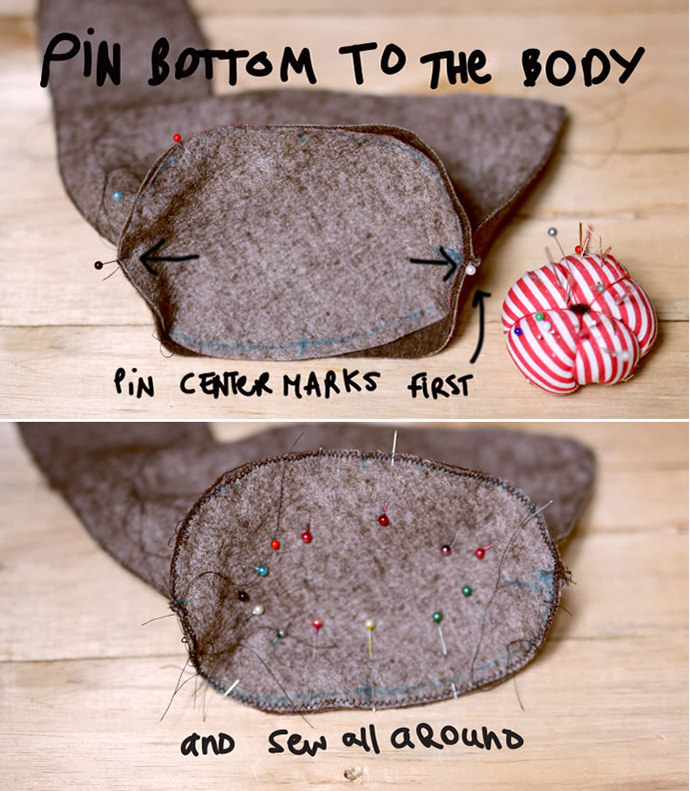
After both pieces are sewn together, lay the body flat on the table and and fit the oval shape into the bottom opening. Pin to fix the oval in place, then start marking and pinning center marks to the body seams. Pin the rest and sew all around.

Step 5
Turn the body right side out and stuff the head with polyfill (this hen’s head will remain open inside the basket, so try not to overstuff it!)
Step 6
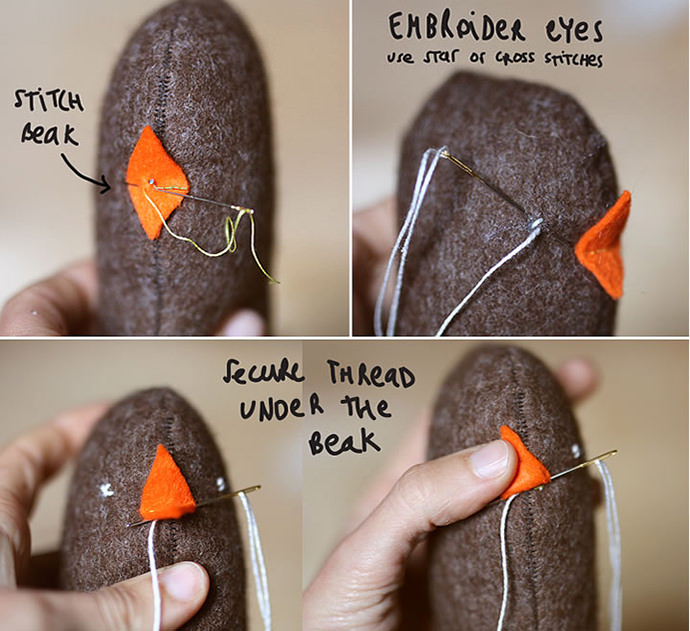
Stitch your hen’s beak using backstitches and matching sewing thread. With a contrasting thick thread, make either star or cross stitches to embroider the eyes. Secure the thread underneath the beak to keep it hidden.
Step 7
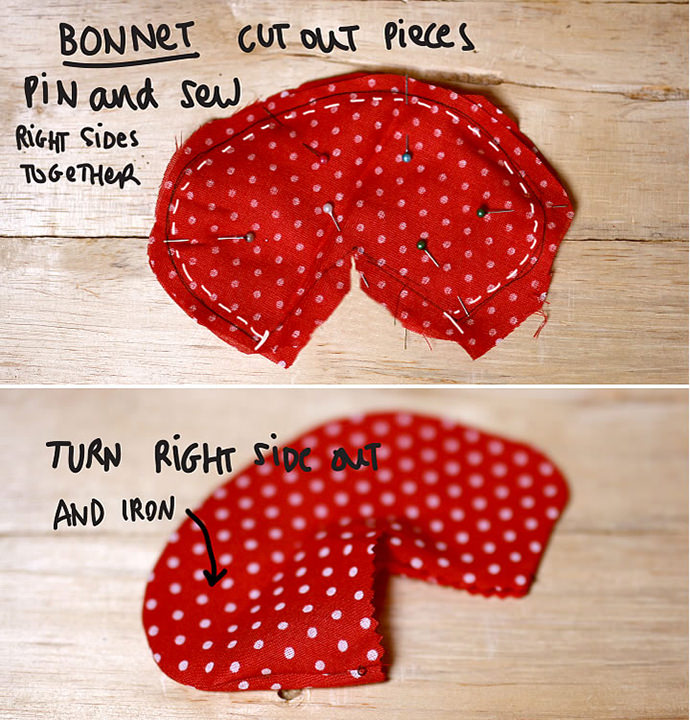
Time to give our hen a pretty little bonnet! Cut out two bonnet shapes from template and transfer onto your fabric of choice. Pin the right sides together (so that it’s inside out to the eye) and sew around the curve. Turn the bonnet right side out and iron to flatten seams.
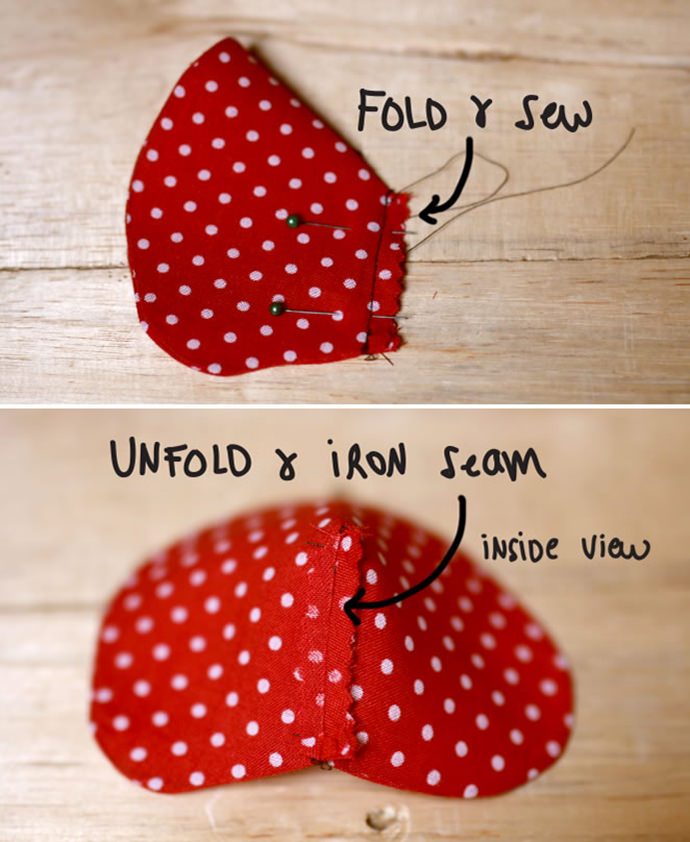
Step 8
Fold the bonnet in a half, aligning both open sides, and stitch together. Turn the bonnet right side out and iron the seam to keep it flat.
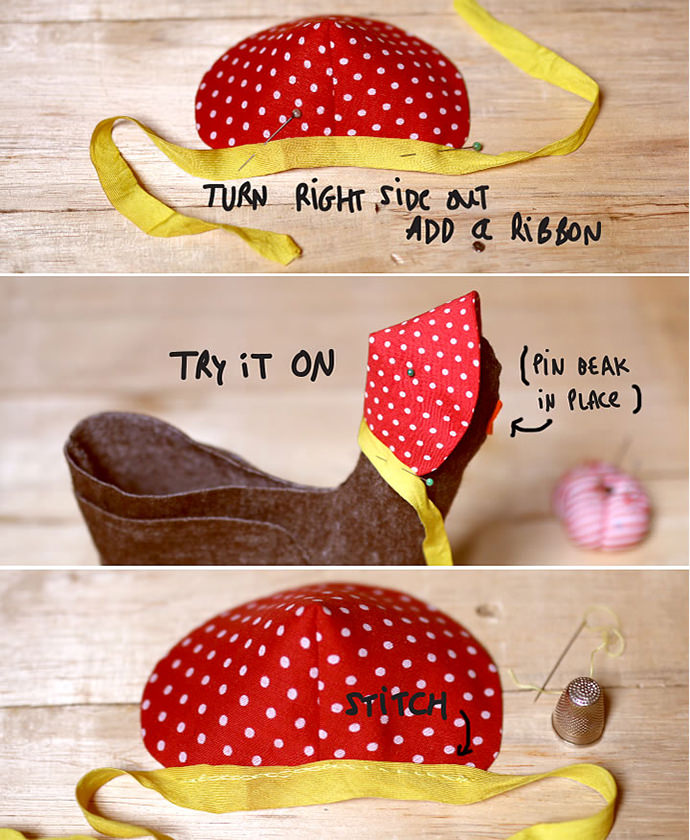
Step 9
With the bonnet still right side out, pin a ribbon (about 17 inches long) to the bottom edge. Place the bonnet on the chicken’s head to adjust ribbon to the right length and stitch along the bottom.
Step 10
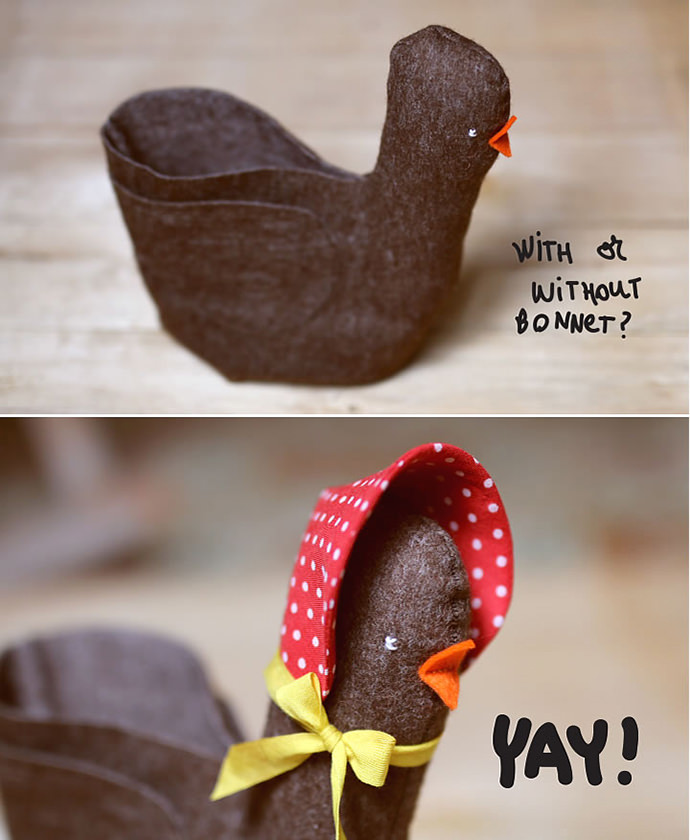
That’s it, folks! Now fill your new feathery friend with candy and gifts (and don’t forget to hide some surprises in its wing pockets!) Keep her out long after the holiday has passed to store crafty treasures and sewing supplies.
Happy sewing and happy Easter :)