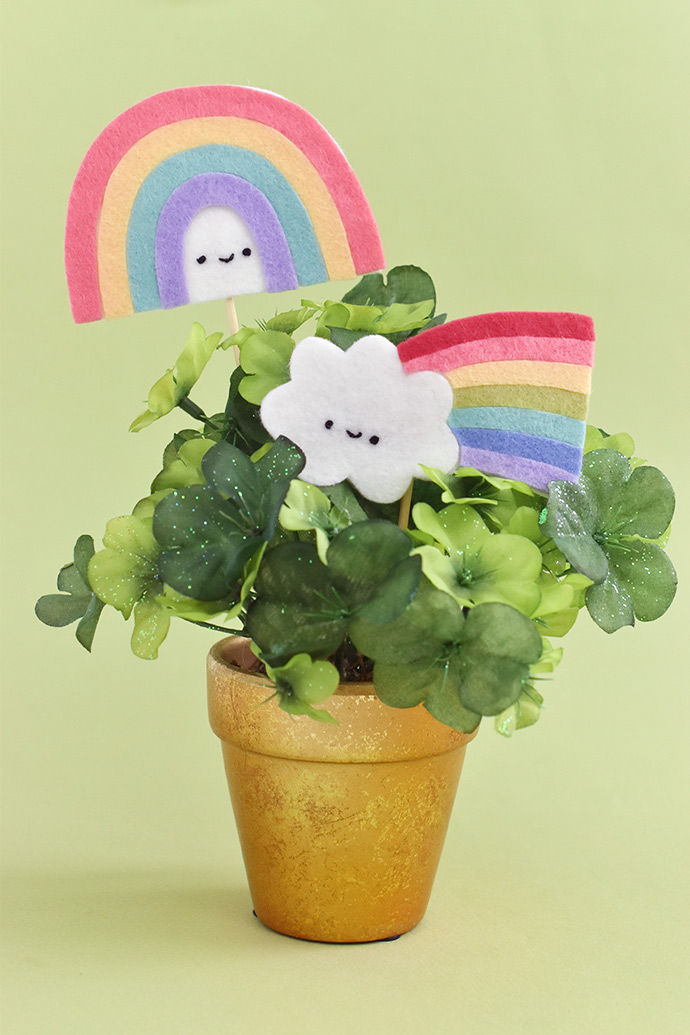
What’s at the end of the rainbow? It’s a potted plant! That might not be as exciting as a pot of gold, but these felt rainbow plant picks make any bit of green a little magical.

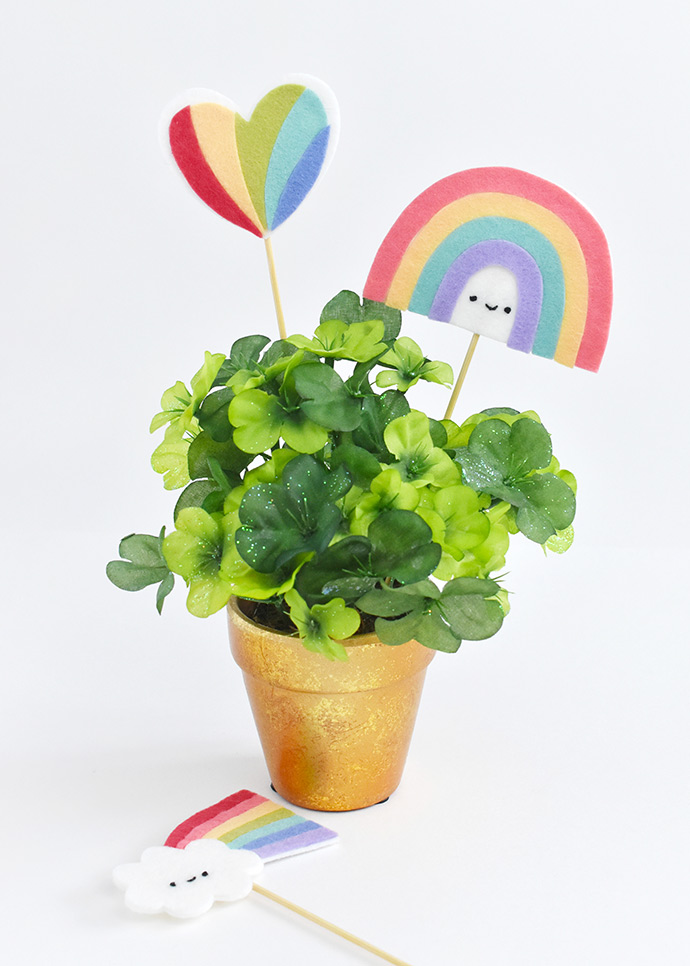
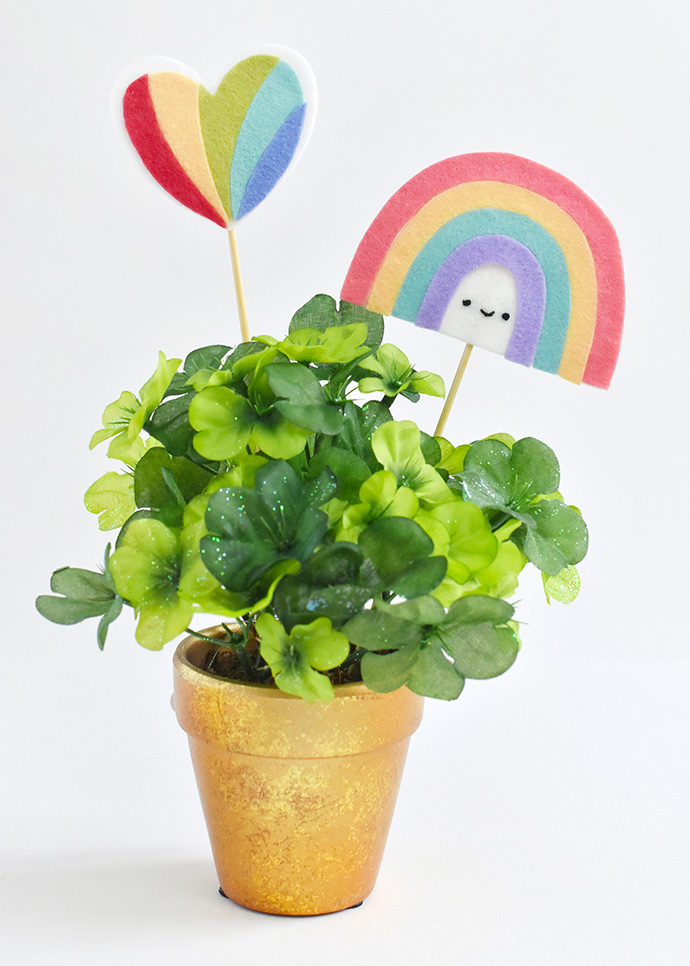
When you choose your colors for these rainbows, remember that you don’t always have to use traditional colors. Pastels are fun and bright, and you can even make some of these without a full rainbow! In fact, picking out the colors for your plant picks is half the fun.
Ready to make your own rainbows?
what you need:
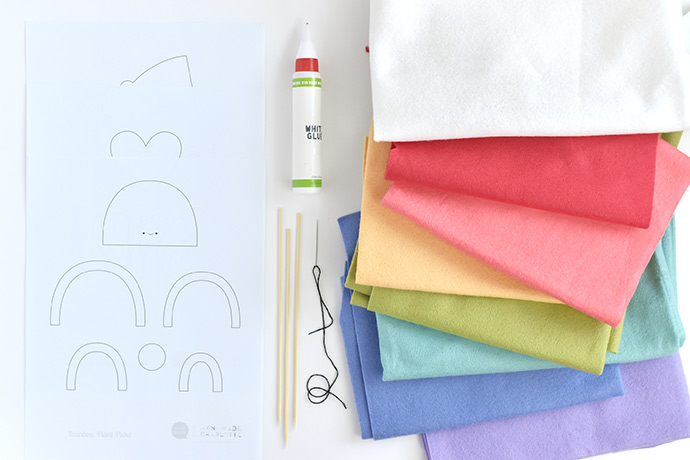
- Felt in a Rainbow of Colors
- Black Embroidery Floss
- Wooden Skewers
- Freezer Paper
- Pencil
- Iron
- Scissors
- Needle
- Craft Glue
- Printable template
how-to:
Step 1
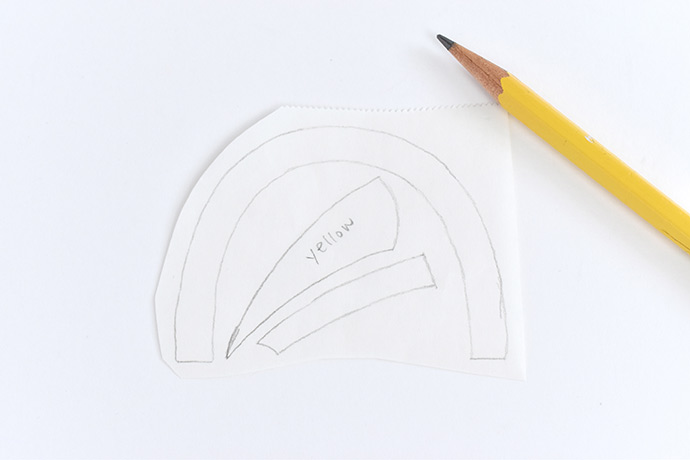
Print the Rainbow Plant Pick PDF on regular paper. Trace the template outlines onto the non-shiny side of the freezer paper. Trace the faces onto the cloud and rainbow shapes.
Group the templates by the color of felt you want to cut them out of. This makes it easier to cut the pieces and use less felt. It may be helpful to plan your colors on the printed page (especially for keeping them in rainbow order). Then transfer that to the tracing.
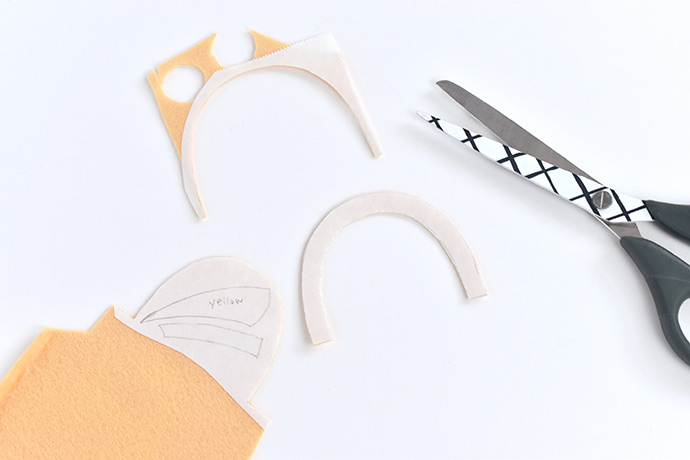
Step 2
Iron the freezer paper to the felt pieces. The shiny side of the freezer paper holds to the felt so you can cut the pieces with accuracy.
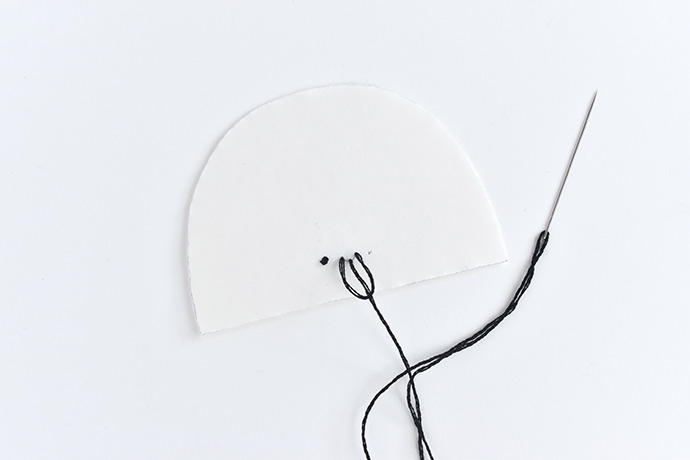
Step 3
To make the faces, thread the needle with three strands of black embroidery floss. Tie a knot in the other end of the thread. With the paper still attached, stitch the face through the felt and paper. Use french knots for eyes and a scallop stitch for the mouth.
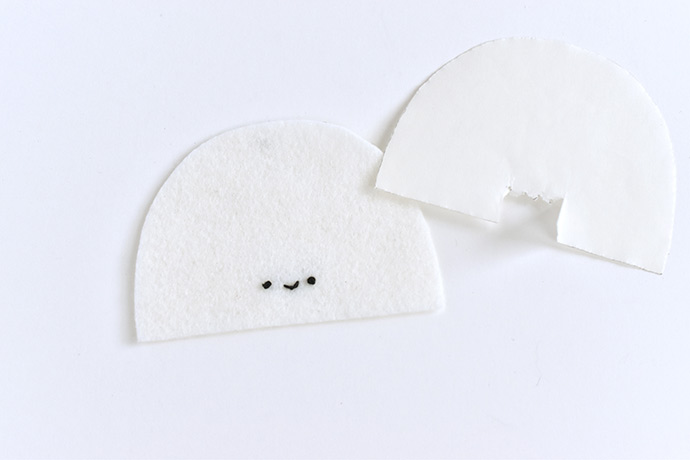
Peel the paper off all the felt pieces. But when you remove it from the embroidery, tear around the stitches so you don’t tug at them.
If embroidery isn’t your thing, you can use black acrylic paint and a tiny brush to paint these faces on instead.
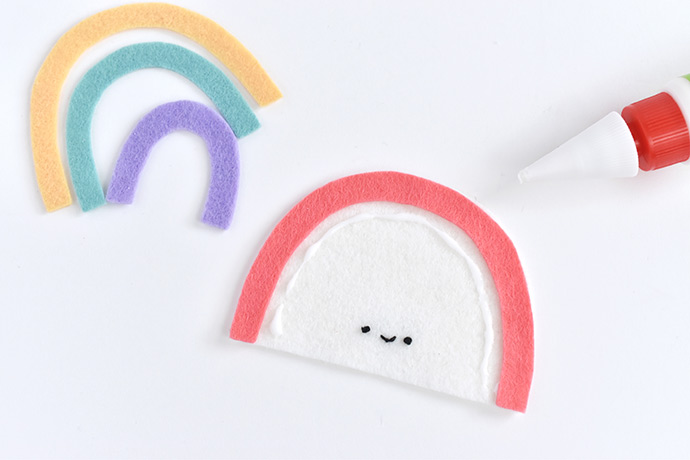
Step 4
Apply glue the white backing pieces and then attach the rainbow pieces.
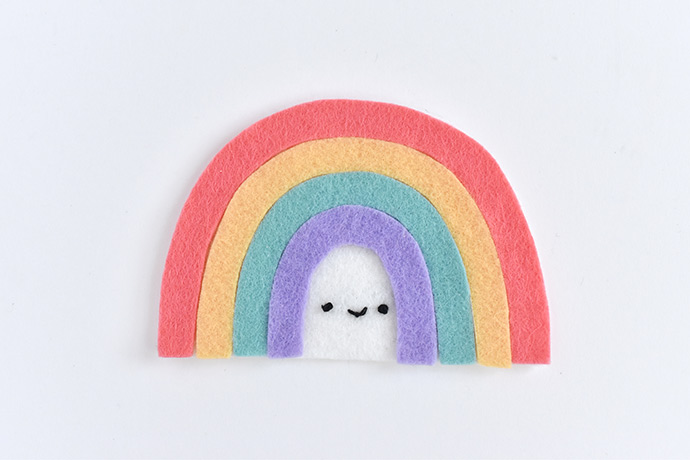
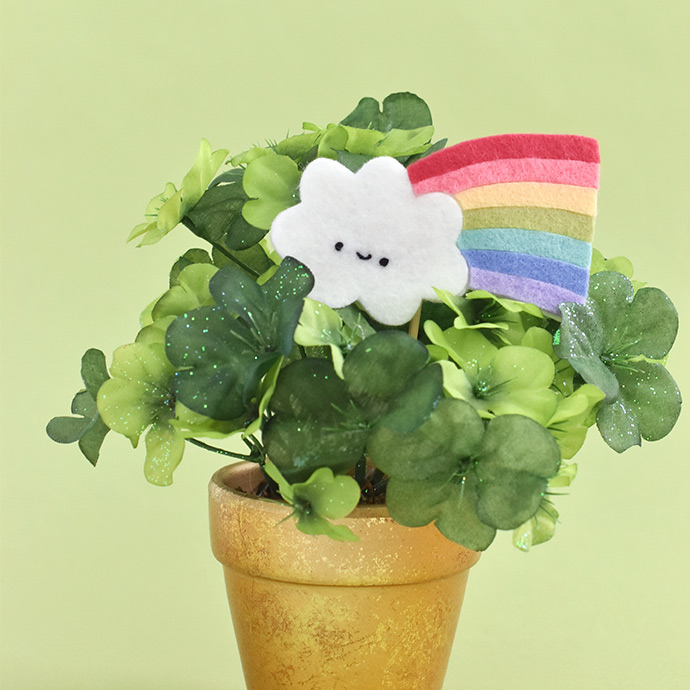
For the regular rainbow, work from the largest “bow” to the smallest. For the cloud and rainbow, attach the cloud first, then add the remaining pieces from top to bottom.
When gluing the heart, the rainbow shapes don’t go all the way to the edges. It helps to apply the glue to the rainbow pieces, starting with the center and working out.
Step 5
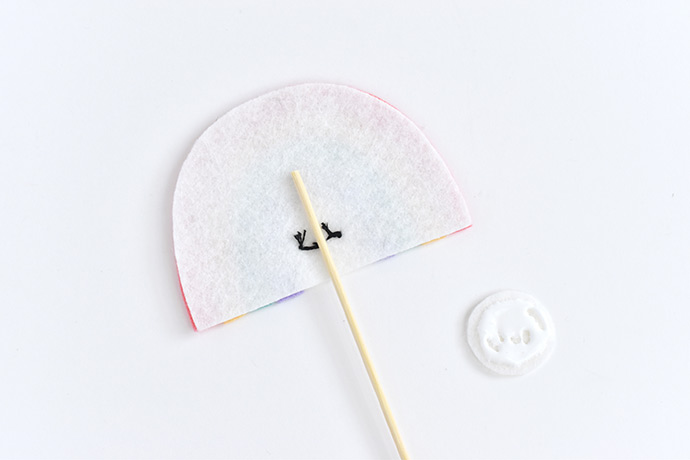
Flip the felt rainbow over and lay the top of a wooden skewer on the middle. Apply ample glue to one of the felt circles.
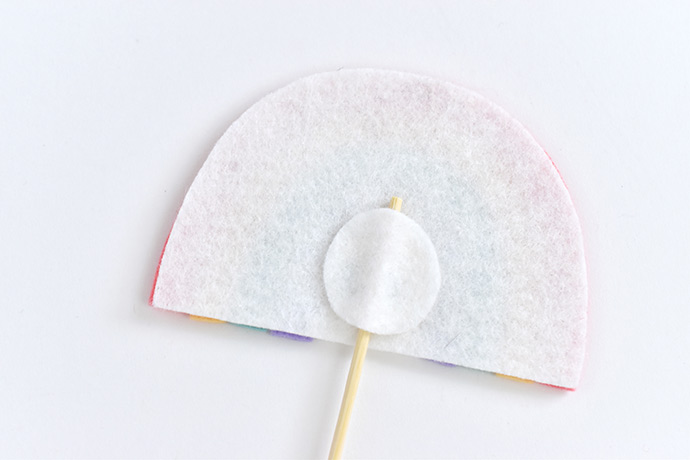
Place the circle over the skewer. Press it so that the circle wraps around the skewer, keeping the front of the rainbow flat.
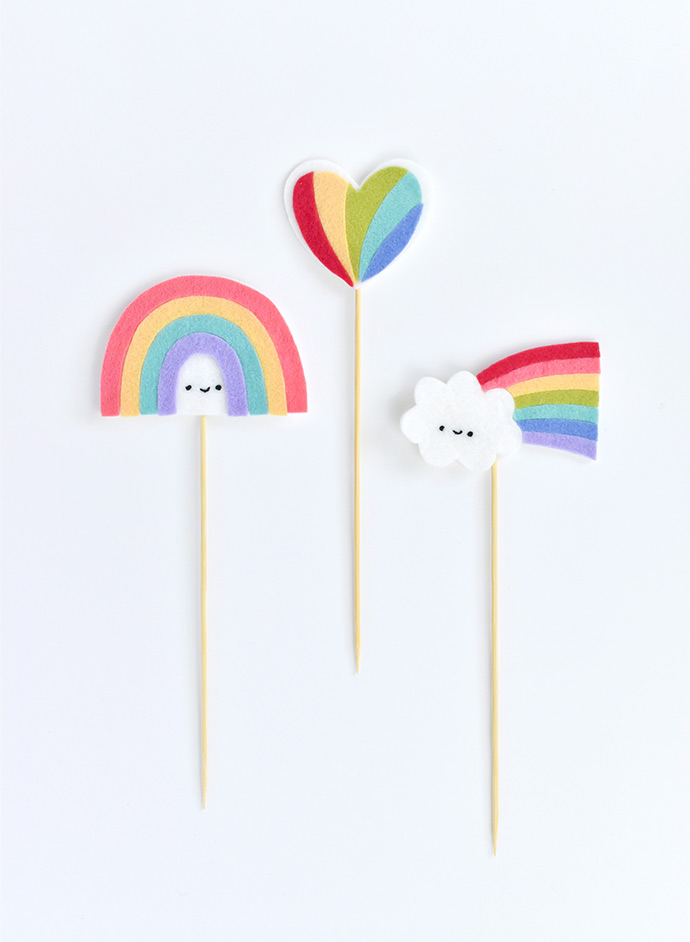
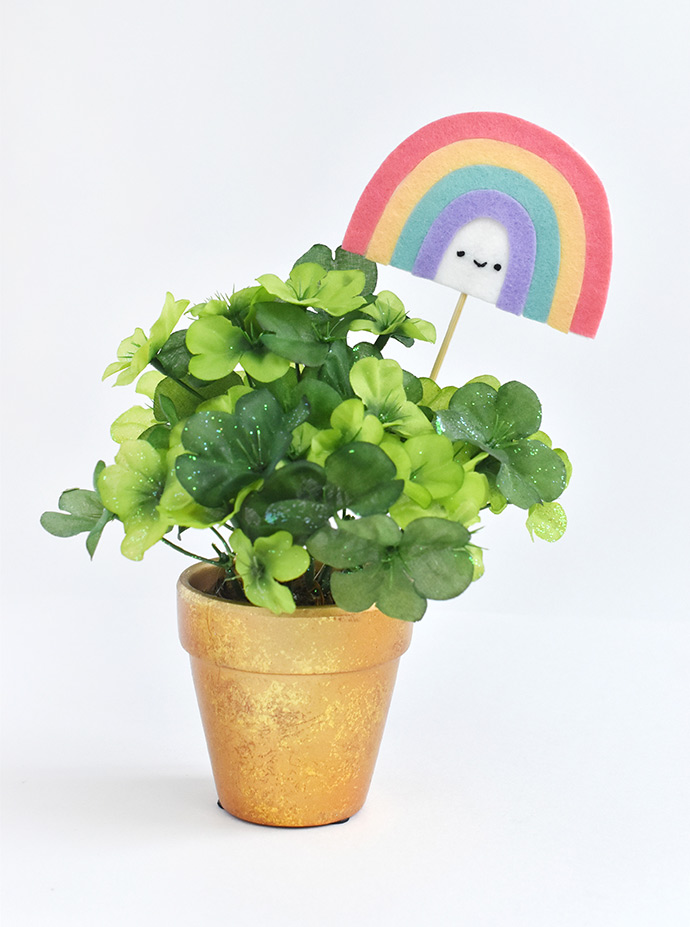
When the plant picks dry, they should feel a little stiff. And that means they’re ready to decorate a potted plant!
Add them to some lucky shamrocks for St. Patrick’s Day, your favorite summer container garden, or even a vase full of cut flowers.

Once they’ve been in a plant, you probably want to keep them only for plants. But you could certainly make these picks to decorate the top of a cake too. Because it’s fun to add rainbows to everything!
Happy crafting!