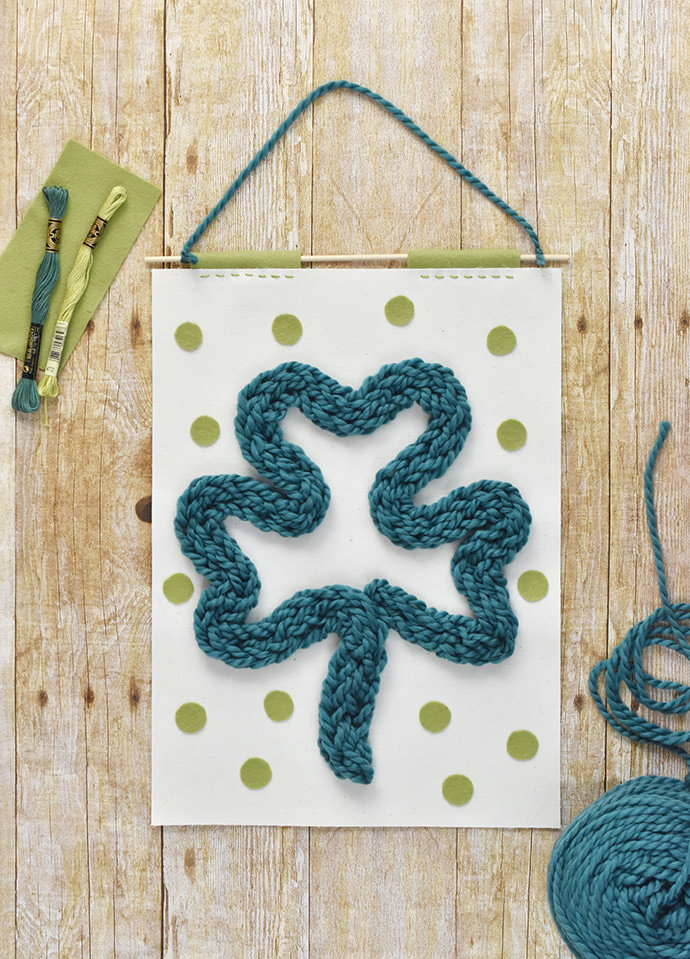
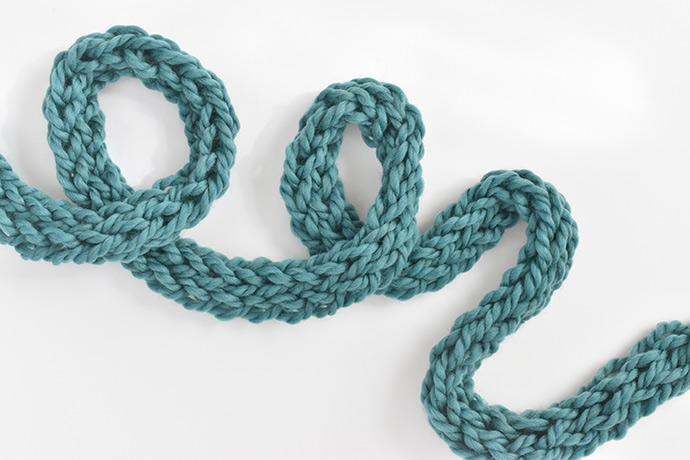
Learn how to do finger knitting and make a lucky charm for your house with this shamrock banner! The style is simple but fun and you and your kids can make it together!
Finger knitting is easy and a great way for kids as young as four or five to practice fine motor skills. But older kids will enjoy this too! Once they learn the process, they can make the cord that forms the shamrock. Then work together as you attach it to the banner.
Now, get your fingers ready for some lucky knitting!
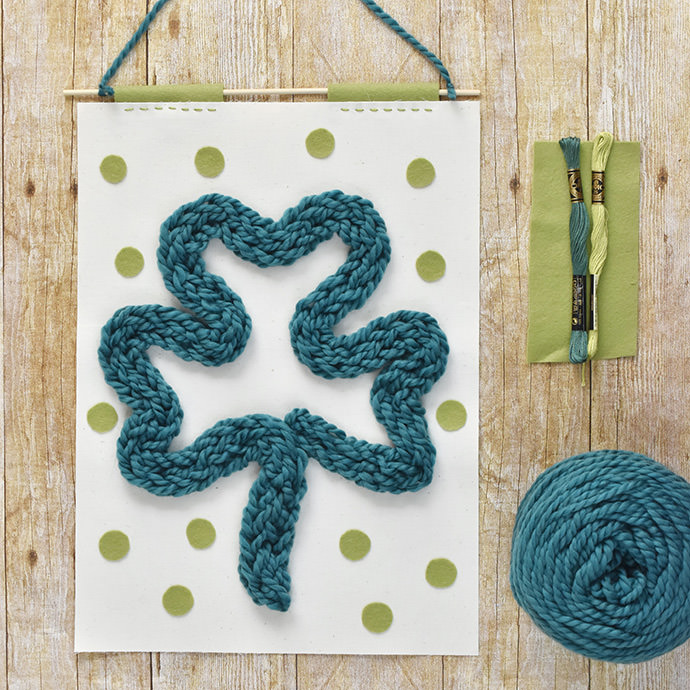
what you need:
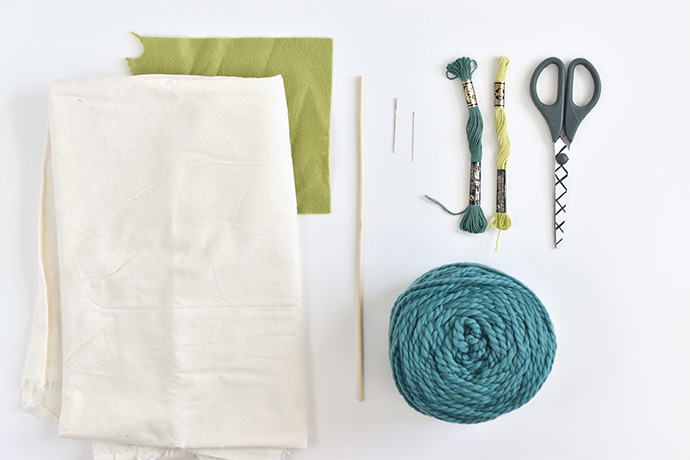
- Bulky or Super Bulky Weight Green Yarn
- Canvas or Other Heavy Weight Fabric
- Green Felt
- Green Embroidery Floss to Match the Yarn and Felt
- Thin Dowel Rod or Thick 12-inch Skewer
- Scissors
- Needles – Embroidery and Large Tapestry
- Craft Glue
Note: If you don’t have bulky yarn, you can use regular yarn too, but the knitted cord won’t be as full. You can also hold several strands of yarn together so that it’s bulkier, but they can be trickier for young children.
how-to:
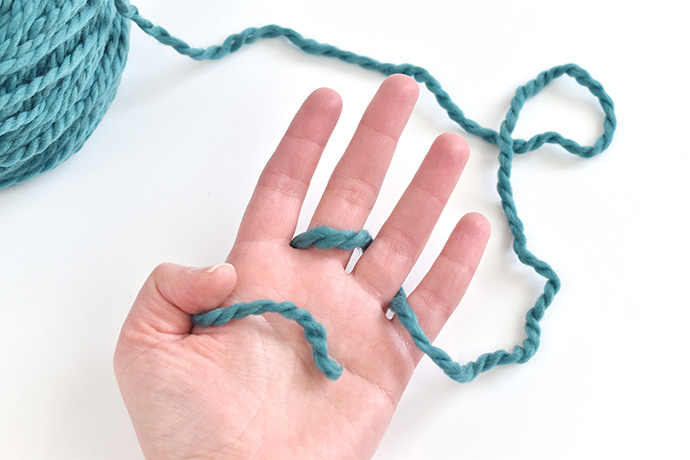
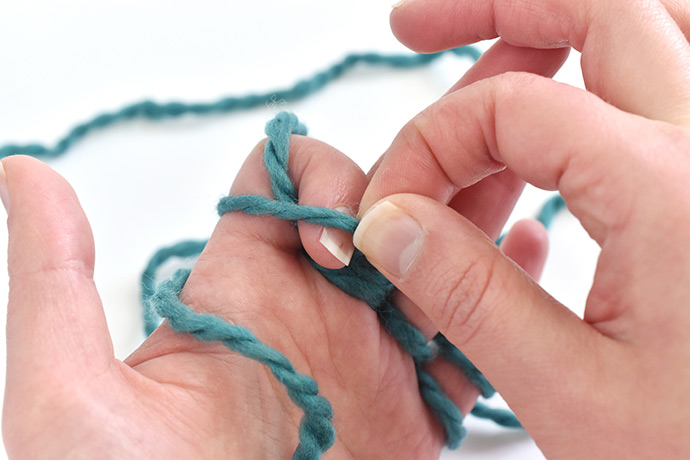
Step 1
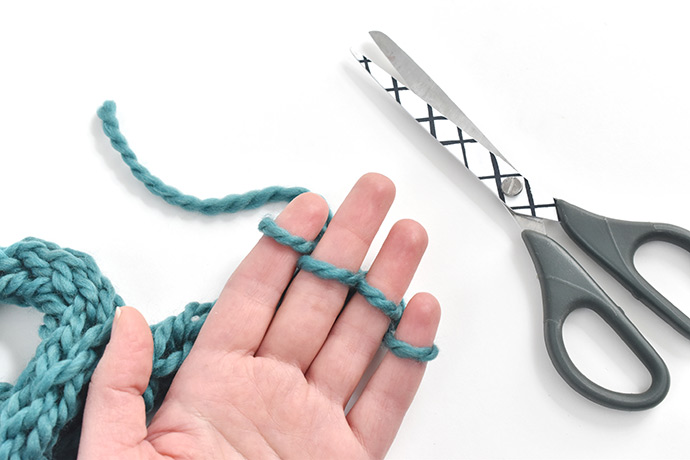
Hold the end of the yarn with your thumb on your non-dominant hand.
Weave the yarn under your first finger, over the next, then under and over again.
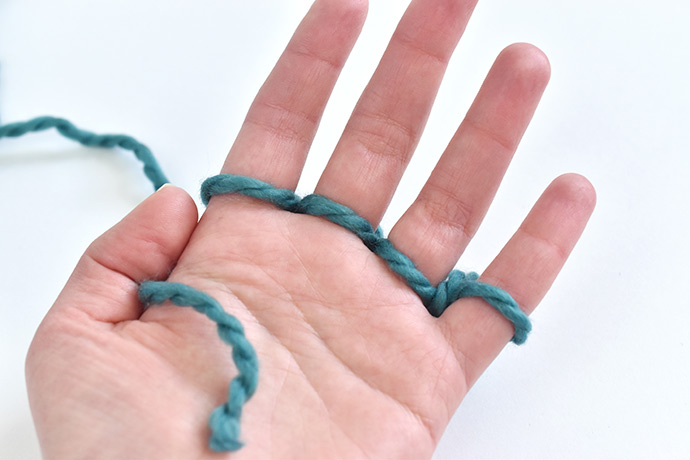
Step 2
Wrap the yarn under your pinky finger, over the next finger, then under and over again.
You should have yarn showing on each of your fingers now.
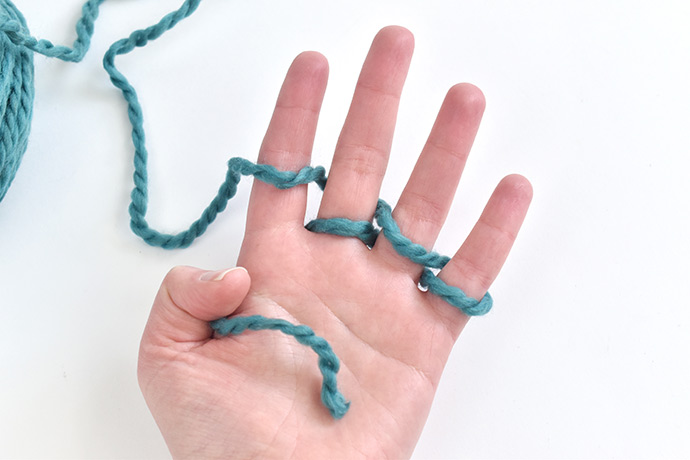
Step 3
Now you need to repeat the steps above.
Wrap the yarn under your first finger, over the next, then under and over again.
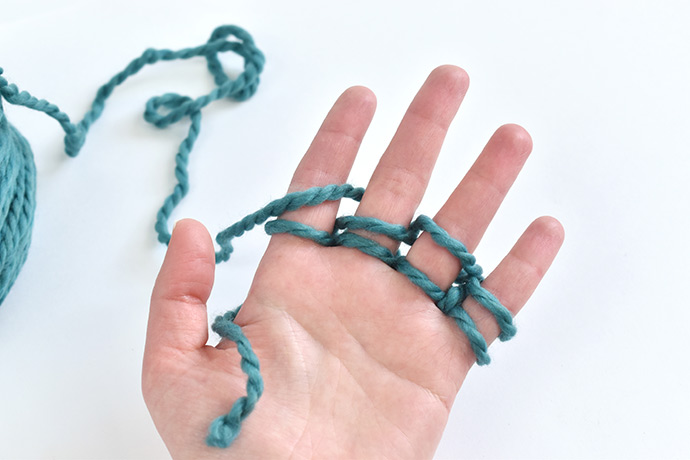
Step 4
Weave back to the start again, by wrapping under your pinky finger, over the next finger, then under and over again.
You should have two loops of yarn showing on each of your fingers now.
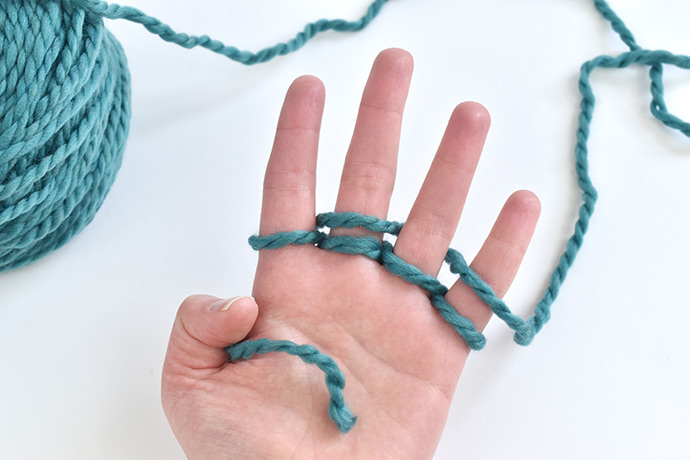
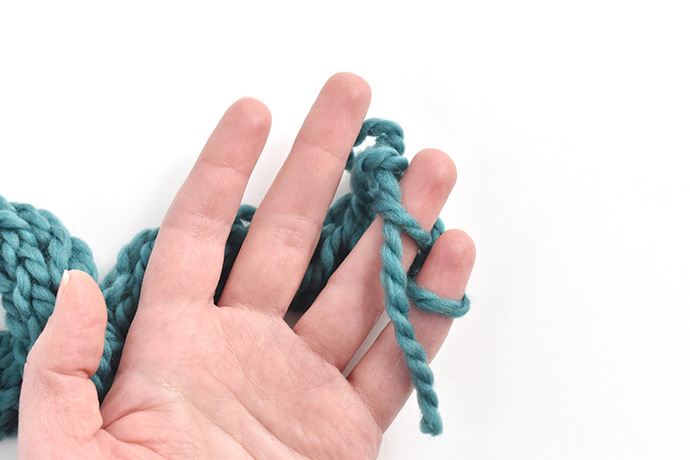
Step 5
On your first finger, grab the loop that’s closest to your palm. Bend your finger down so you can slip the loop off your finger. You should still have a loop on your finger.
Step 6
Repeat step five on each finger. Now you should have one loop left on each finger.
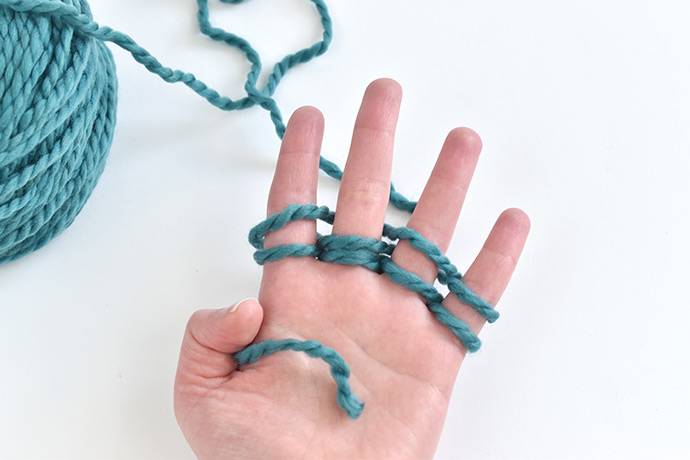
Step 7
Weave the yarn under and over your fingers again, working from one side to the other and then back again. You should have two loops of yarn showing on each of your fingers again.
Now, repeat steps five and six, slipping the loops closest to your palm off the ends of your fingers.
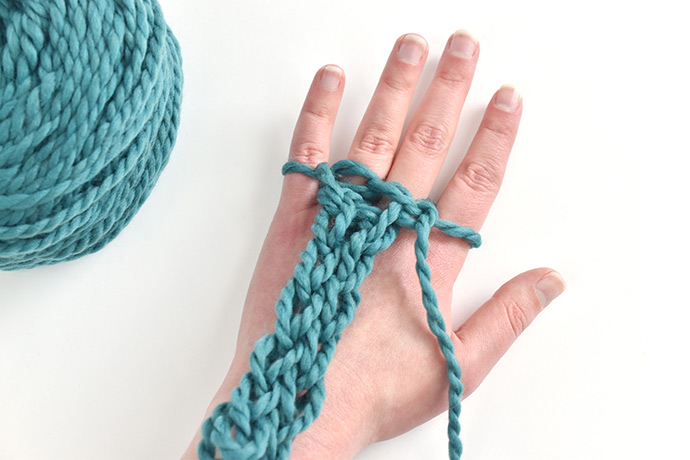
Step 8
As you repeat the steps, the cord on the back of your hand starts to grow. You can pull the end a little to see how long it is when stretched in its cord shape.
Keep finger knitting until the cord is about 4 feet long.
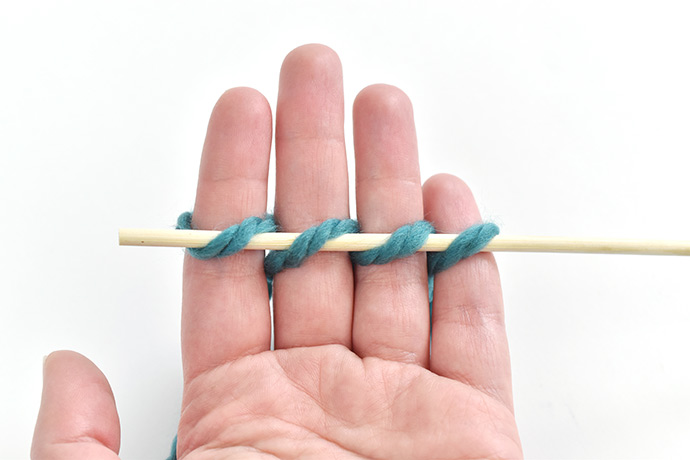
If you need to take a break, slide the wooden dowel/skewer through each stitch and then slide it off your hand. When you’re ready to start again, slip your fingers into the stitches and start knitting.
Step 9
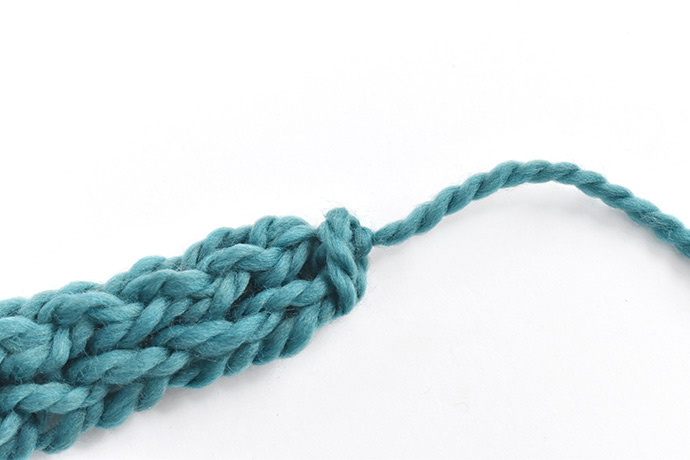
When the cord reaches 4 feet long, cut the yarn, leaving a tail that’s about 8 inches long.
Slip the end of the yarn through each of the stitches and then remove them from your fingers.
Step 10
Pull the end of the yarn tight to hold the stitches in place.
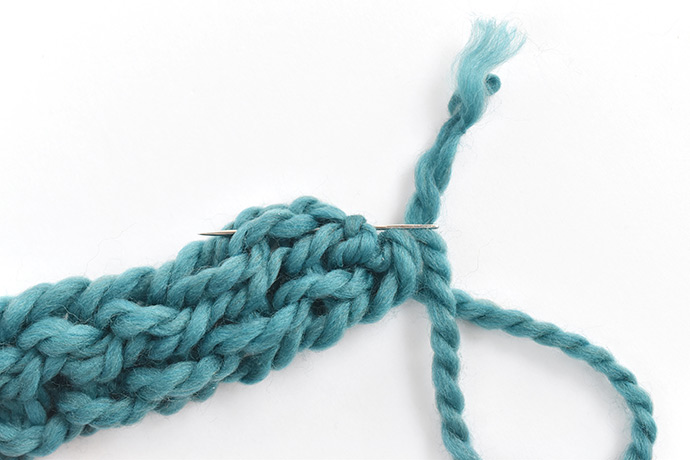
Thread the end of the yarn through a large needle and then weave the end through the knitting. Slide the needle off and trim any extra yarn. Repeat this at the starting end of the knitted cord.
Step 11
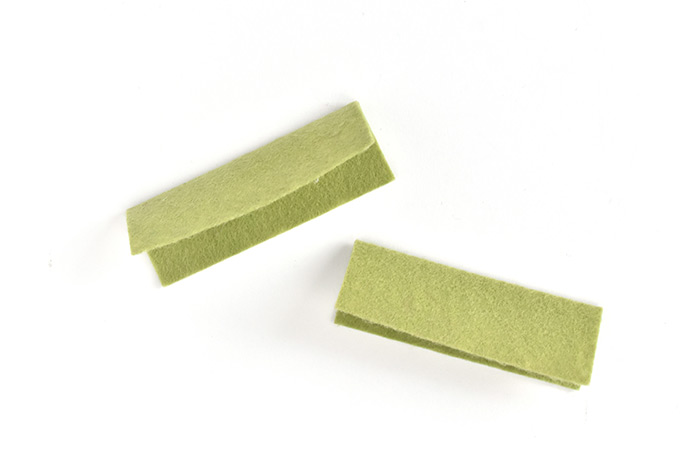
Cut two 1×3 inch pieces of green felt and a 11×15 inch piece of heavy fabric. Press the felt pieces in half the long way.
Tip: You can make your own heavy fabric by fusing two layers of lighter fabric together with fusible web.
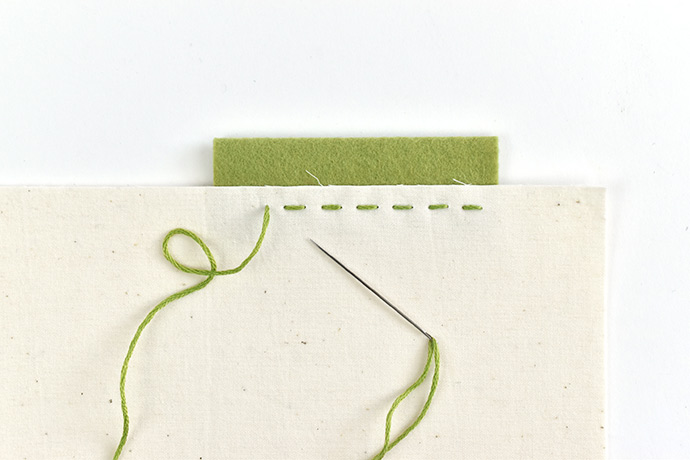
Hold the folded felt pieces behind one of the 11-inch sides of the fabric. Using the smaller needle, stitch them with green embroidery floss and running stitch to make two small sleeves for the wooden rod to go through.
Step 12
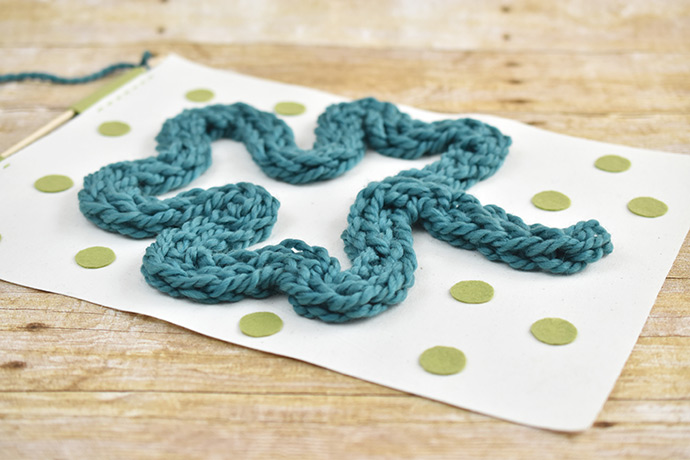
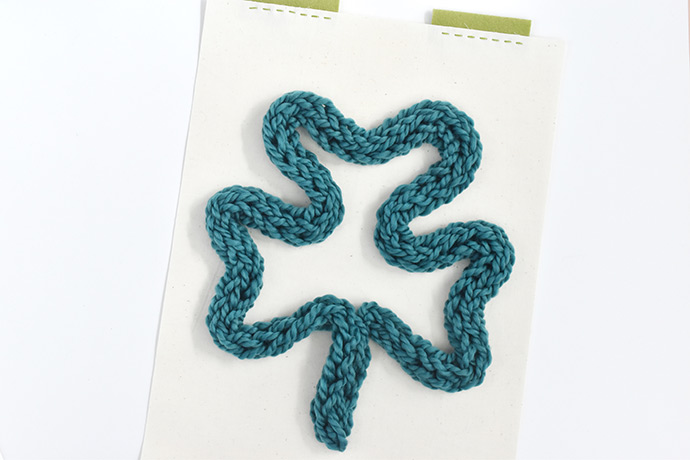
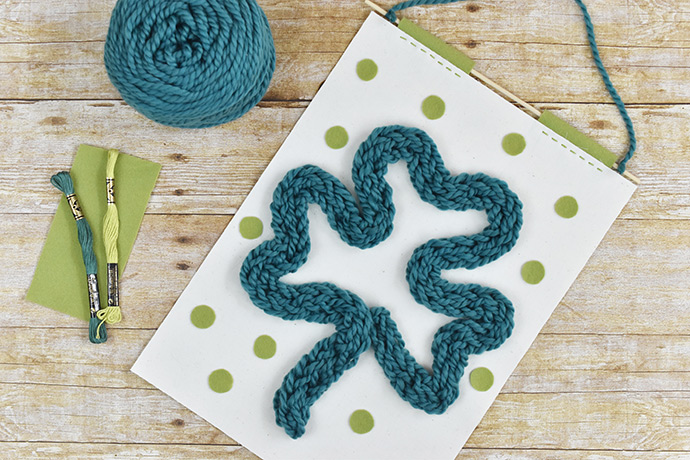
Shape the knitted cord into a shamrock shape. A shamrock looks sort of like three hearts with a stem.
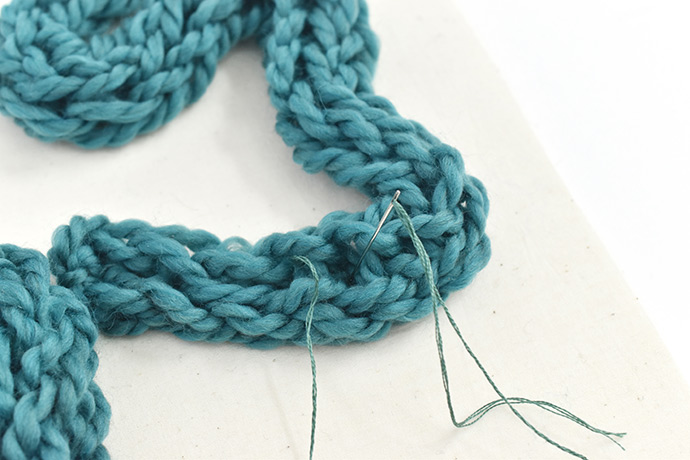
Step 13
Thread your embroidery needle with three strands of floss that match your shamrock. Come up from the back and then go back down, sewing the knitting in place. You only need one stitch every inch or so.
Tip: You can glue the knitting to the fabric instead of sewing, but it isn’t as nice a finish because the glue can come through the yarn.

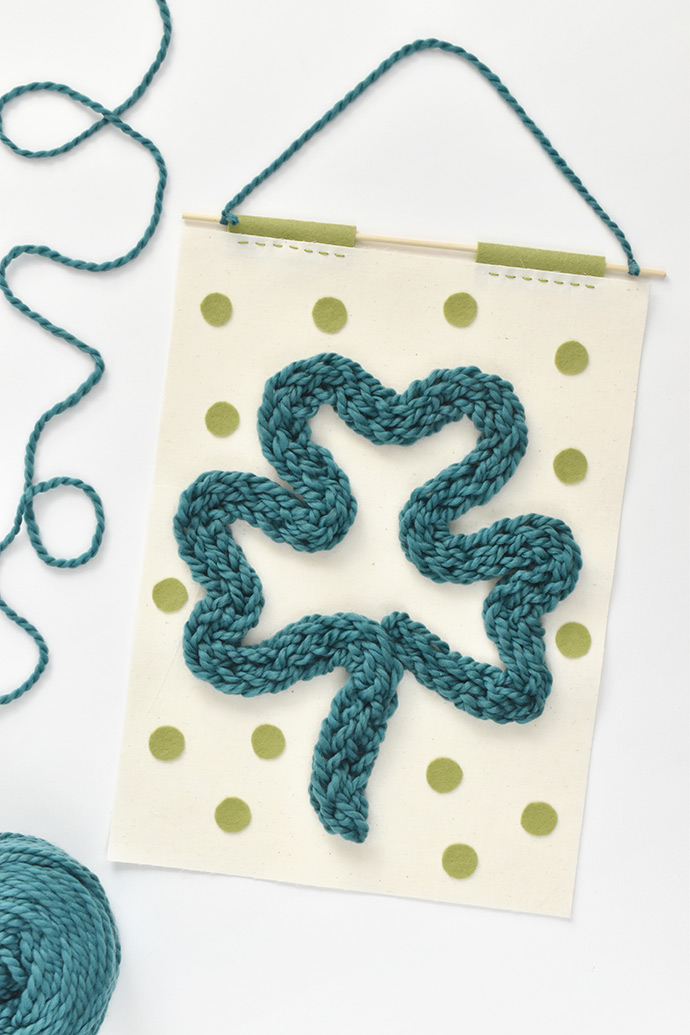
Step 14
Cut out a bunch of small felt circles.

Glue the circles around the outside of the shamrock.
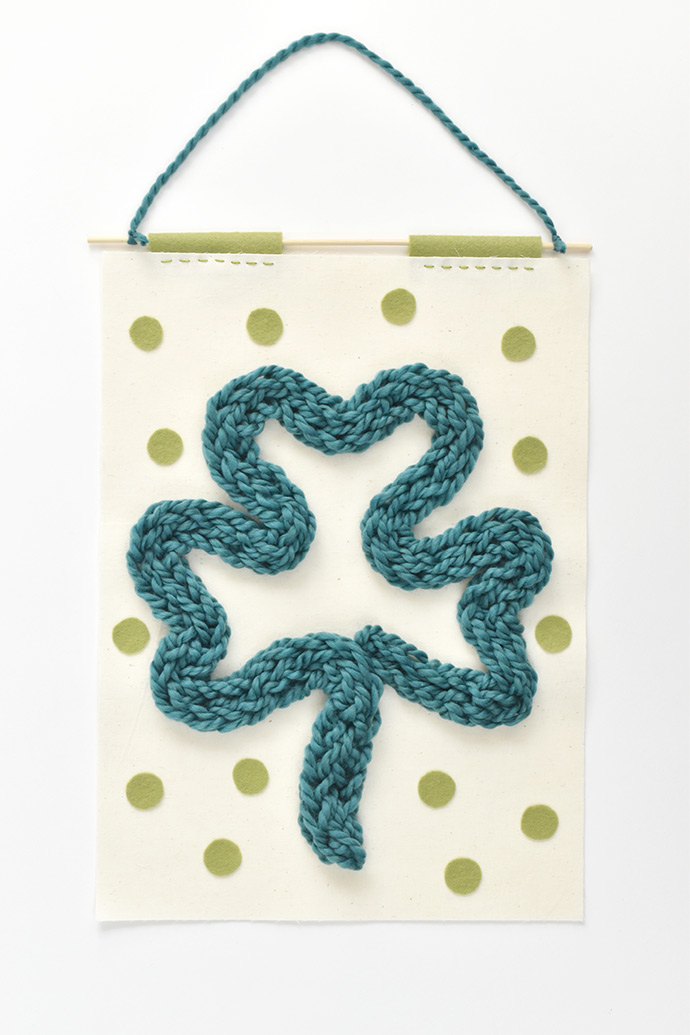
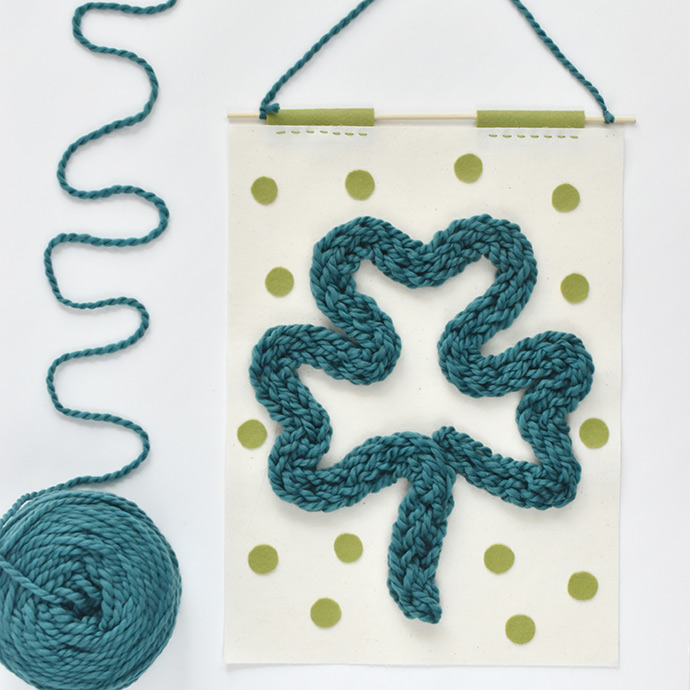
Step 15
Slide the wooden dowel or skewer through the sleeves at the top of the banner. Cut an 8-inch piece of yarn and tie the ends to the wooden dowel.
Now you can hang your new banner for a bit of luck and a fun way to add some green to your home!
If your kids really enjoy the finger knitting, make the cord longer so you can fill in the center of the shamrock. Or make a second piece to fill it in a second shade of green.
Want to add something extra? Attach green or sequins around the edges instead of the polka dots! You can also paint or embroider a fun phrase above or below the shamrock. Try “Lucky Me!” or “Good Luck!”
Happy crafting!