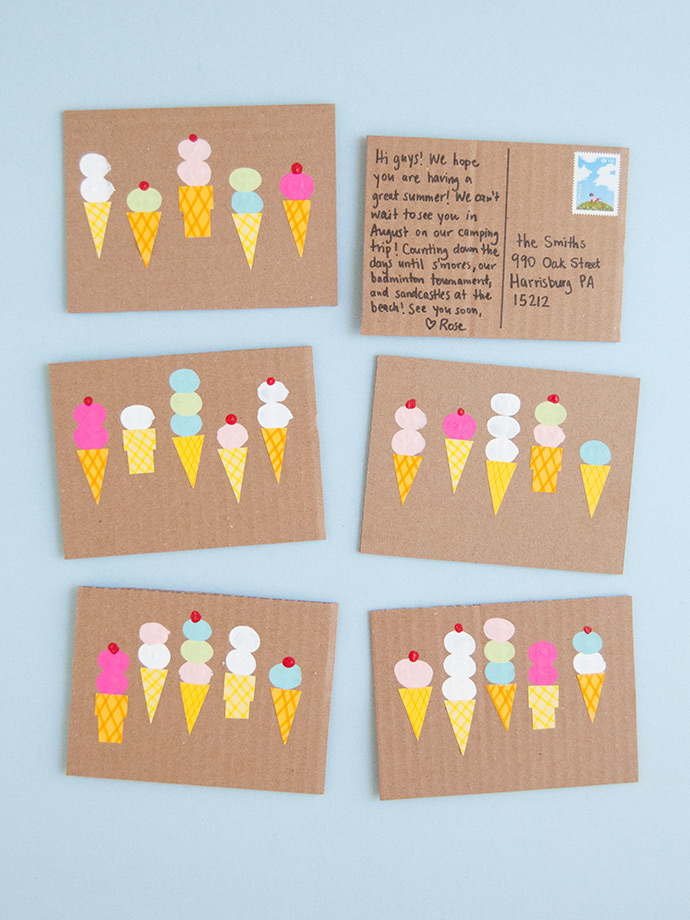
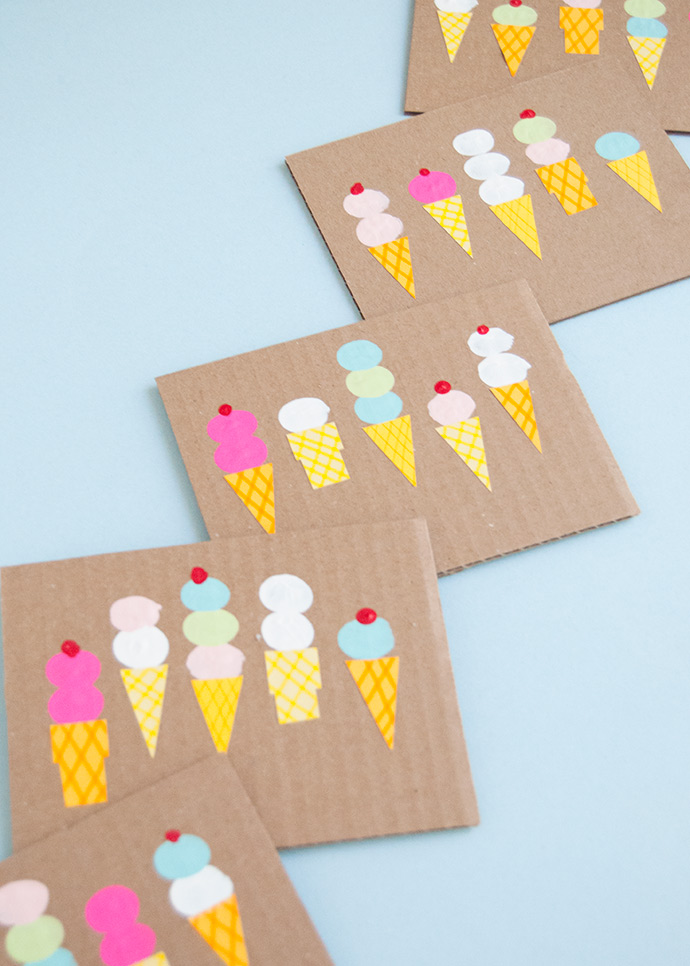
Getting snail mail is one of the best things, isn’t it? And it’s so simple to send a letter or postcard and it really can brighten someone’s day big time! Whether you’re traveling this summer or staying home, have fun sending these DIY postcards to friends and family. Kids will love getting their fingers messy to stamp these colorful ice cream cones!
what you need:
- Blank corrugated cardboard
- Craft knife
- Cutting mat
- Scissors
- Ruler
- Acrylic paint
- Yellow paper
- Markers (yellow, orange, and black)
- Gluestick
- Scrap paper
how-to:
Cut your cardboard into postcard-sized pieces using a craft knife and ruler. You can make them bigger or smaller, but too big and you might need to put on extra stamps! These ones are 5 1/2″ wide by 4″ tall. If both sides of the carboard aren’t blank, apply a coat of paint or glue down some paper to cover any labels or markings.
Step 2
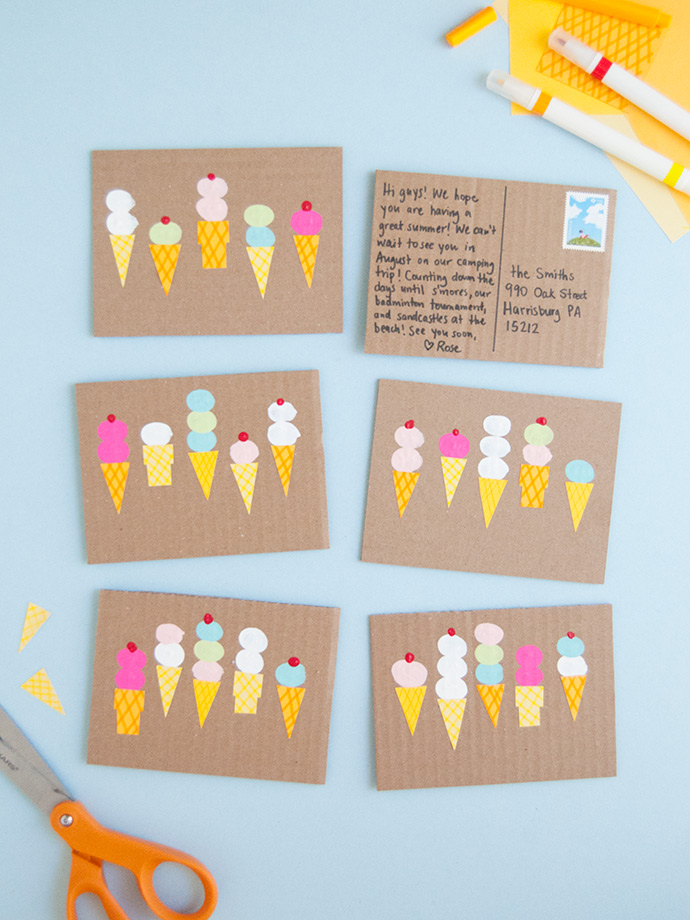
Grab a few shades of yellow and orange paper to be the ice cream cones. Use orange and yellow pens and markers to roughly draw a waffle pattern onto the papers. This doesn’t need to be perfect and you can skip this step if you prefer blank cones, or do another pattern instead. Use scissors to cut out triangular and rectangular ice cream cones – we cut 5 cones per postcard. When cutting the cones, keep in mind the size of your fingers – since your fingerprints will be the ice cream scoops, you’ll want the cones to match up size-wise.
Grab a few shades of yellow and orange paper to be the ice cream cones. Use orange and yellow pens and markers to roughly draw a waffle pattern onto the papers. This doesn’t need to be perfect and you can skip this step if you prefer blank cones, or do another pattern instead. Use scissors to cut out triangular and rectangular ice cream cones – we cut 5 cones per postcard. When cutting the cones, keep in mind the size of your fingers – since your fingerprints will be the ice cream scoops, you’ll want the cones to match up size-wise.
Step 3
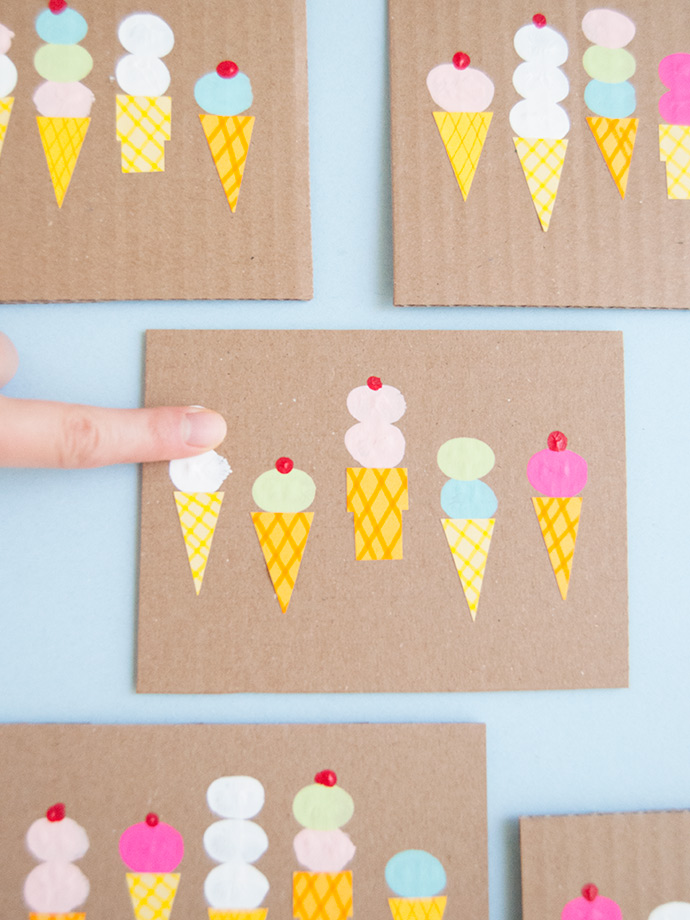
Arrange the cones on the postcards. Don’t glue them down yet, but place them generally where you want them to go.
Arrange the cones on the postcards. Don’t glue them down yet, but place them generally where you want them to go.
Step 4
Apply a few colors of acrylic paint onto a palette or scrap paper. Have your kids dip their finger or thumb into the paint a do a few practice stamps on scrap paper. Once they’ve got the hang of it, do some stamps on the real postcards, above the paper cones you placed there. Have fun mixing and matching colors (aka flavors) and number of scoops! You can shift the paper cones a little bit still at this stage to adjust for the fingerprints. Use the tip of your pinky finger to add a small cherry on top! Let the paint dry completely.
Apply a few colors of acrylic paint onto a palette or scrap paper. Have your kids dip their finger or thumb into the paint a do a few practice stamps on scrap paper. Once they’ve got the hang of it, do some stamps on the real postcards, above the paper cones you placed there. Have fun mixing and matching colors (aka flavors) and number of scoops! You can shift the paper cones a little bit still at this stage to adjust for the fingerprints. Use the tip of your pinky finger to add a small cherry on top! Let the paint dry completely.
Step 5
Use a gluestick to attach the paper cones in place.
Use a gluestick to attach the paper cones in place.
Step 6
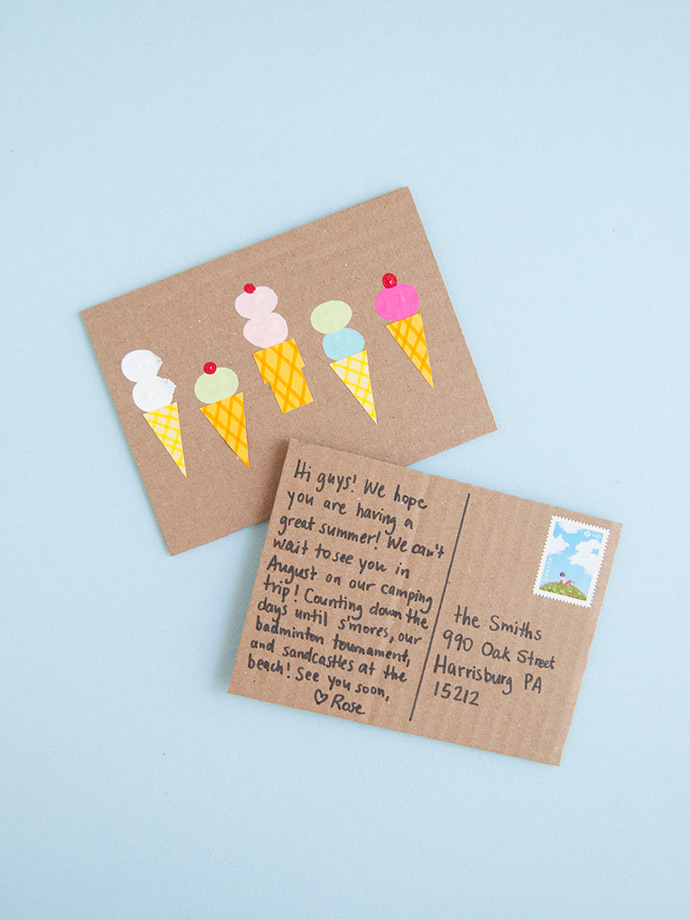
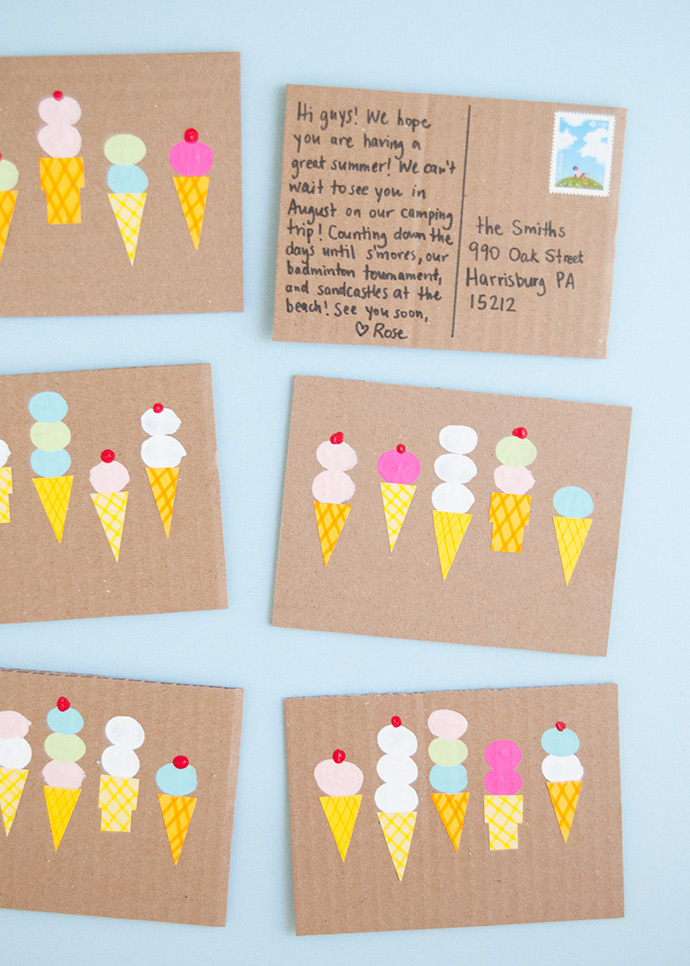
On the back of the postcard, draw a line down the middle. Write the mailing address on the right with a stamp, and then your message on the left!
On the back of the postcard, draw a line down the middle. Write the mailing address on the right with a stamp, and then your message on the left!
Happy crafting!