This post is sponsored by FIMO and Staedtler.
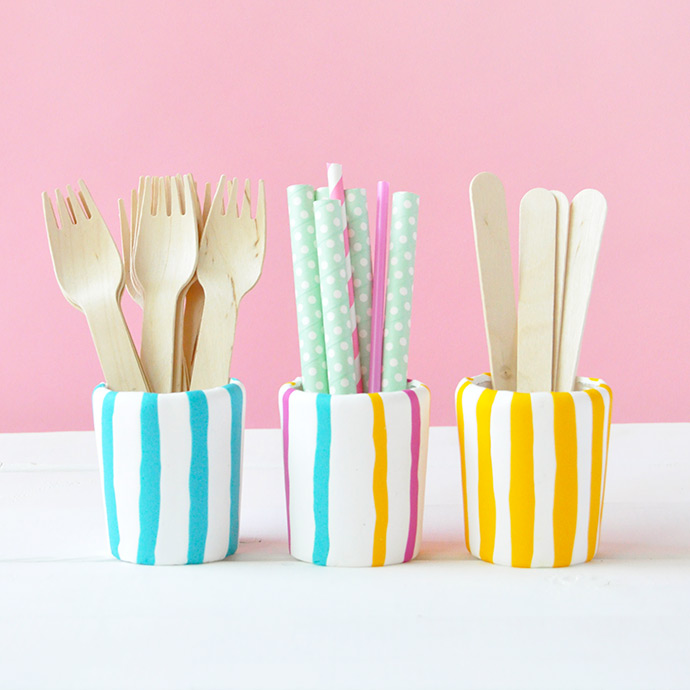
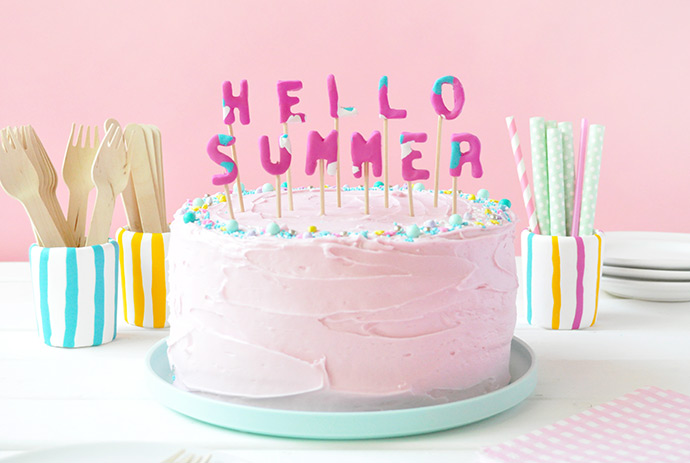
We had the best time learning all about FIMO last week – we played around with lots of new techniques and Kara from A Kailo Chic Life taught us how to make a whole bunch of summer-ready tropical crafts! We especially loved the technique we used on these patterned tropical vases and we couldn’t help but try it out again ourselves! This time instead of covering vases with polymer clay, we used smaller glass votives – they’re perfect little catch-alls for your home or parties, or you can even use them as mini planters for succulents!
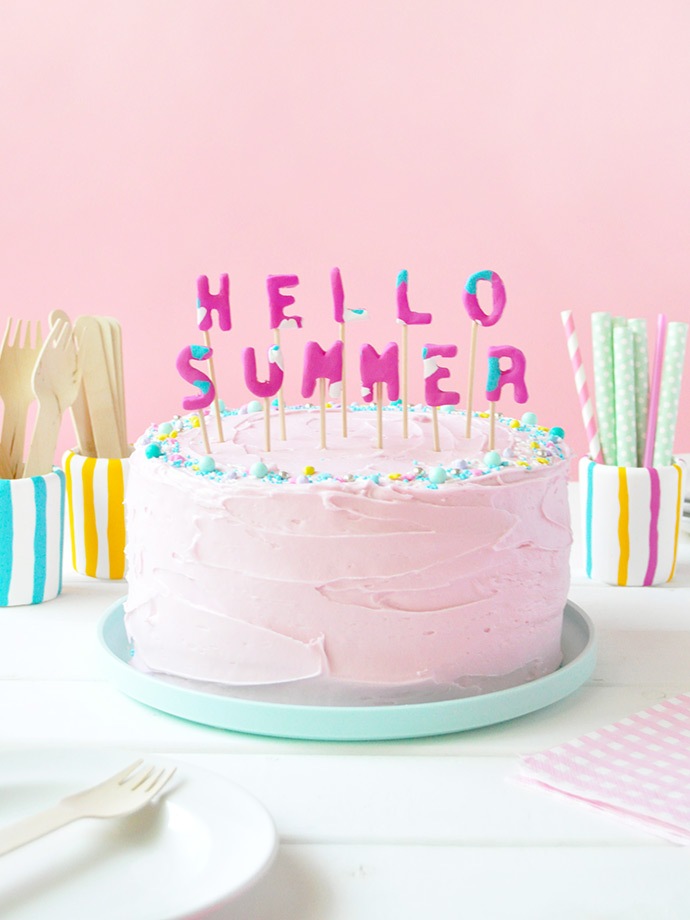
We also used this same technique to make this summer cake topper. We made these playful tropical drink stirrers at the FIMO workshop in a similar way – aren’t they cute?

FIMO polymer clay is available in a ton of colors, so we went with some super bright and playful ones for these projects to keep with the tropical and summery vibe. We were inspired by classic striped beach towels for the mini glasses, but you can, of course, do this same technique with whatever pattern you like! Everyone at the workshop was full of so many creative ideas and it was so inspiring to see everyone’s unique takes on the same project.
Plus, we have a special discount for Handmade Charlotte readers – use this coupon to take 25% off of FIMO products at Michaels until Saturday May 26th, in-store or online!
And keep reading to see the instructions for both of these summery projects below!
what you need:

- FIMO soft clay (don’t forget your 25% off code!)
- FIMO roller
- Craft knife
- Parchment paper or ceramic tile
- Glass cups
- Alphabet cookie cutters
- Toothpicks
how-to:

Step 1
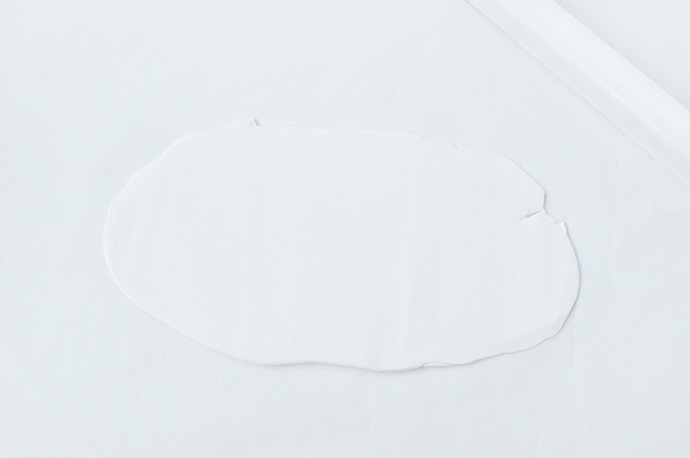
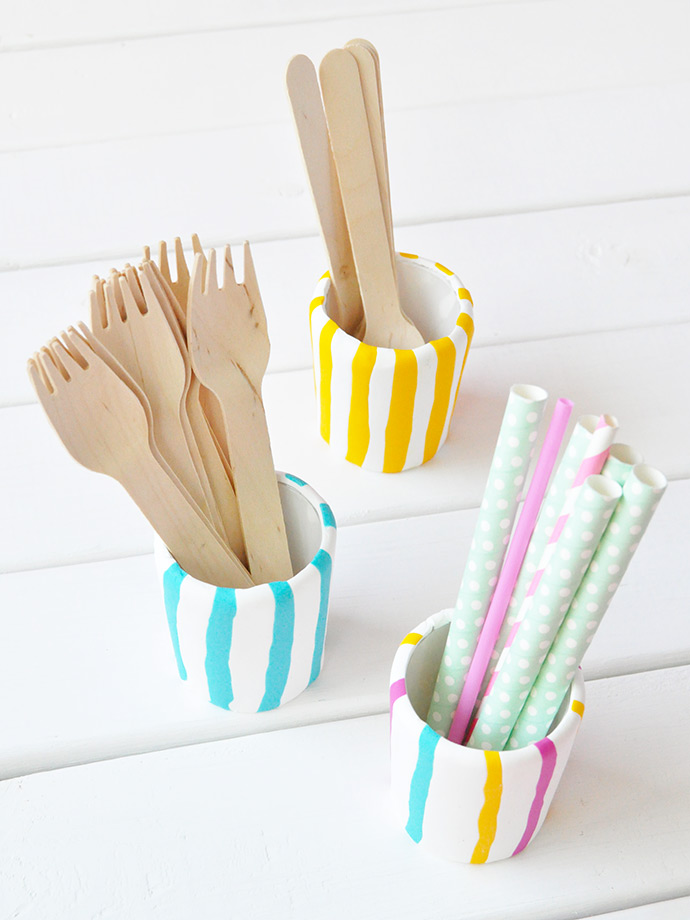
Cover your work surface with a piece of parchment paper, or if you have it a clean ceramic tile. We started with one package of white clay for each glass cup, but this may vary depending on the size of the cups you’re using. With clean hands, knead the clay to soften it and then roll it out on your surface. You want it to be long enough to wrap around the glass completely.
Step 2
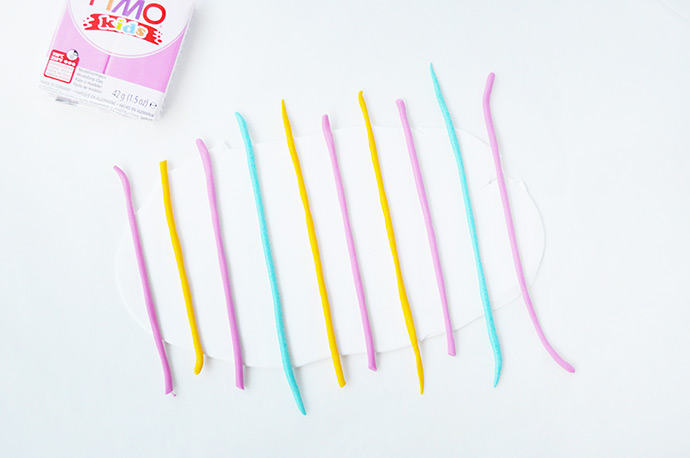
Now for the fun part! Roll out other colors of clay into thin ropes and place them on the white clay to make stripes, kind of like on a beach towel.
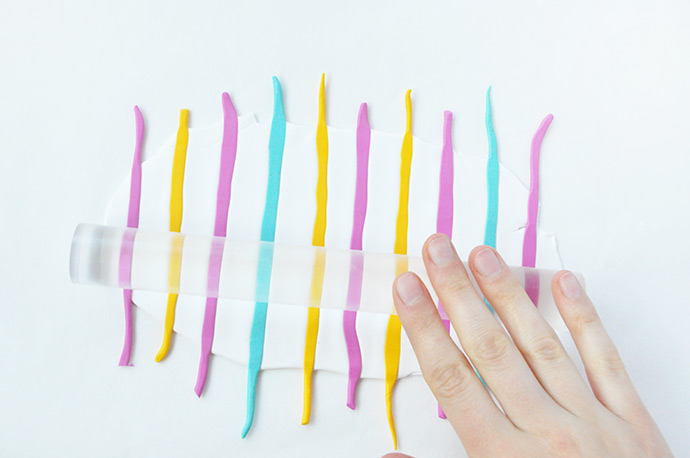
Step 3
Now use the clay roller to press the colored ropes into the white clay until it’s smooth. Kara showed us this technique and it’s really a game changer! Play around with different shapes and colors until you’re happy with your pattern.
Step 4
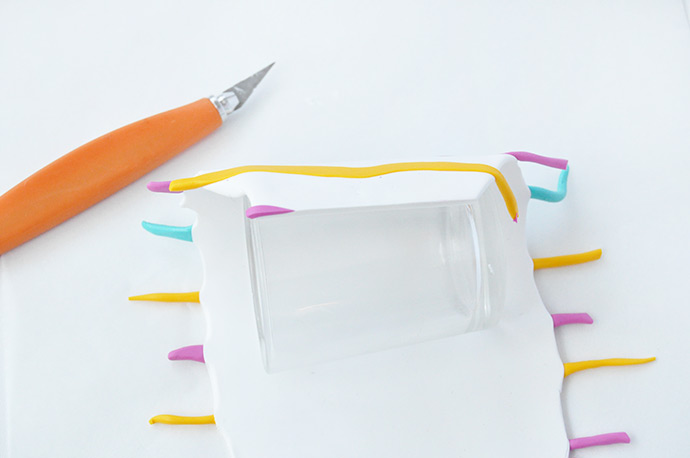
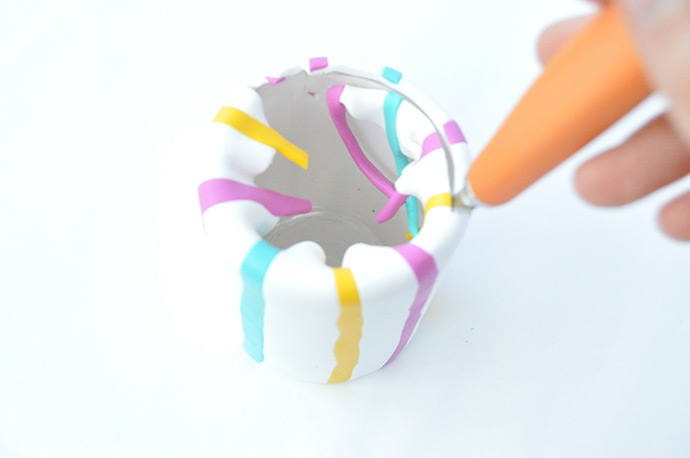
Wrap the clay around the glass, trimming the top and bottom edges so that it sits flat on the table and so that the top edge is neat. For the seam along the back, carefully press together and cut off any excess.
Repeat this technique to cover as many glass cups as you like – we made 3! Preheat the oven to 230F, place the clay covered cups onto a foil-lined baking sheet and bake for 30 mins. Make sure to read and follow all the directions on the package.
Step 5
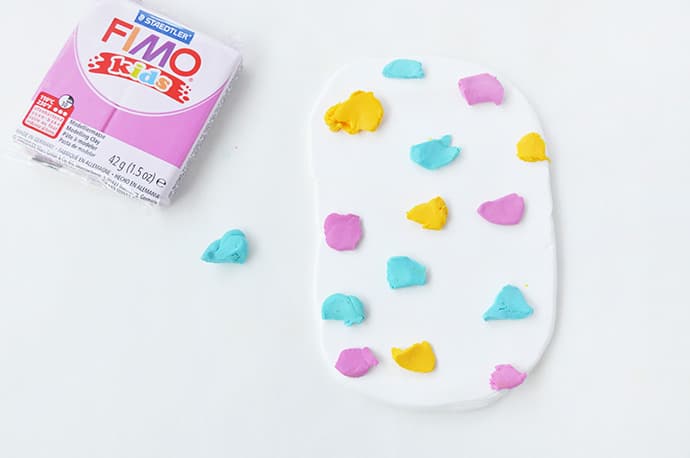
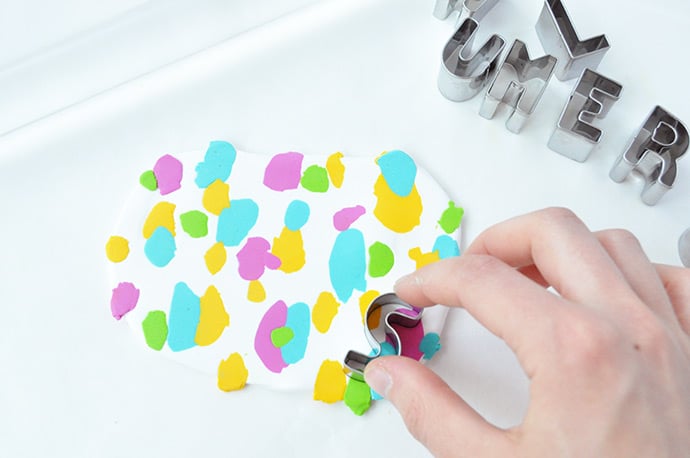
For the cake topper, we used the same technique as before but instead of stripes, we made an abstract pattern. Rachel from The Crafted Life use this method during the workshop and it looked so amazing we had to try it ourselves.
When you’re using this rolling-pattern technique for the cake toppers, we recommend you use FIMO soft – if you use FIMO kids, the clay is super soft which is great for little hands, but in this case can be tricky to remove from the cookie cutters intact.
Step 6
Roll the clay as before, and then use mini alphabet cookie cutters to cut out your message.
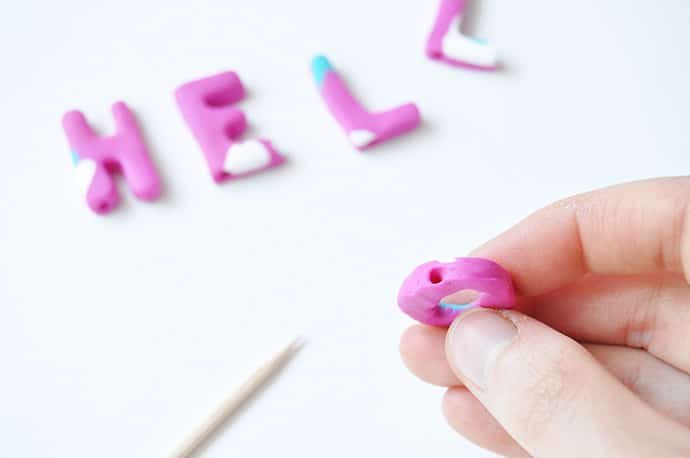
Step 7
Once you’ve cut out each of the letters, use a toothpick to carefully poke a hole into the bottom of each. Put the letters on a foil-lined baking sheet and bake in the oven at 230F for 30mins, again following all directions on the packaging.

Step 8
Once cooled completely, stick the toothpicks back into the pre-poked holes. Ours fit snugly so we didn’t even need to glue them on!


Happy crafting!!